A MOCpages backup
Rated 4 out of 5 (45 ratings)
4,447 visitors
30 comments
Added December 29, 2013
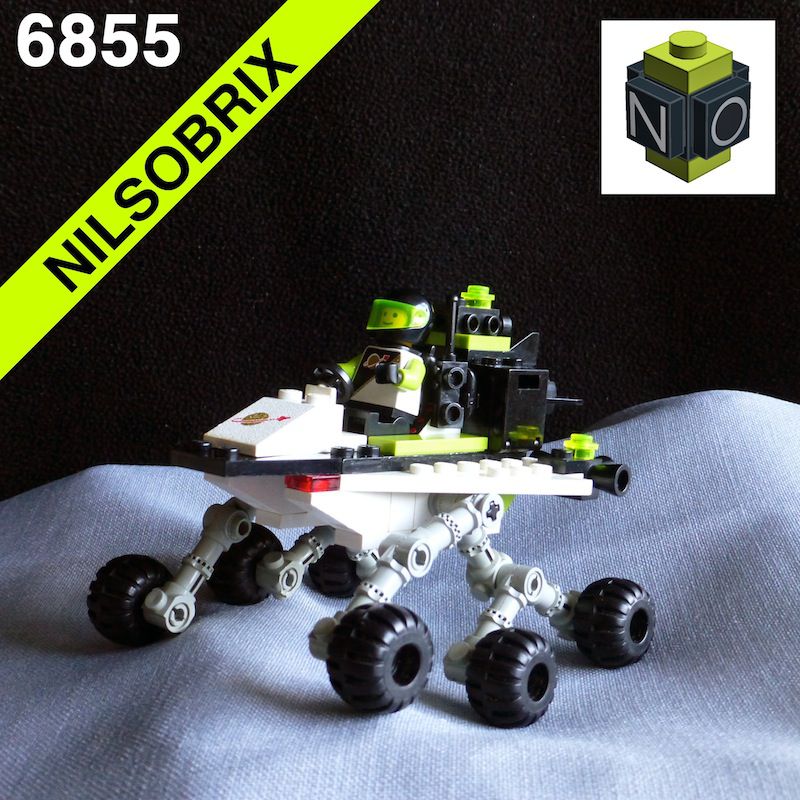
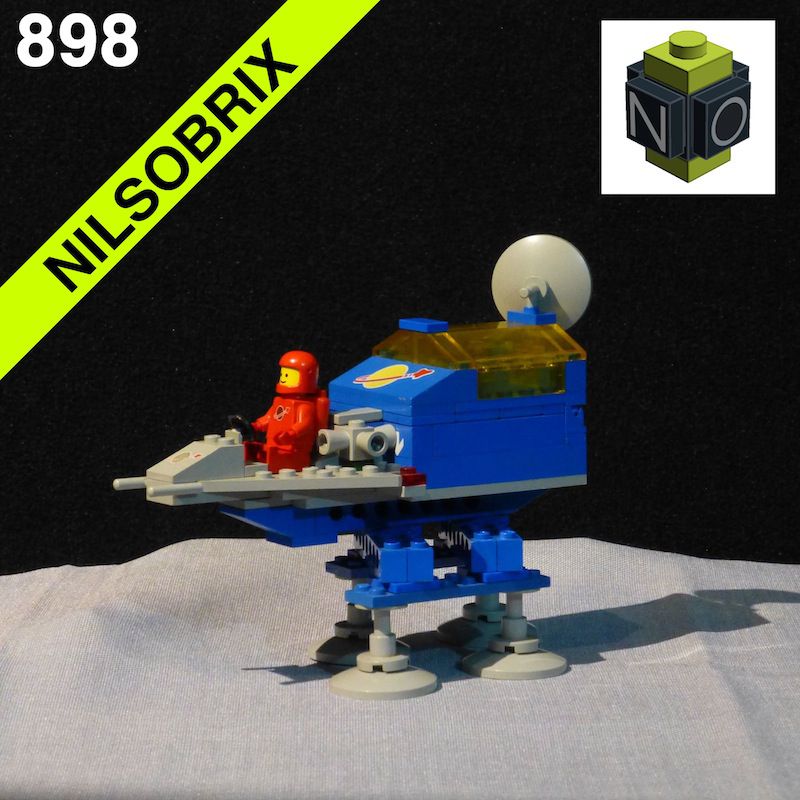
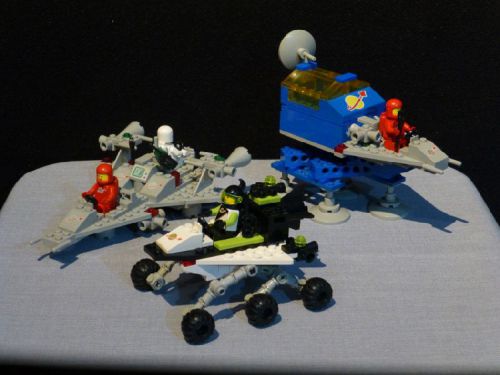
My entry for this year’s Classic Space Pocket Money Contest: The 6855 Exploration Rover with an original Mars Rover “Rocker-Bogie” suspension and my new “Limeuron” colour scheme.
First of all thanks to “The Davids” for repeating this fantastic contest this year. For me there’s no better way to spend some of the free time during the Christmas Holidays :-)).
With the “New Colour Scheme” rule I had to cancel my original idea of building a later CS model in 1979 style. I’ll add that one to the “CSPM” group, later…
The basic idea was to build a rover with the original Mars Rover suspension. This special suspension has always fascinated me, so I started to do some research about it. The suspension is called a “Rocker-Bogie” suspension. When I was looking for photos with the suspension I immediately found photos of Lego models, too ;-)). The center piece is a differential. The first photos I found where from Keith Enevoldsen’s models. One version of the suspension with a differential bar is also included in the official 21104 Lego model of the Mars Rover “Curiosity”. I used a differential gearbox like the “Pathfinder” Rover “Sojourner”.
I was surprised to see that the suspension is quite sturdy. You can swoosh the rover around applying quite a pressure to the wheels without parts falling off. A simulated jump with some “airtime” wasn’t any problem, either.
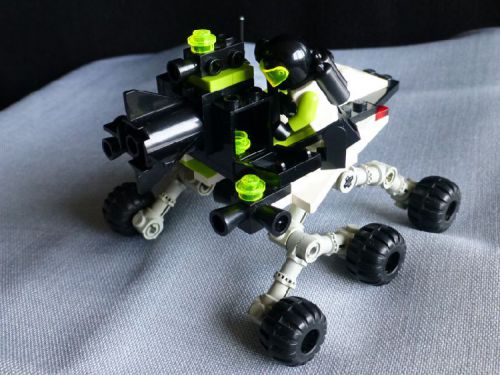
The colour scheme is based on my favourite Lego colours lime and black combined with the typical white of the Futuron models. The Astronaut has a Futuron uniform with arms in lime colour and a visor in trans neon green. My name for the theme is “Limeuron” – Guess, why …! ;-))
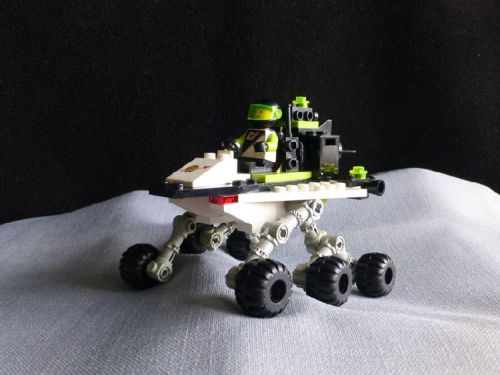
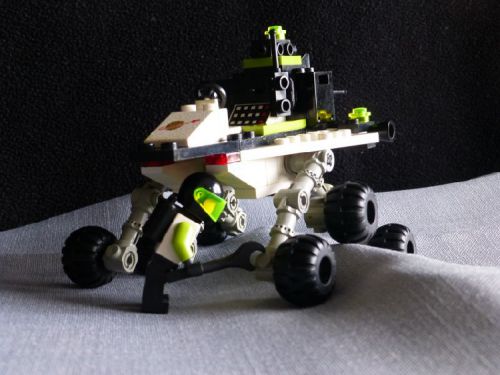
And here it is: My 6855 “Limeuron Exploration Rover”
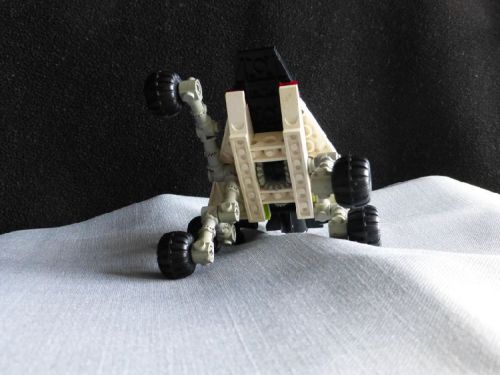
A little sequence of the working suspension:
Wheelie time… :-))

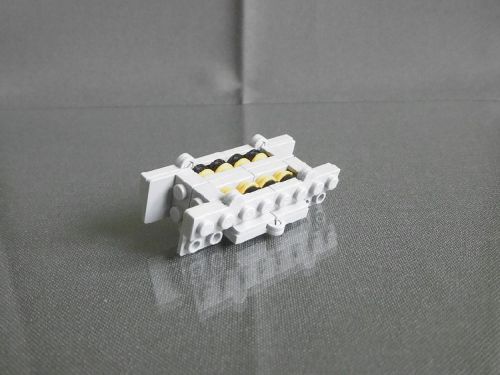
And here is the diffential at work:
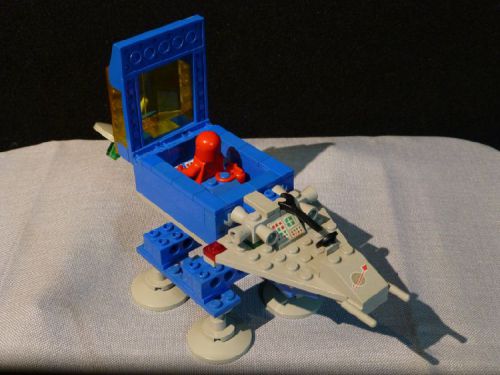
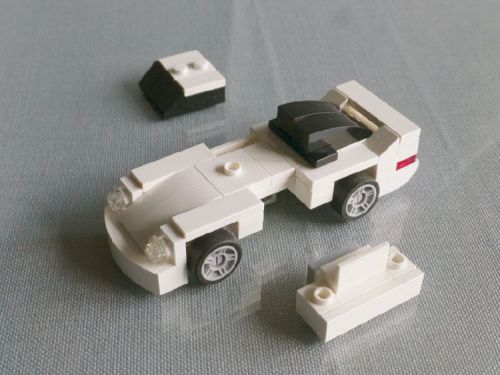
Time for some maintenance:
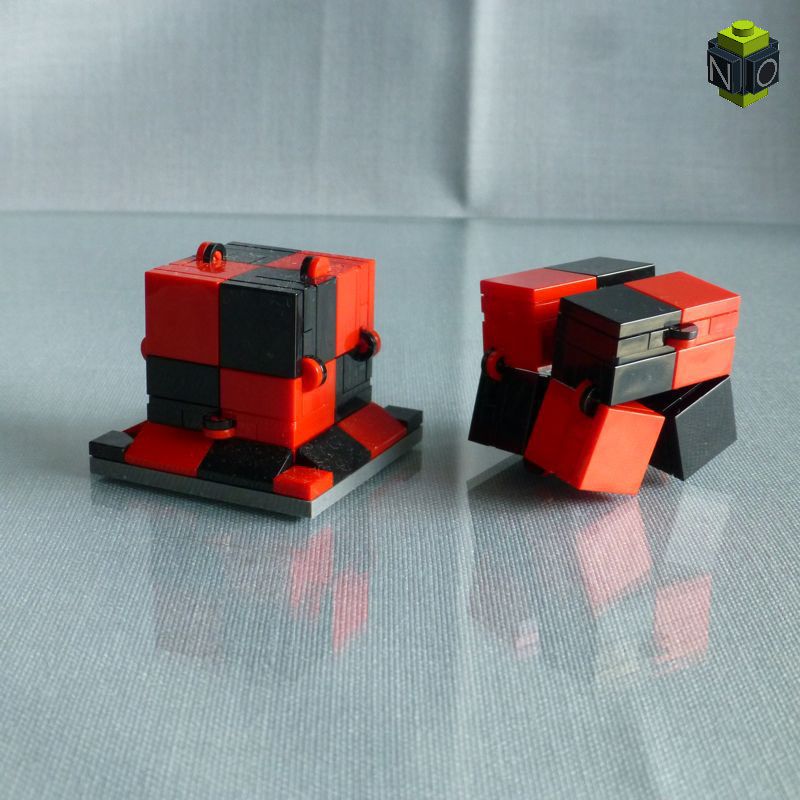
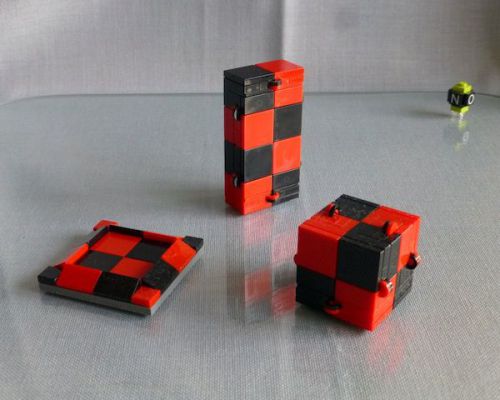
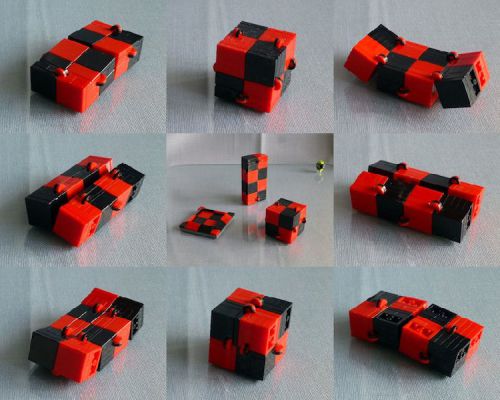
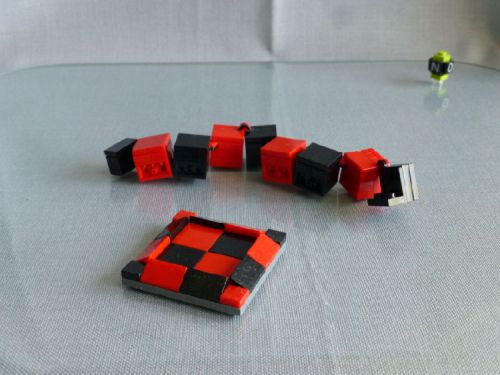
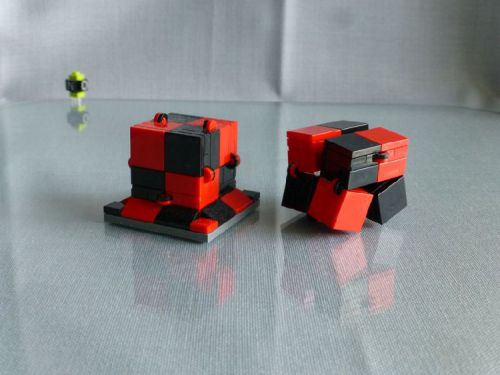
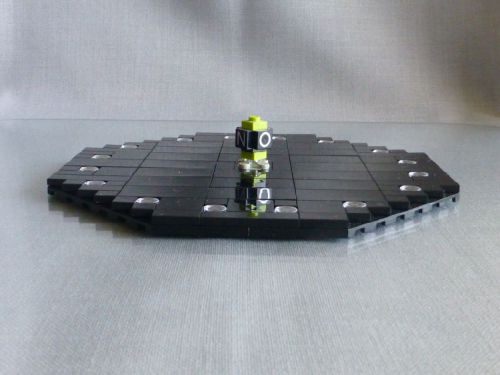
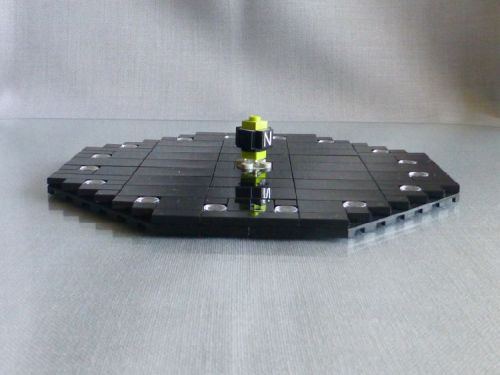
One of the storage boxes:
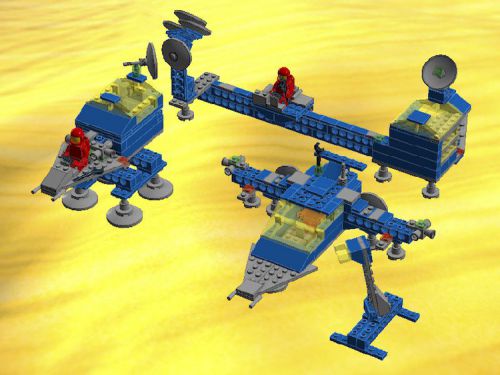
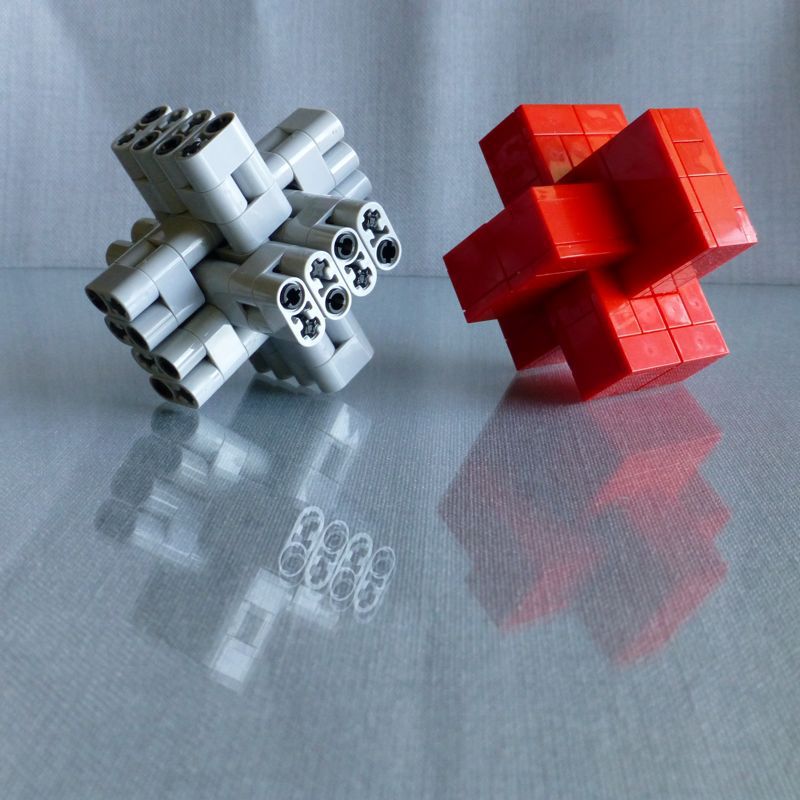
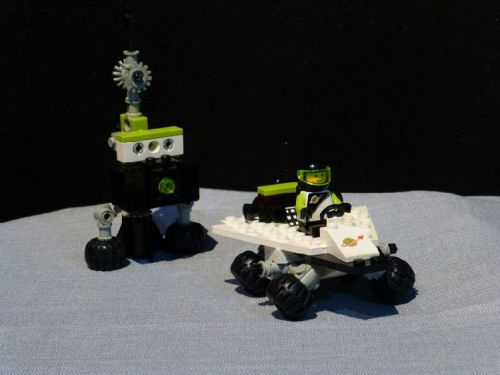
And the obligatory alternative models built with the parts of the original model:
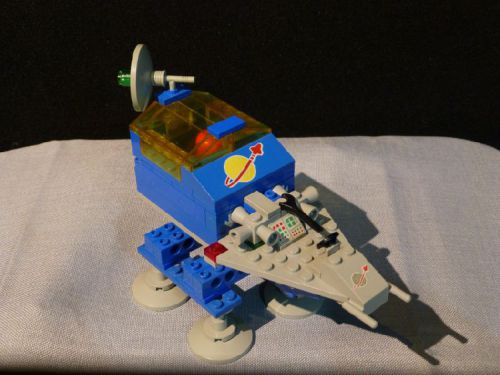
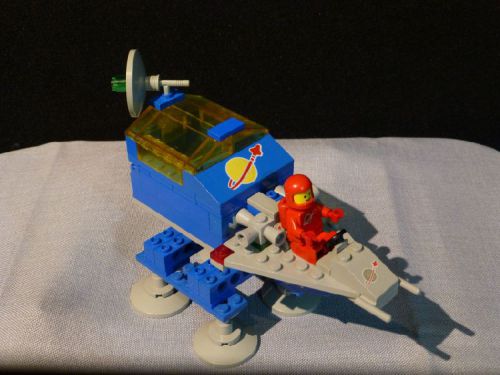
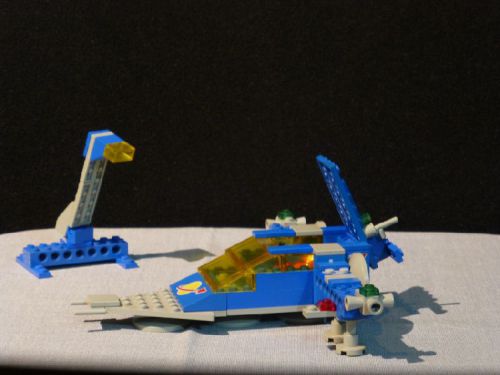
Alternative model #1:
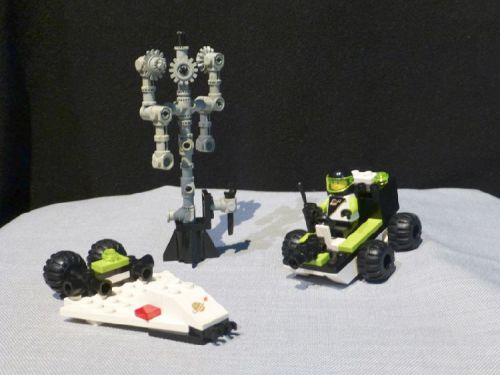 A smaller rover, a scooter and an antenna for radio communication.
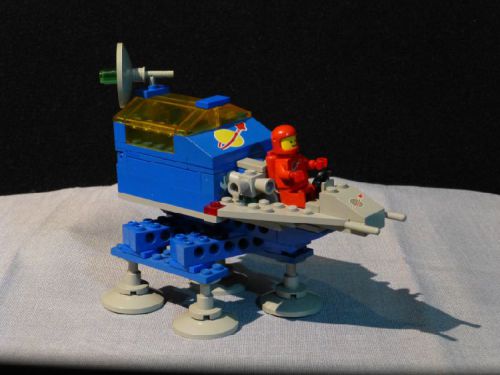
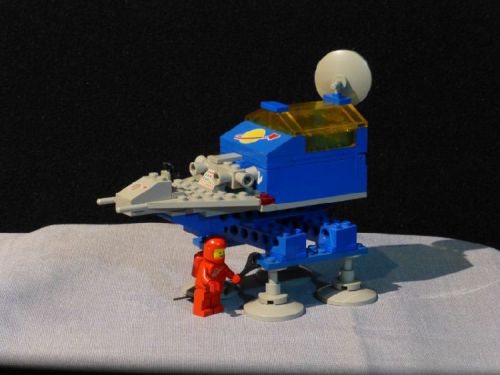
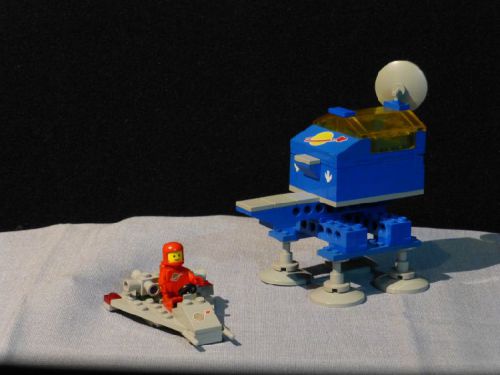
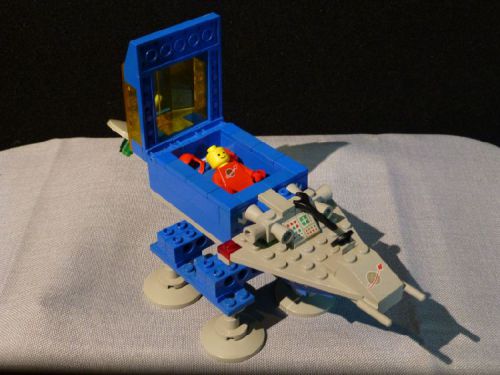
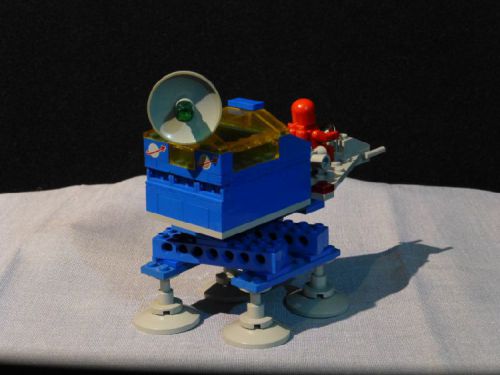
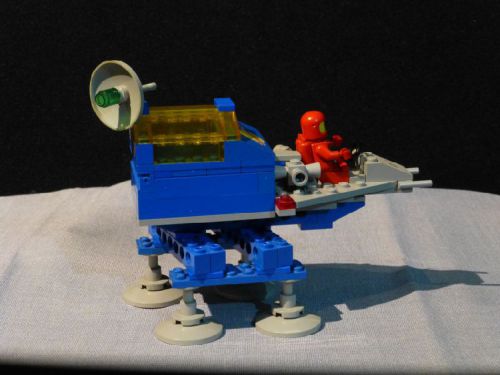
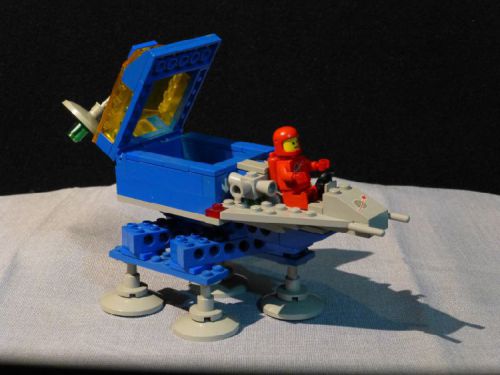
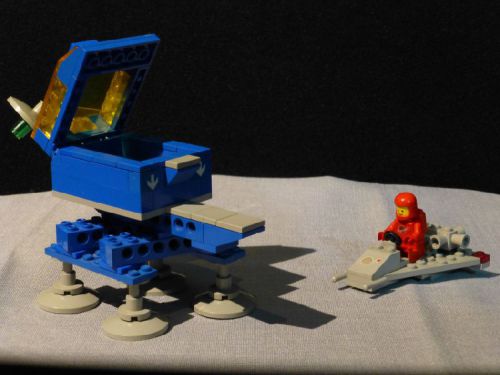
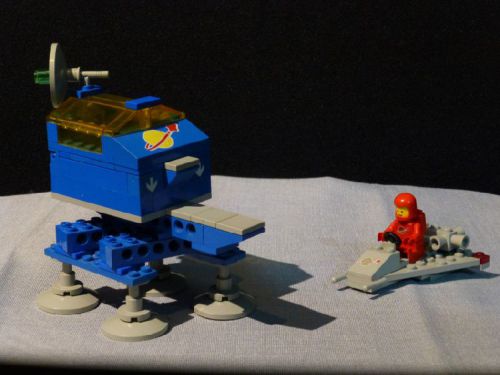
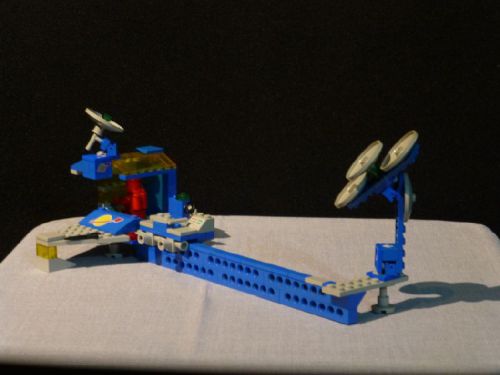
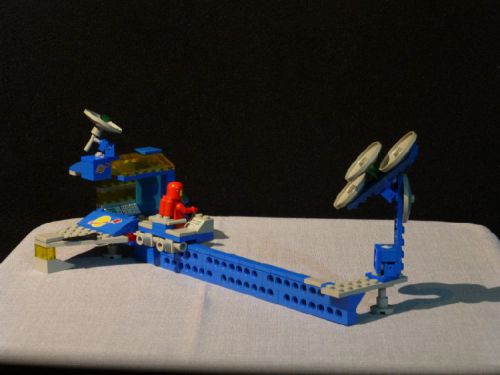
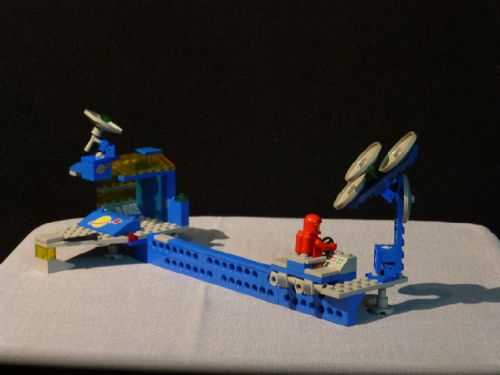
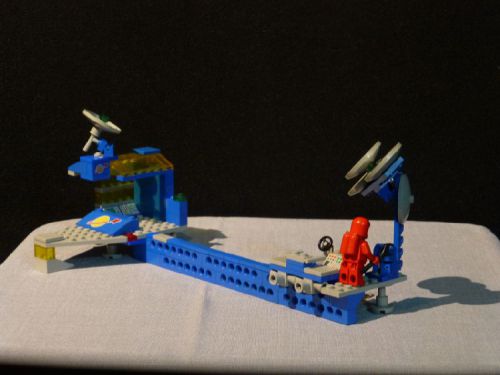
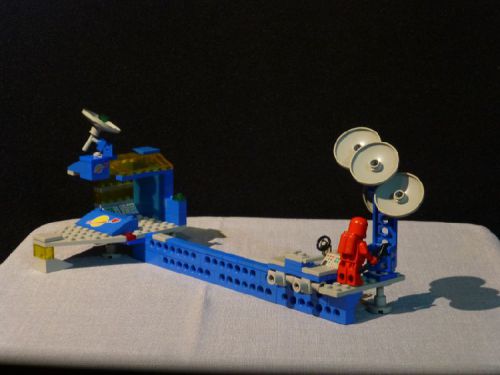
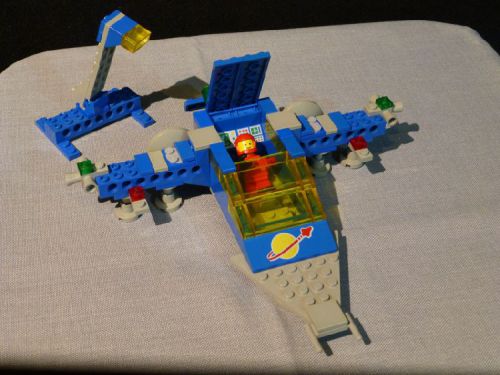
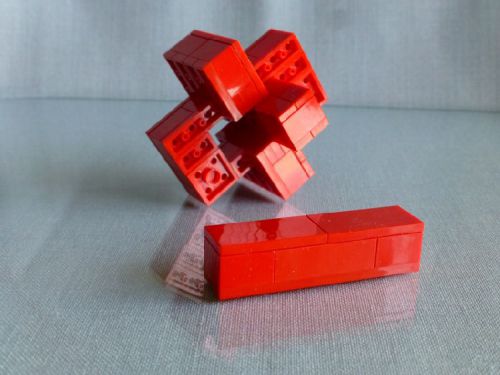
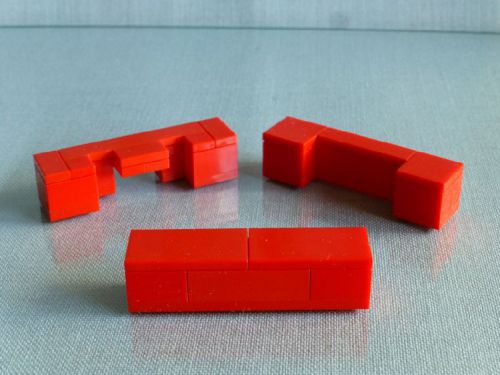
Alternative model #2:
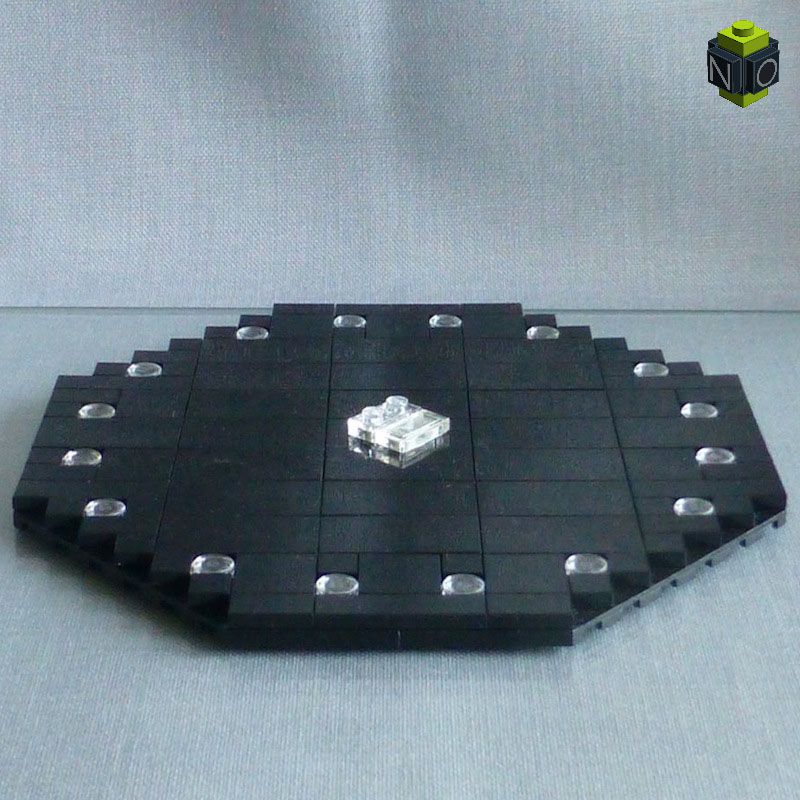
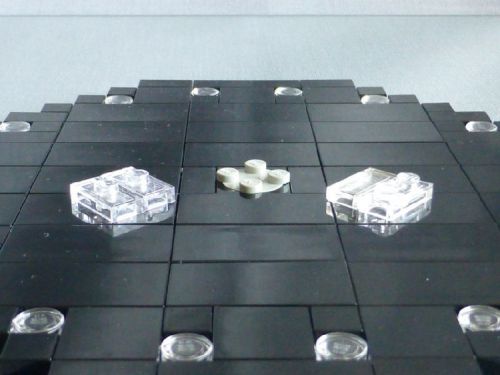
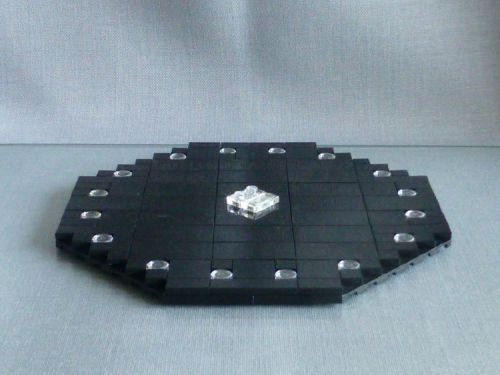
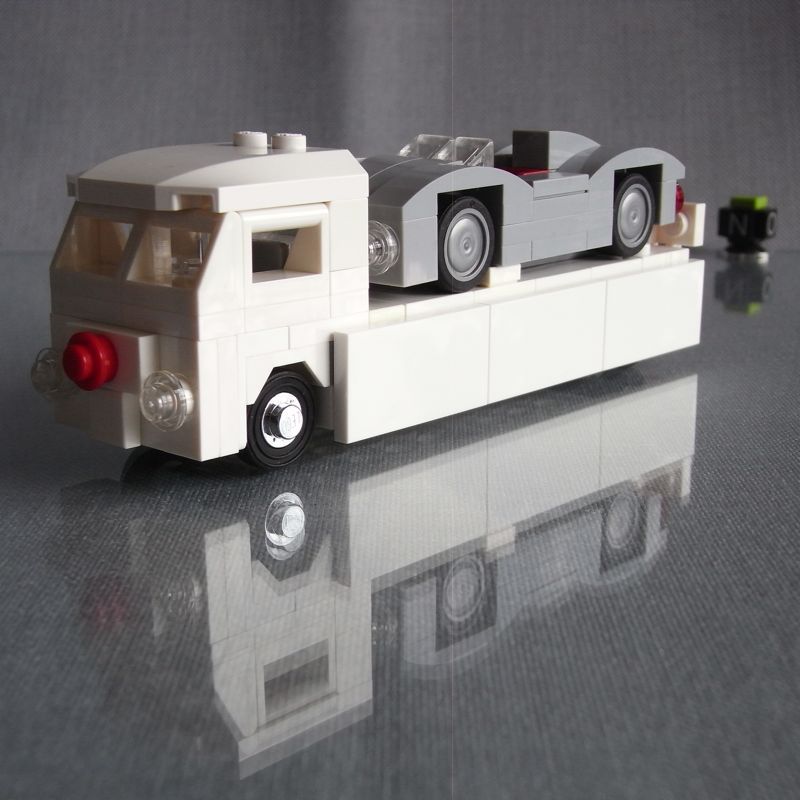
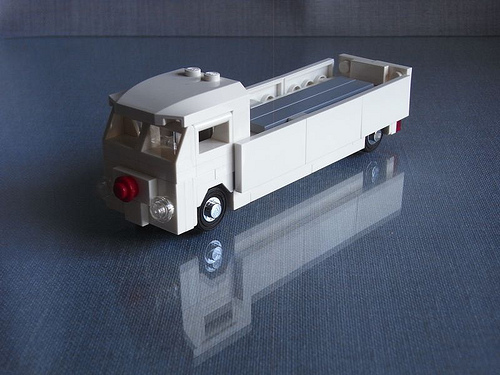
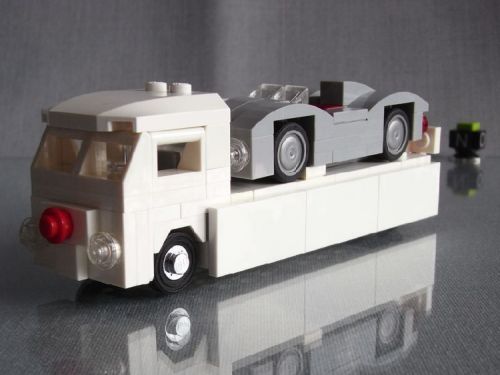
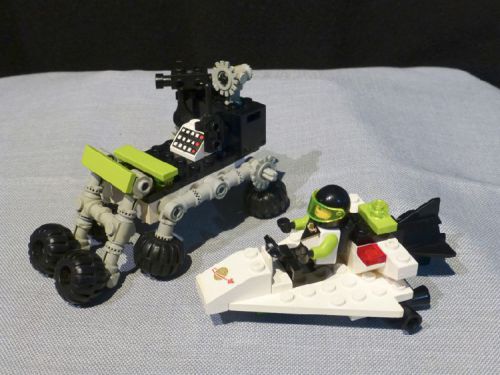 Another small scooter and an analysis and storage platform.
Parts count, the easy way:
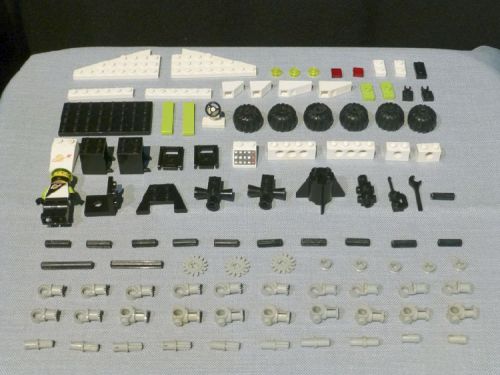 10 x 10 = 100
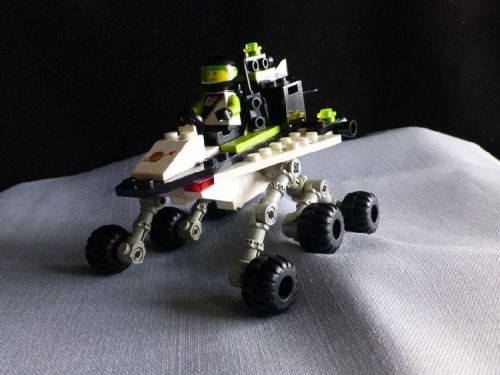 This is my entry for the 2013 Classic Space Pocket Money Contest, the 6855 Limeuron Exploration Rover with Rocker-Bogie suspension. I hope you like it :-))
Bonus photos:
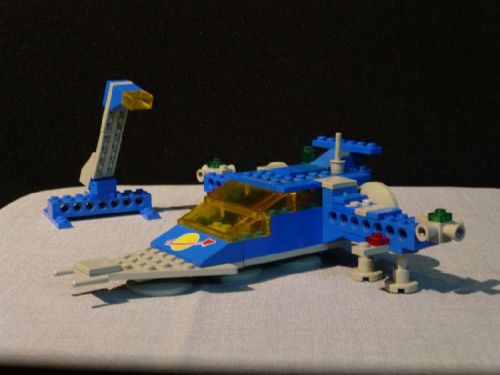
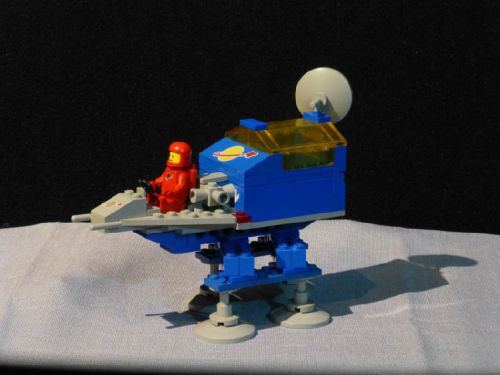
Last minute alternative: A scooter/rover and a cargo rocket
 Scooter mode with landing gear.
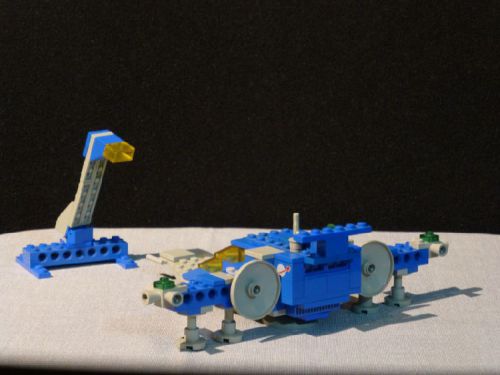
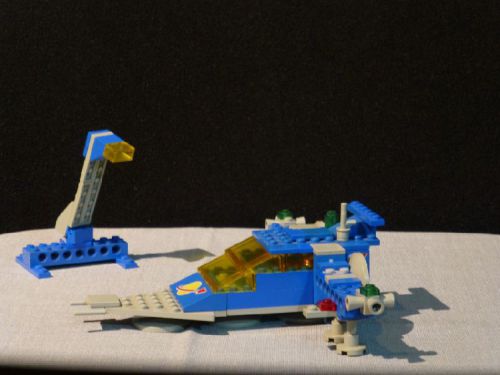
 Rover mode with suspension and balloon tires.
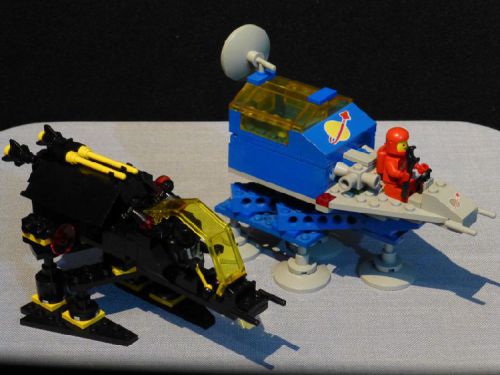
CSPMC meeting:
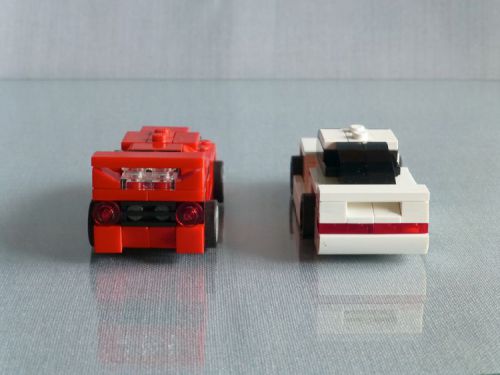
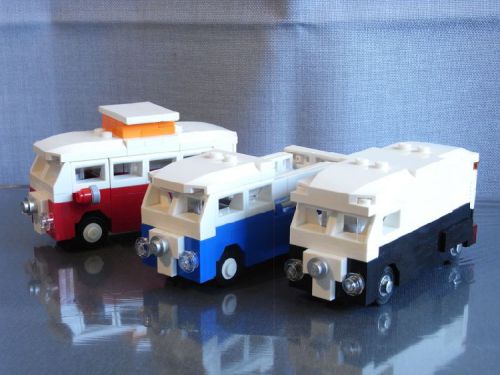
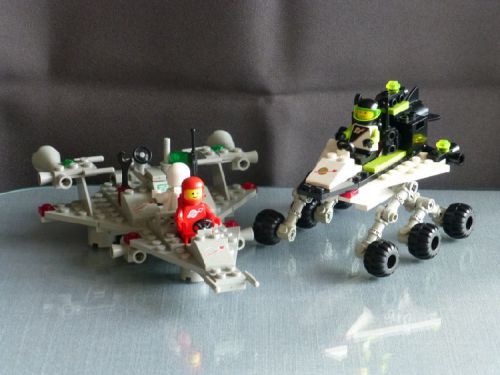 2012 (1979) meets 2013 (1984).

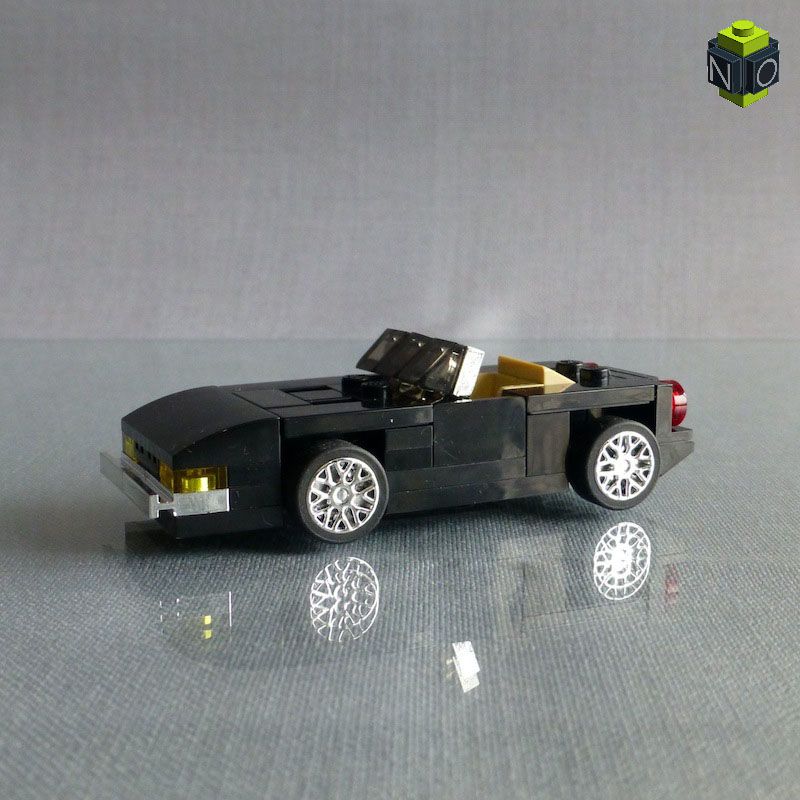
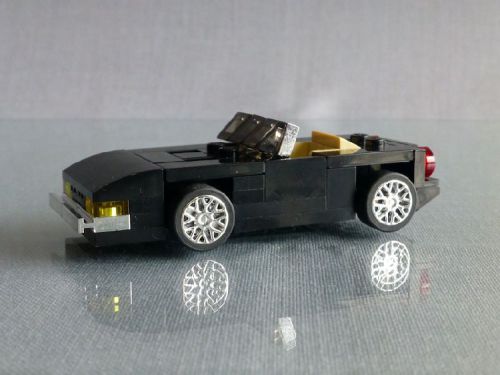
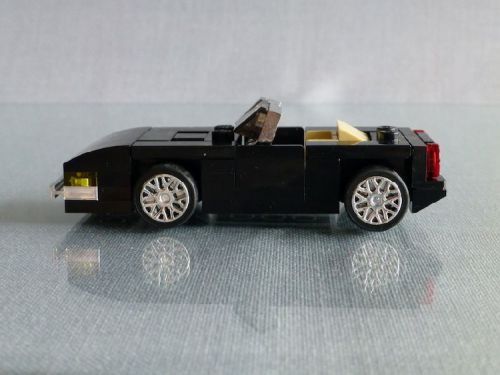
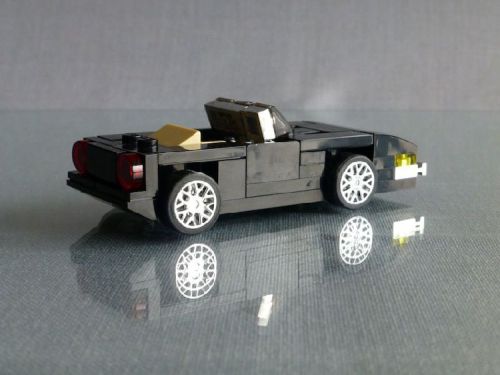
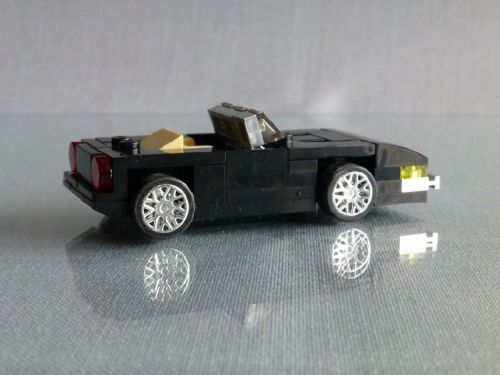
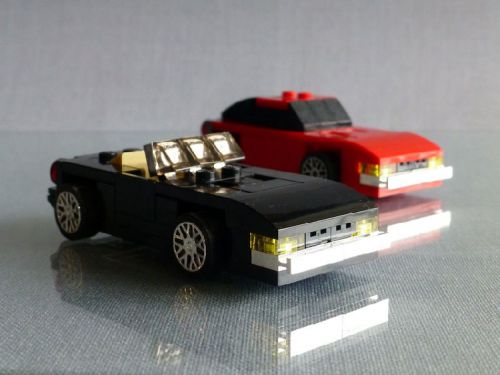
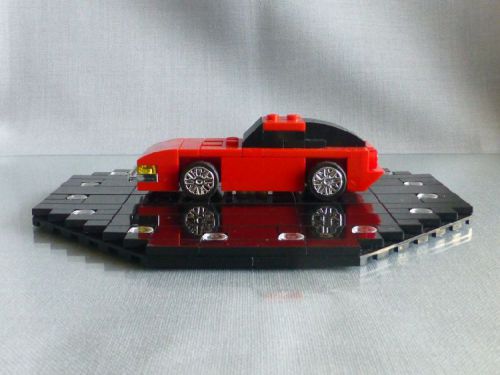
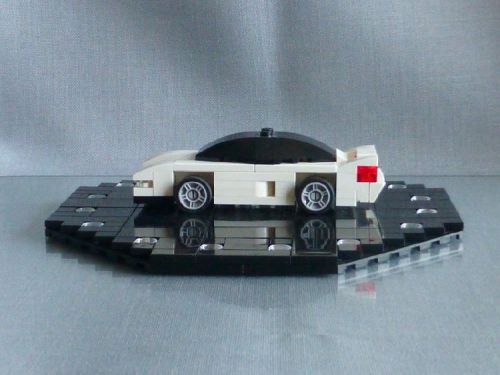
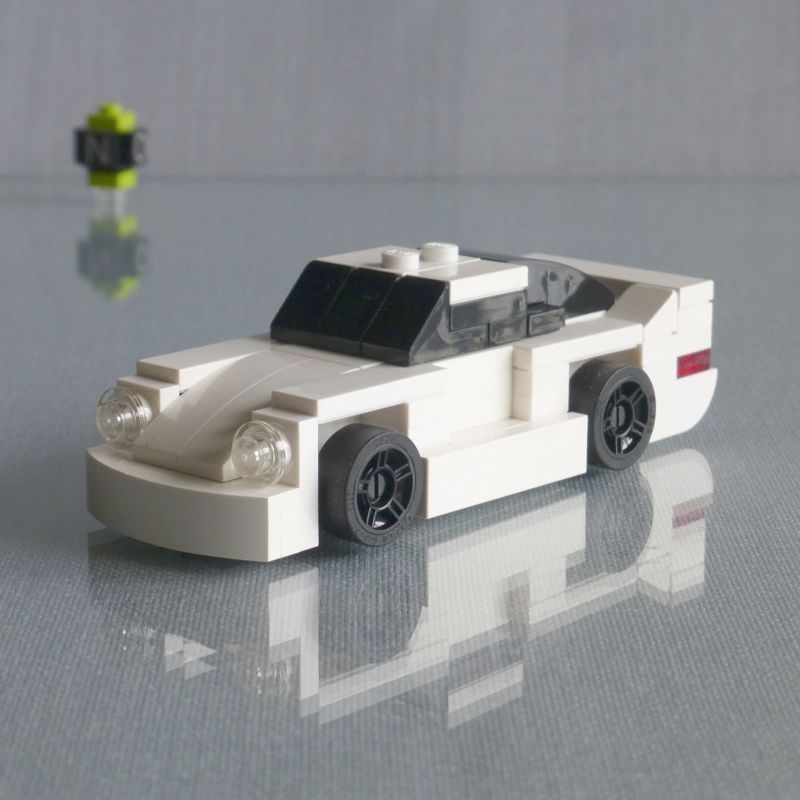
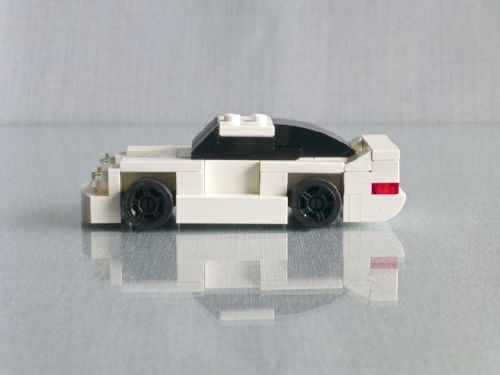
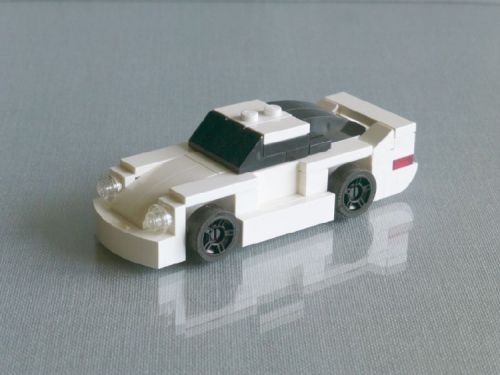
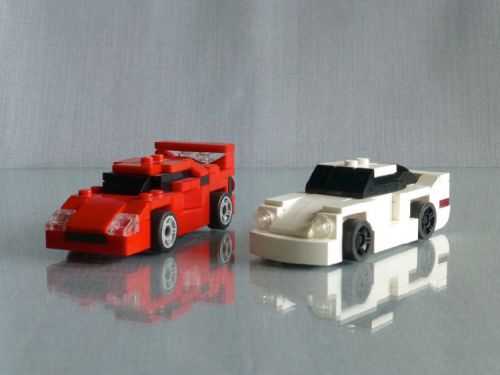
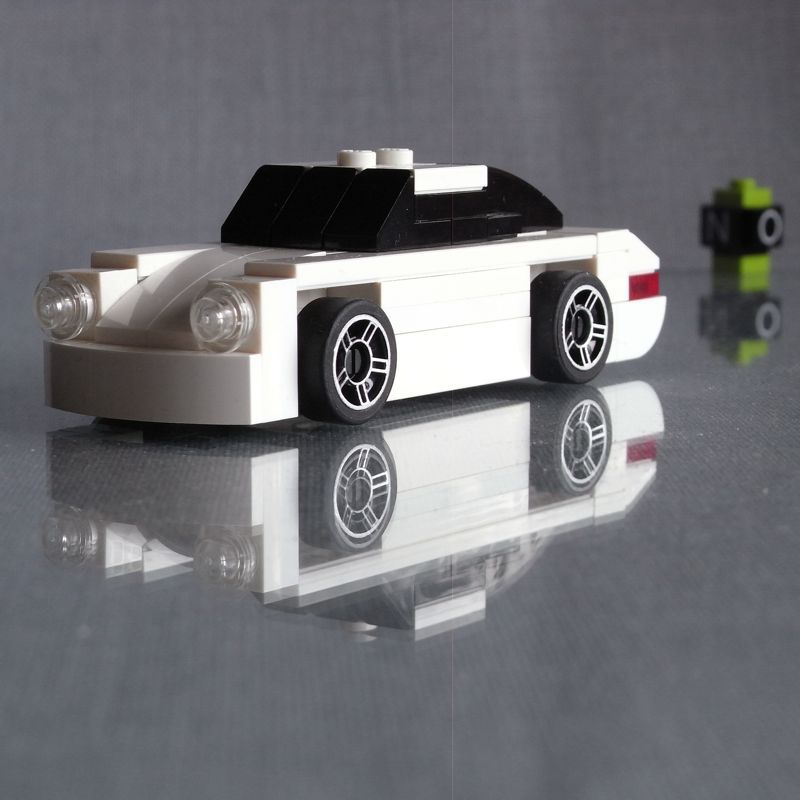
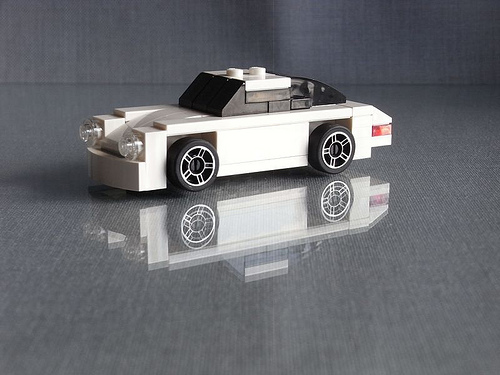
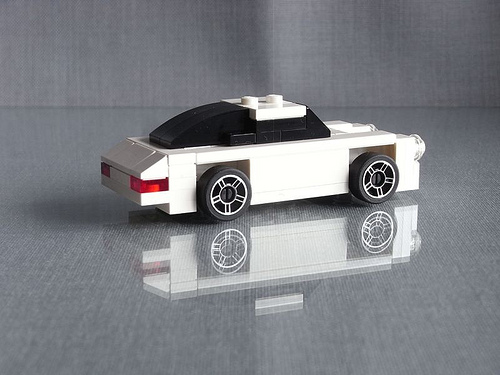
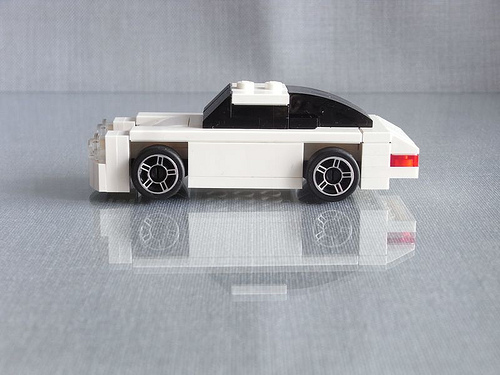
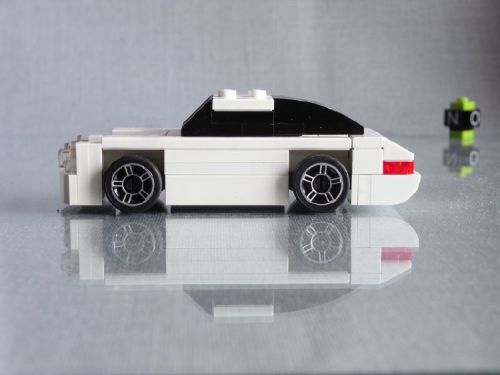
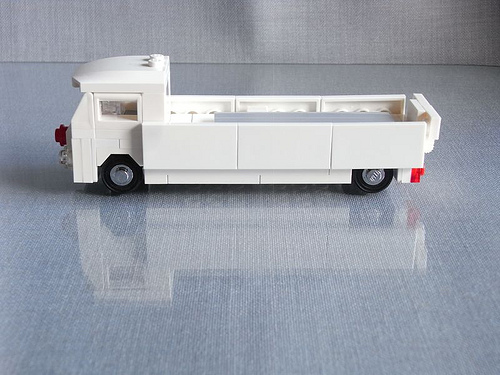
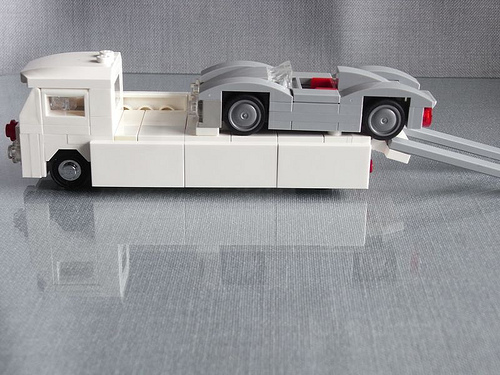
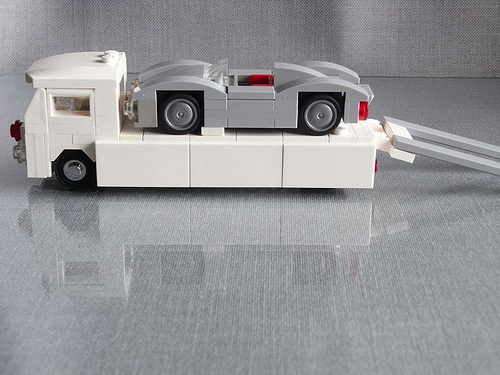
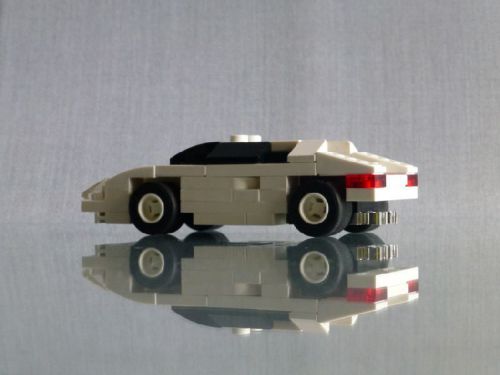
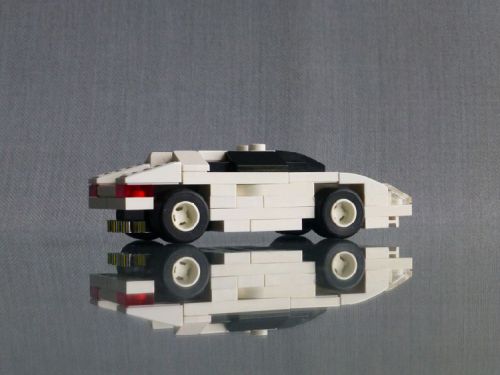
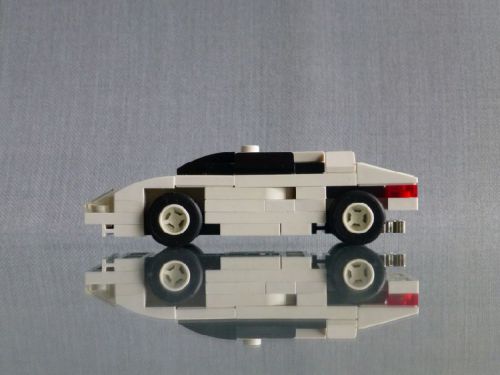 The new side view. The complete roof section is 1 plate flatter and 1 stud shorter, now. I also came back to the rims with smaller diameter and thicker tyres which are closer to the original. Credits again to Rhys for the air intakes on the side panel.
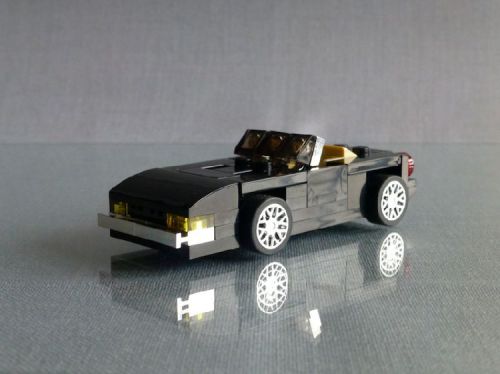
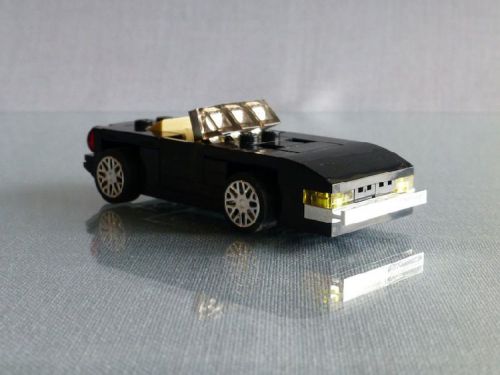
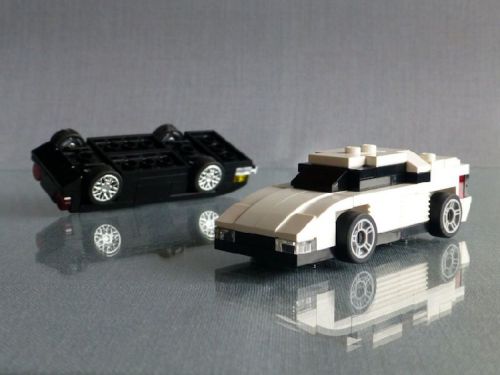
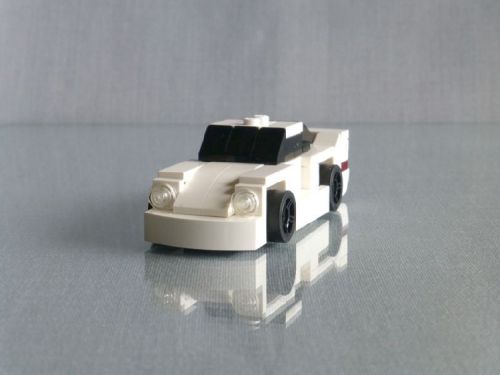
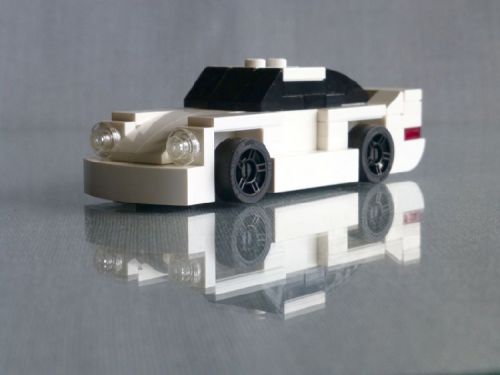
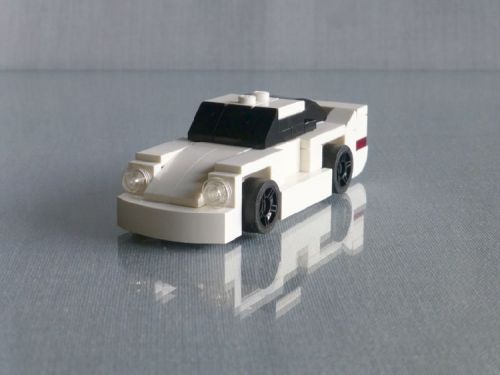
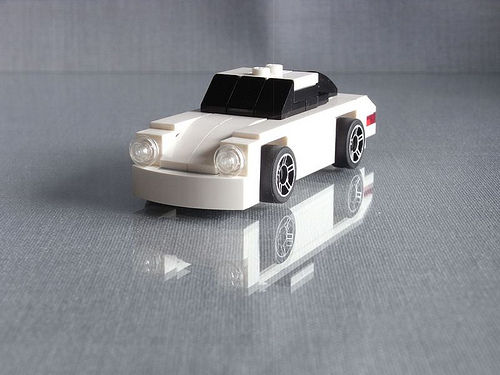
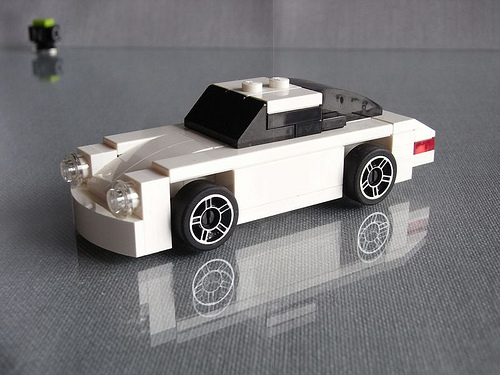
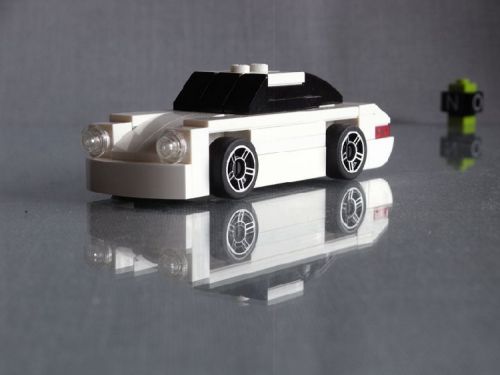
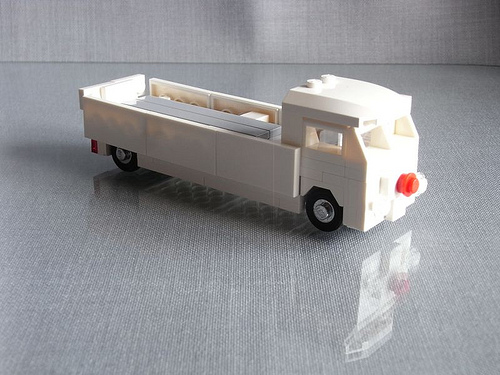
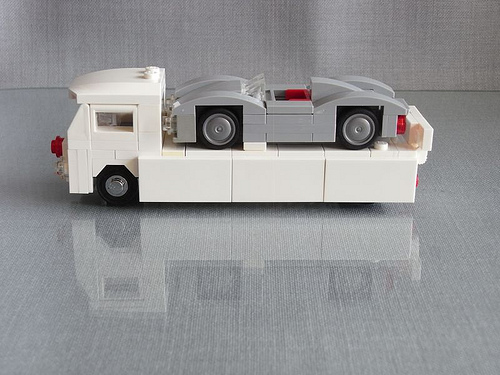
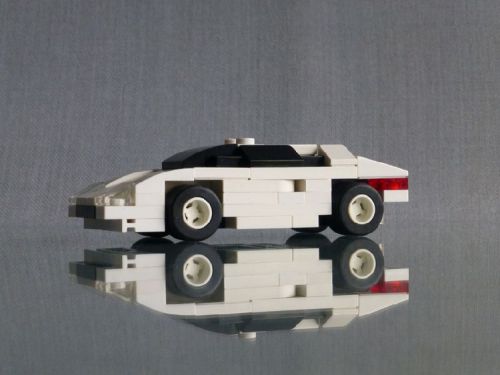
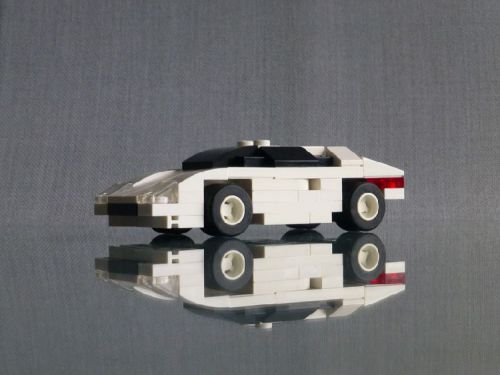
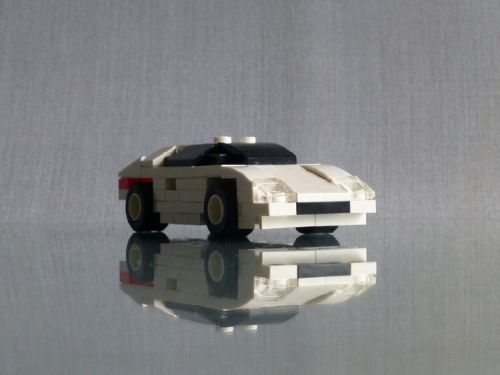 The new front: A slope for the front hood, new wheel arches and a more pointed “nose”. A 2x4x1 slope has replaced the two 1x4x1 slopes after taking the pictures (I just couldn’t wait longer for the Bricklink order…)
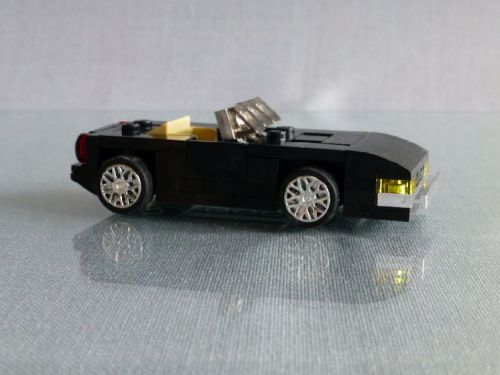
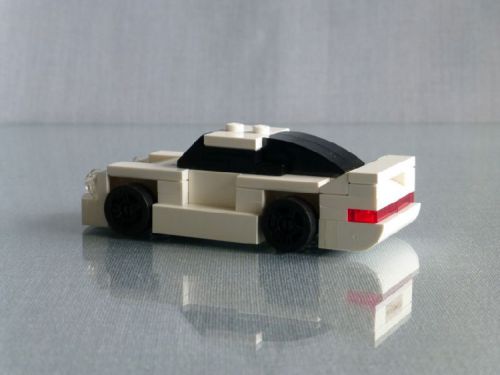
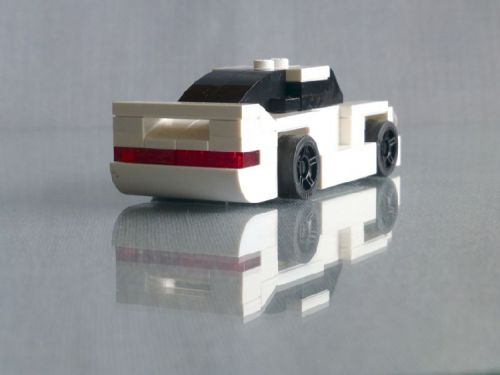
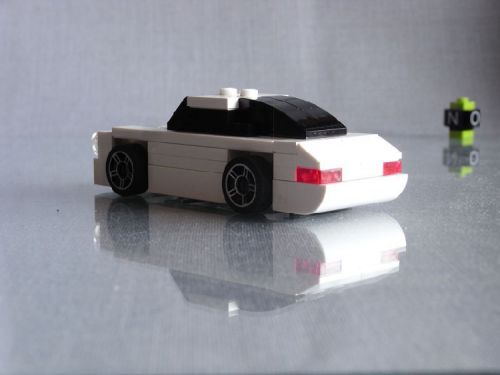
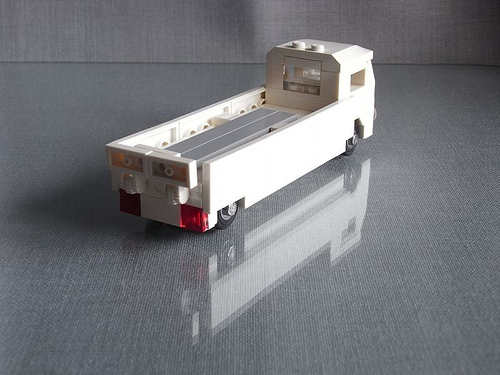
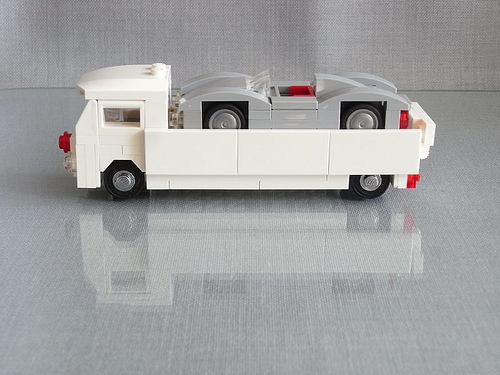
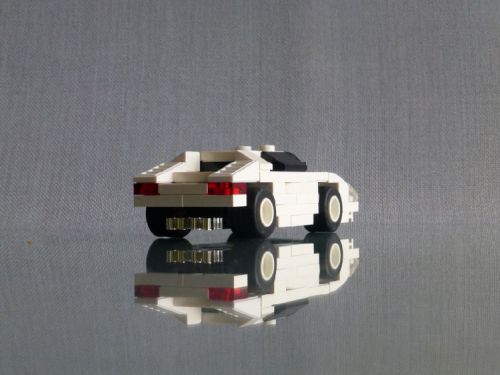
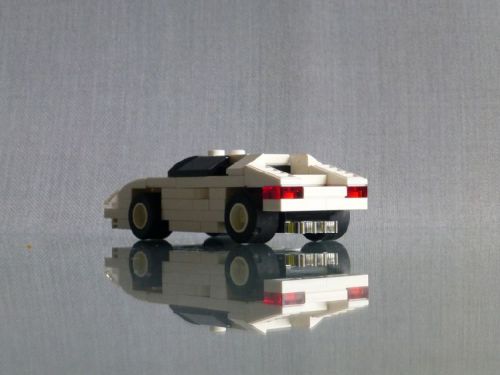 The new rear end: Everything one plate flatter.
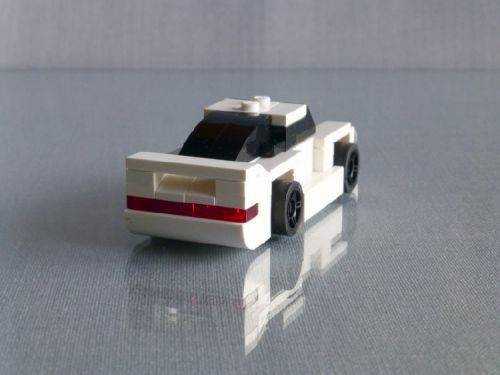
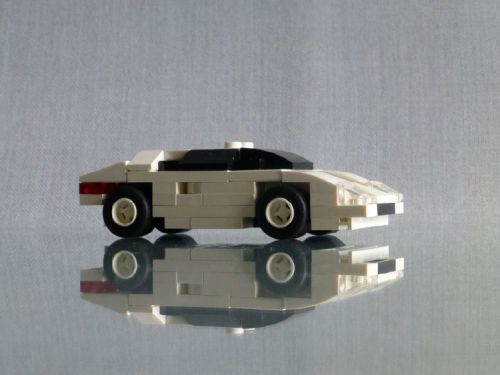


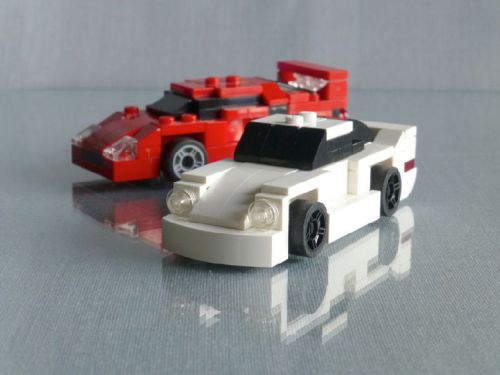
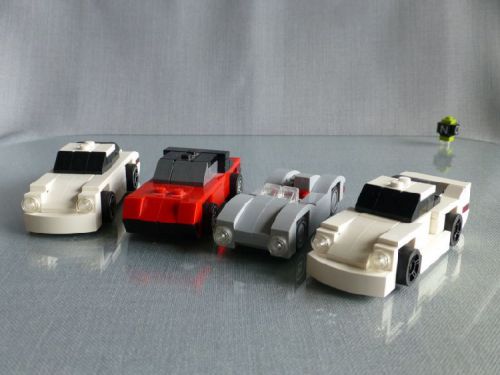
 Compared to the old version in the bottle. There’s quite a difference.
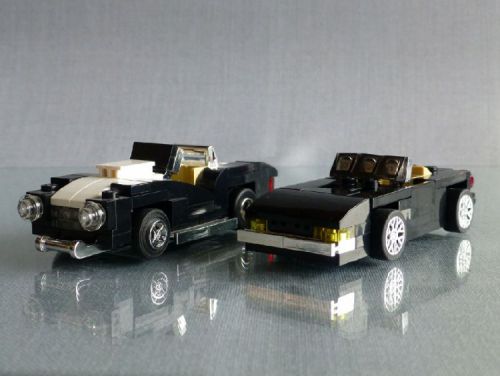
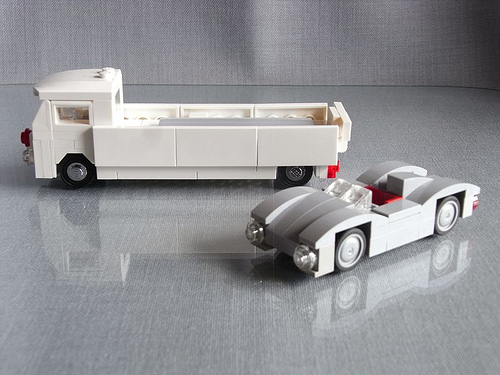
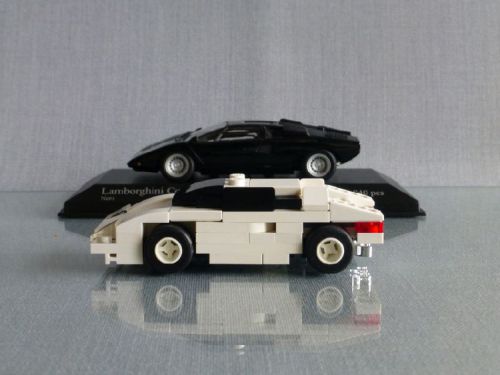 And compared to the “original”, a 1/43 scale model.
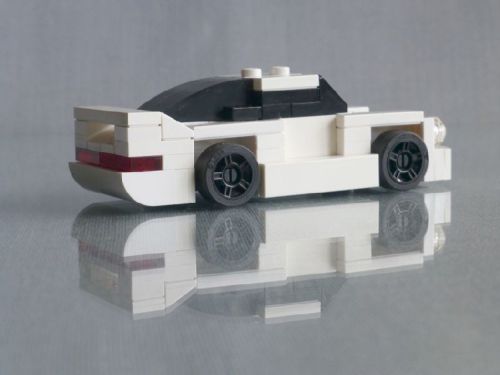
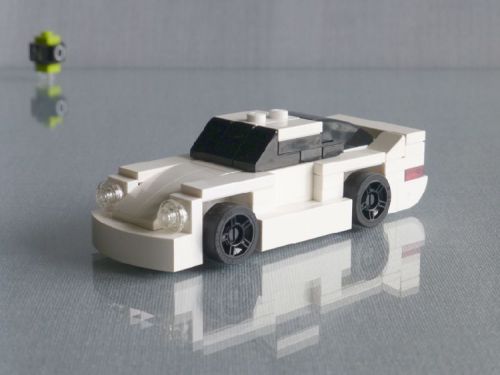
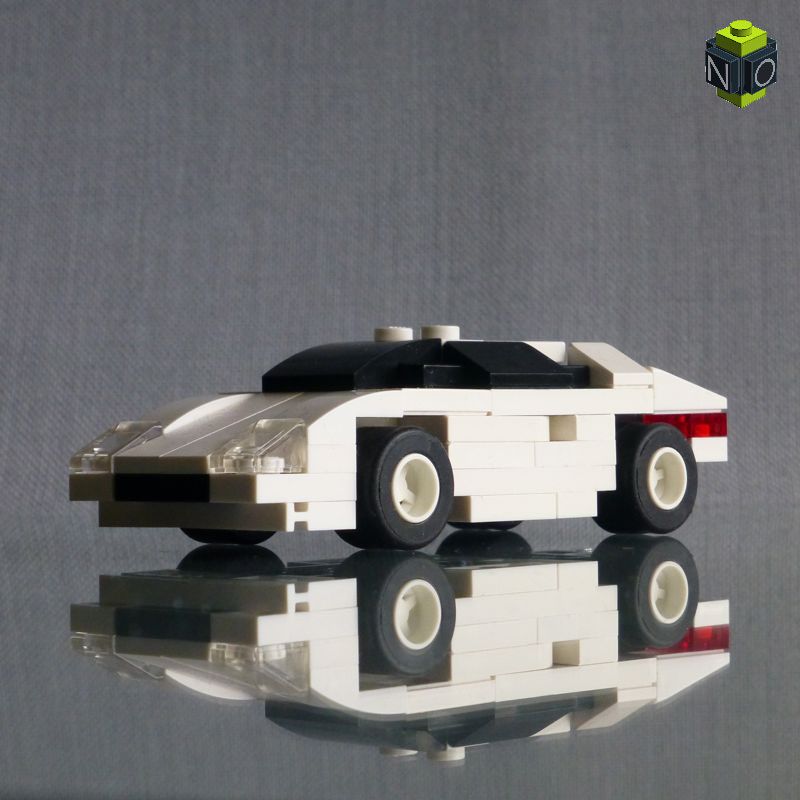
 So this is my new 4-wide Lego Lamborghini Countach LP400. I hope you like it as much as I do :-))