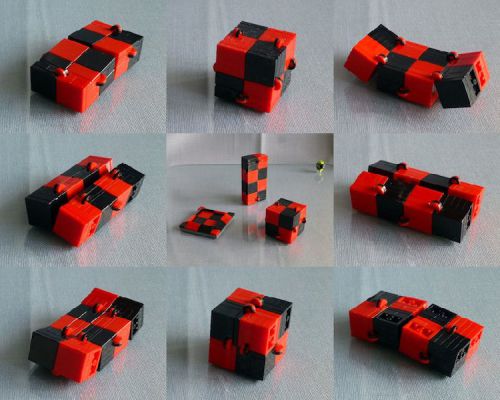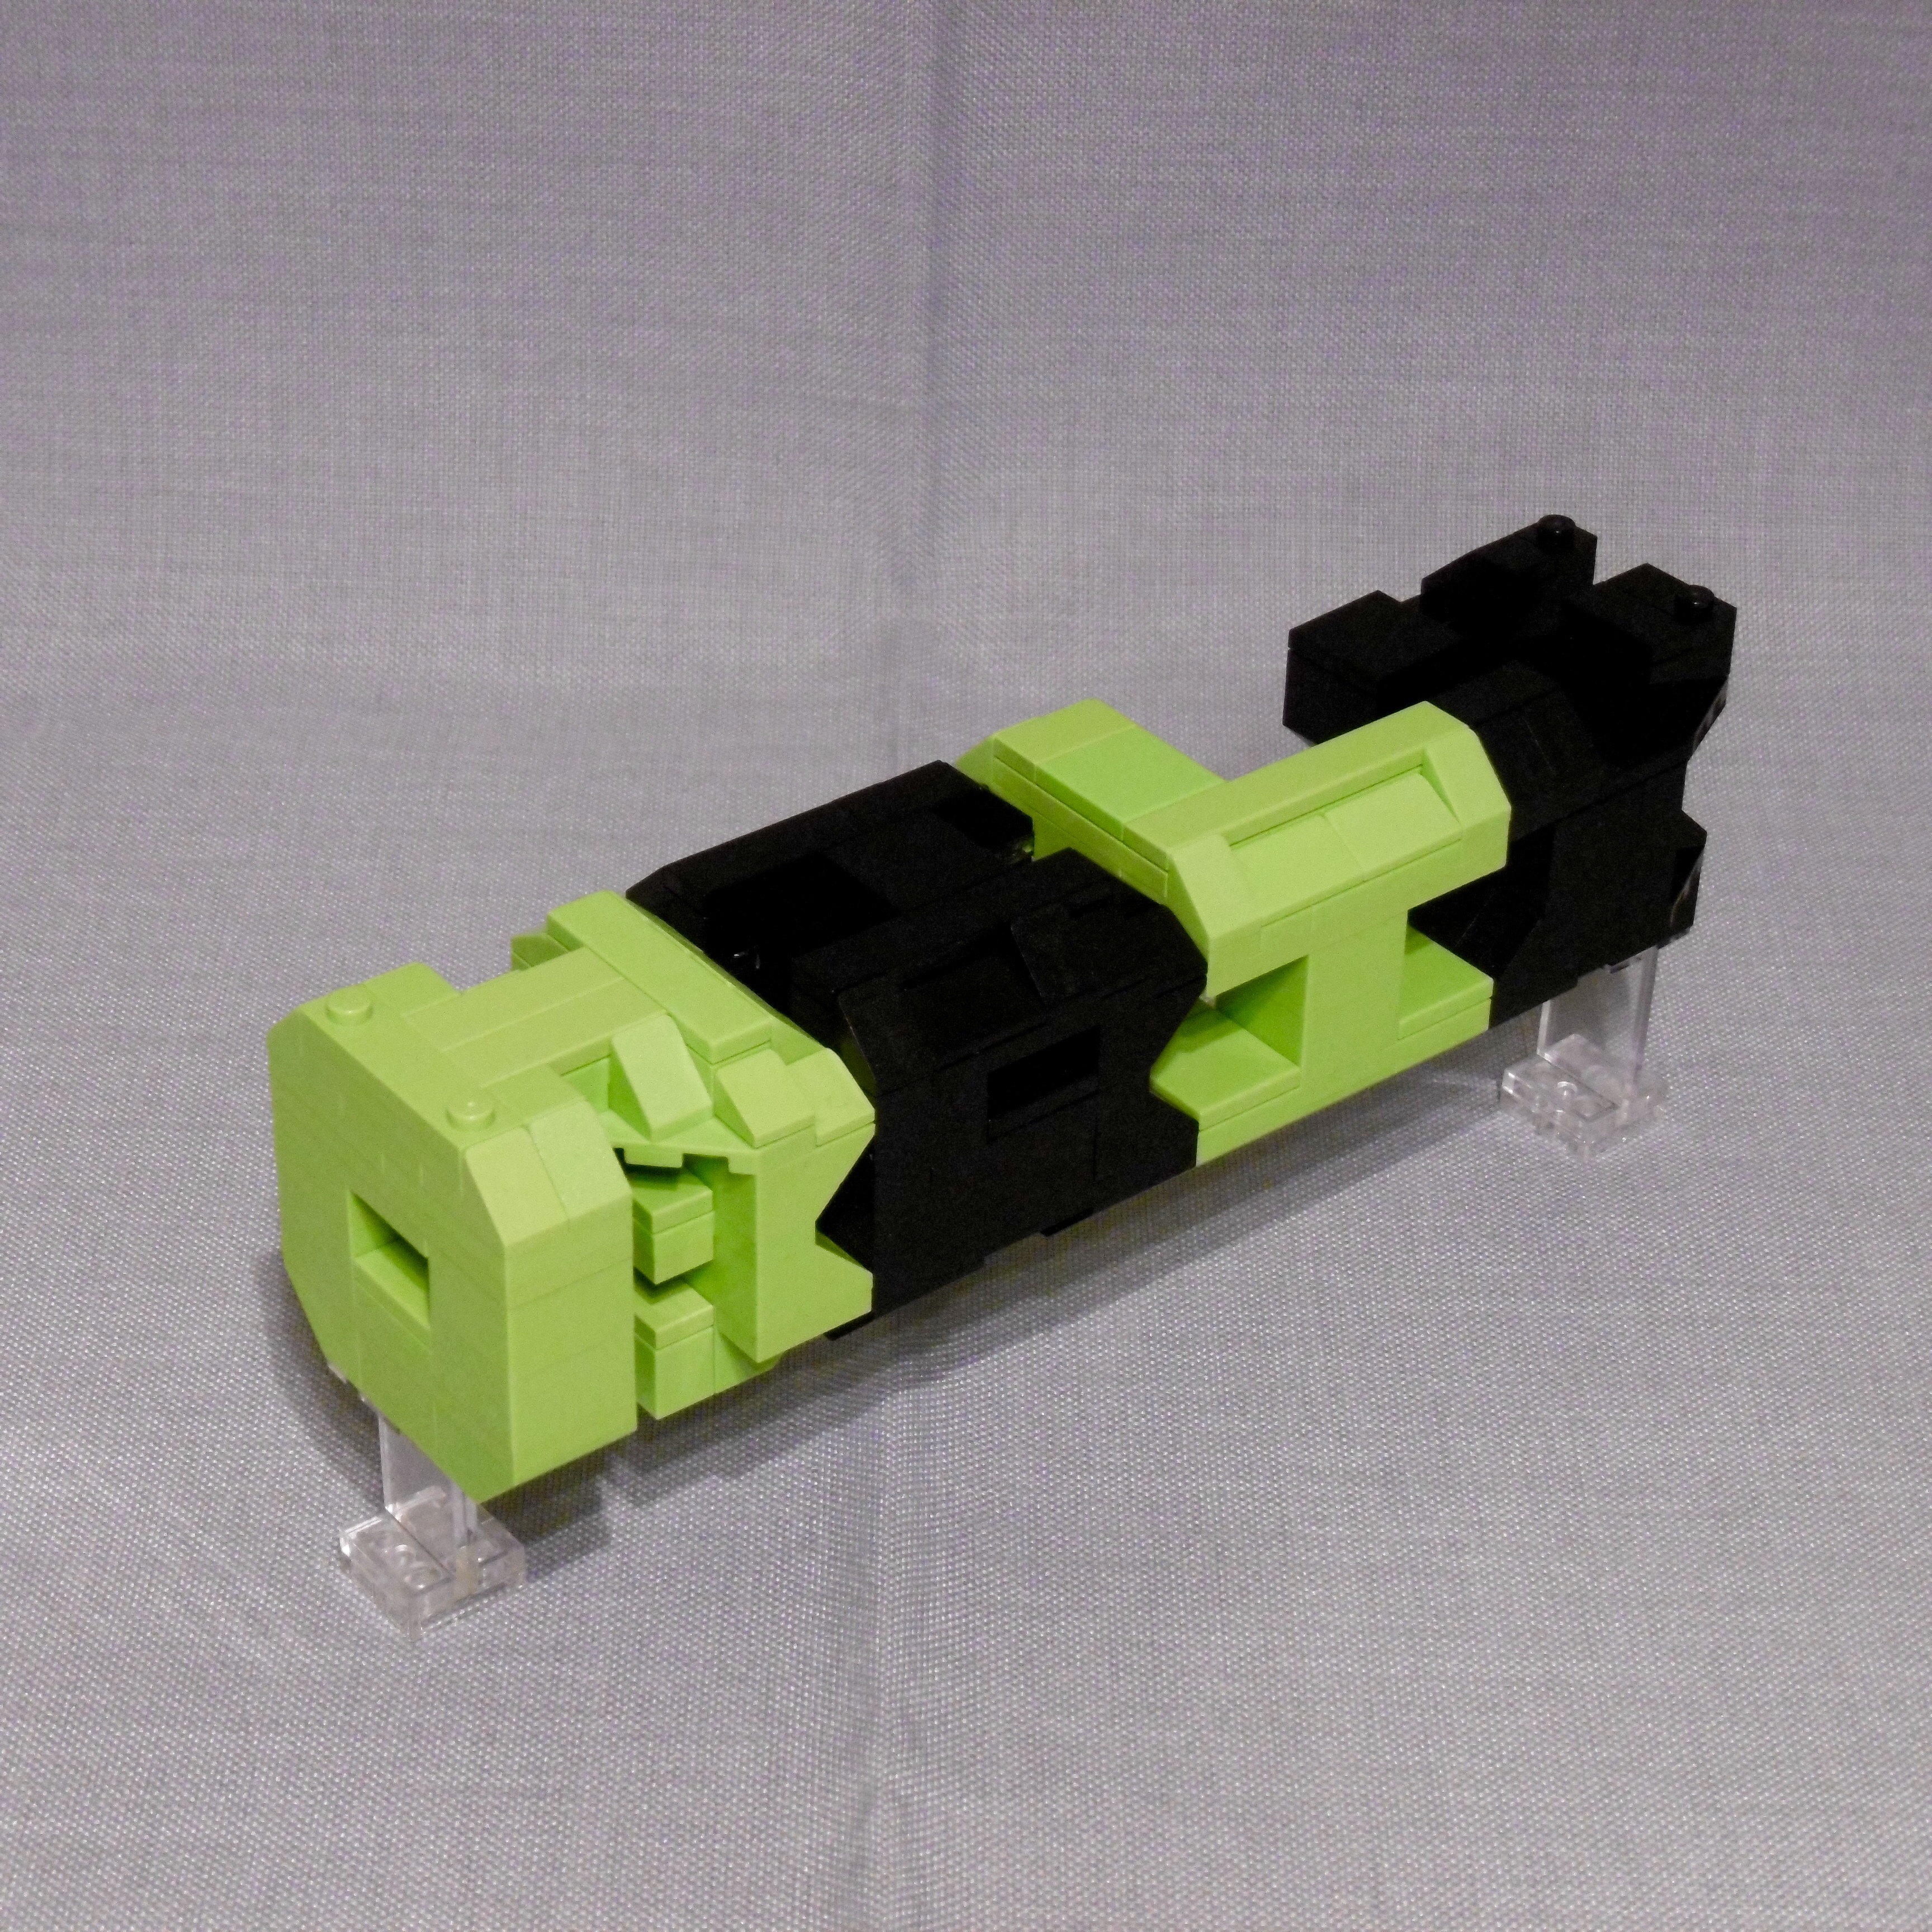
A 3D ambigram of the lettering NILS-O-BRIX. Looking at the sculpture from one of the three main views you see the different letterings NILS, O or BRIX.
An ambigram is a lettering or an image that can be viewed from two different points of view (usually by turning the image by a 180 deg). The meaning of the ambigram can be the same or different when viewed from the different points of view.
The most popular ambigrams can probably be found in Dan Brown’s novel Illuminati and the movie with the same name based on the novel.
A 3D ambigram is a special kind of ambigram: It’s a 3D sculpture that has a different meaning when viewed from the three main views (top-front-side).
I’ve been fascinated by these things for a while, but when I read Illuminati for the first time a few months ago I decided to build one myself. I chose to build an ambigram of my “Brick brand” NILSOBRIX divided into the three letterings NILS, O and BRIX
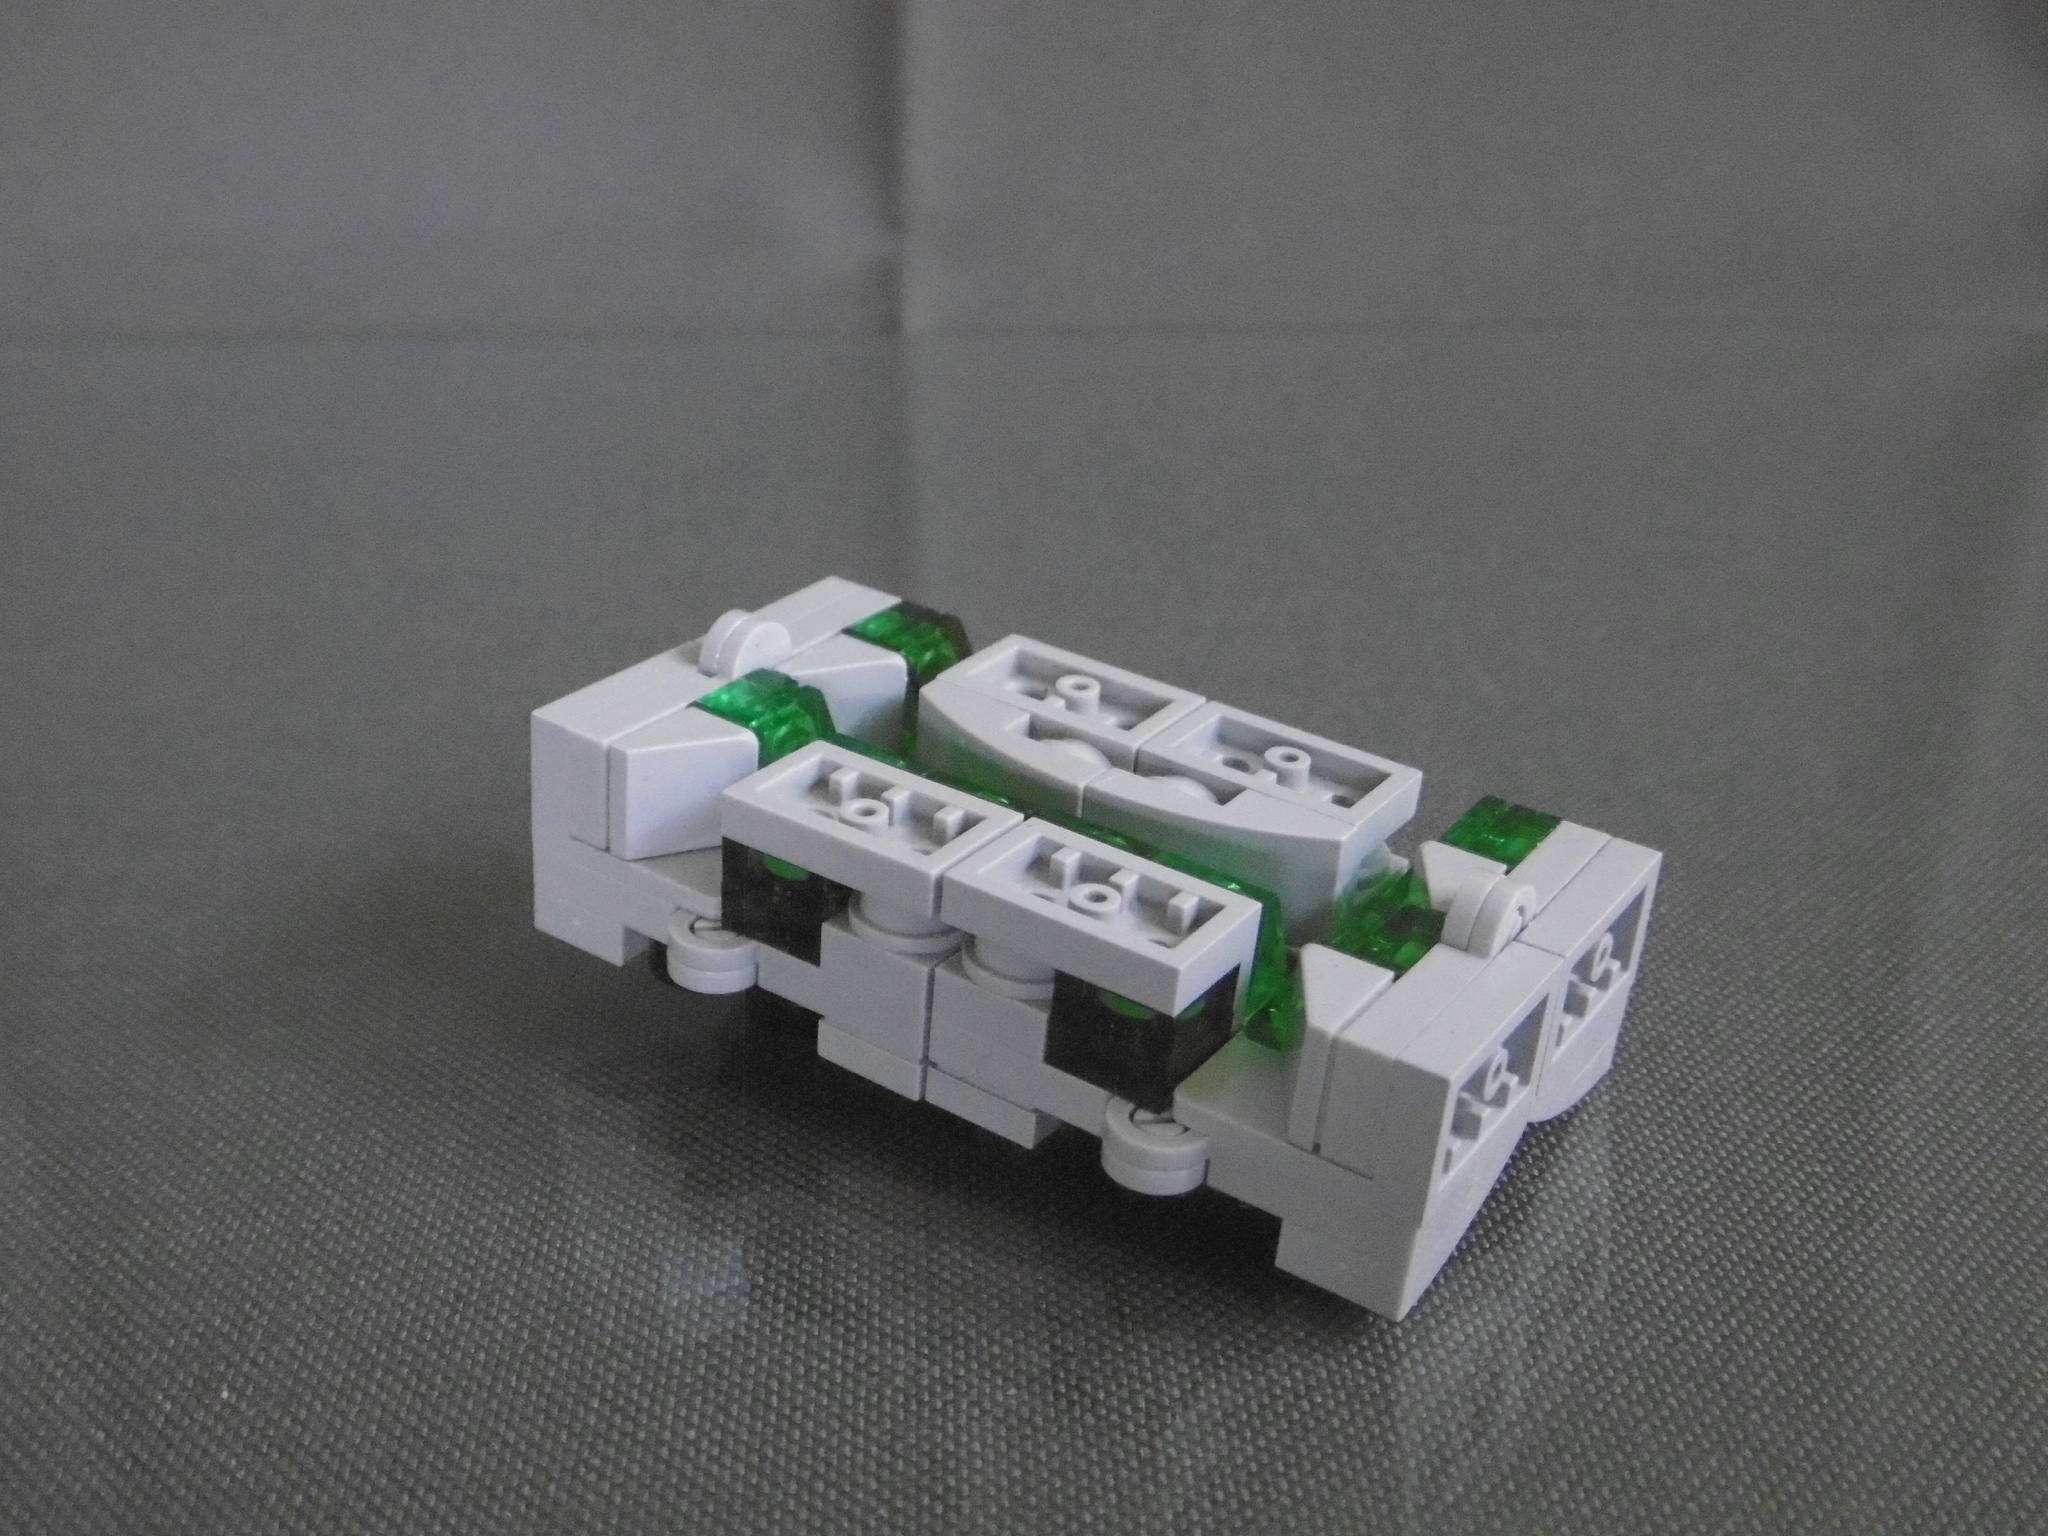
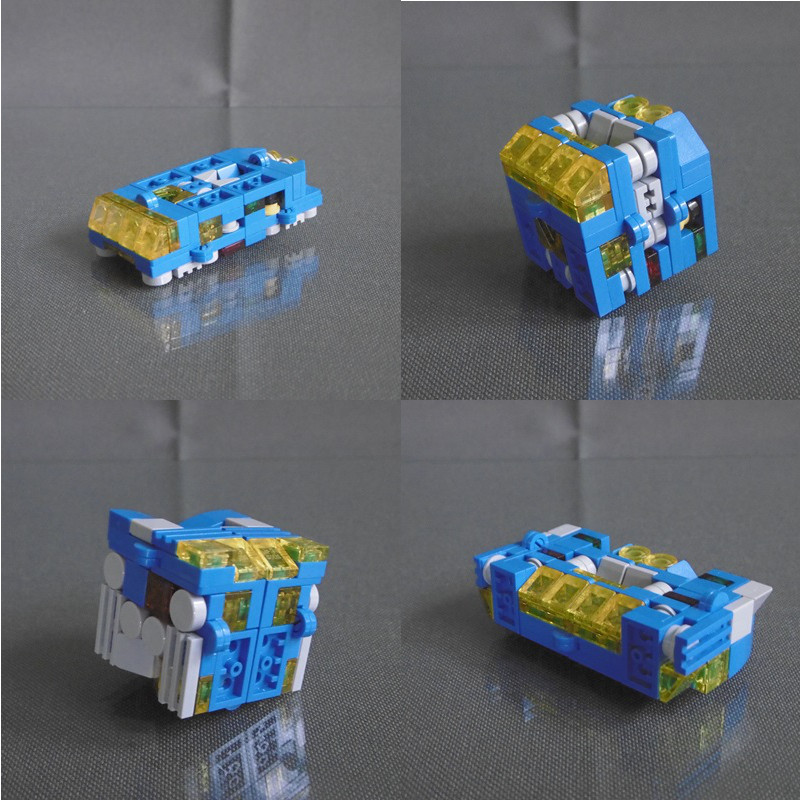
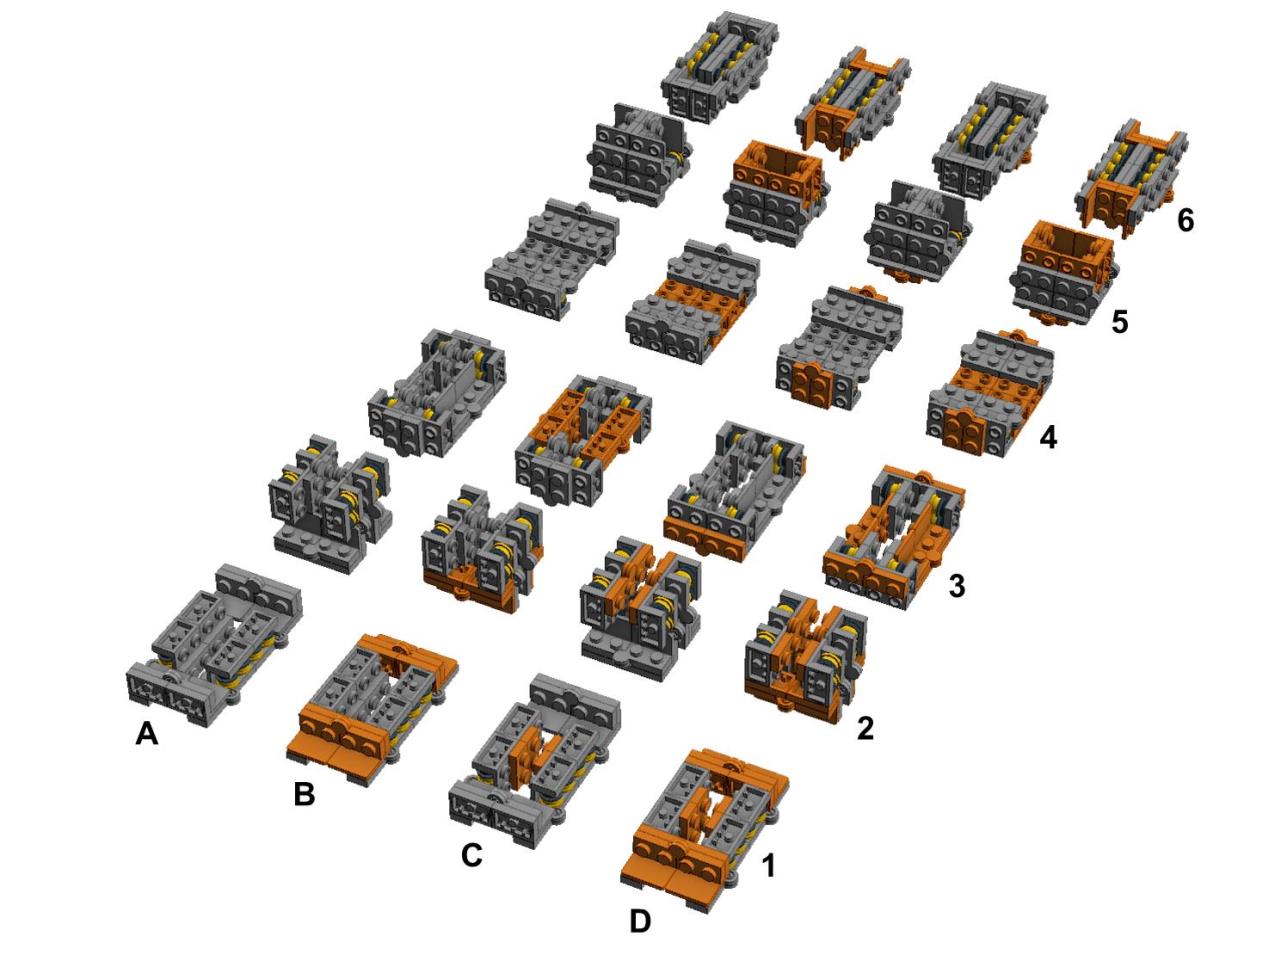
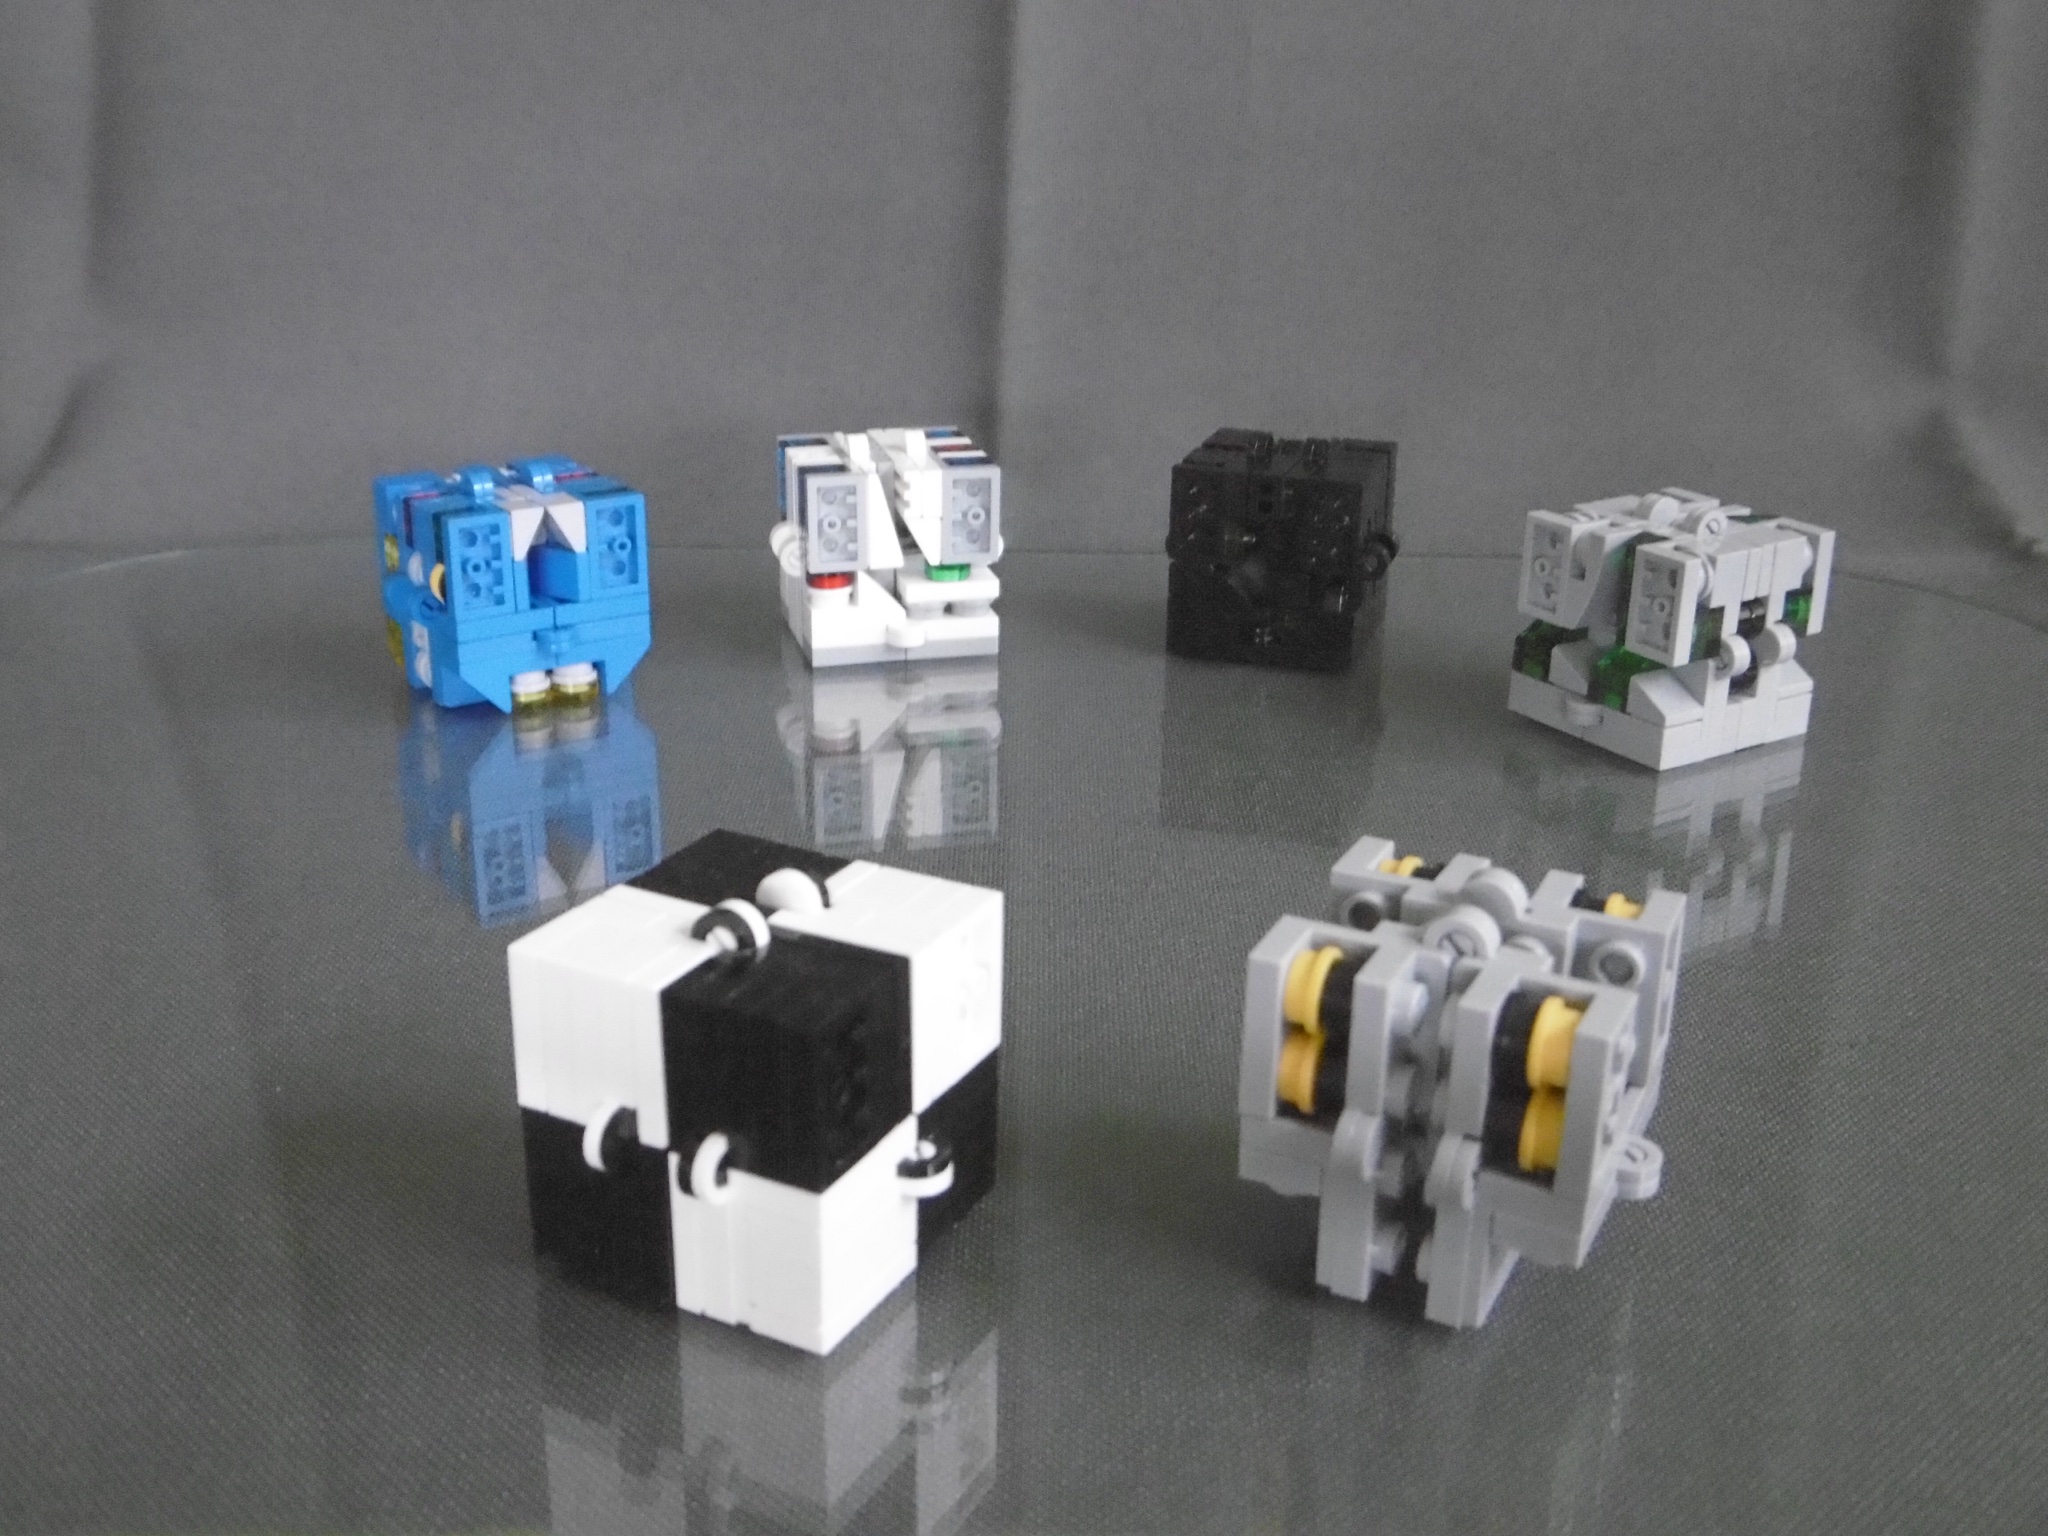
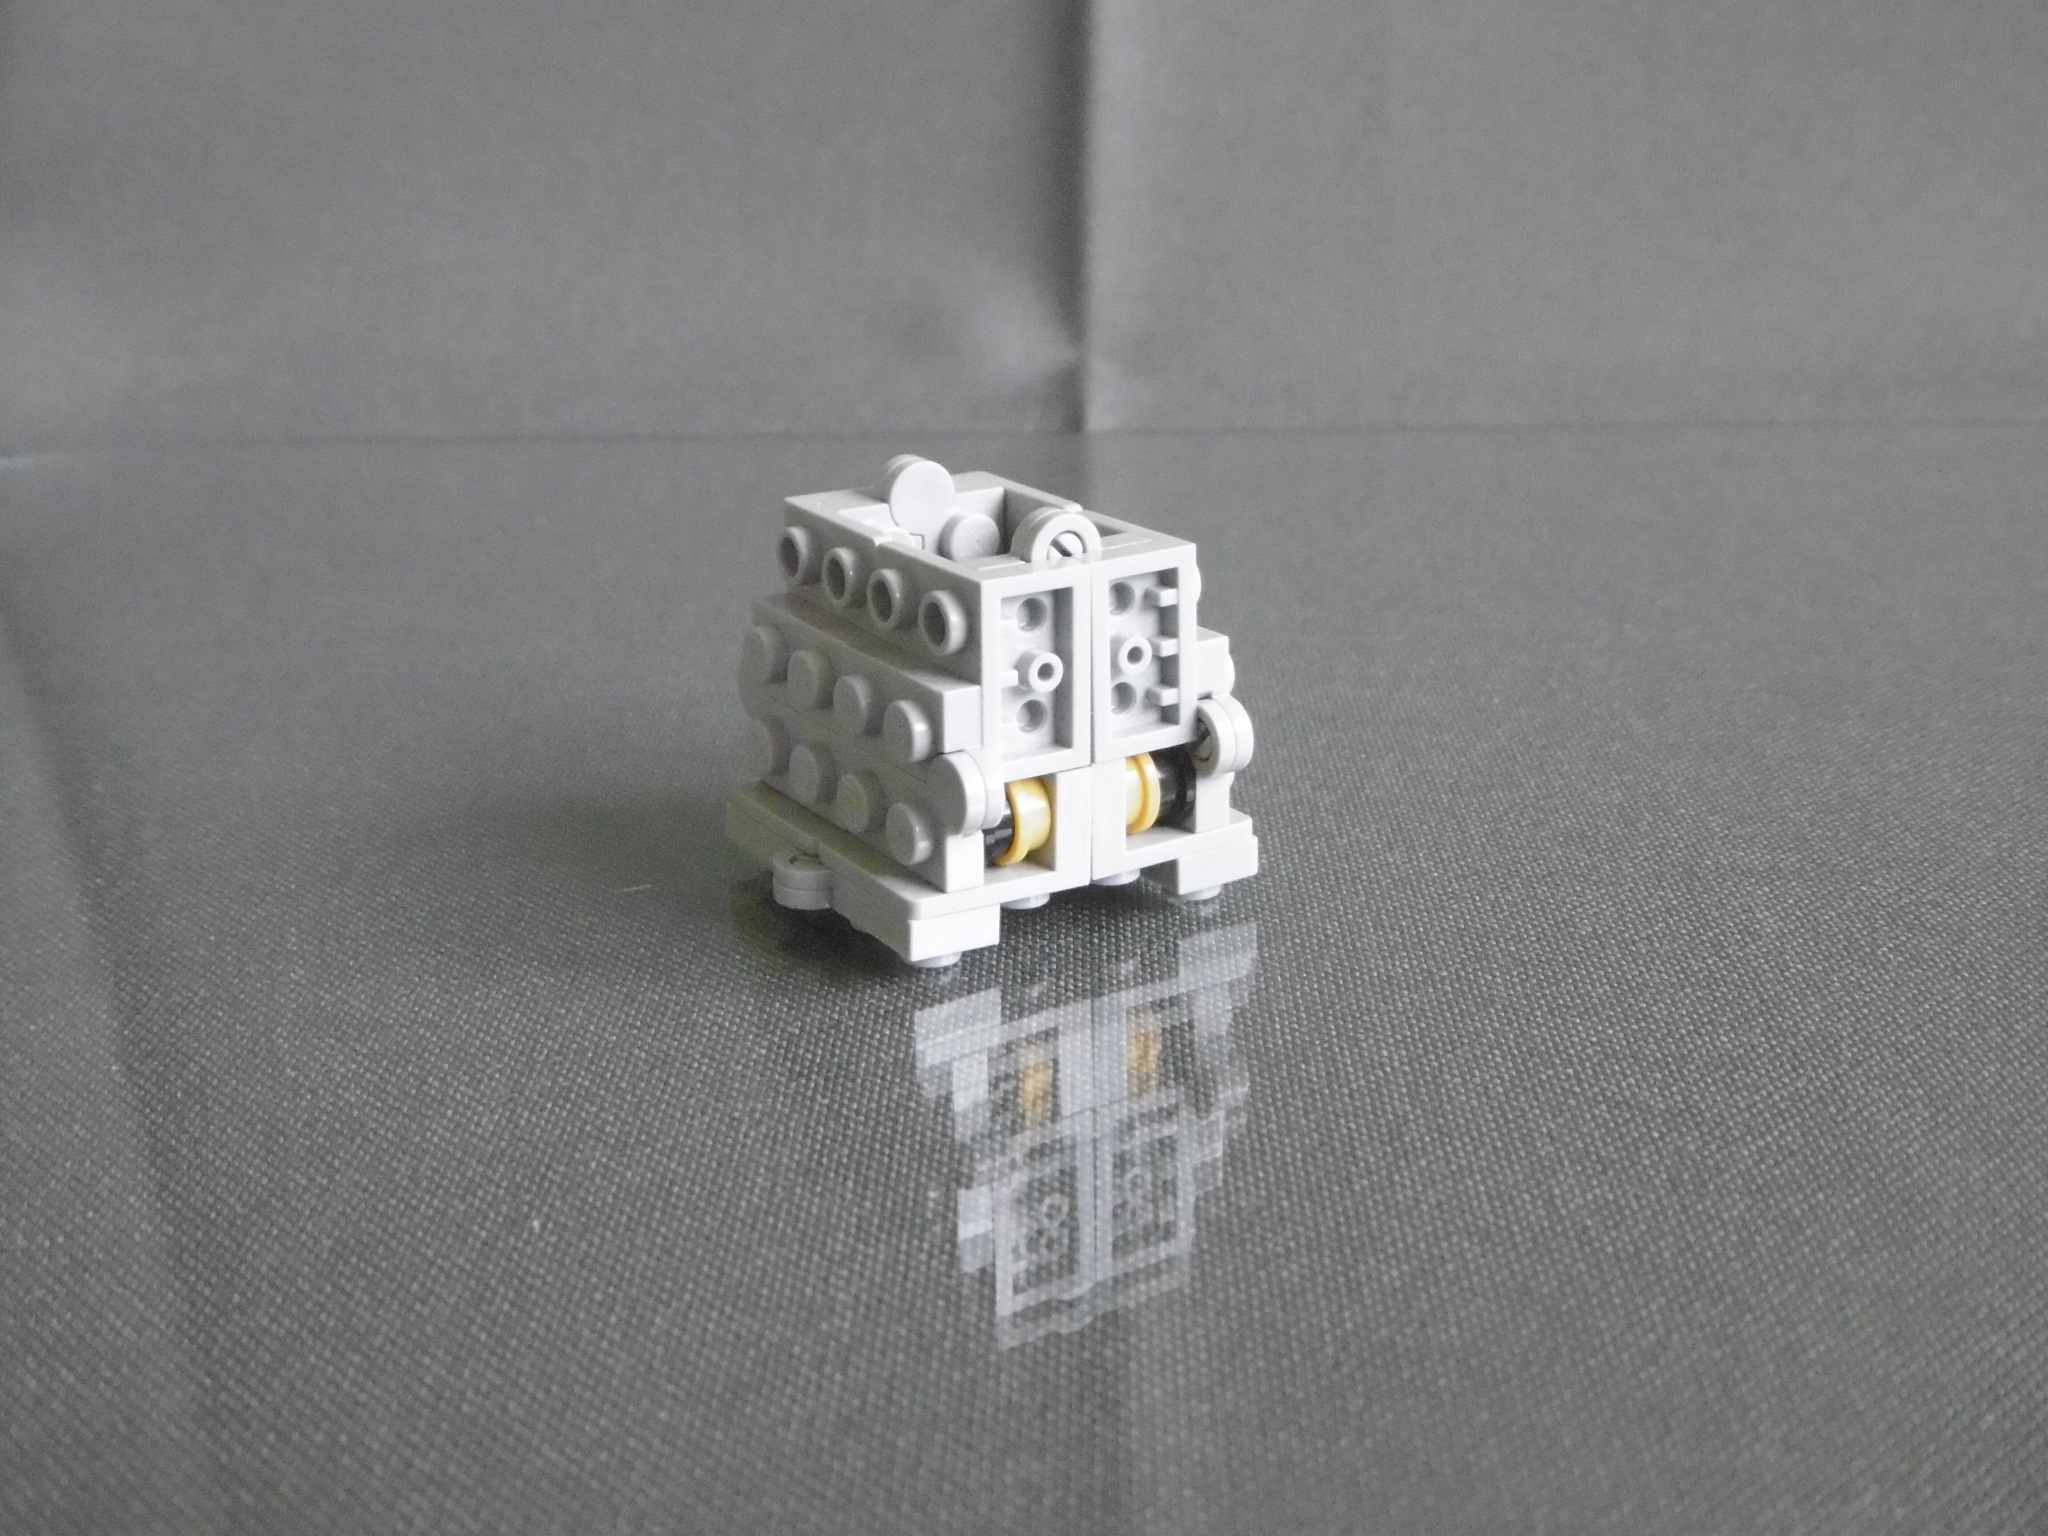
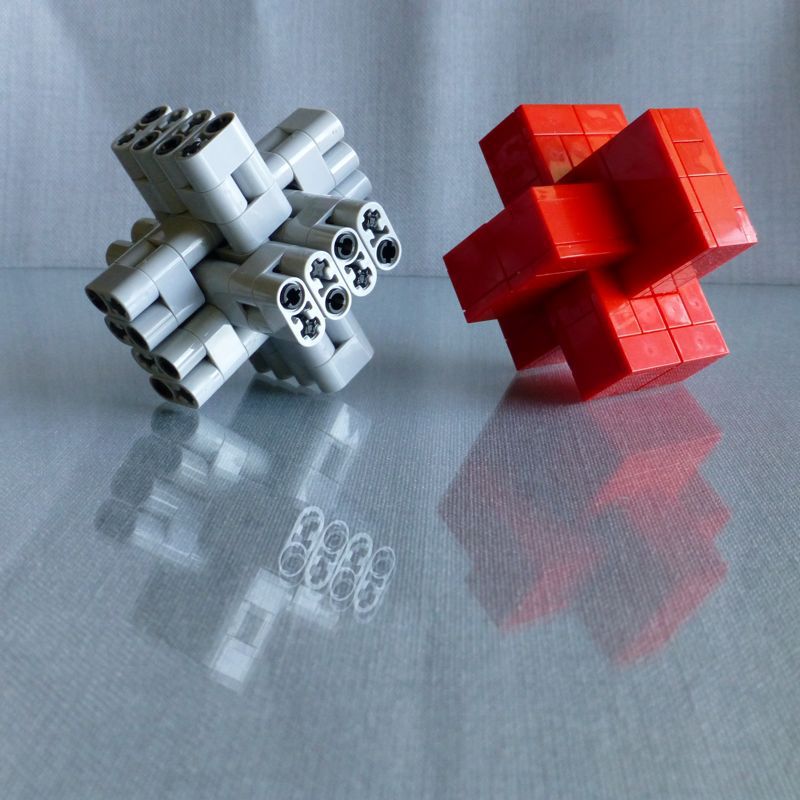
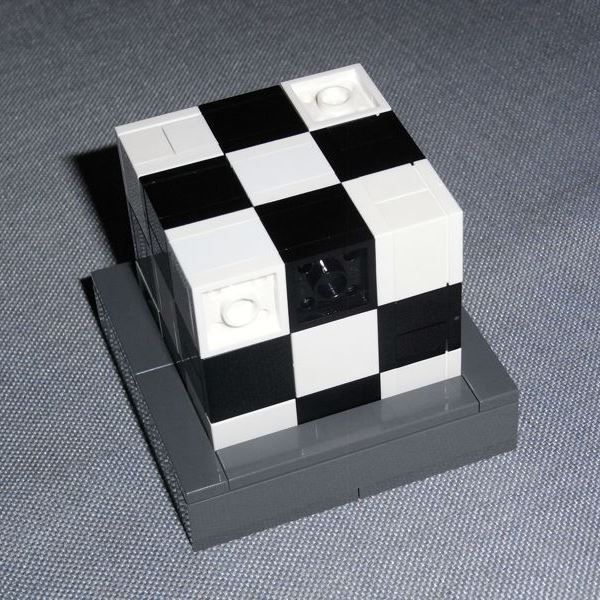
I started with LDD with a design based on four 10x10x8 1/3 cubic blocks. When I finished the design I realized how big that thing really was. So I built a smaller version based on four 6x6x5 cubic blocks.
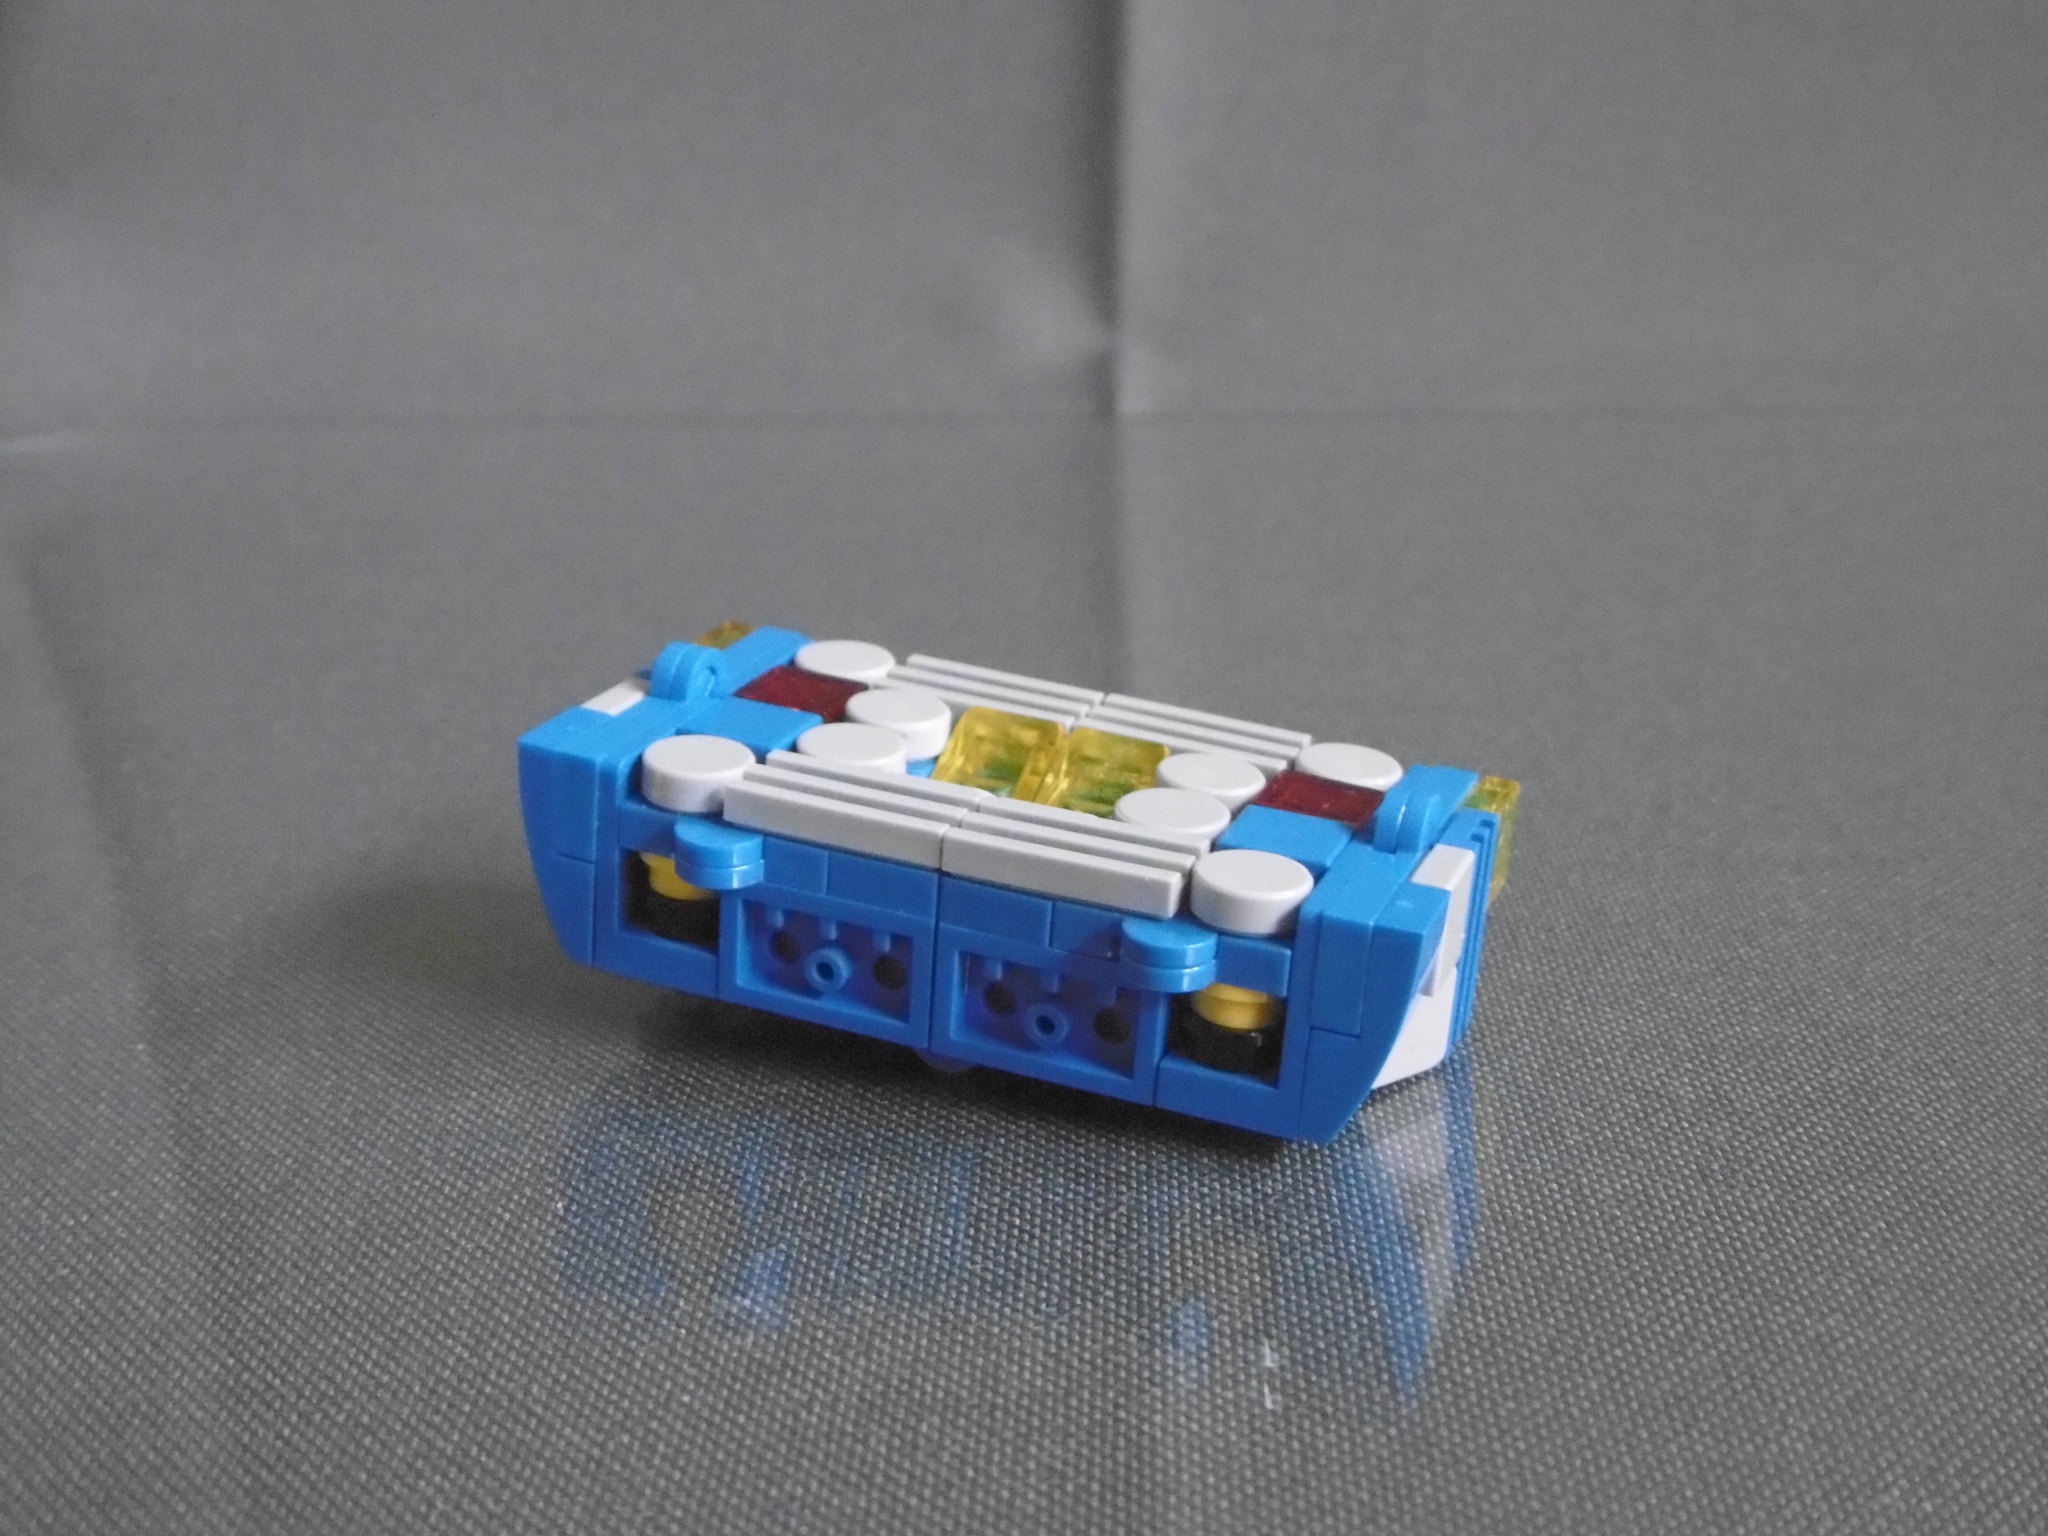
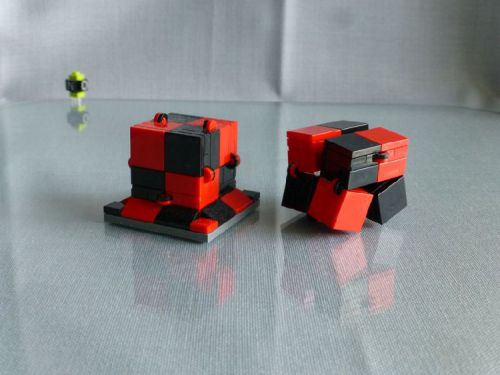
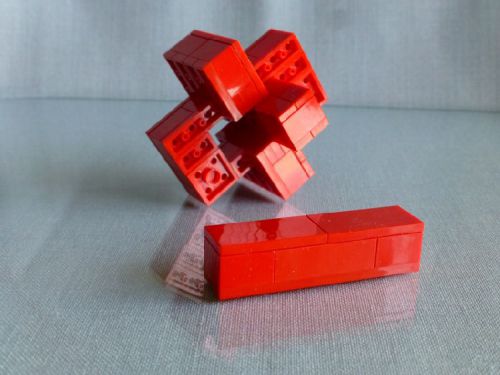
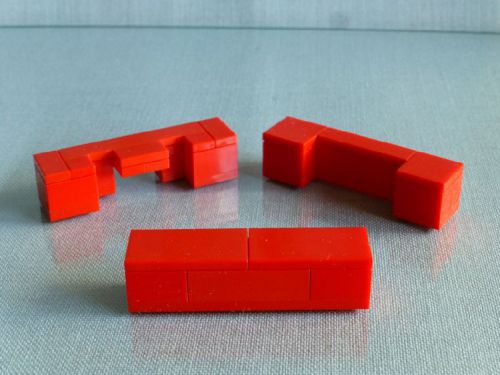
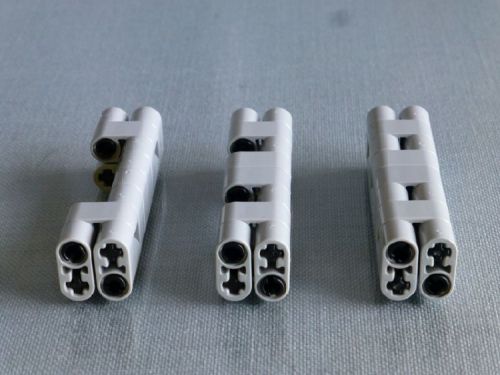
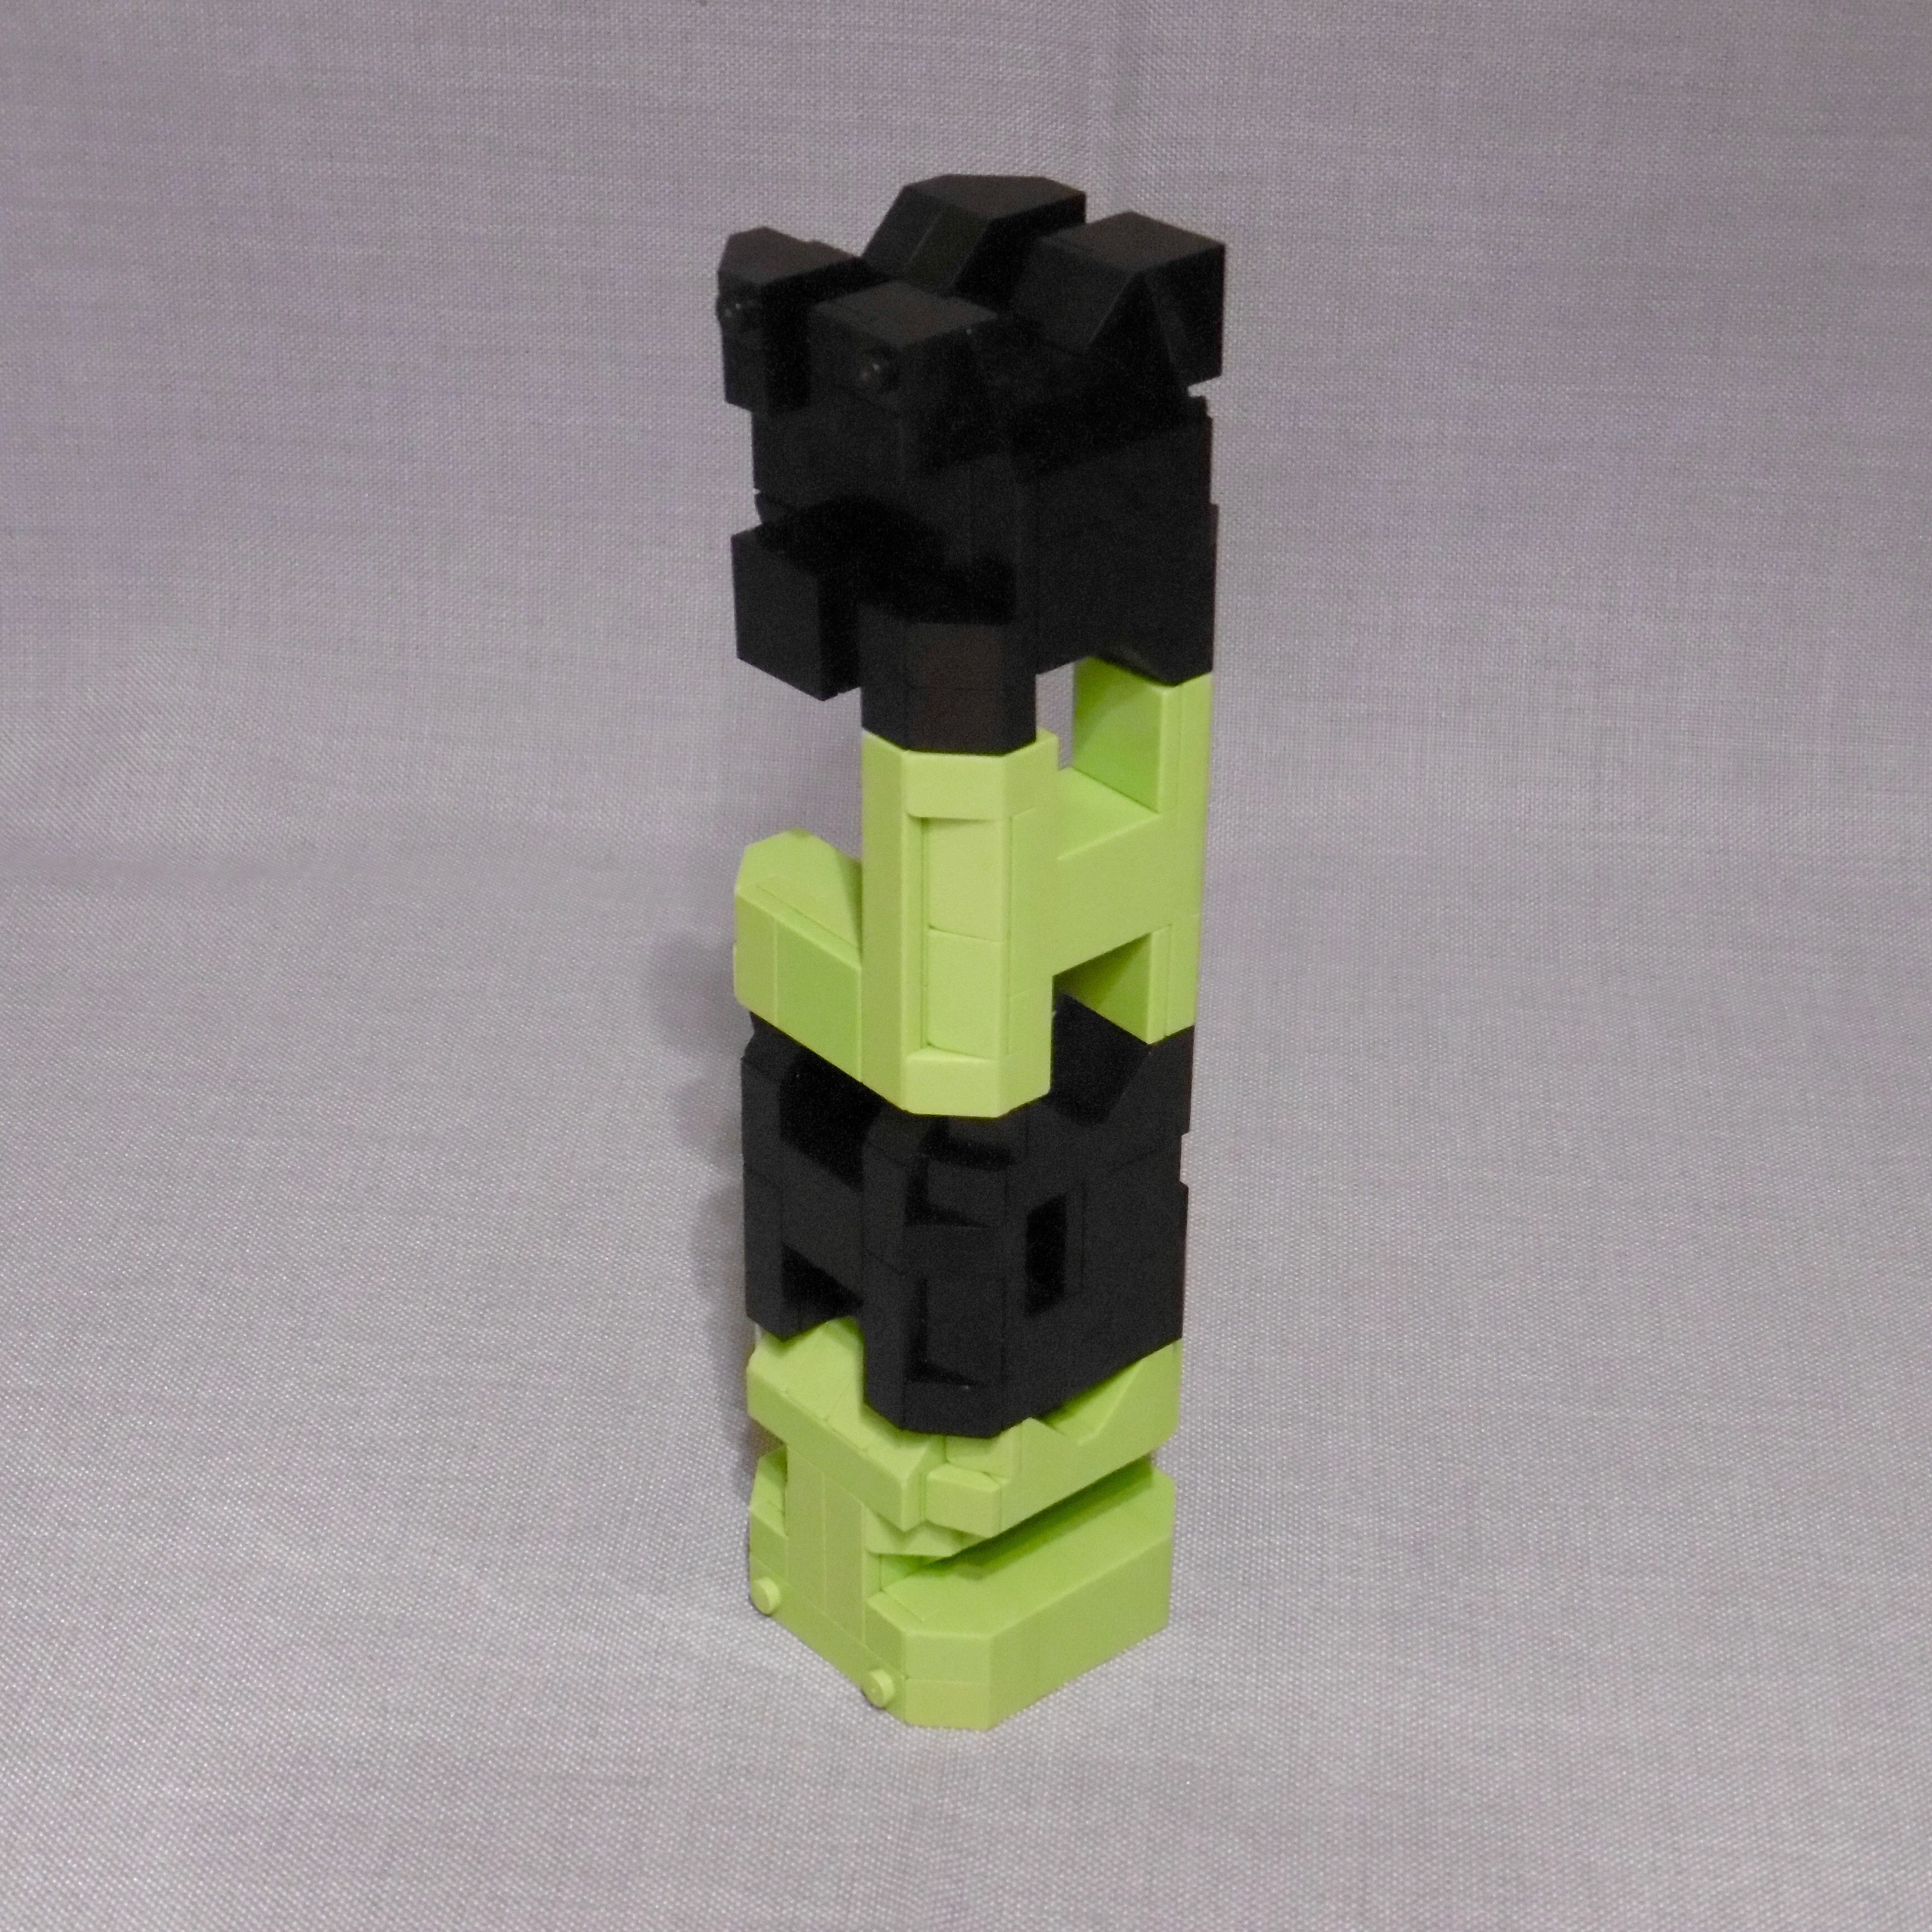
I decided to use two different colours to get a better seperation of the single letters. I used 1×2 clear transparent plates for the connection between the blocks (for the big one I had used 1×1 Technic bricks and pins for that). The rest was pure geometry.
The design is a pure “studs up” design (no SNOT this time) with slopes and wedges instead of curves. The result is a “blocky” lettering looking a little like early 8bit computer letterings from the 1980s. I remember making similar letterings with PETSCII symbols on a C64 ;-)). I’ve also added a few of my signature studs on the top corners.
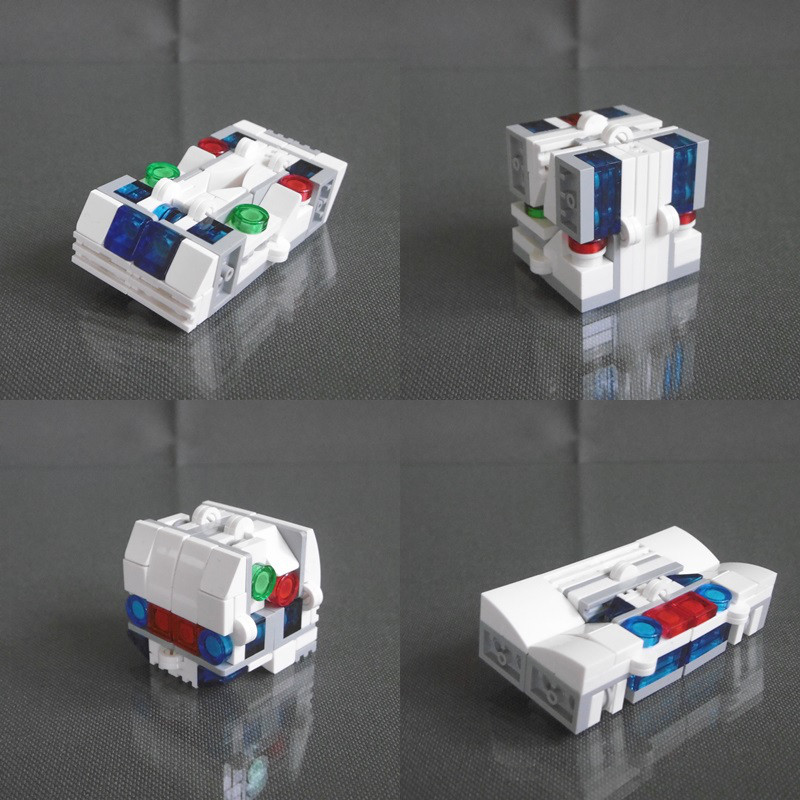
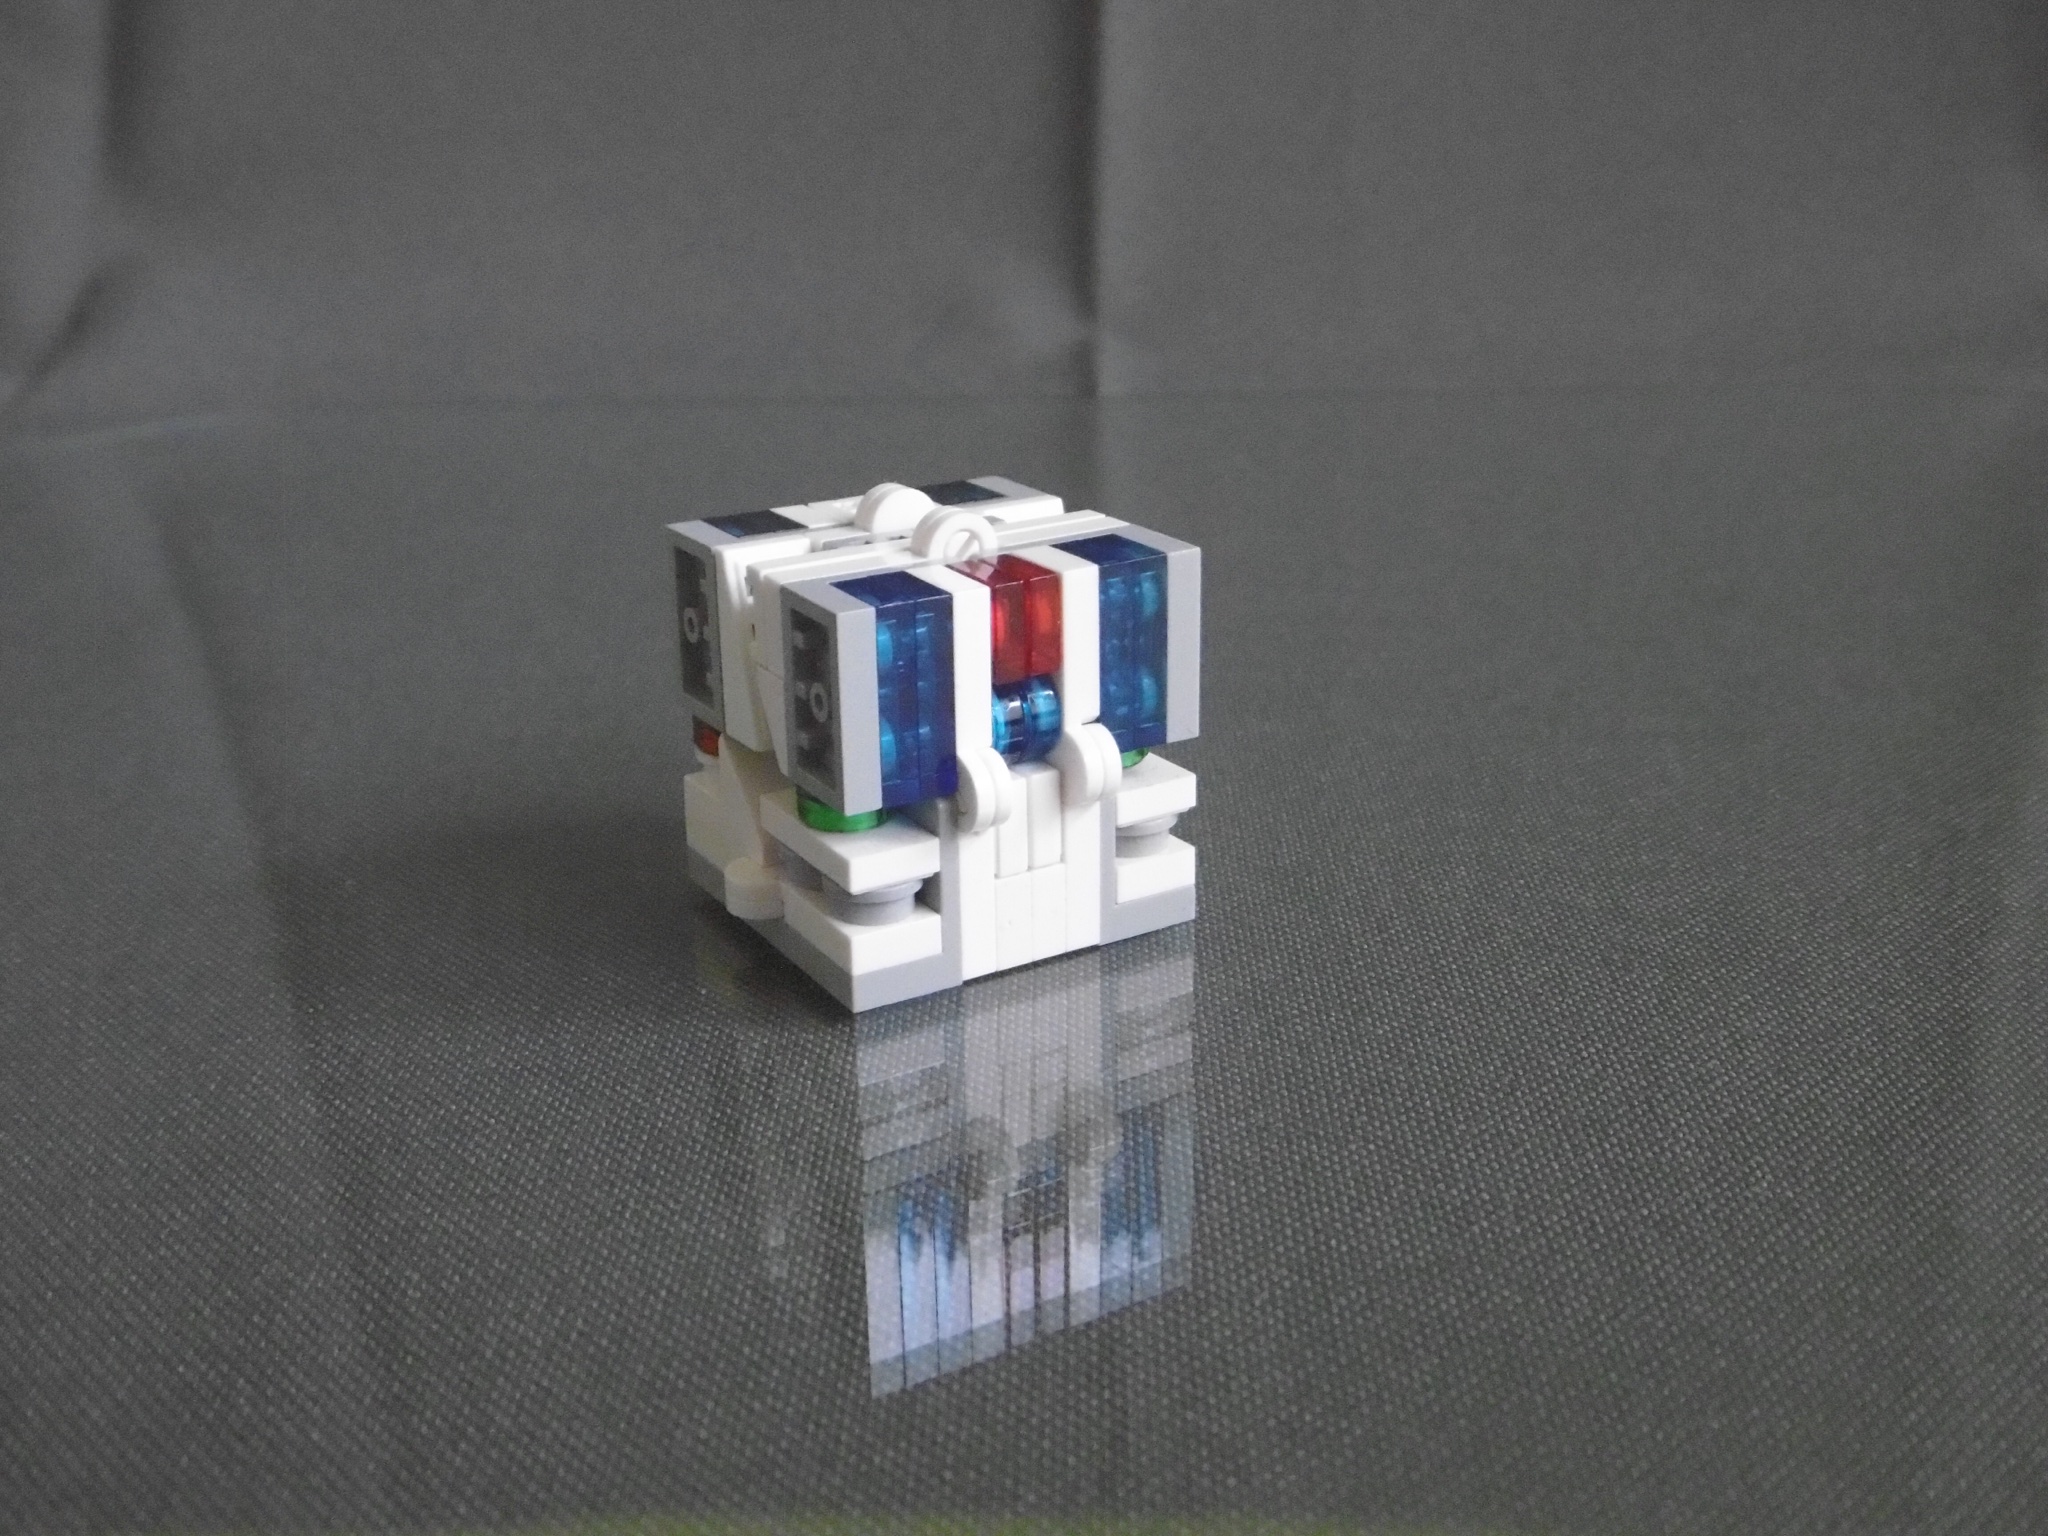
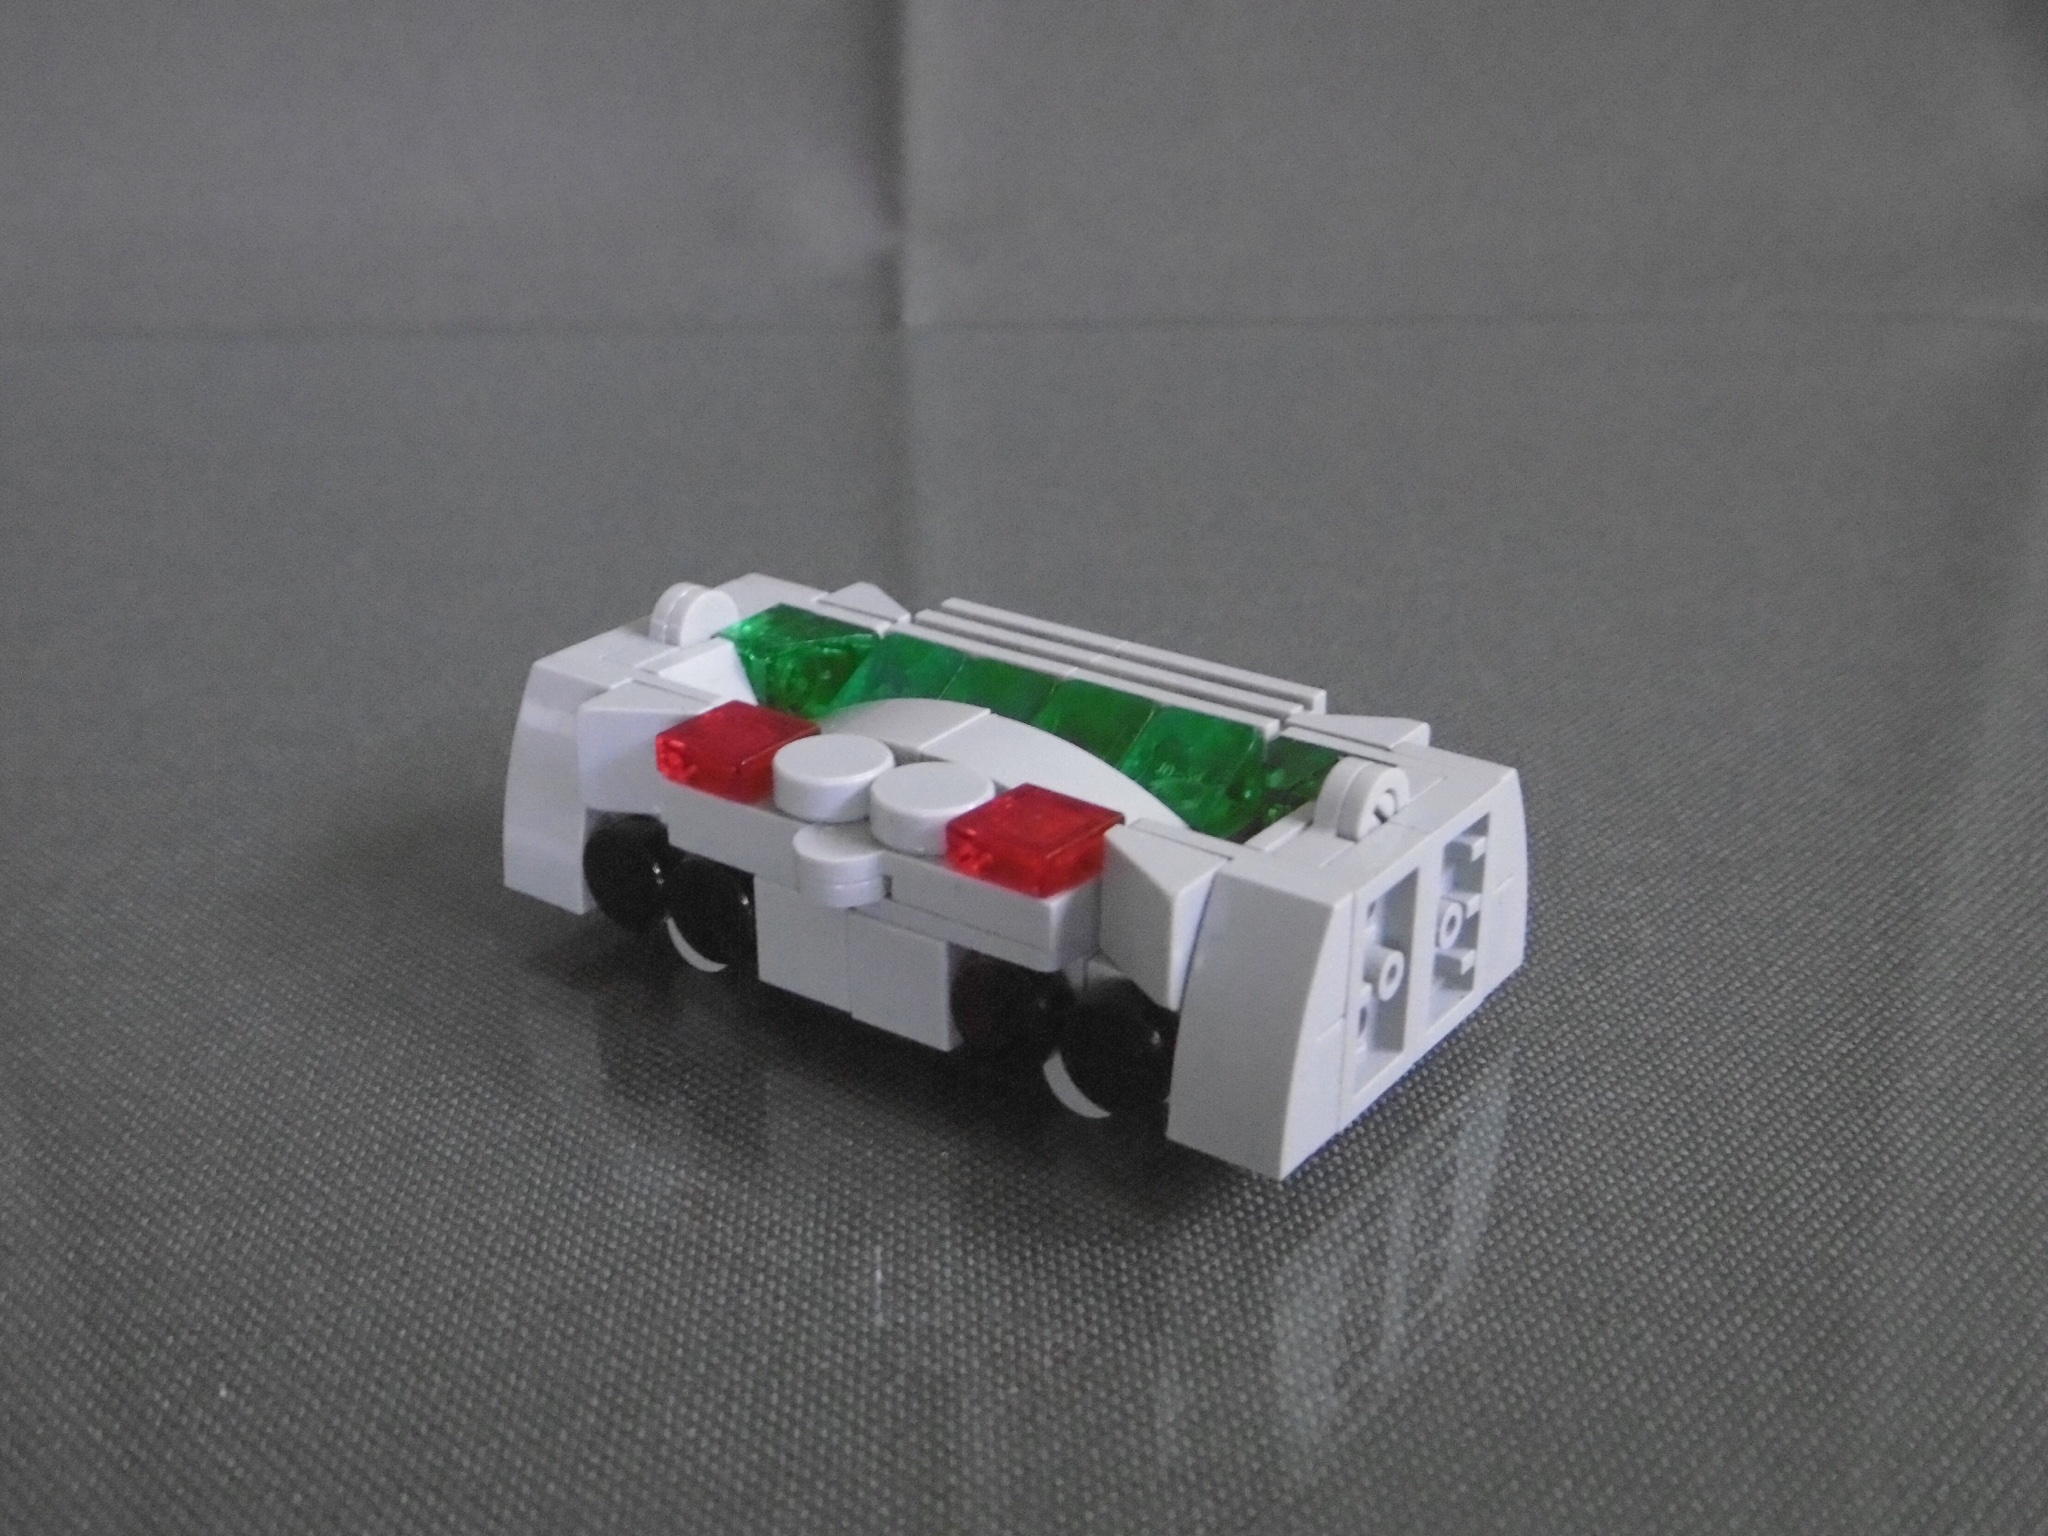
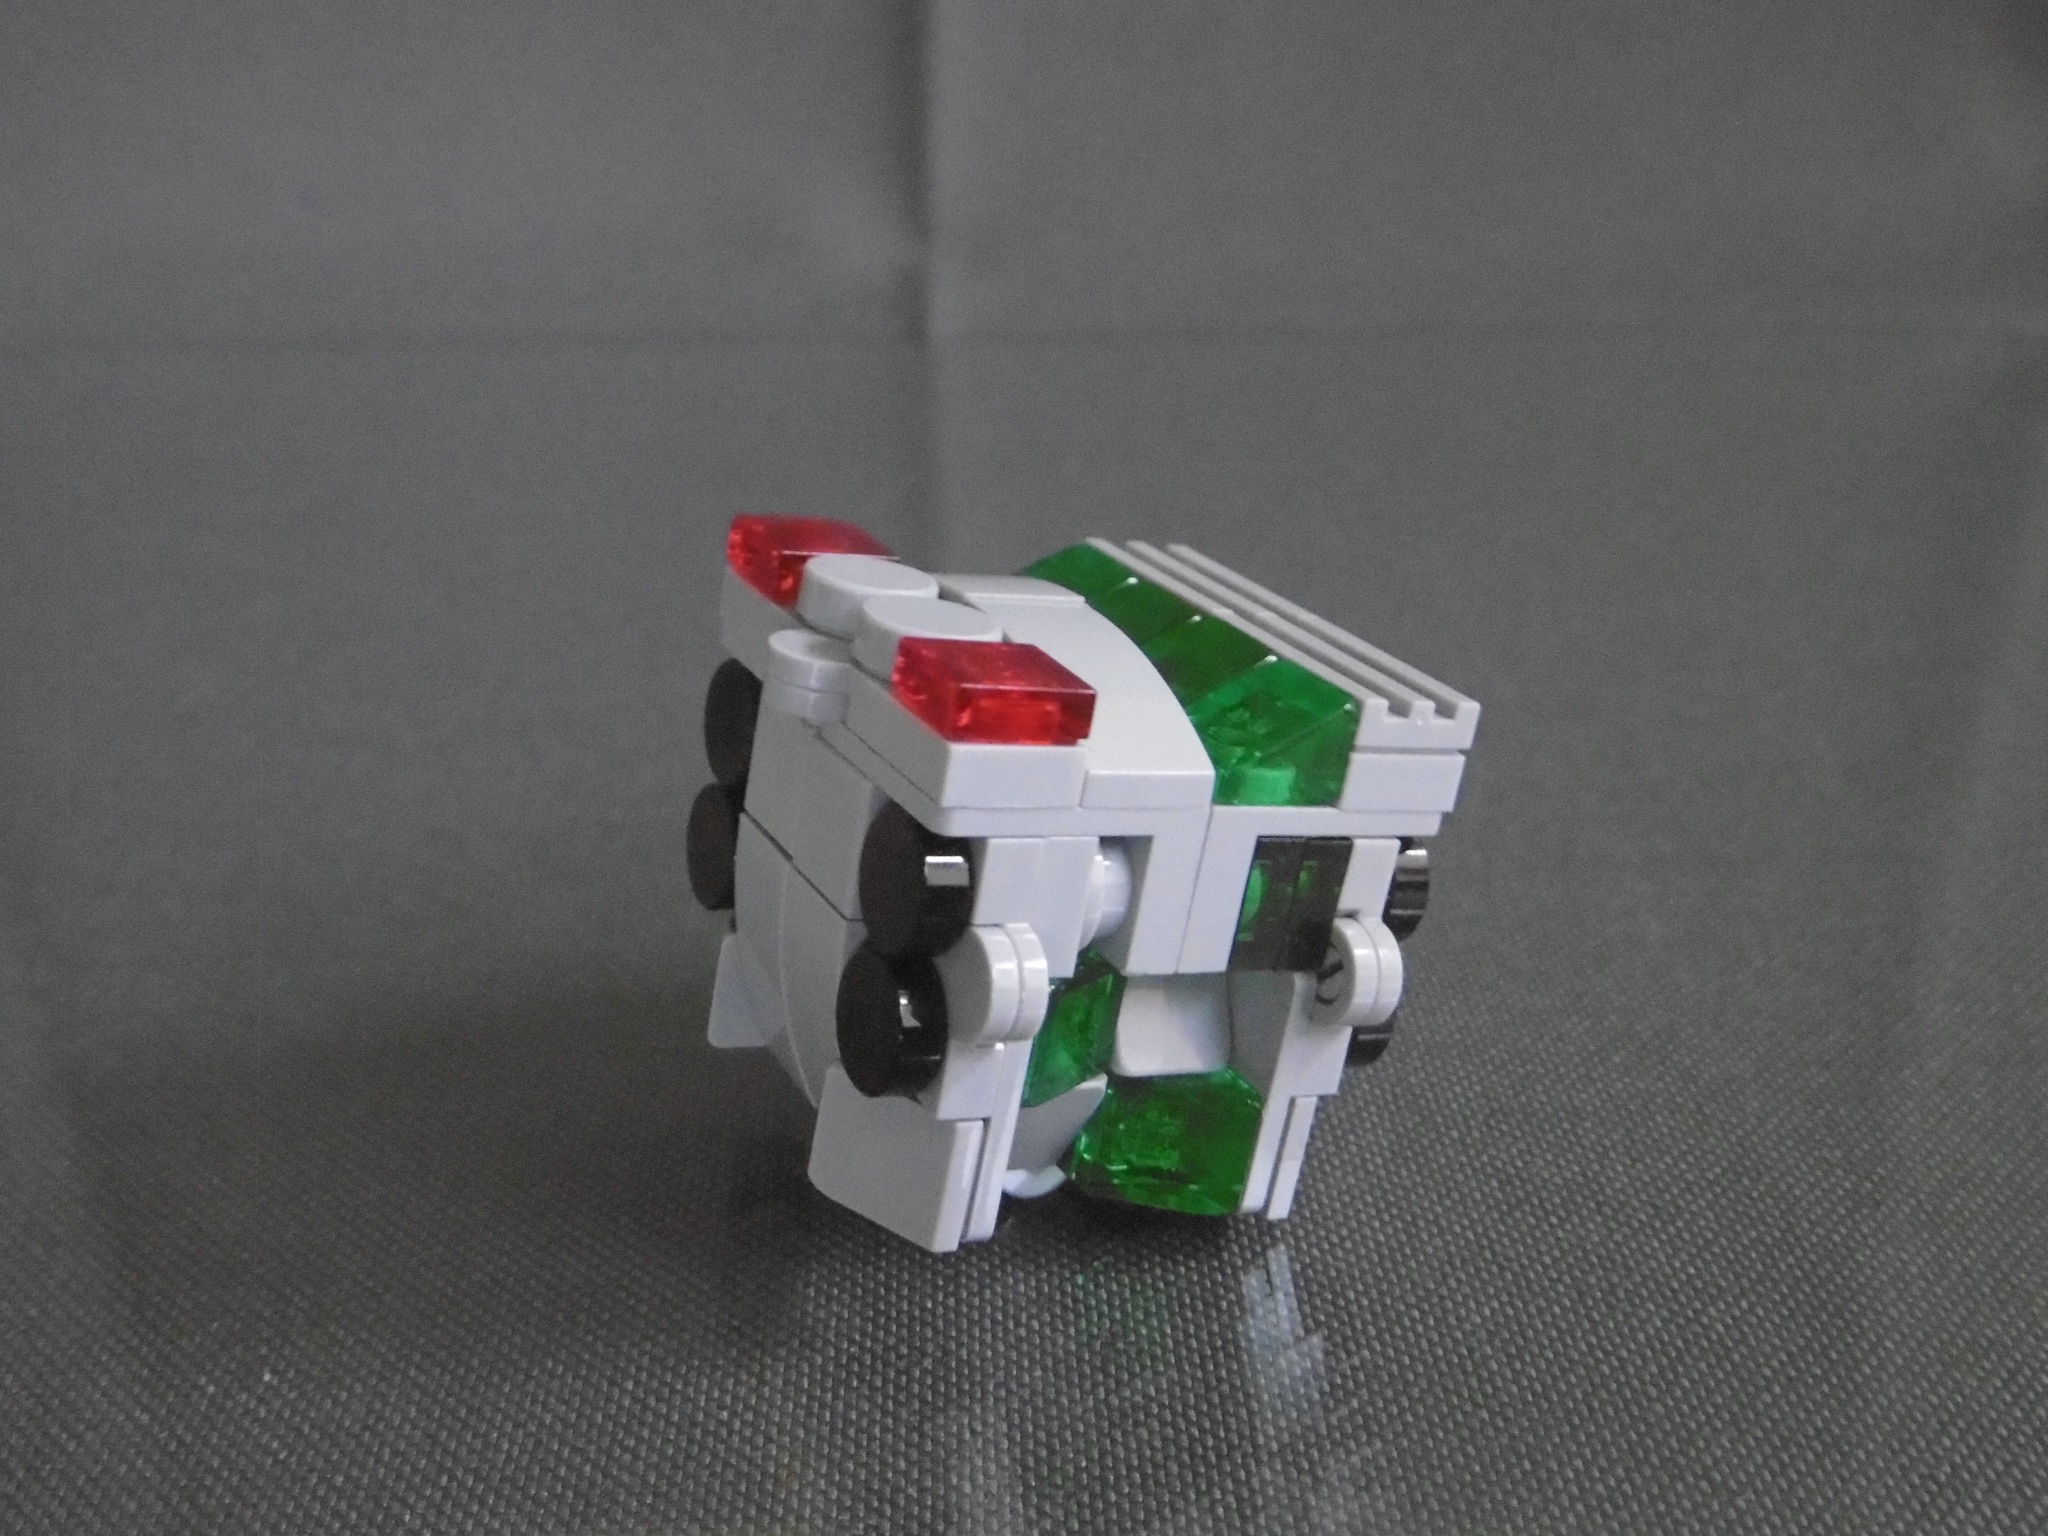
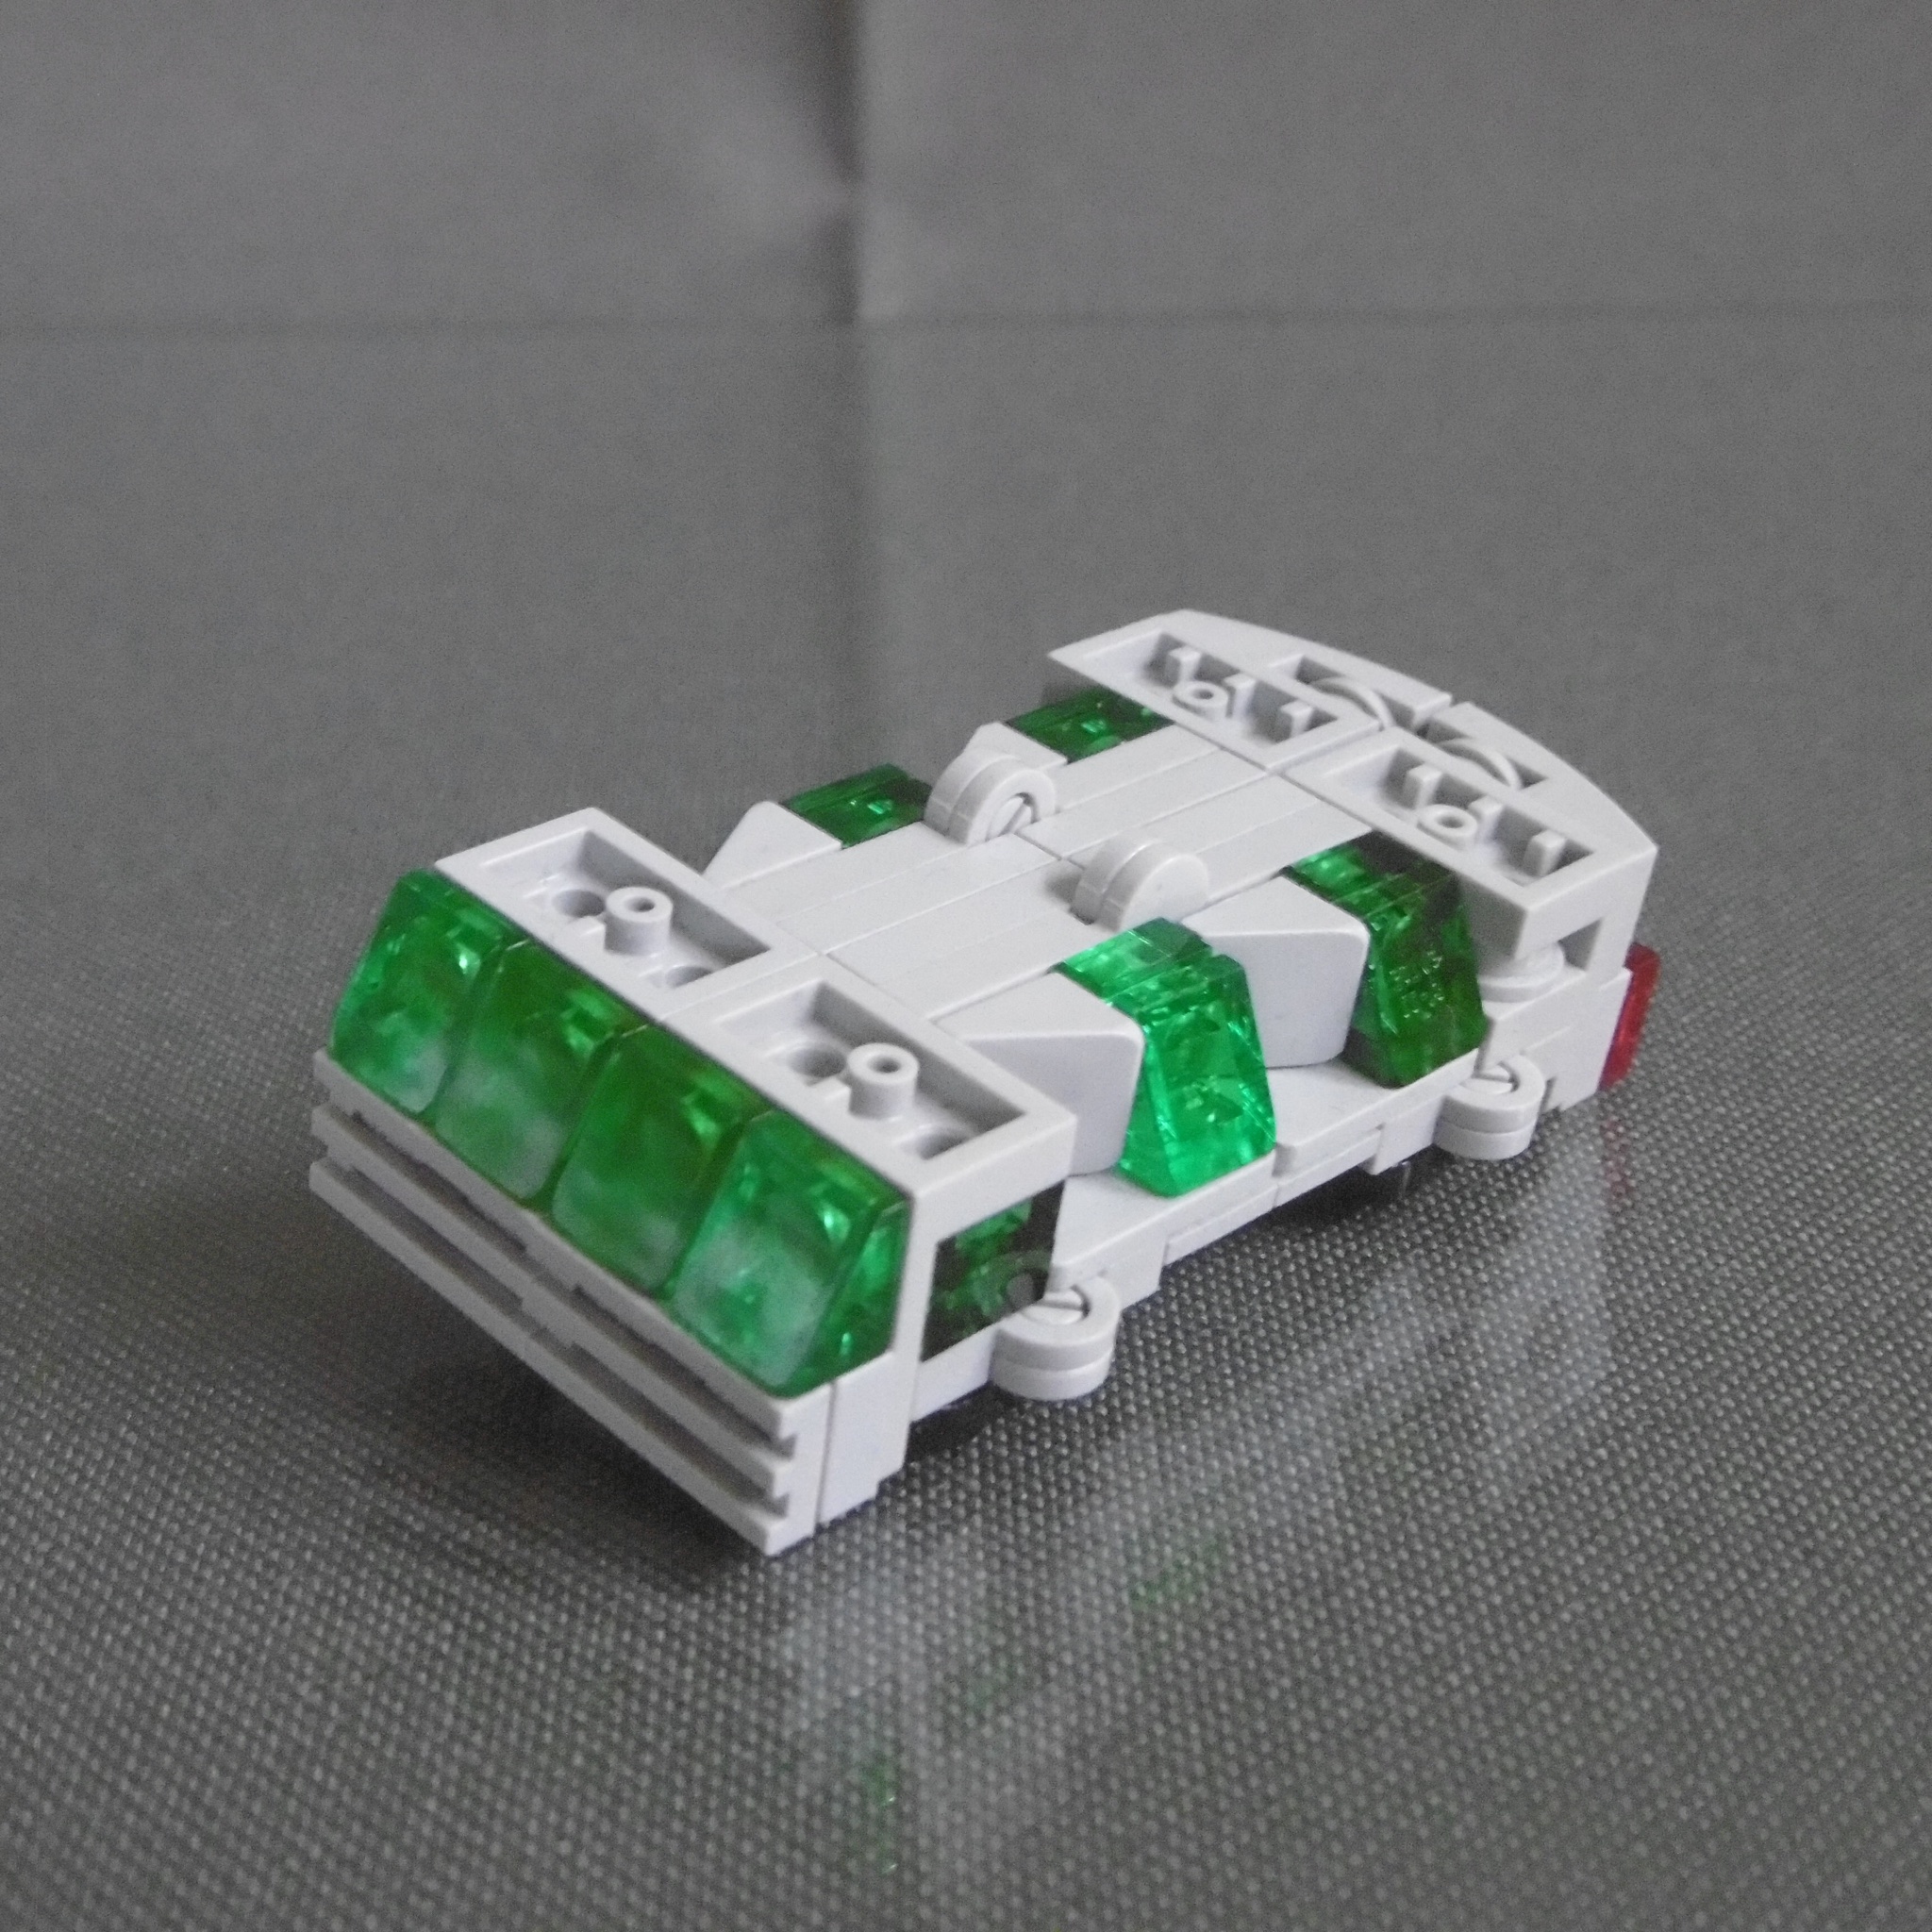
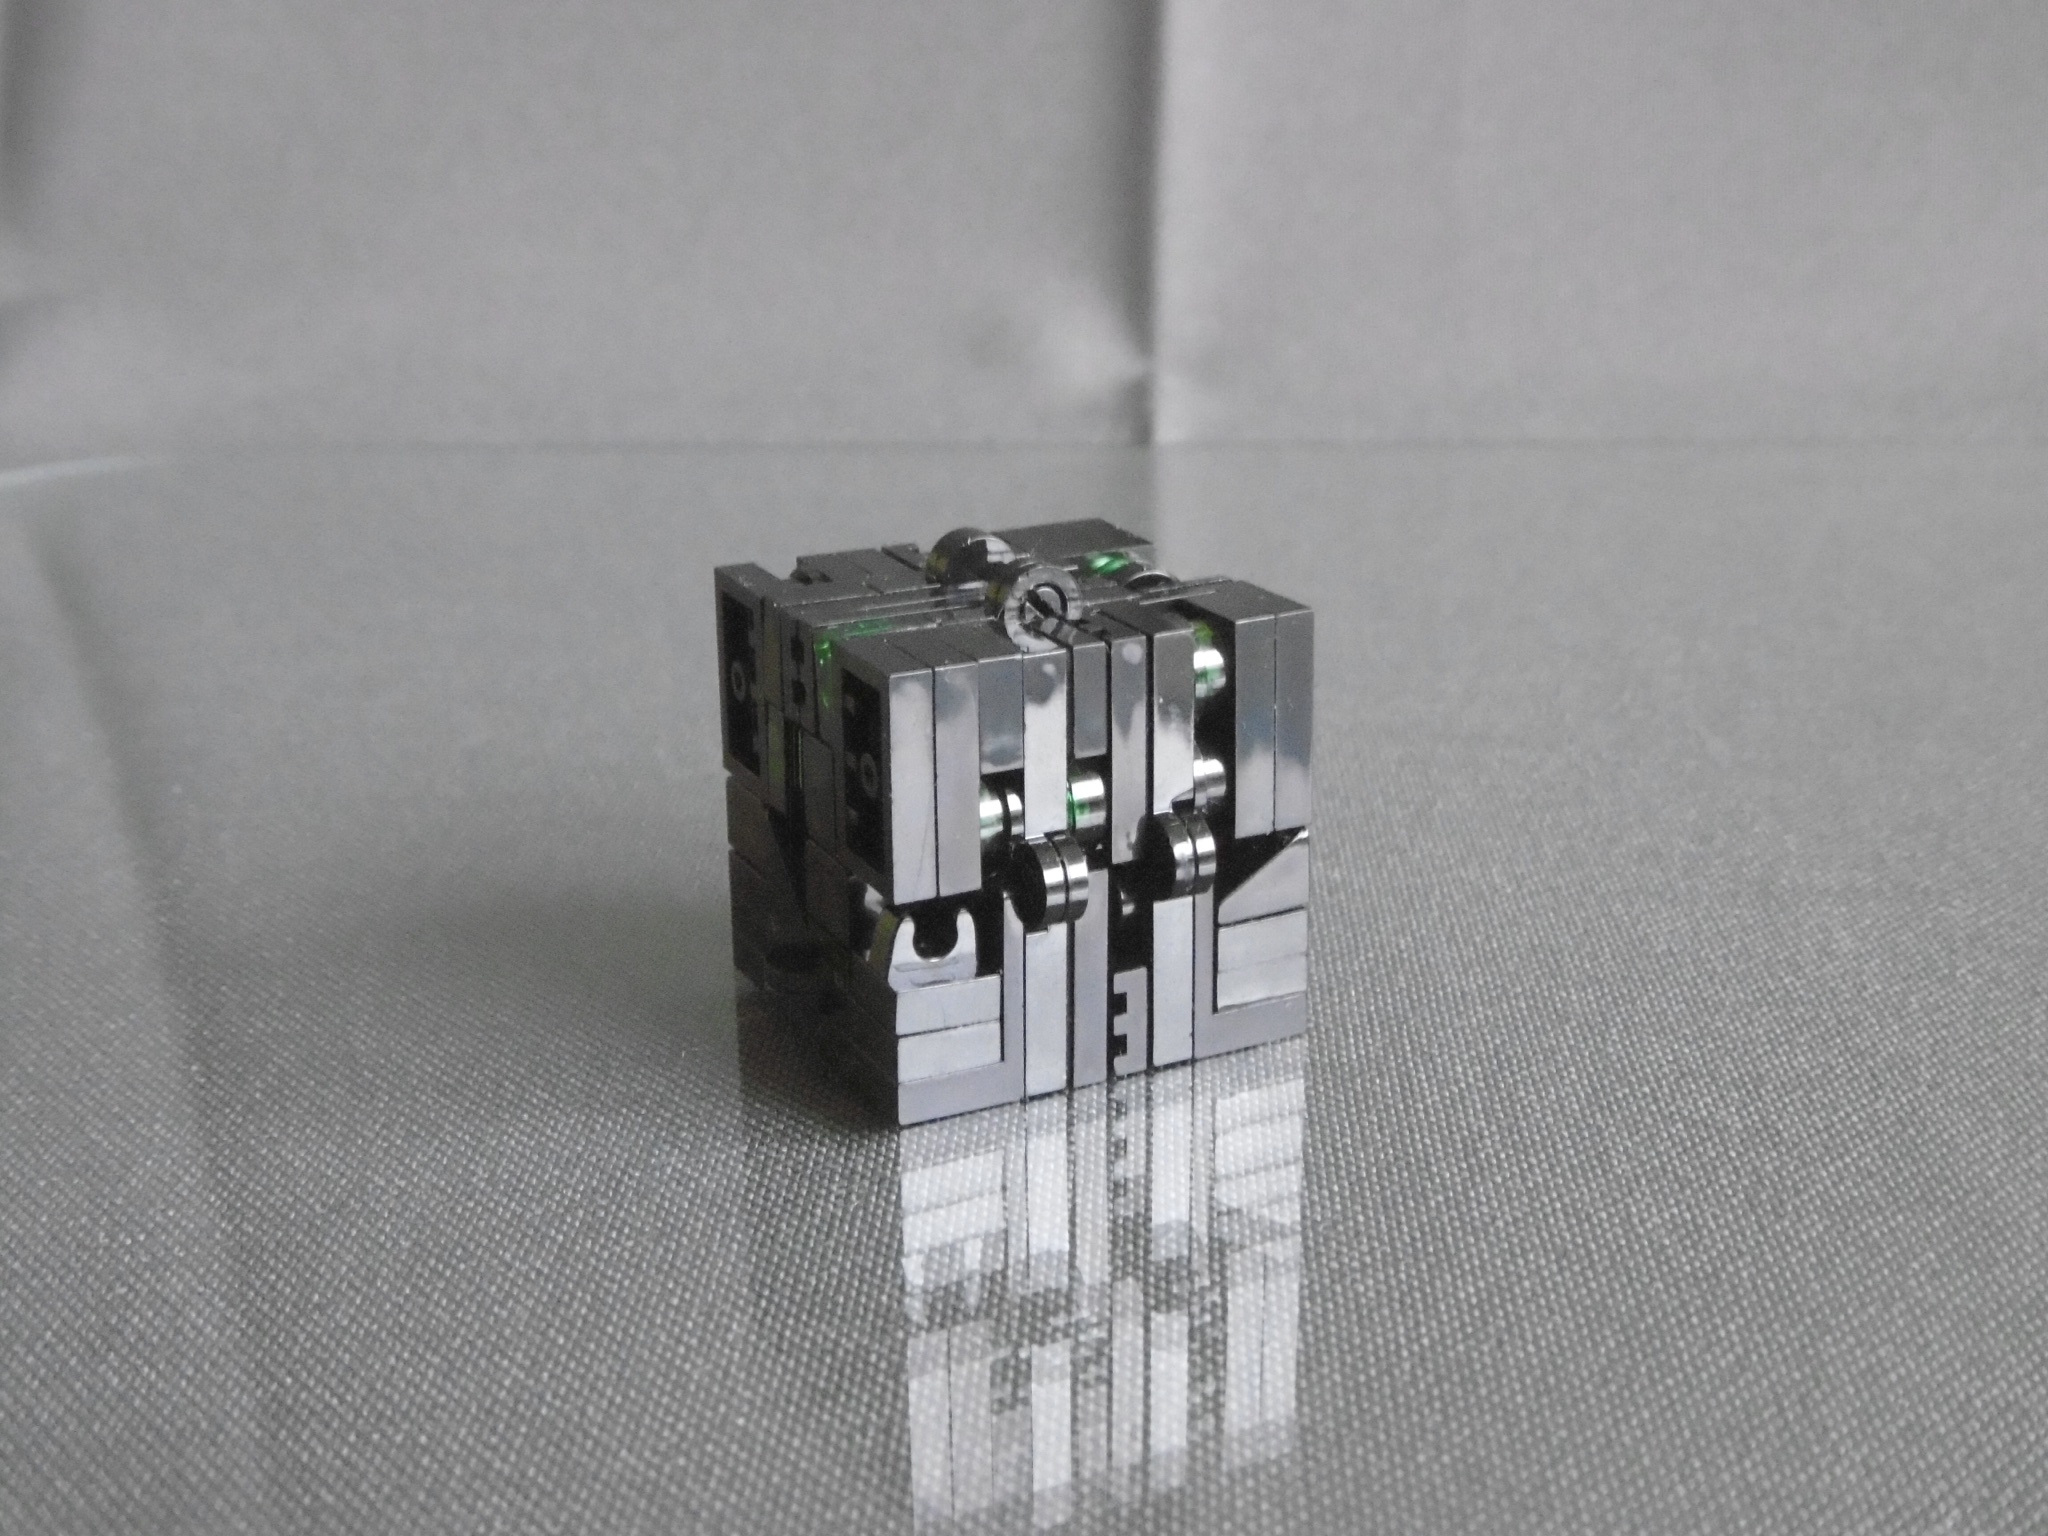
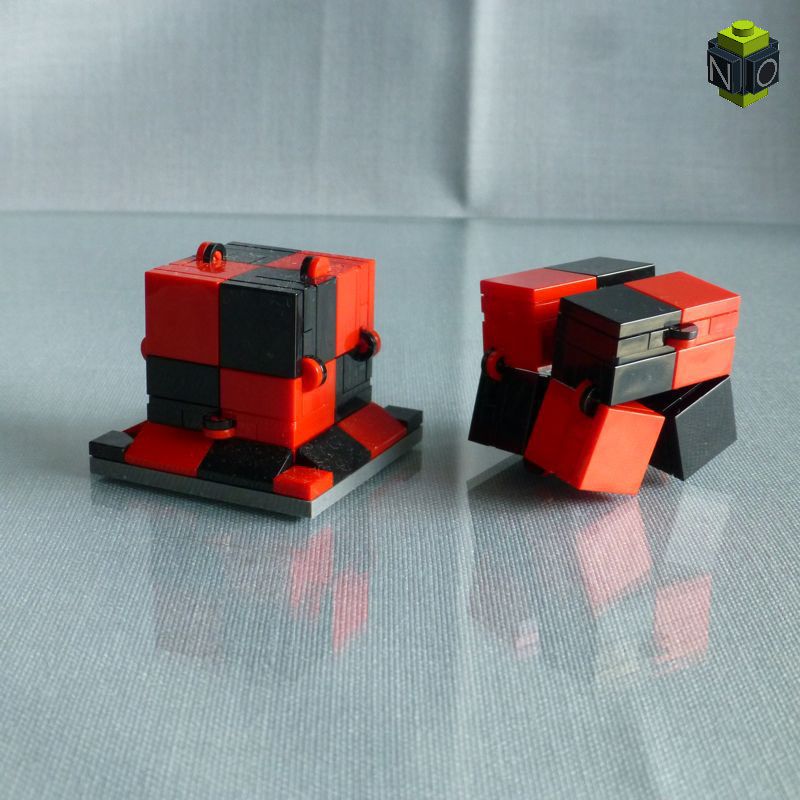
So, this is the result…
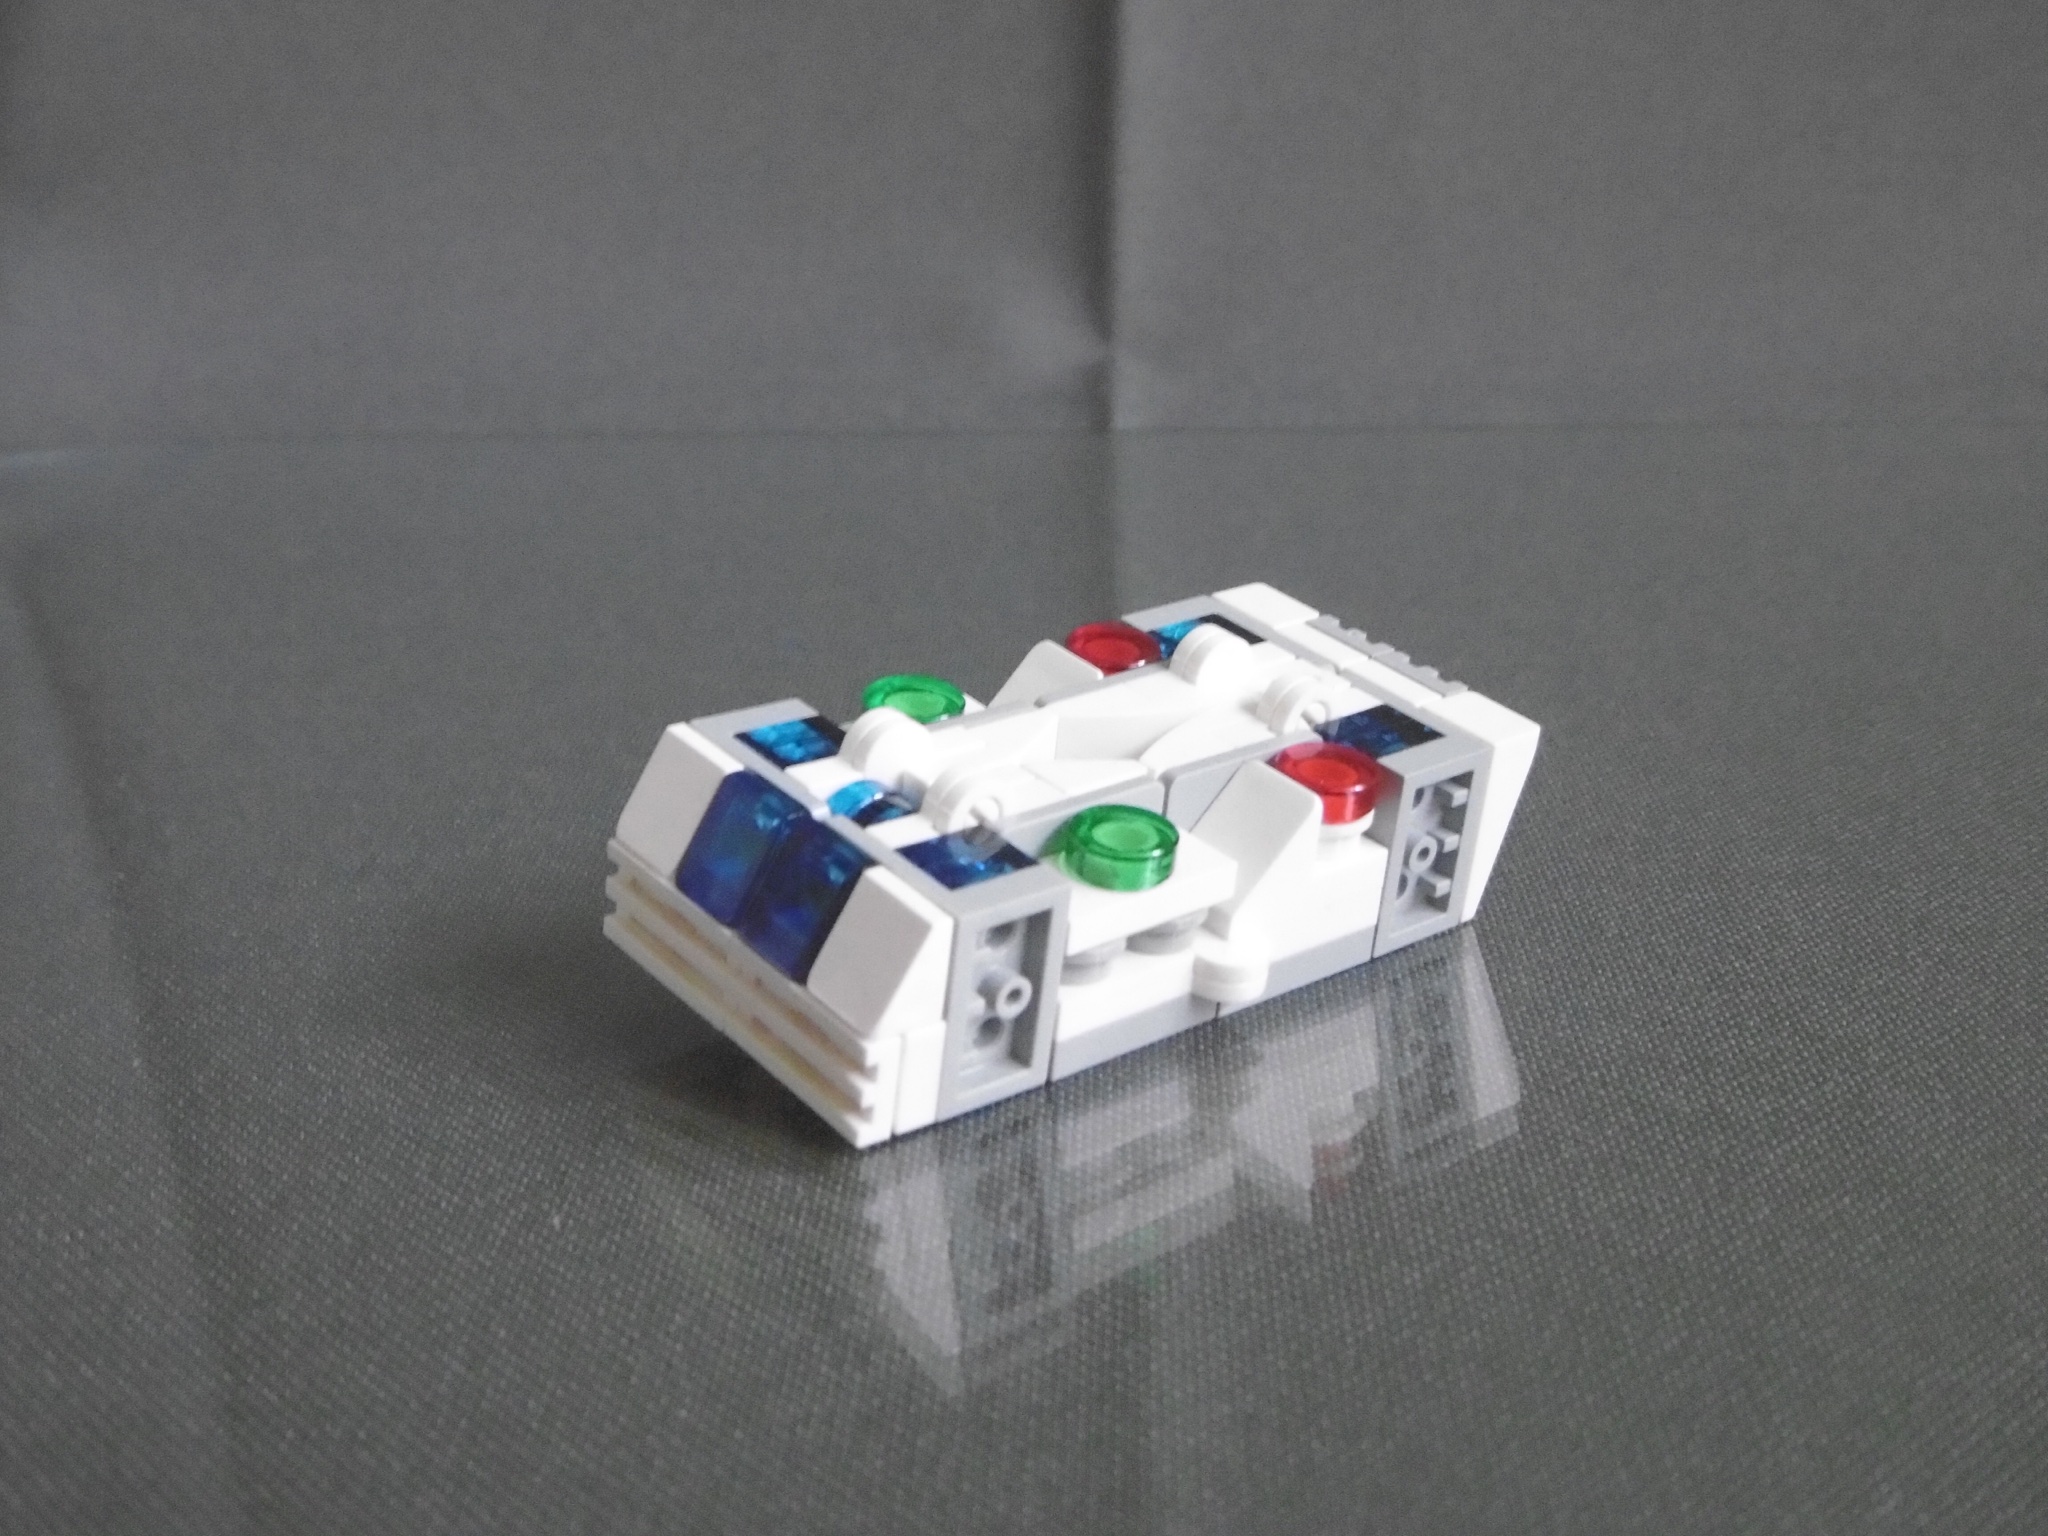
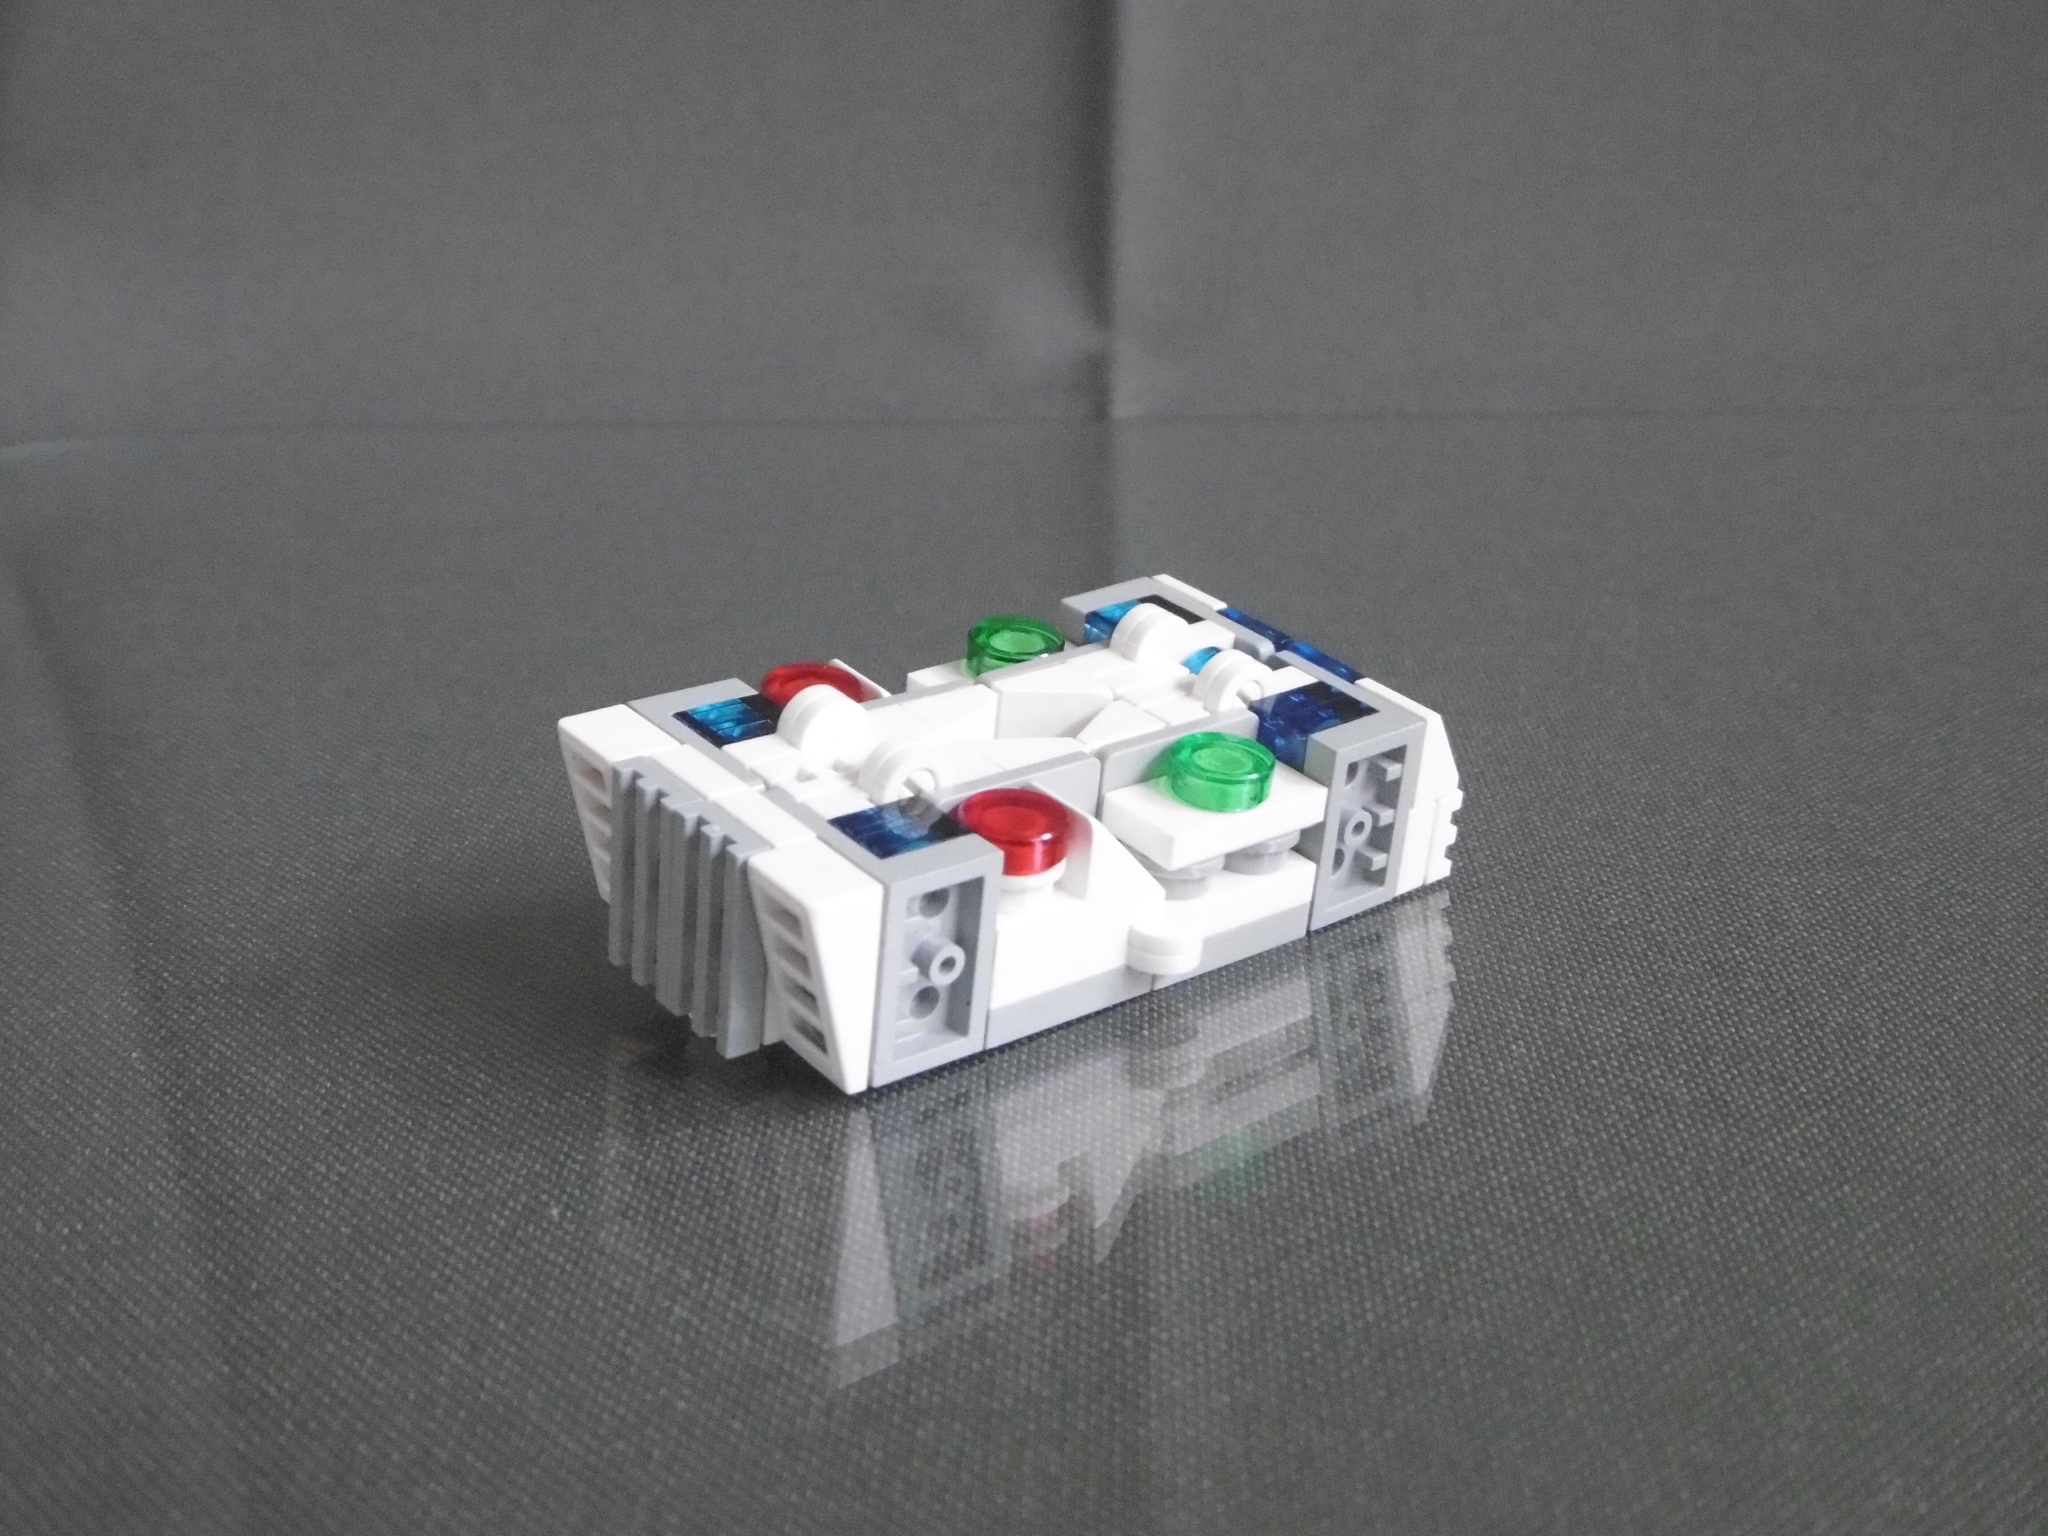
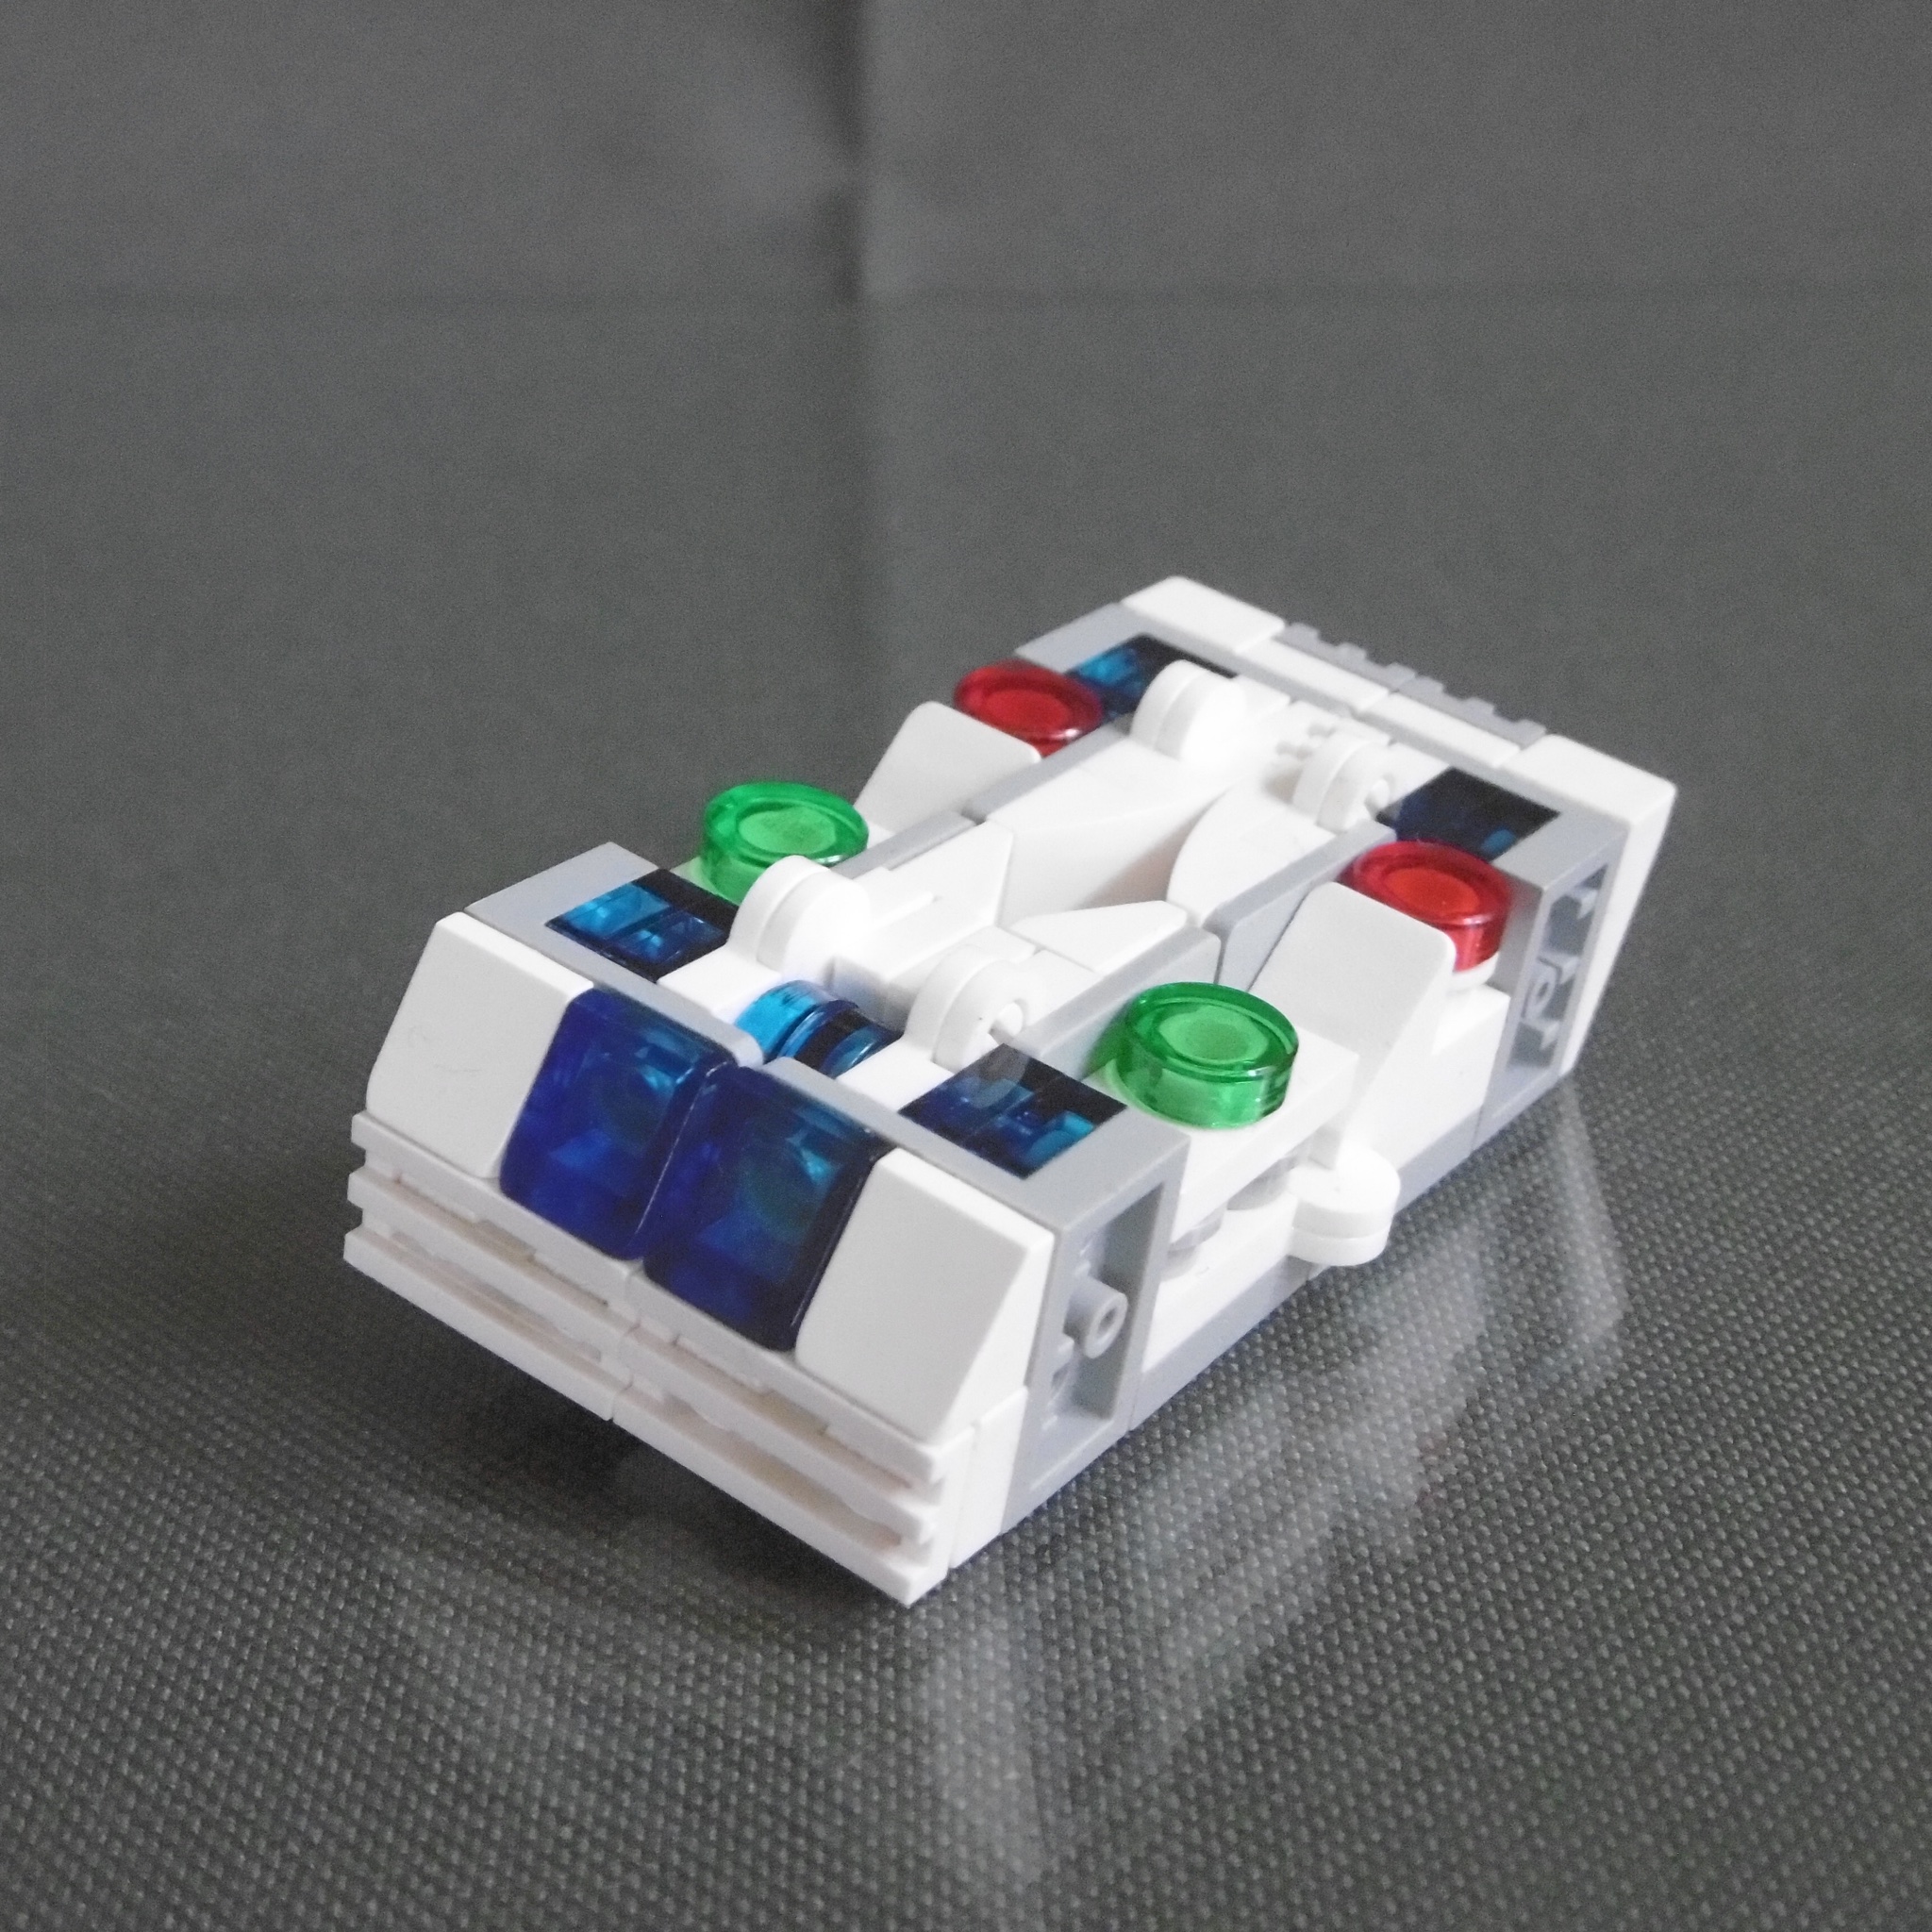
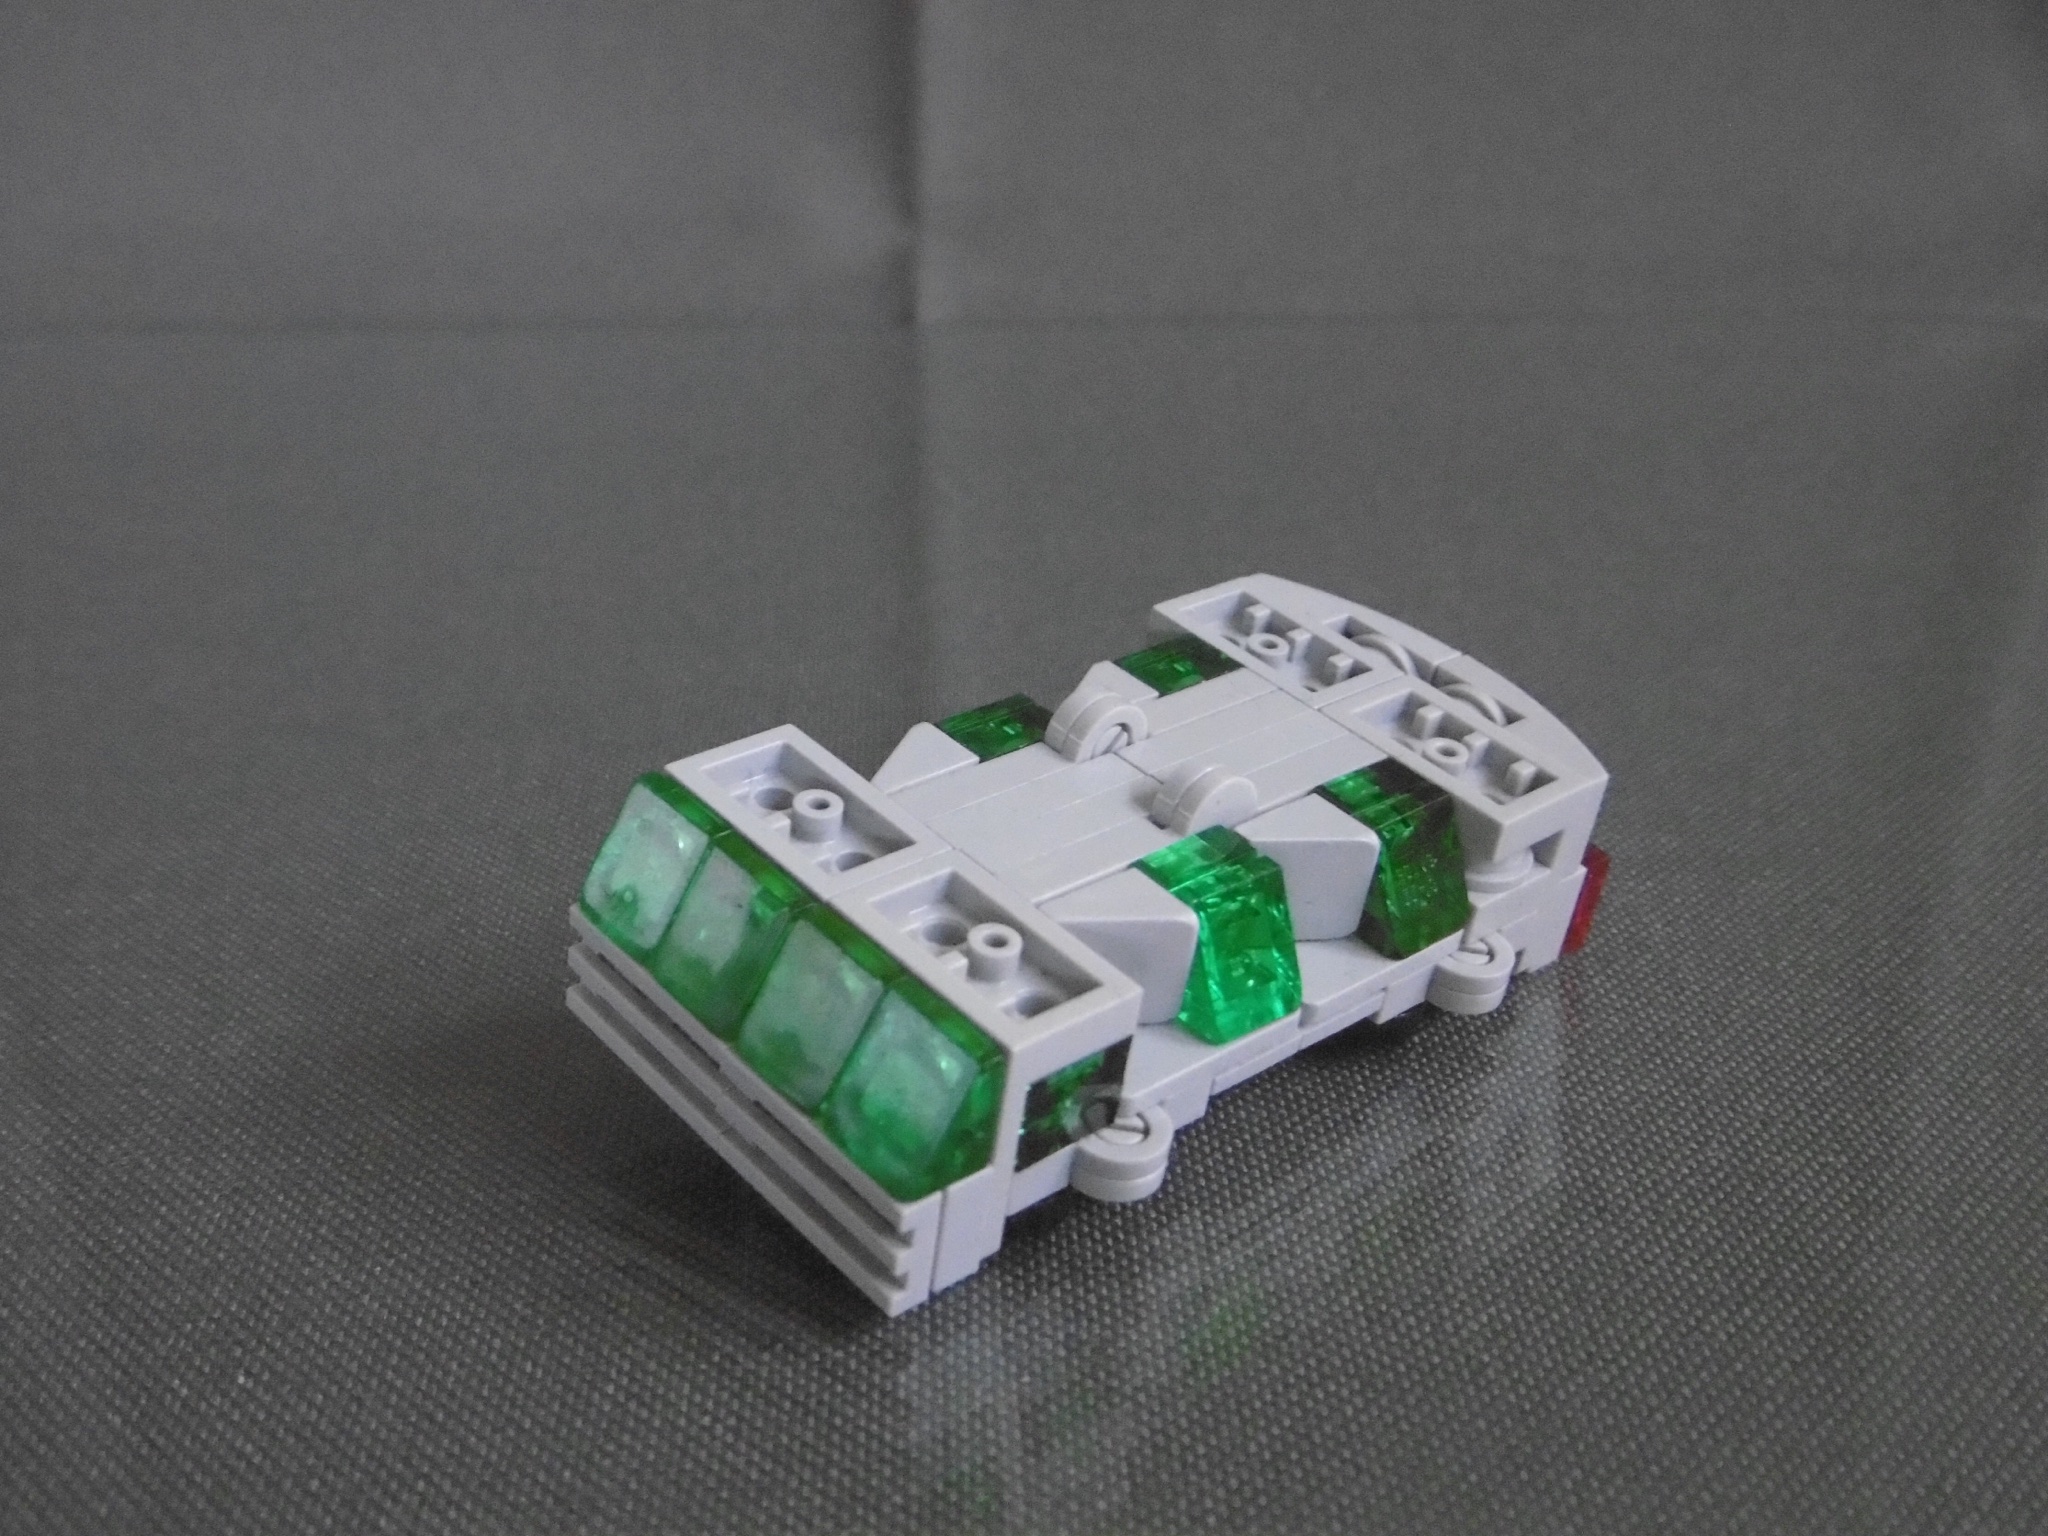
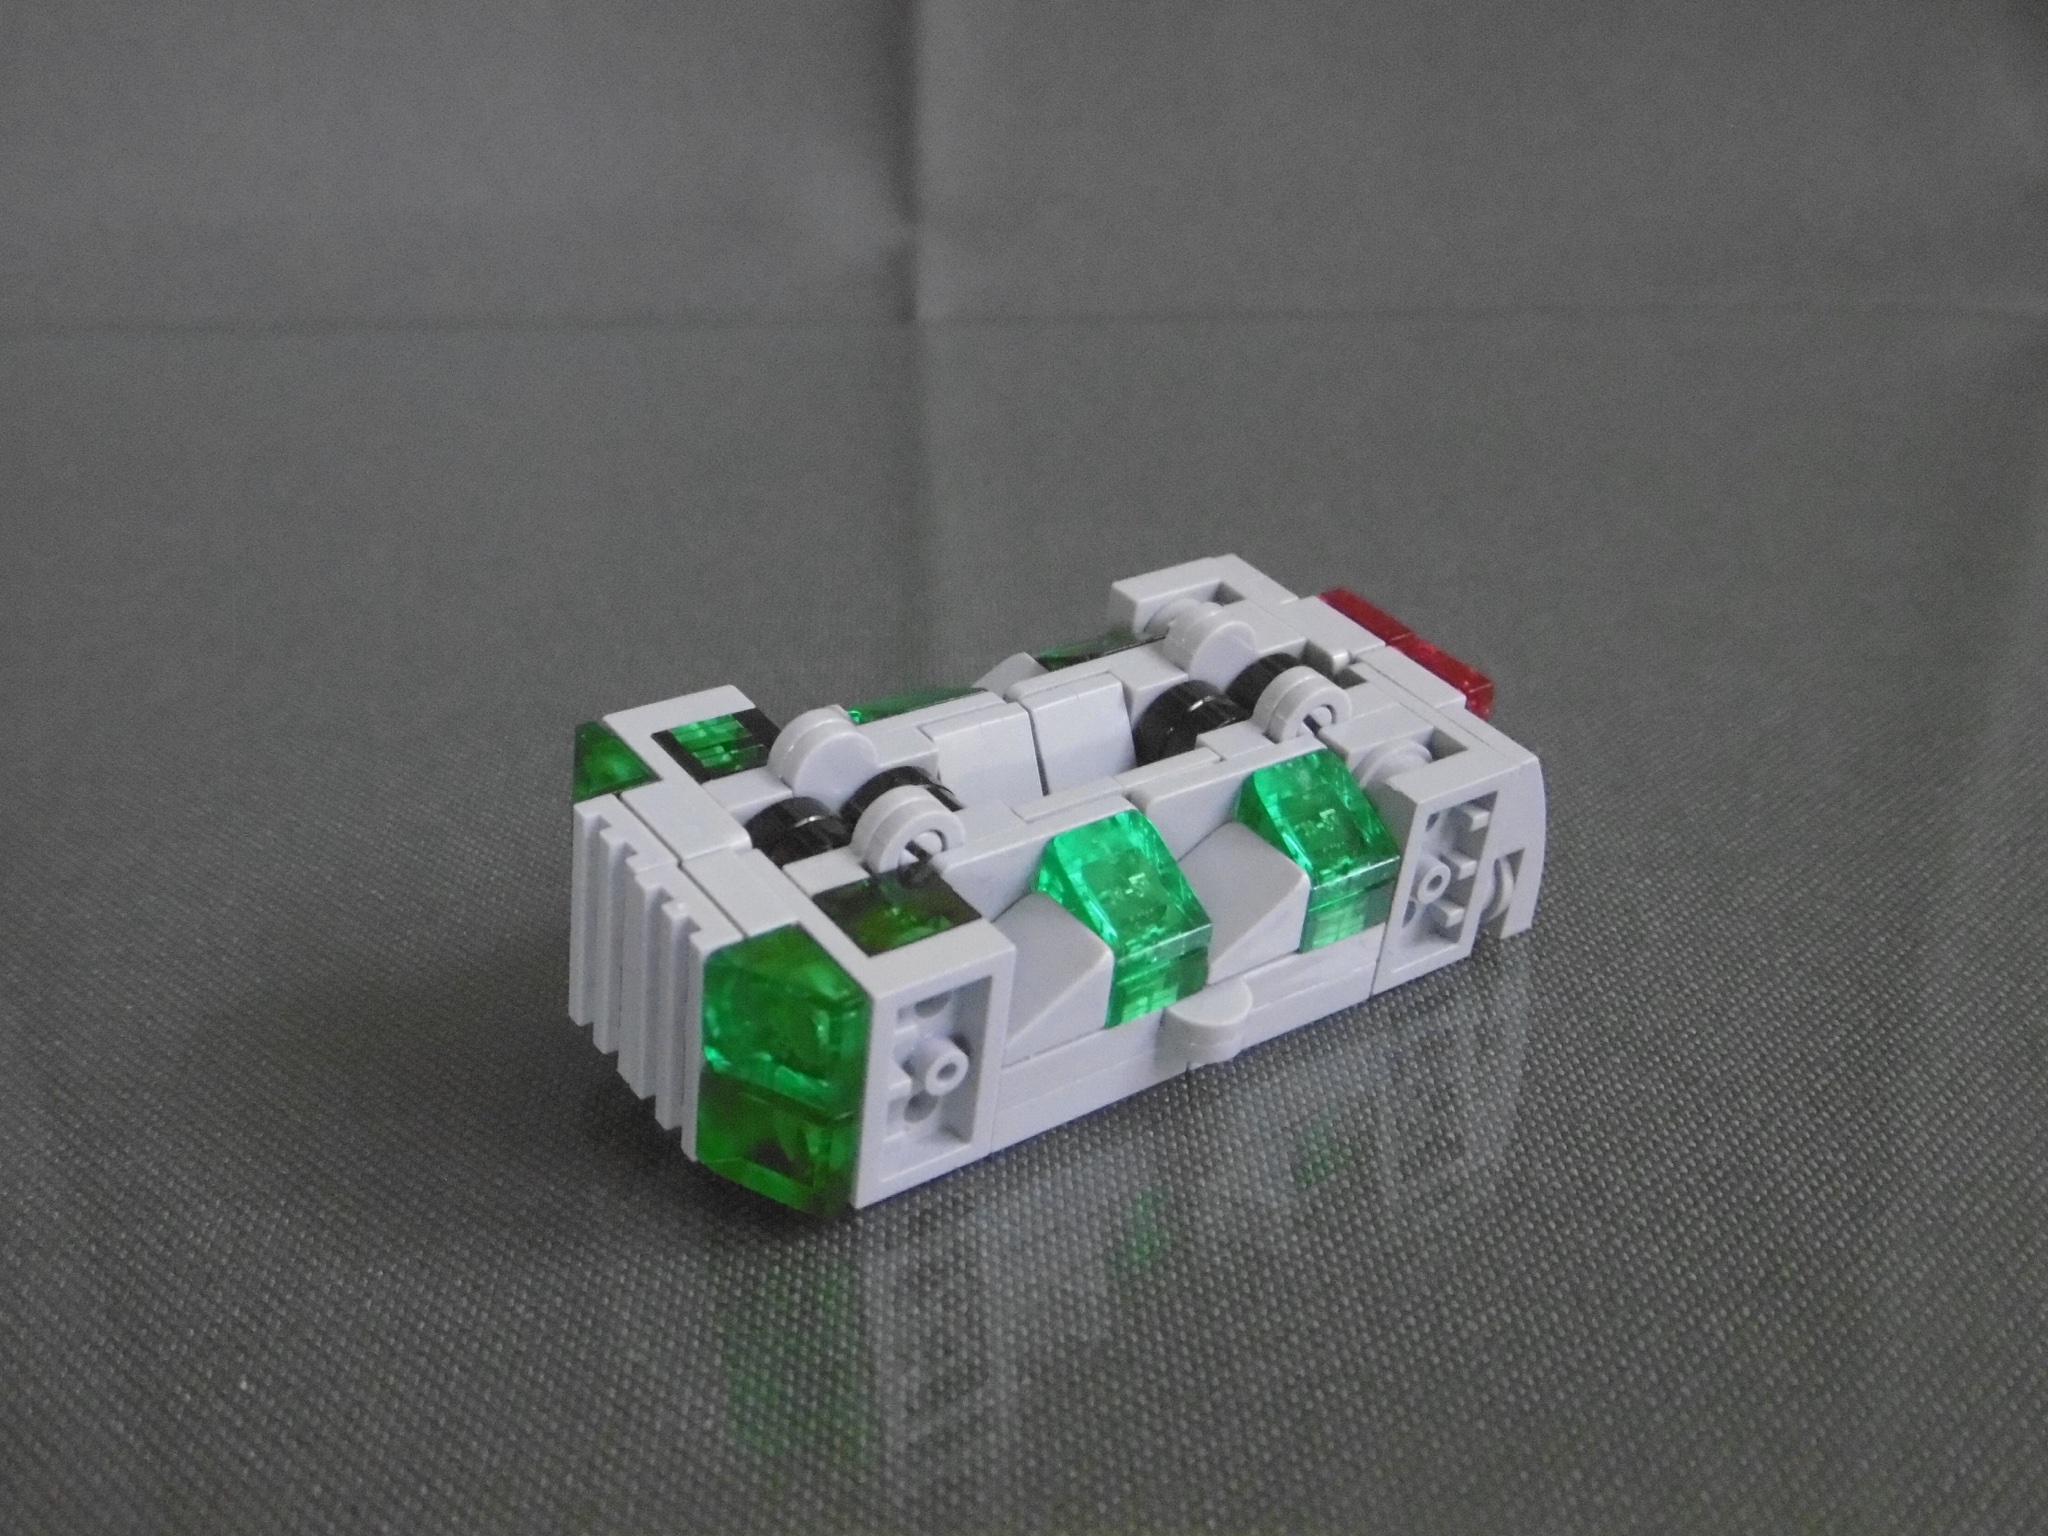
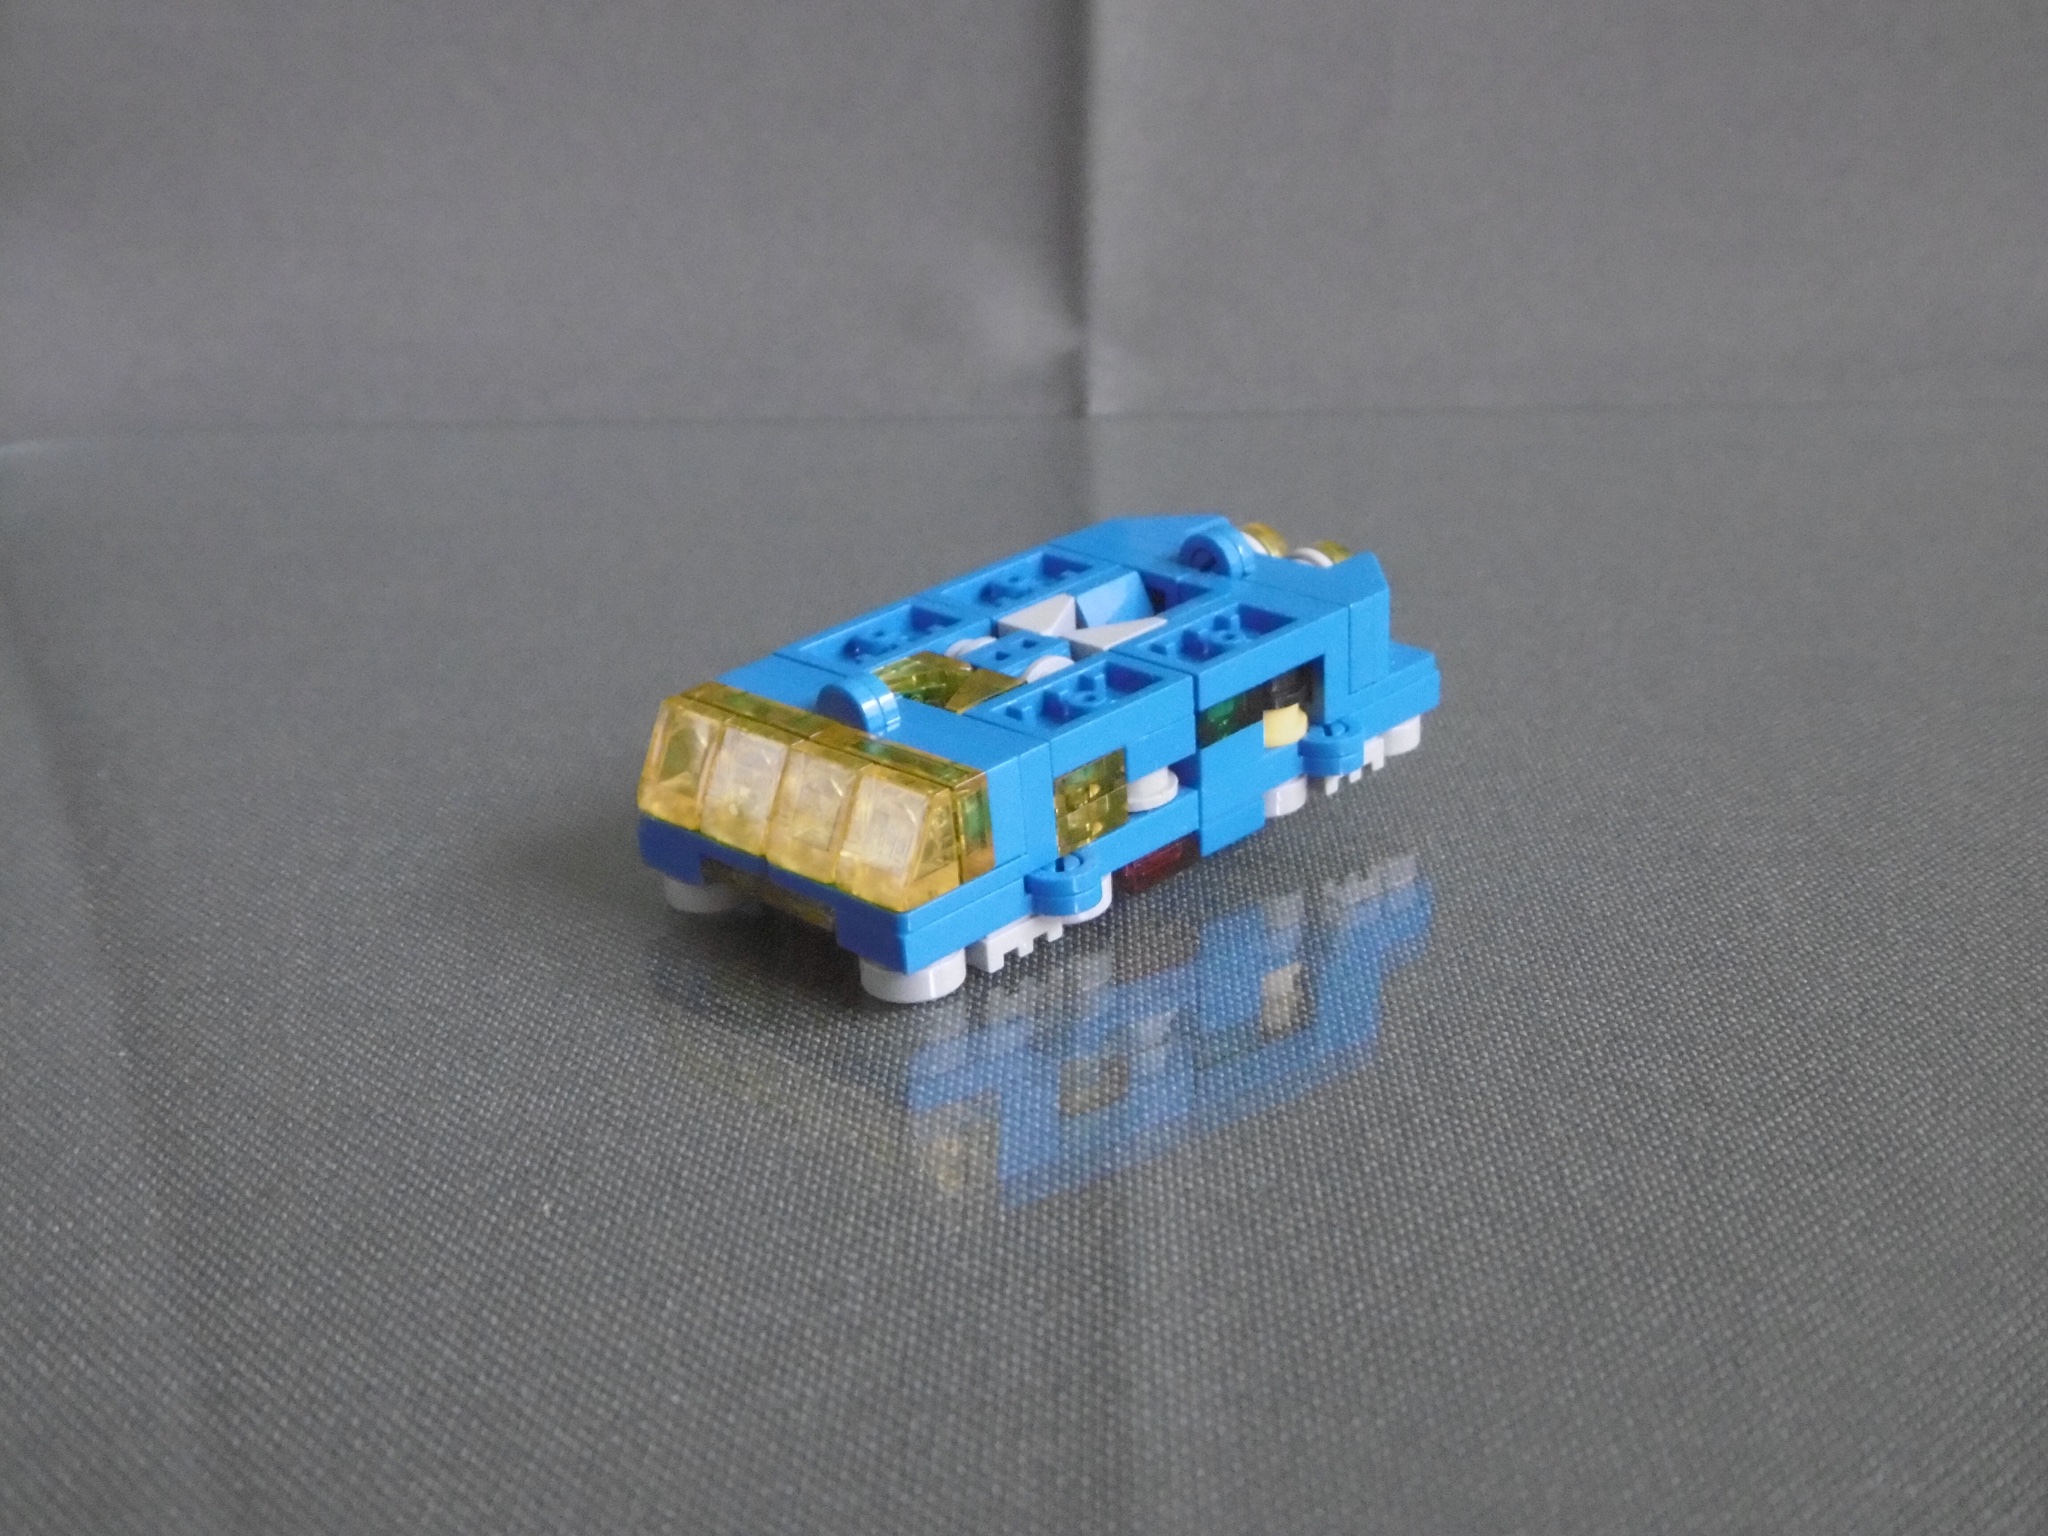
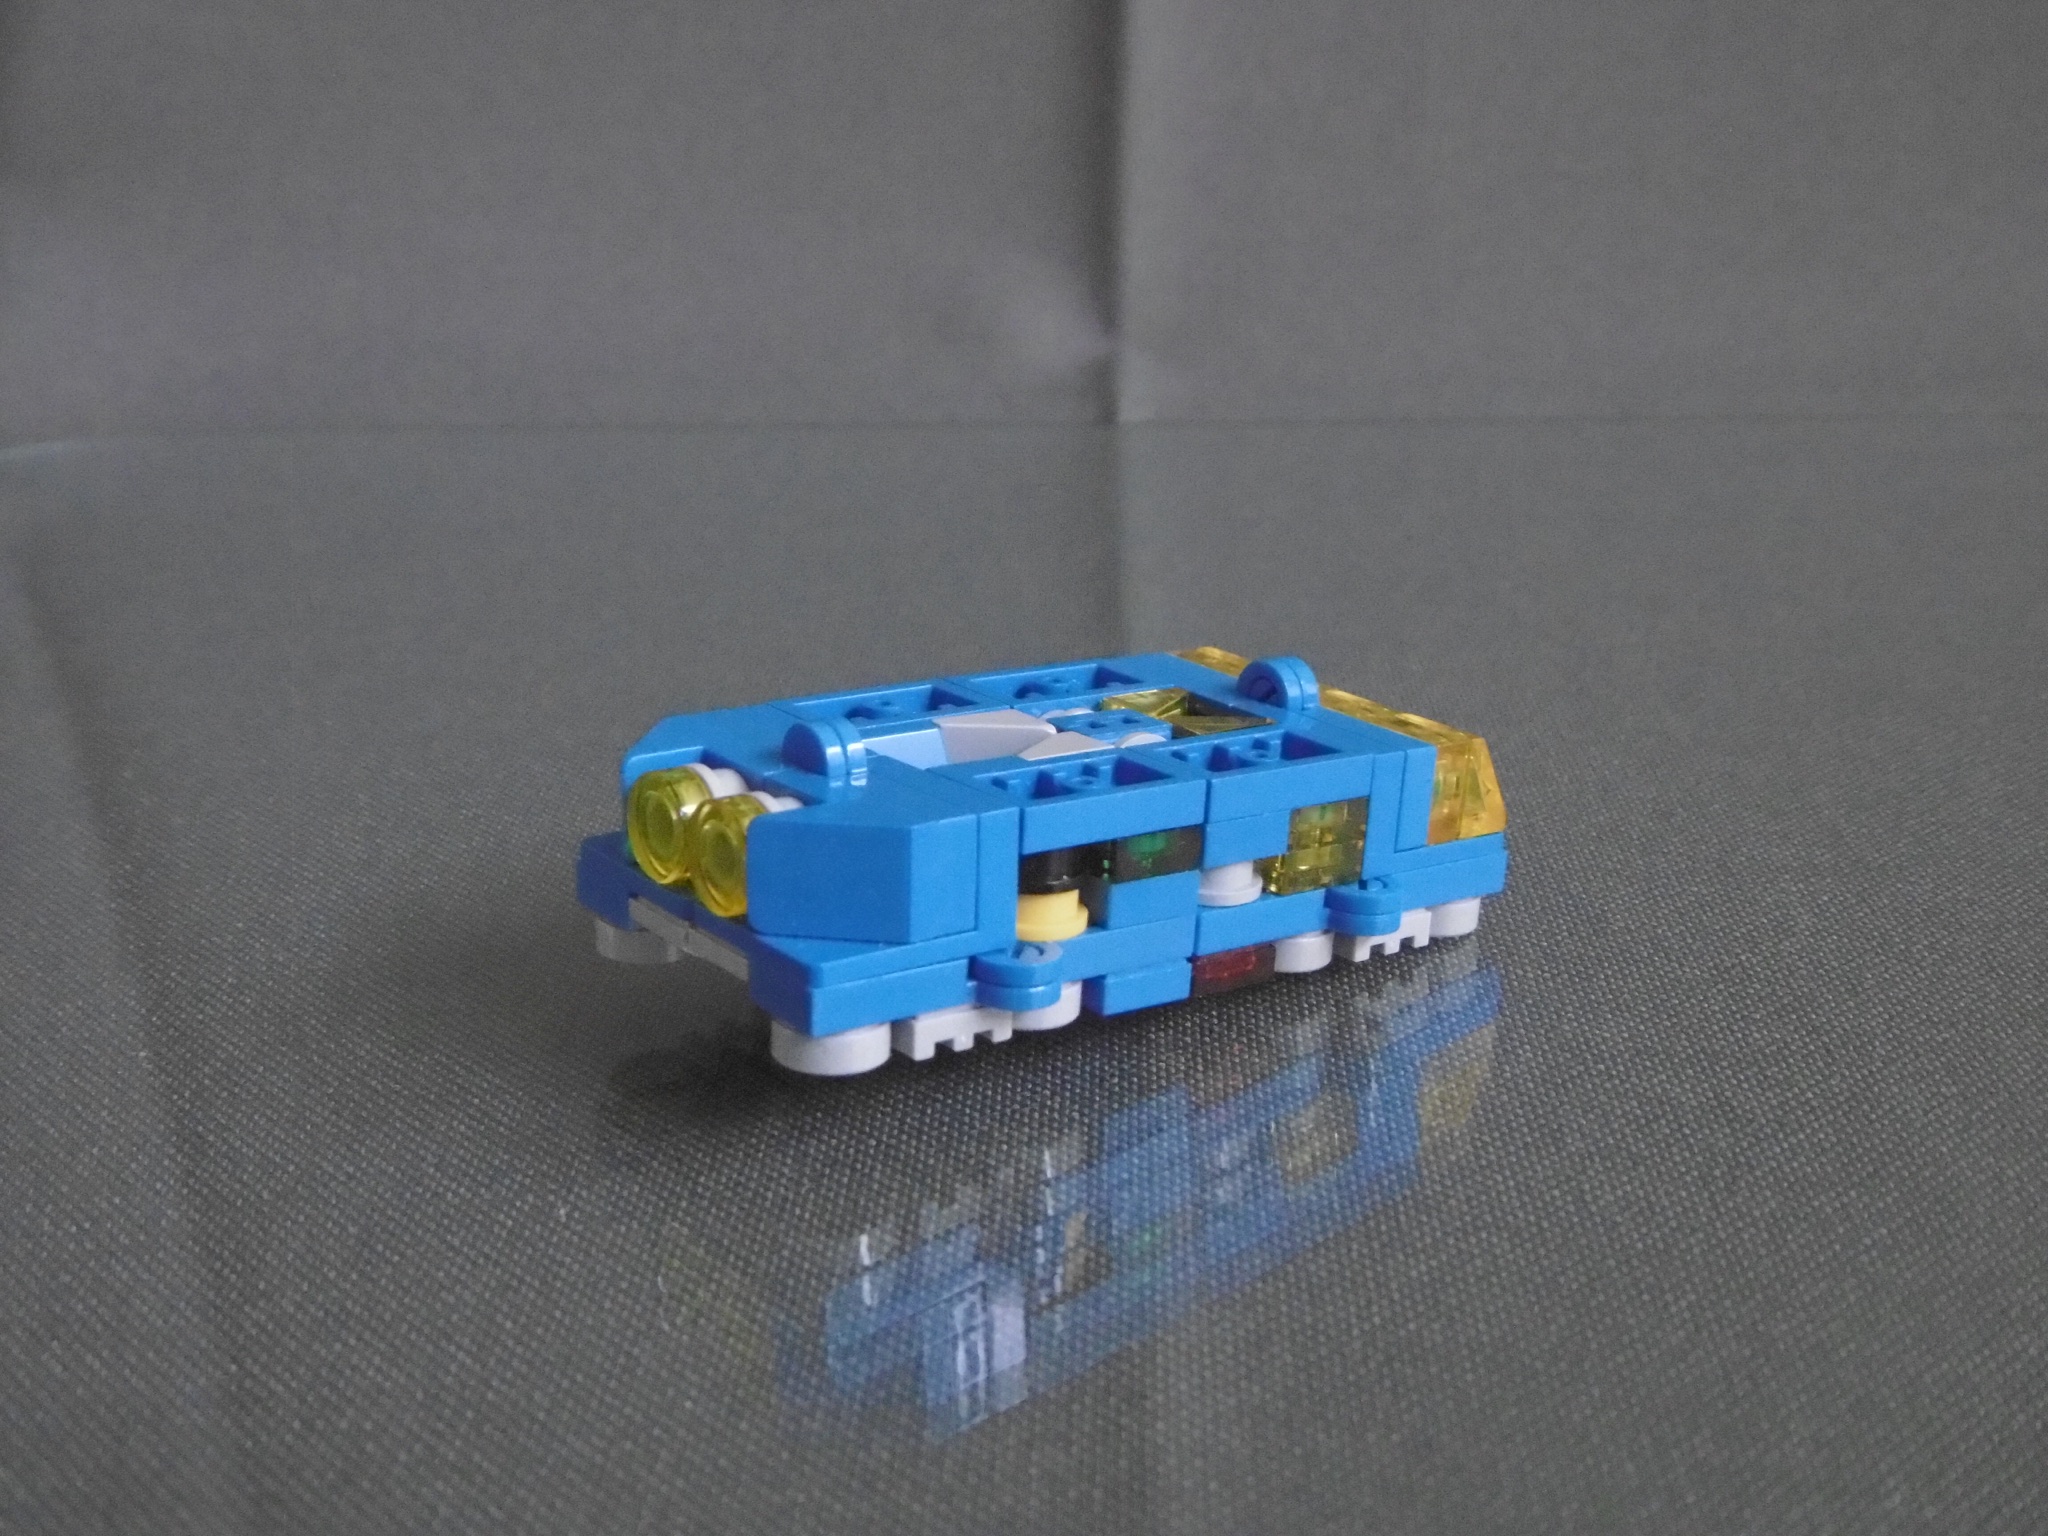
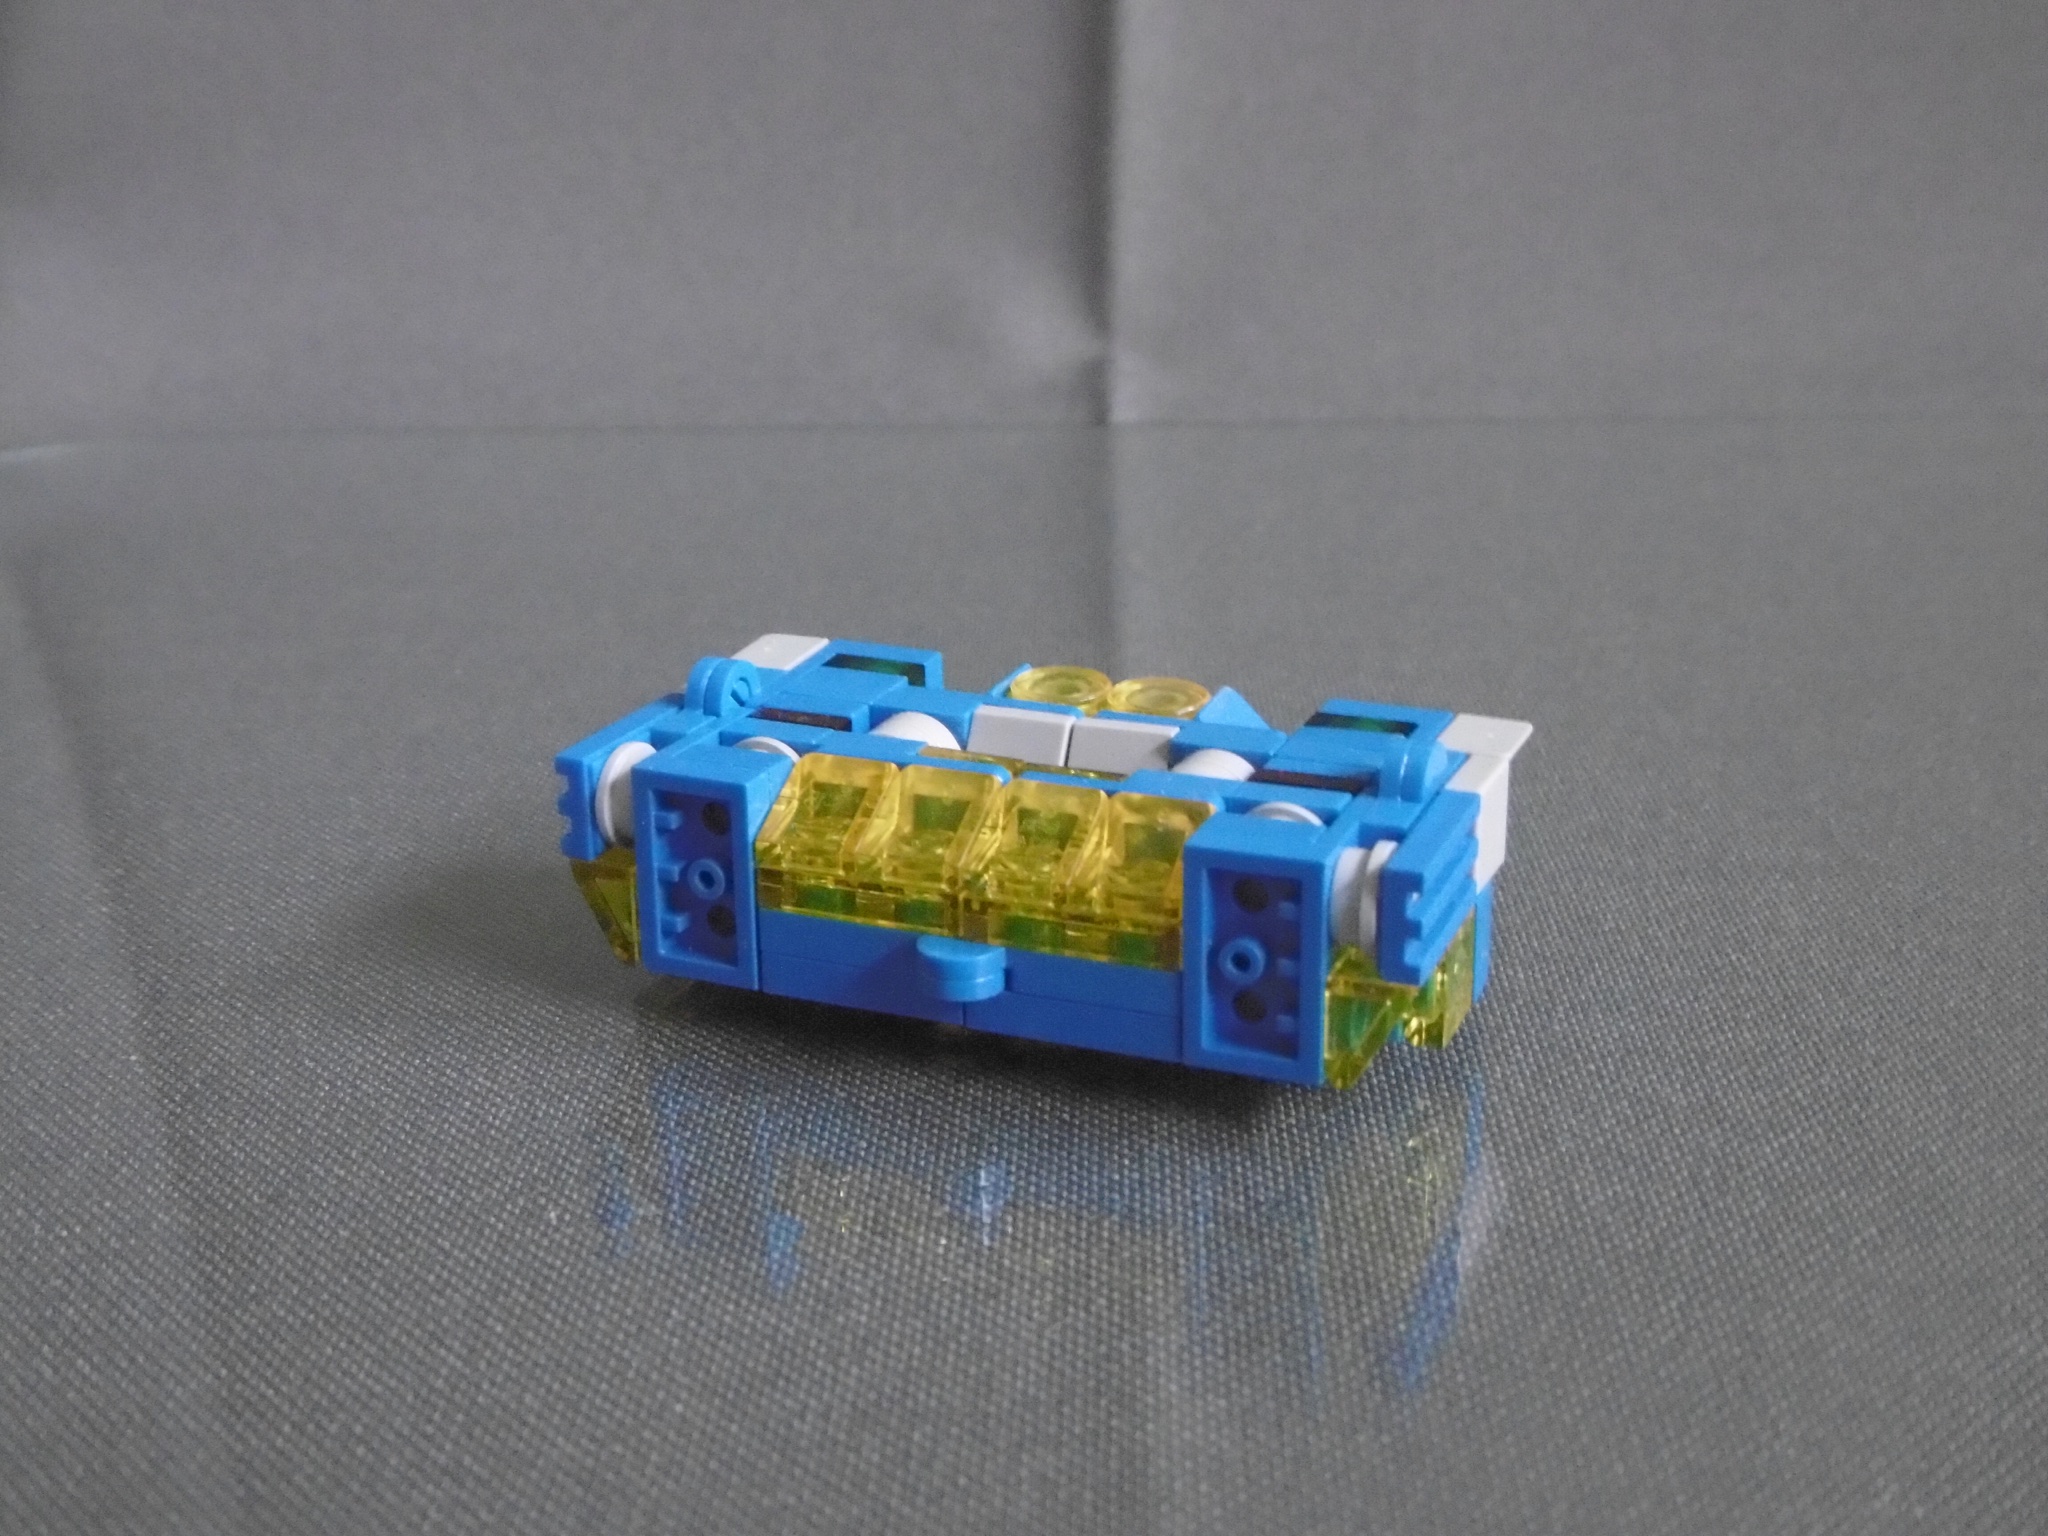
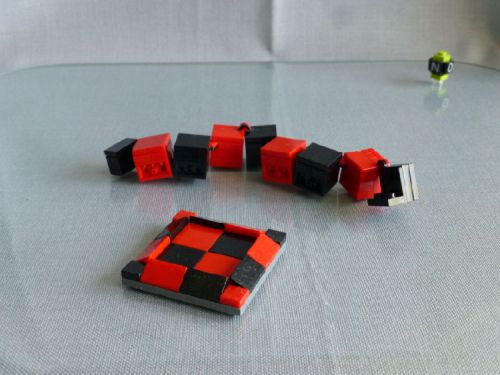
Top view: NILS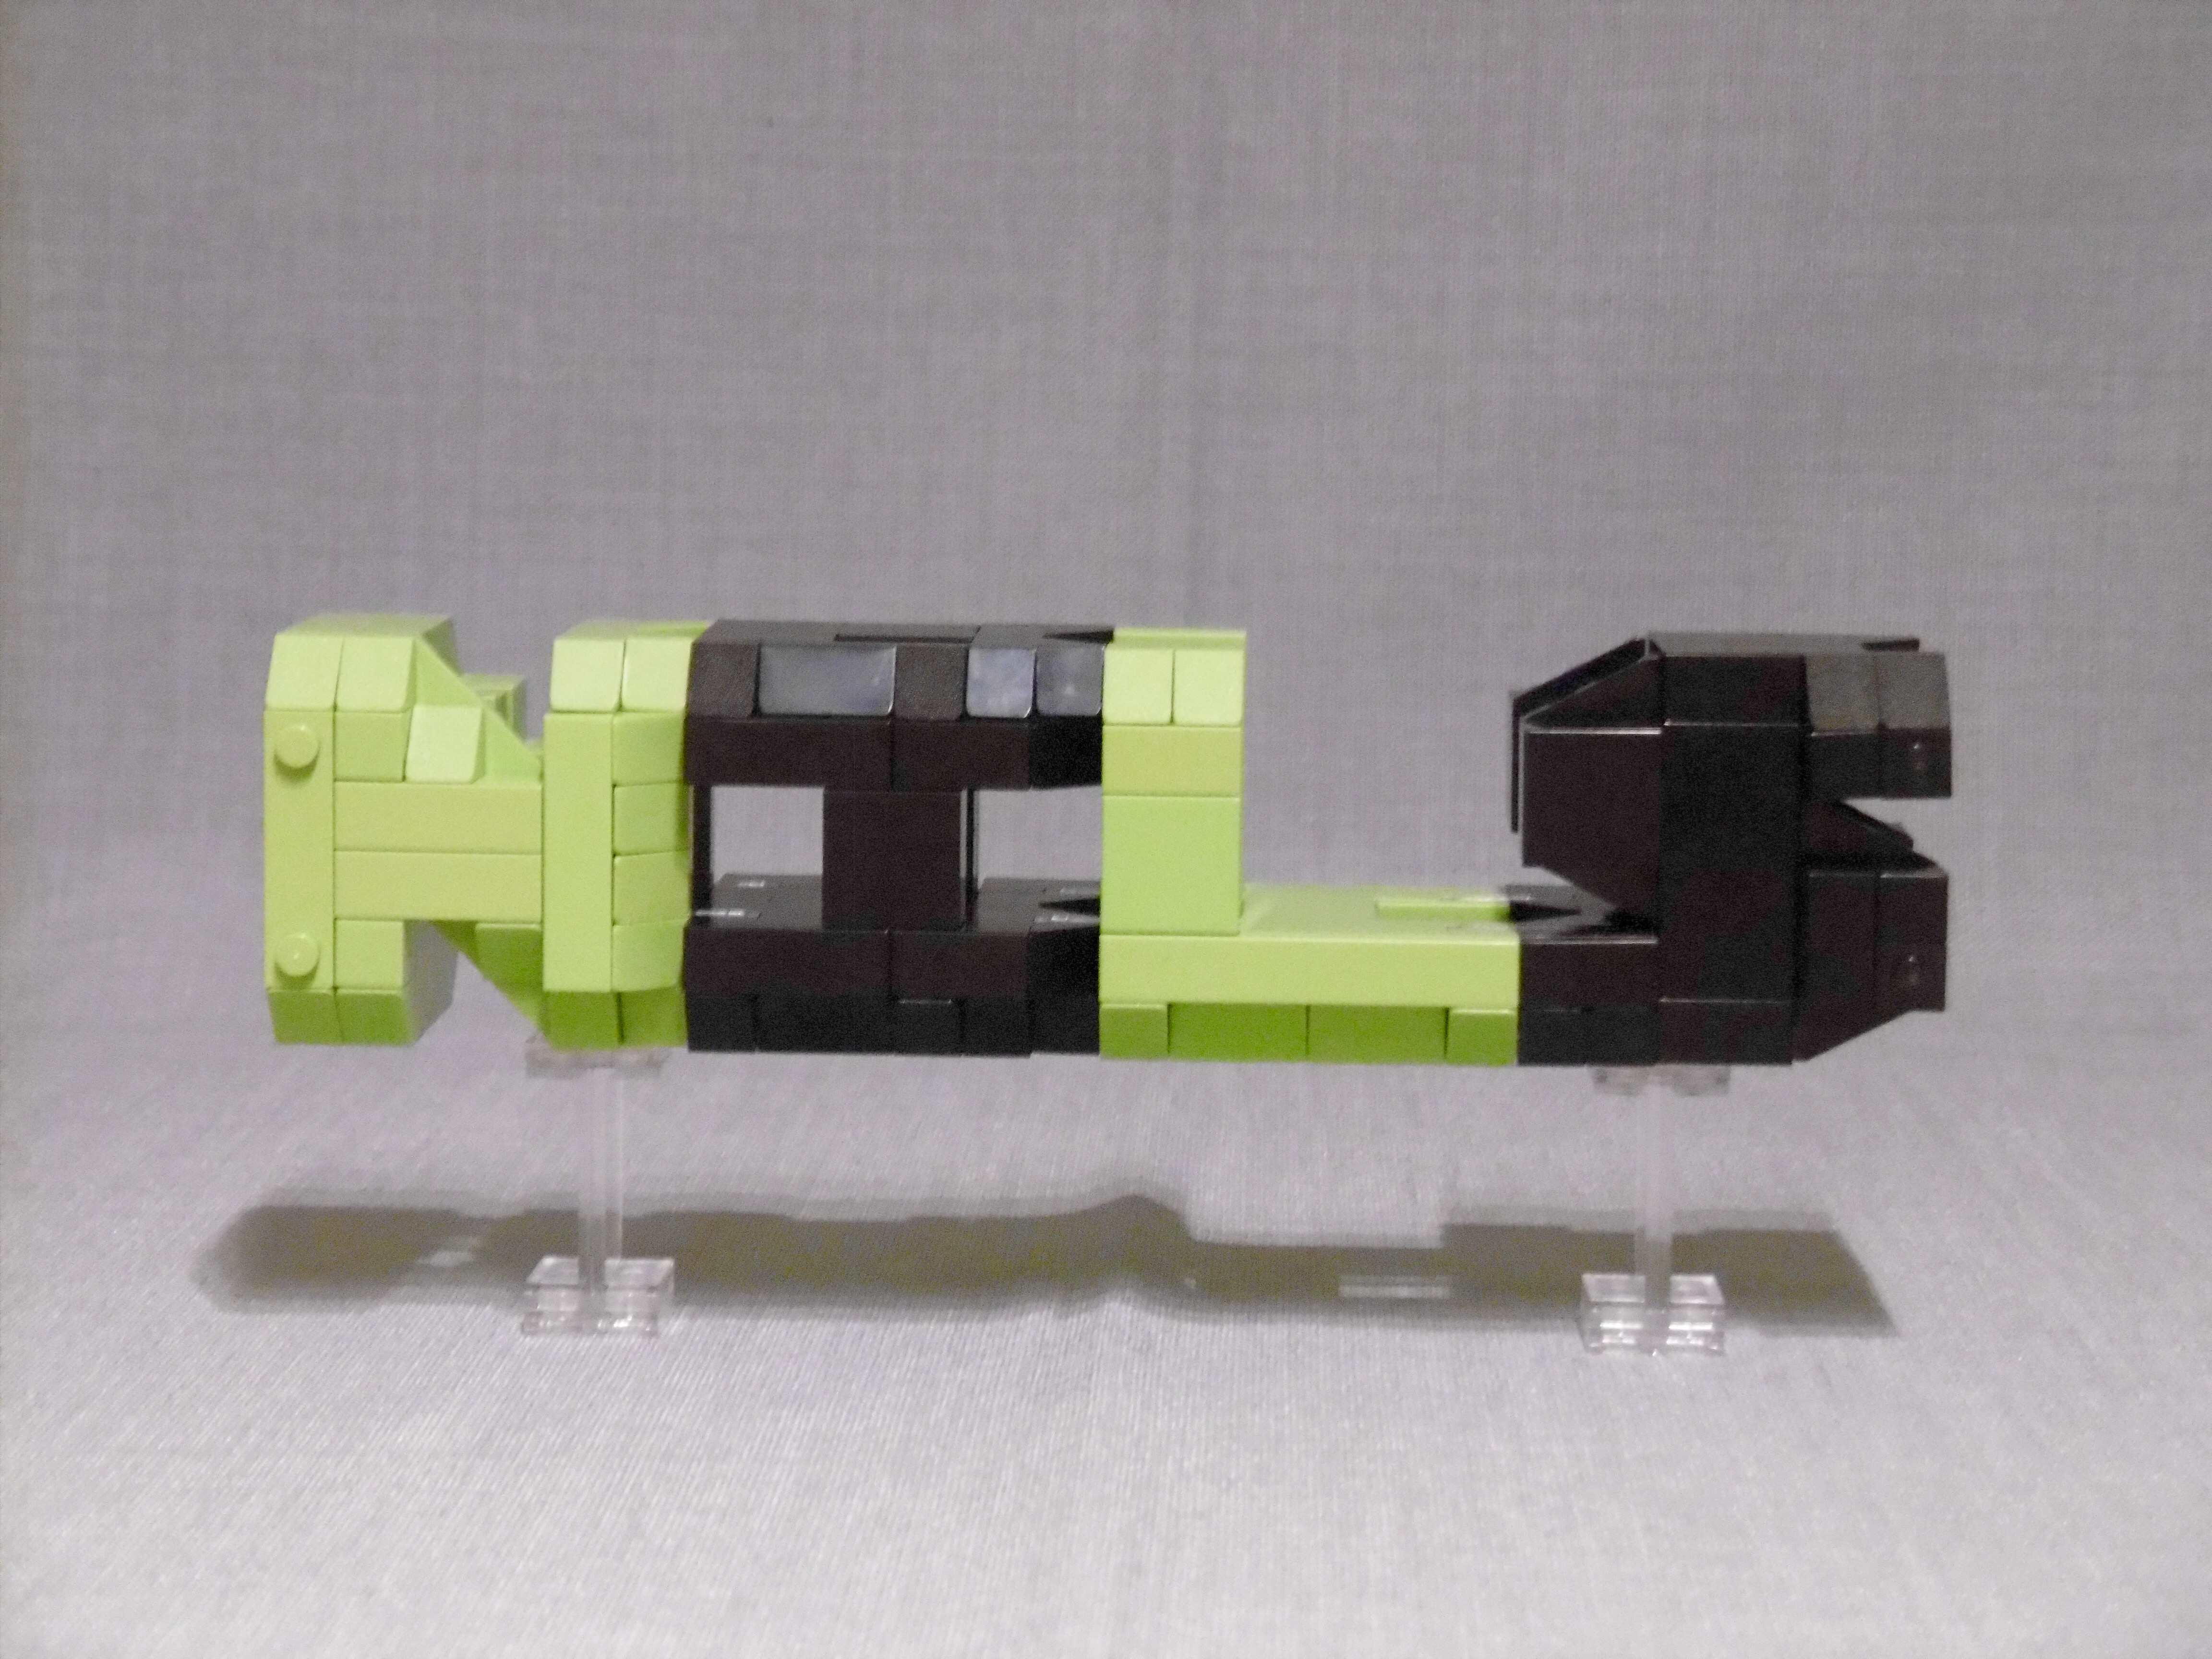
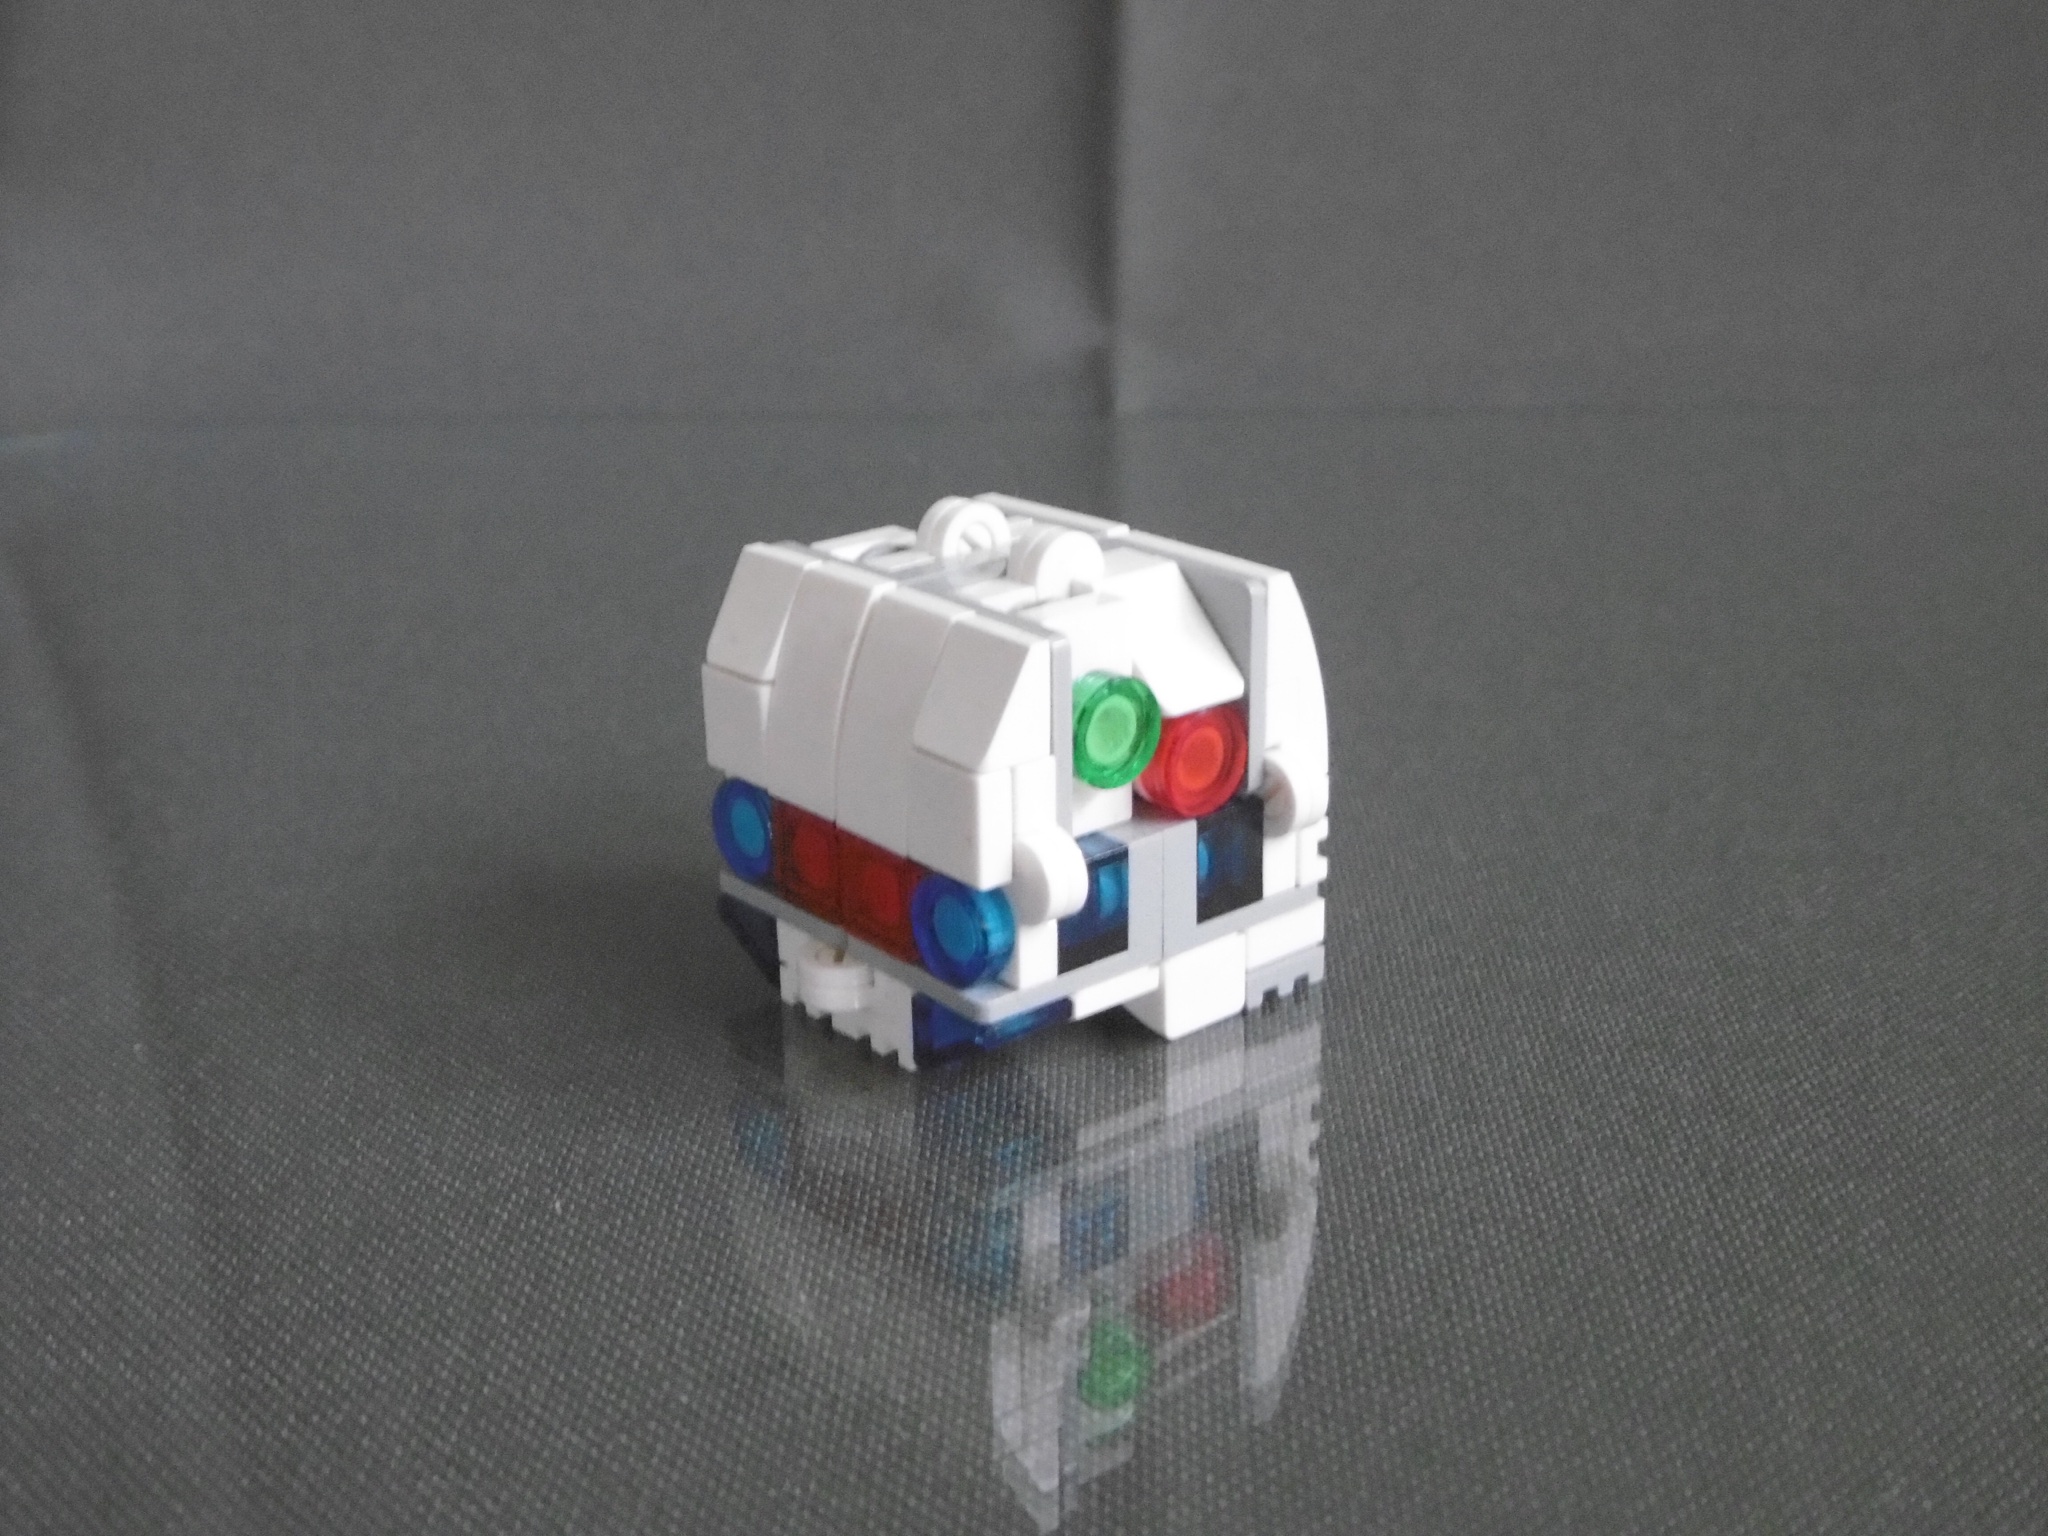
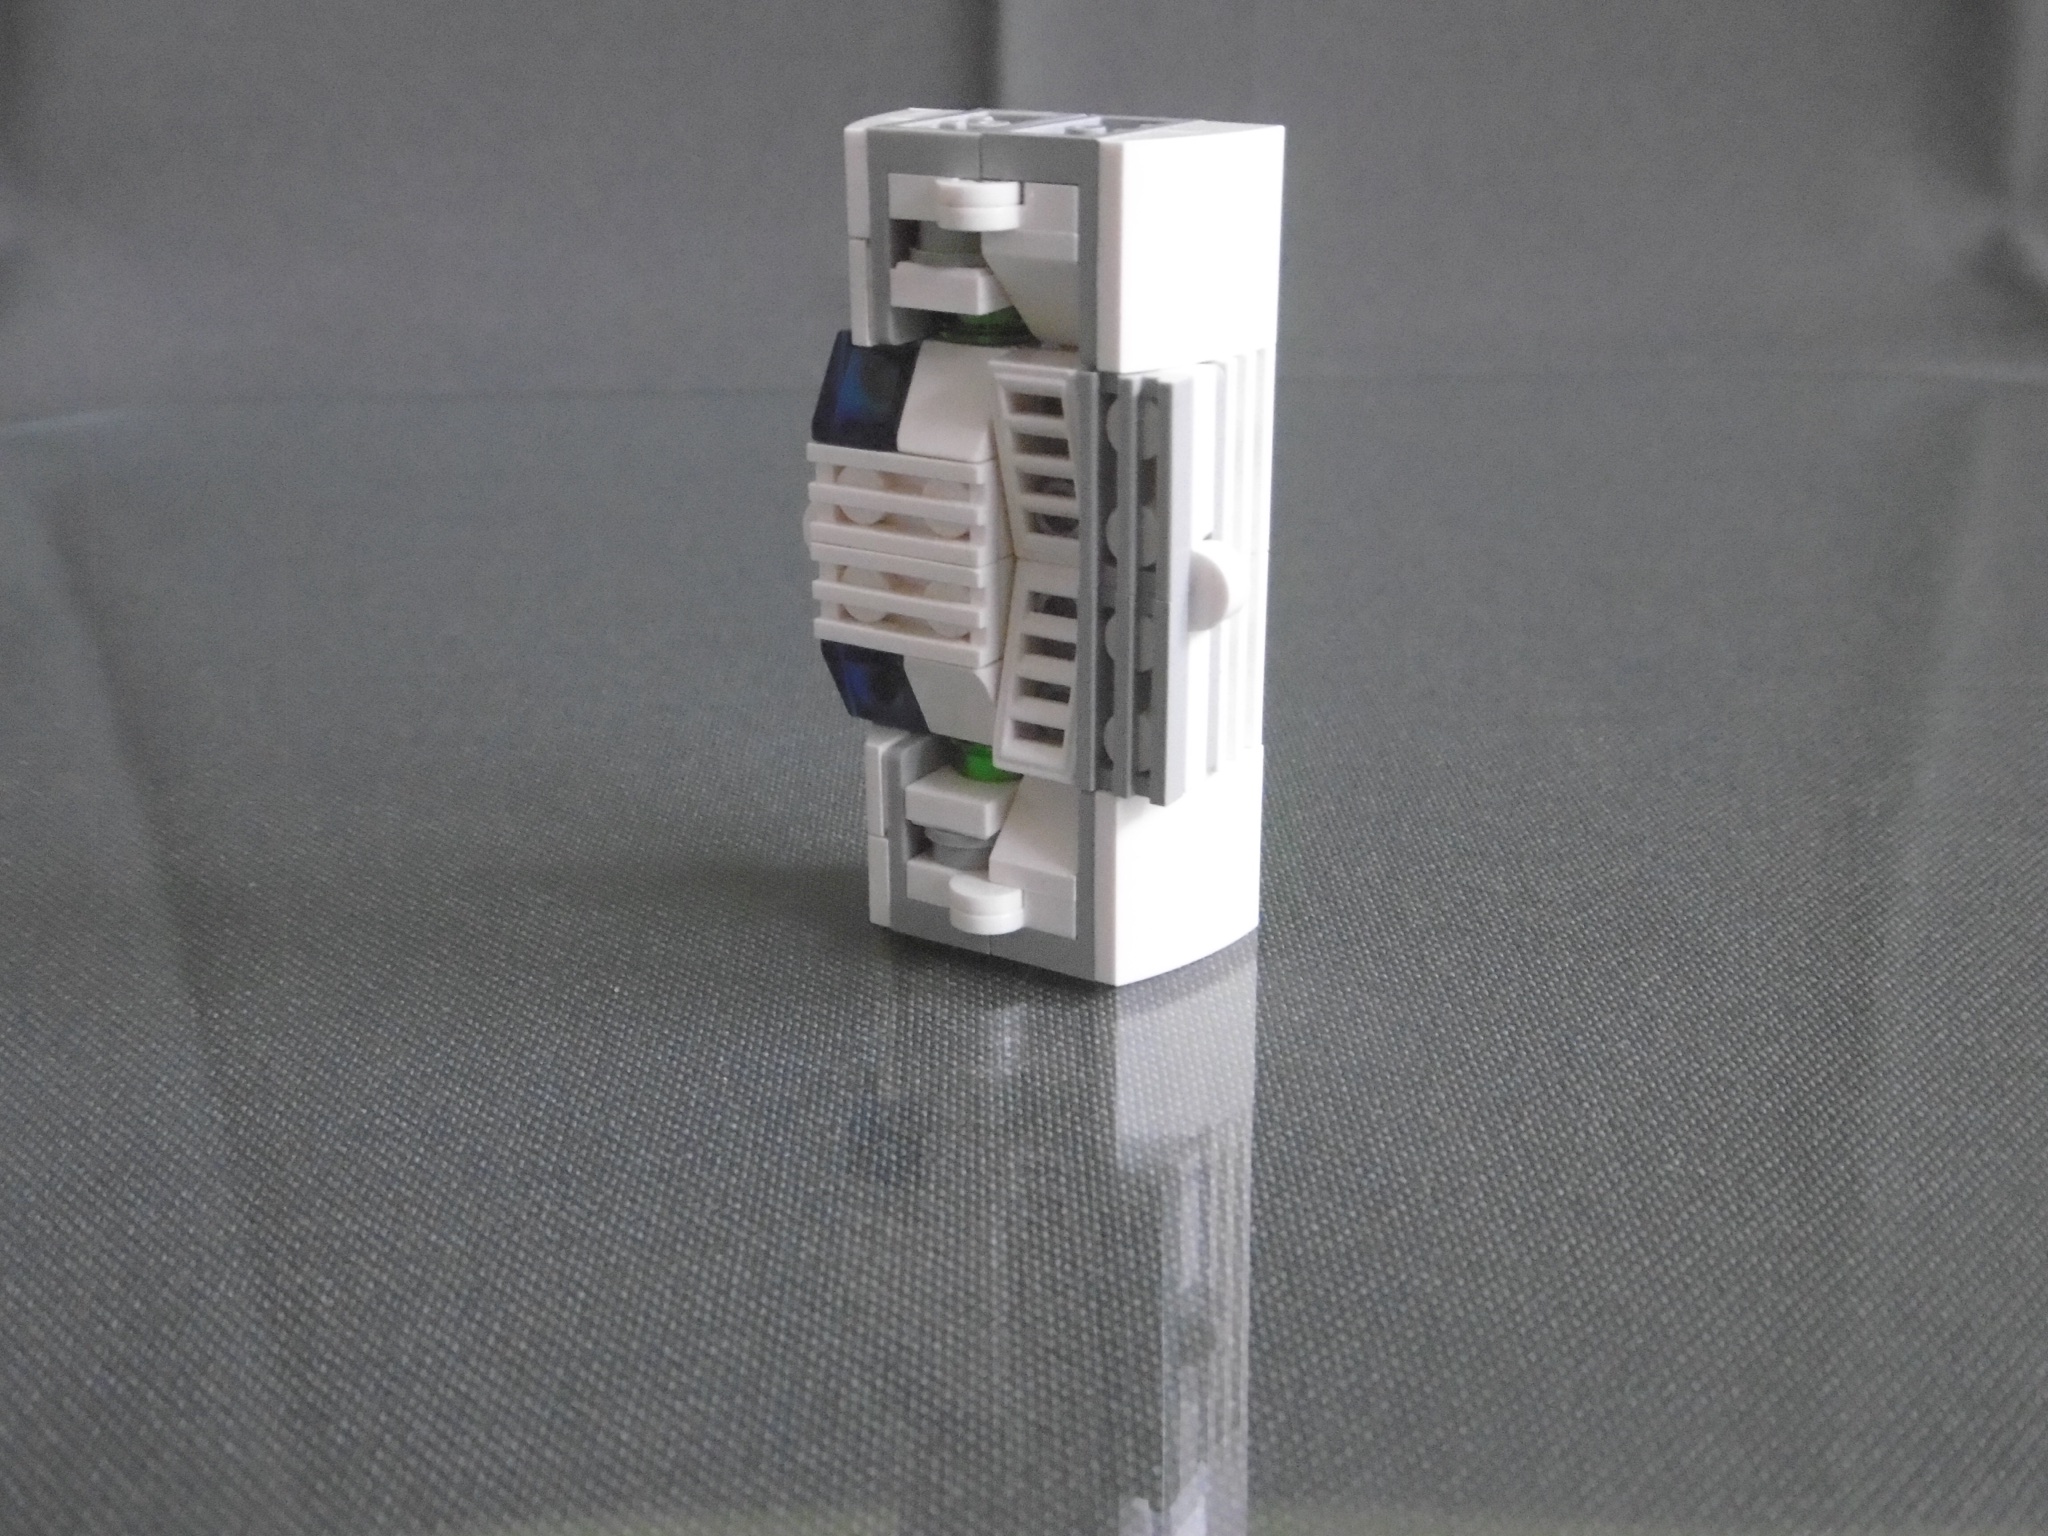
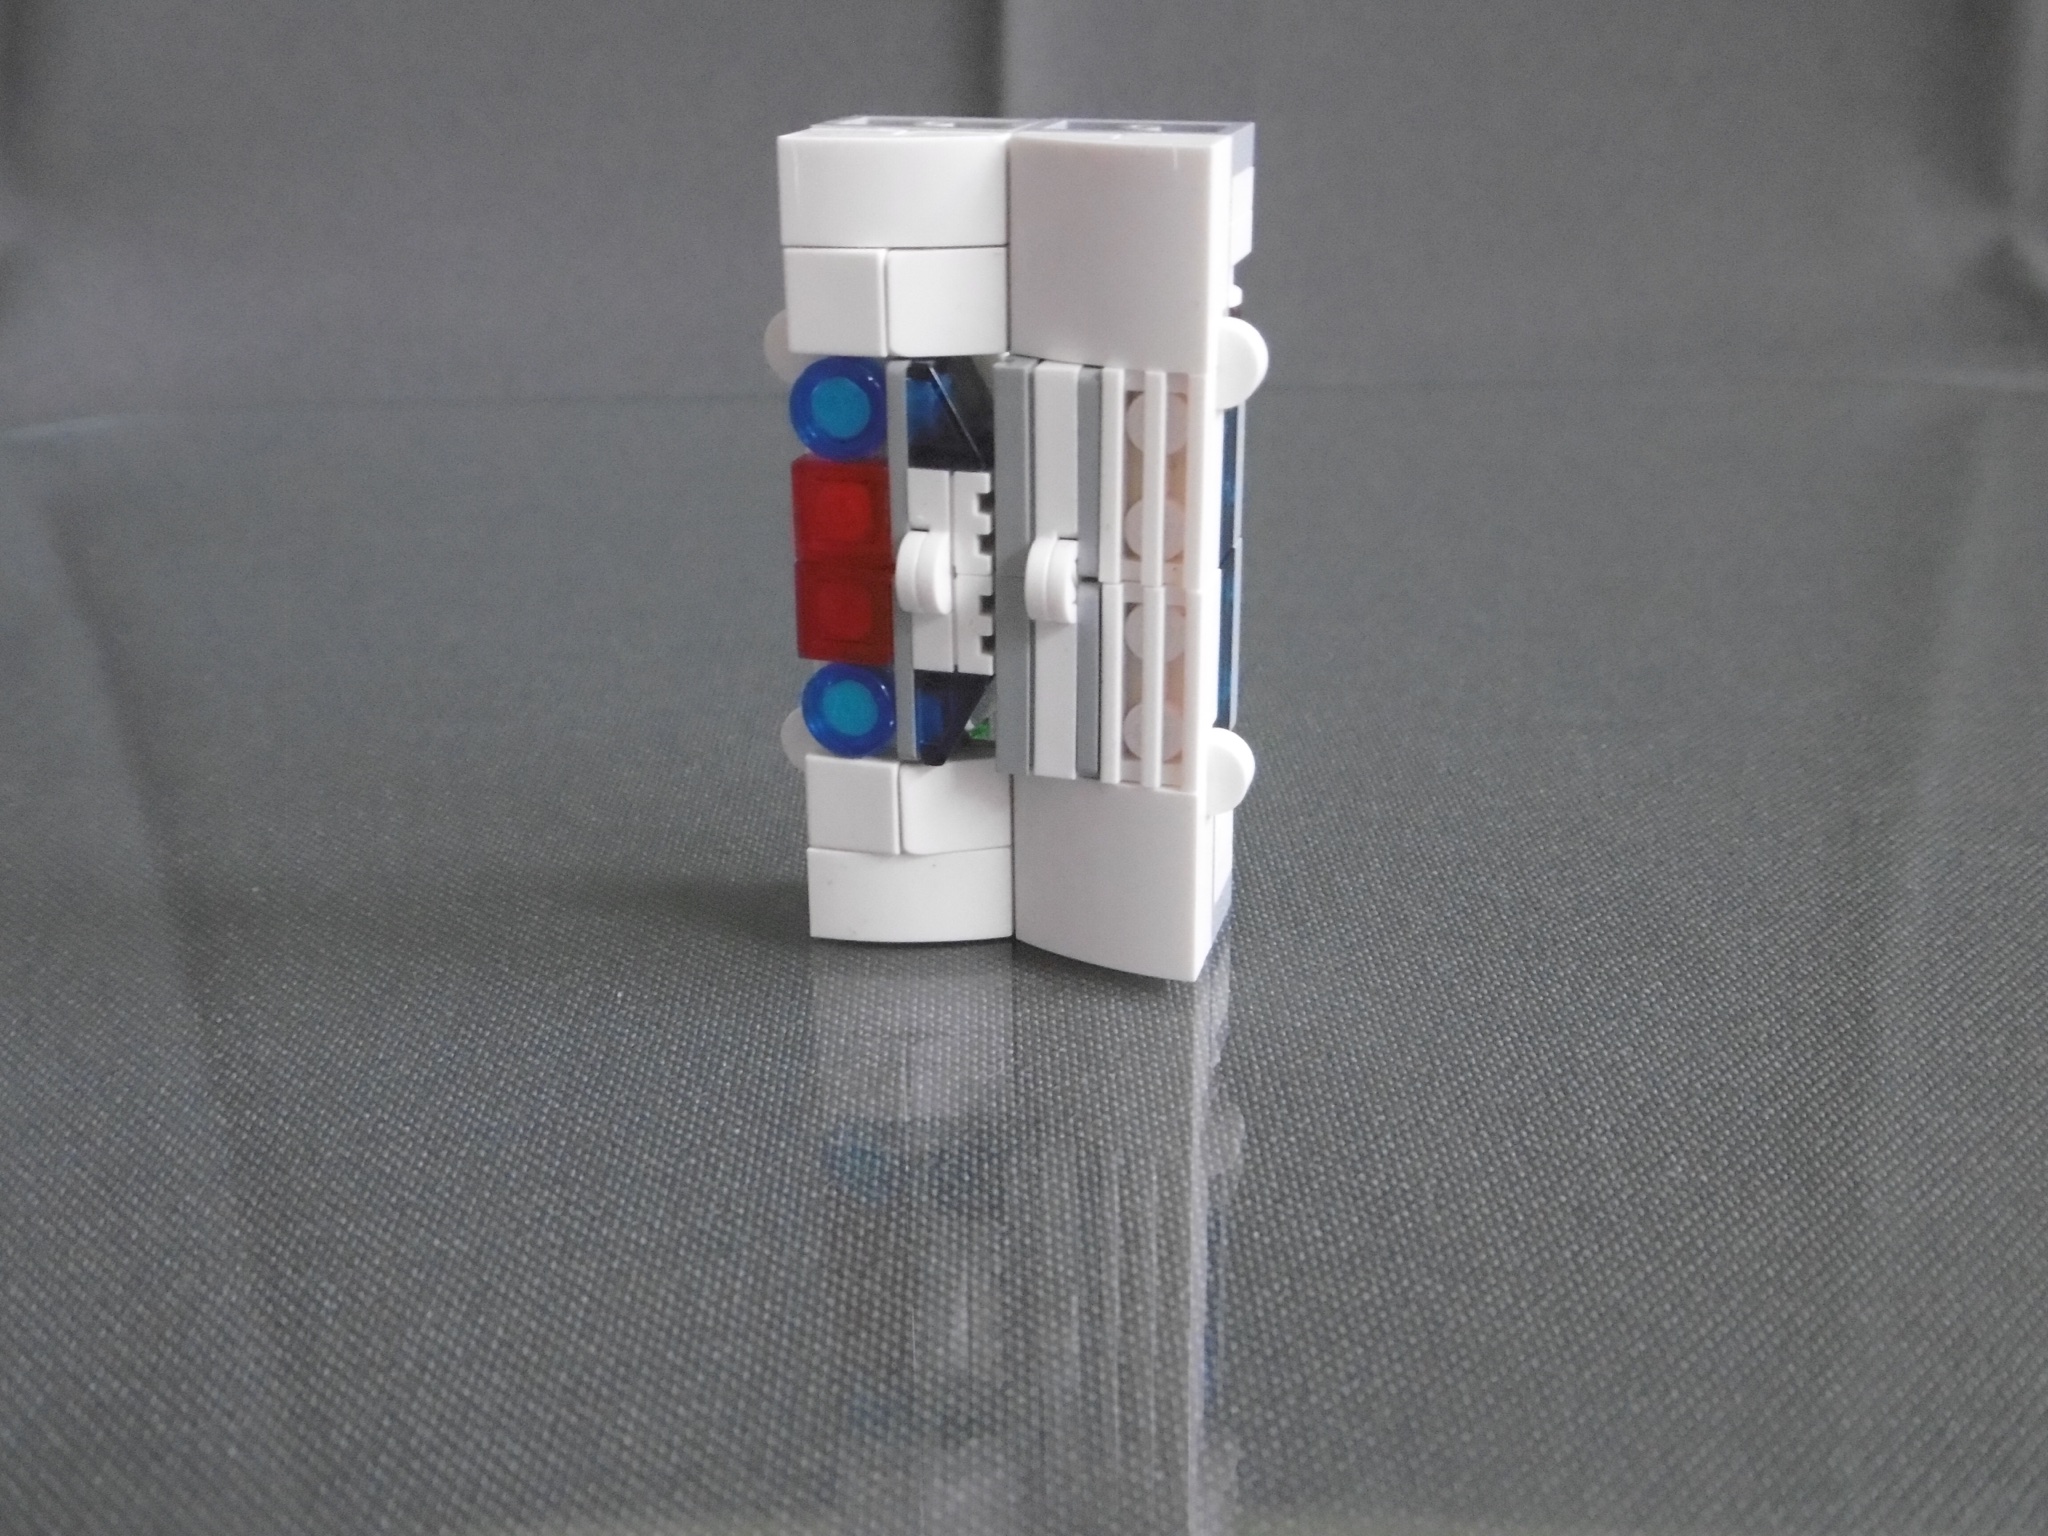
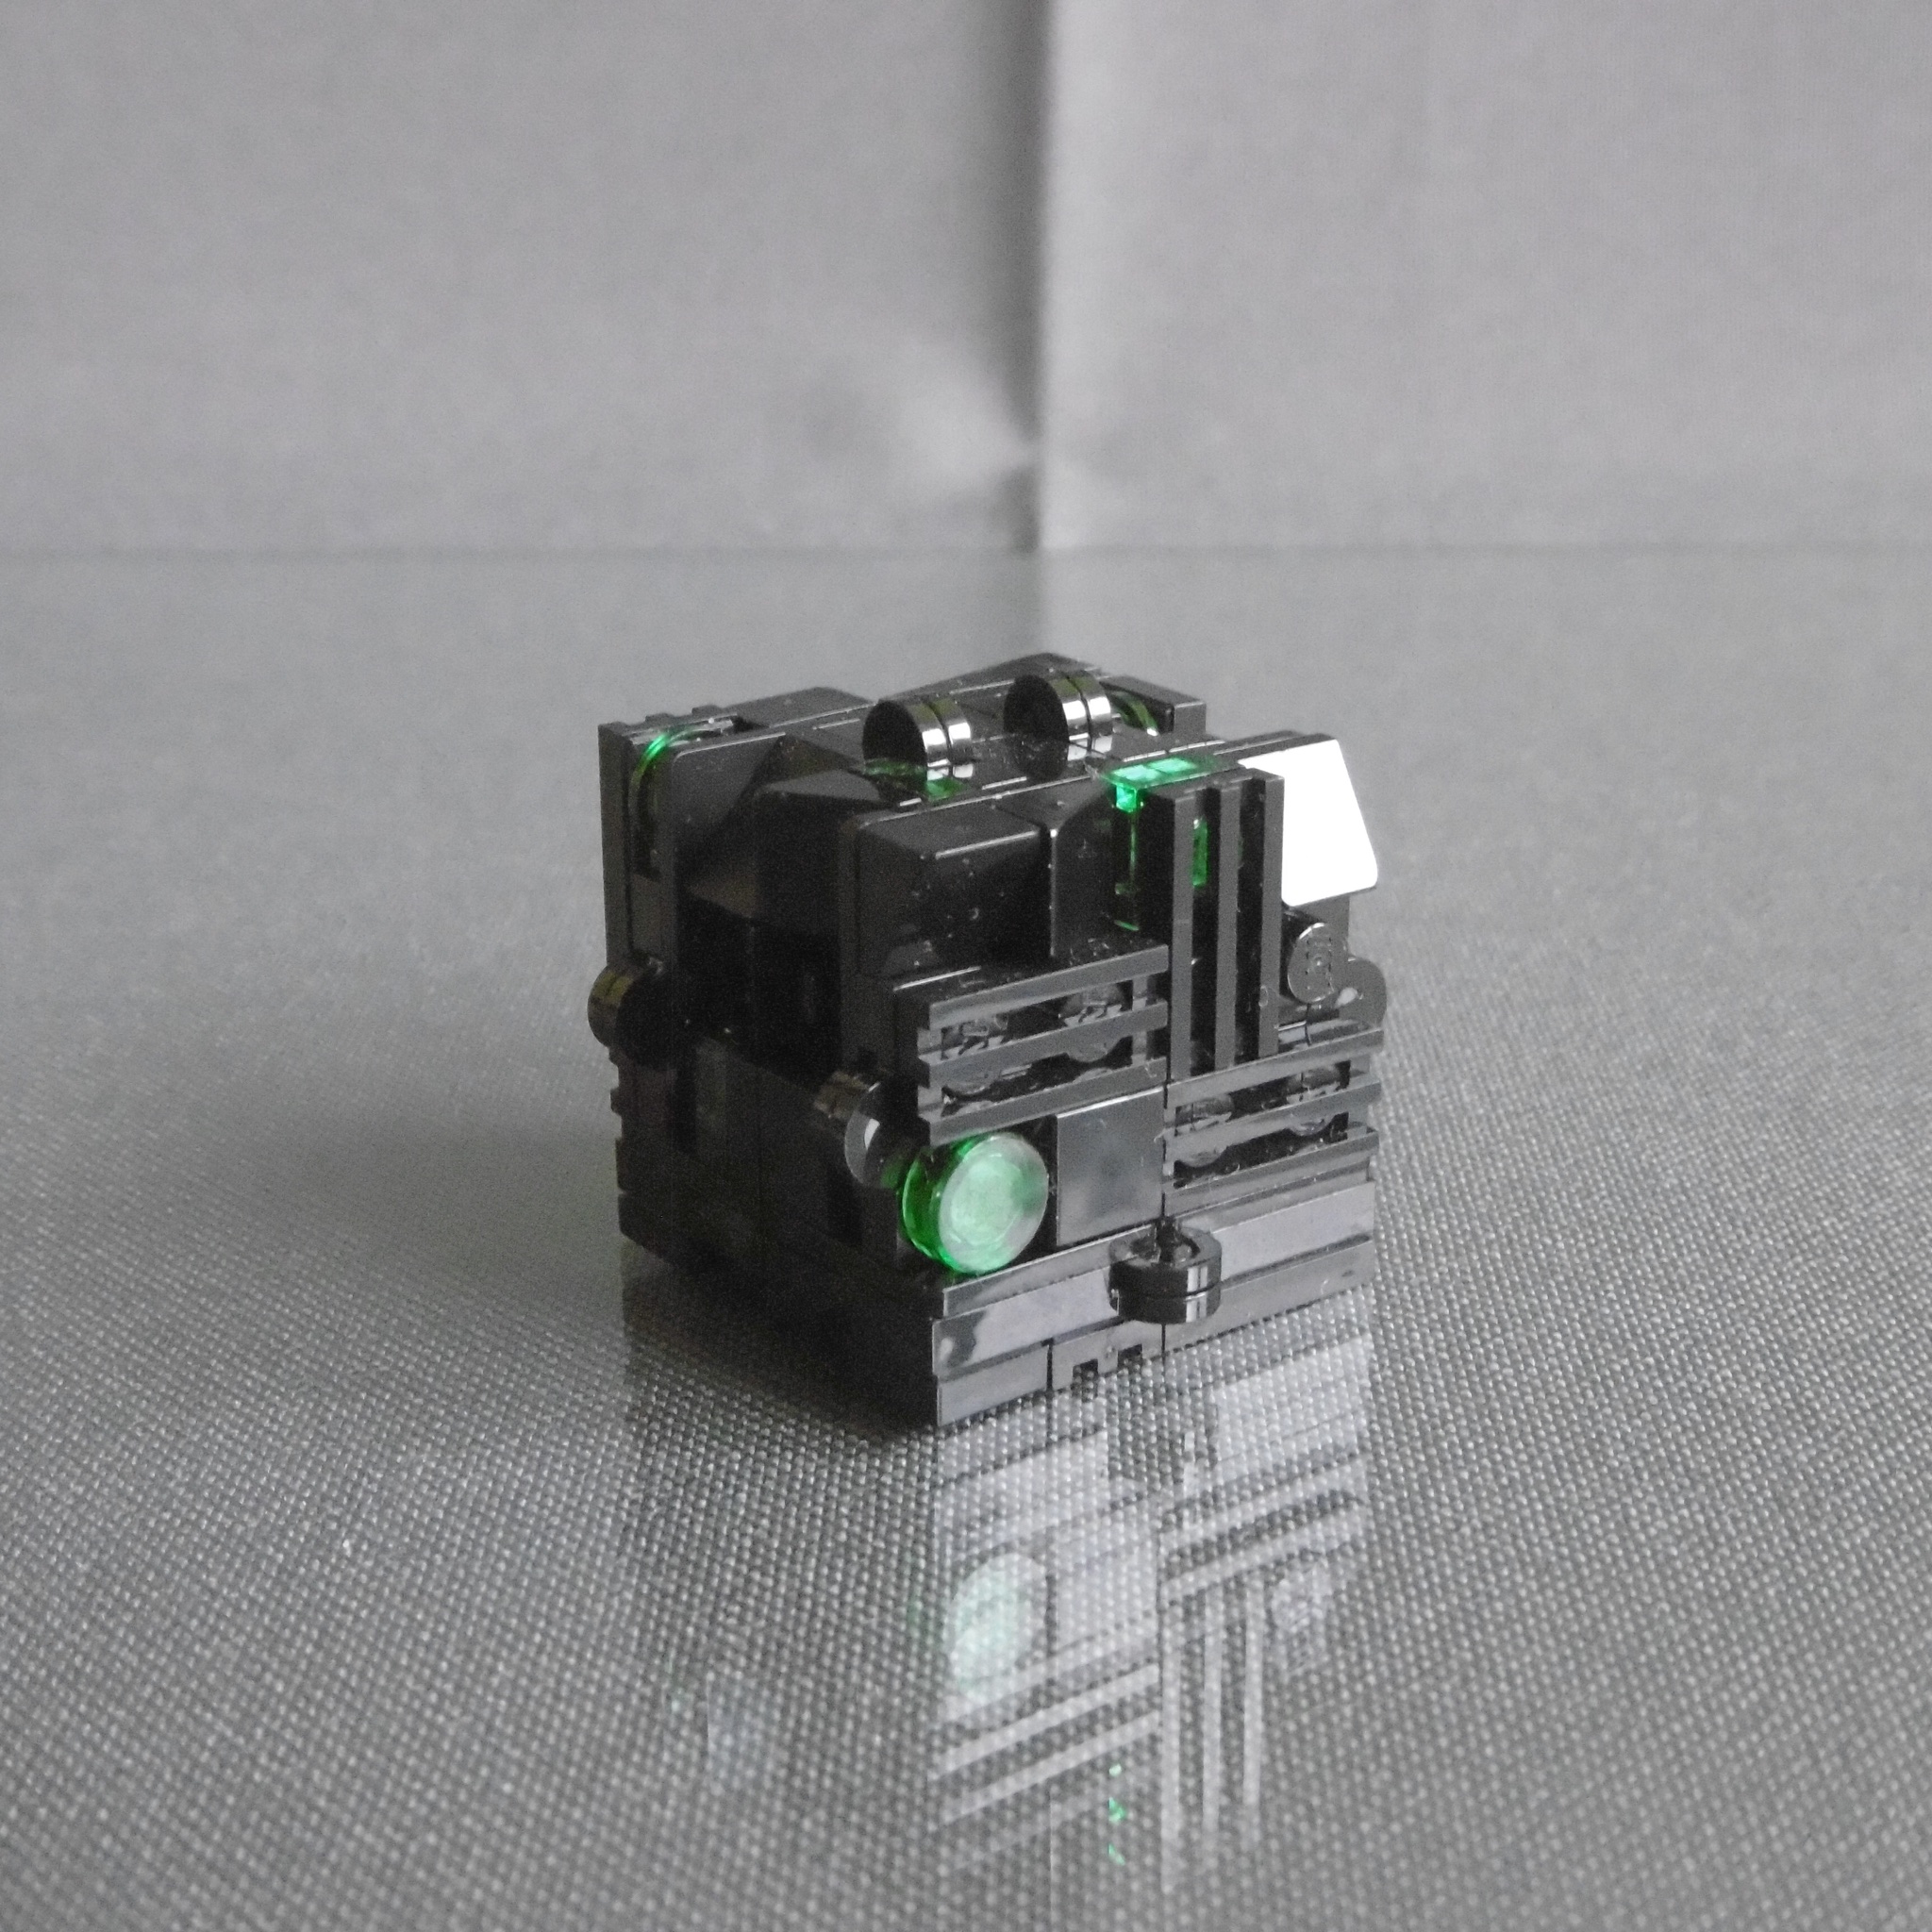
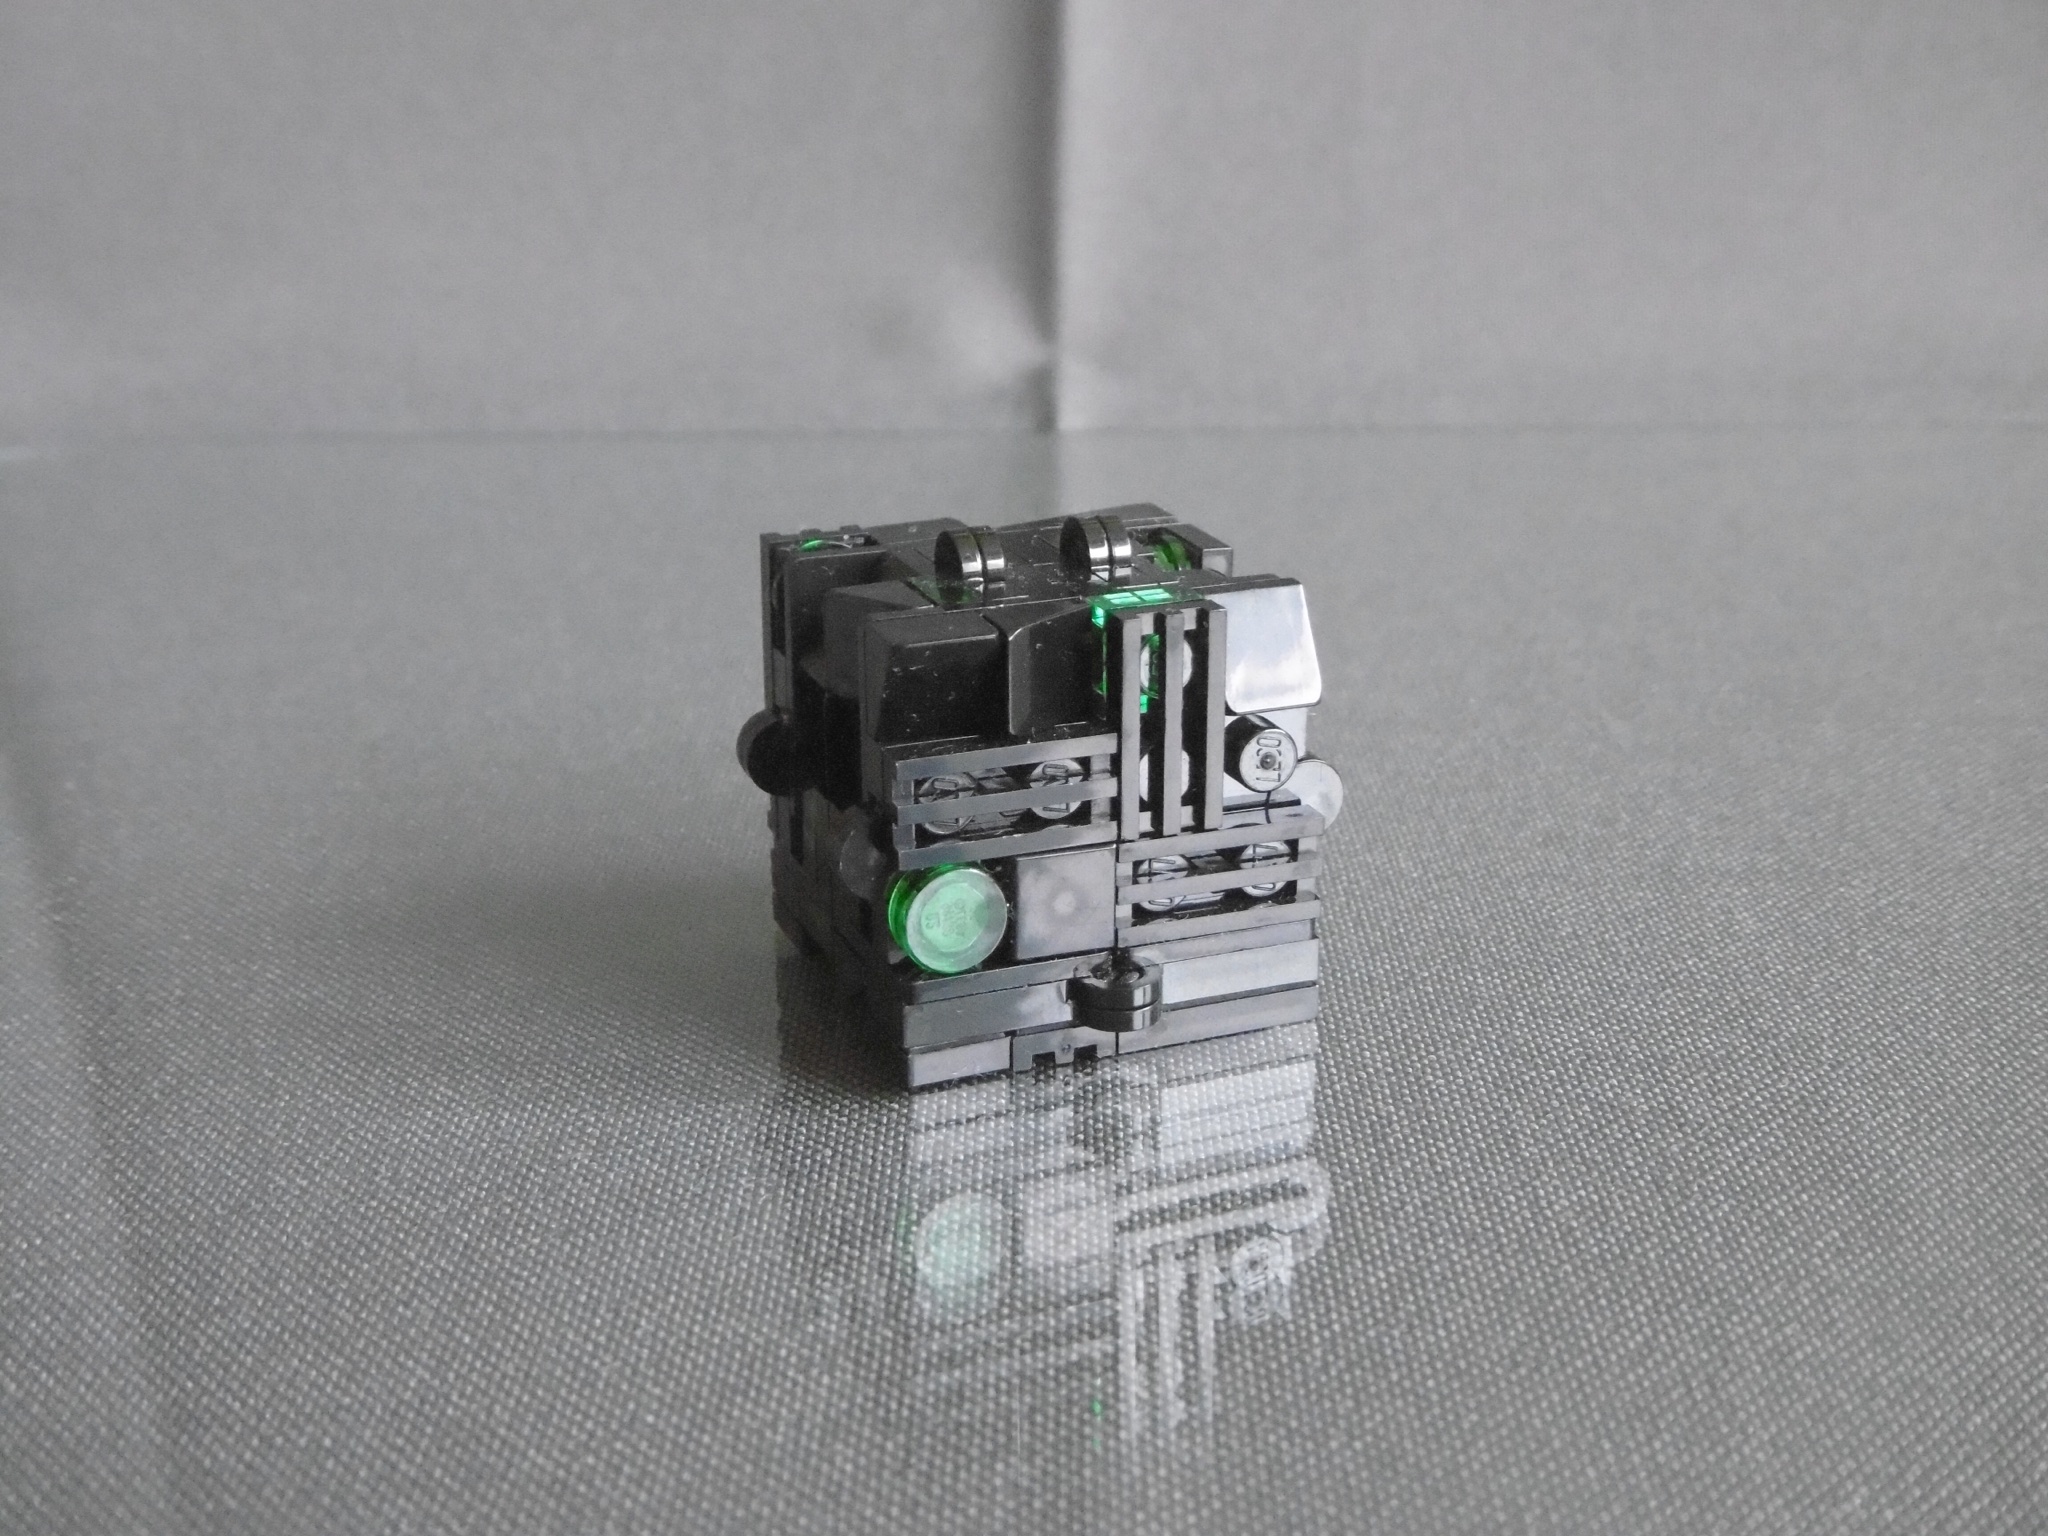
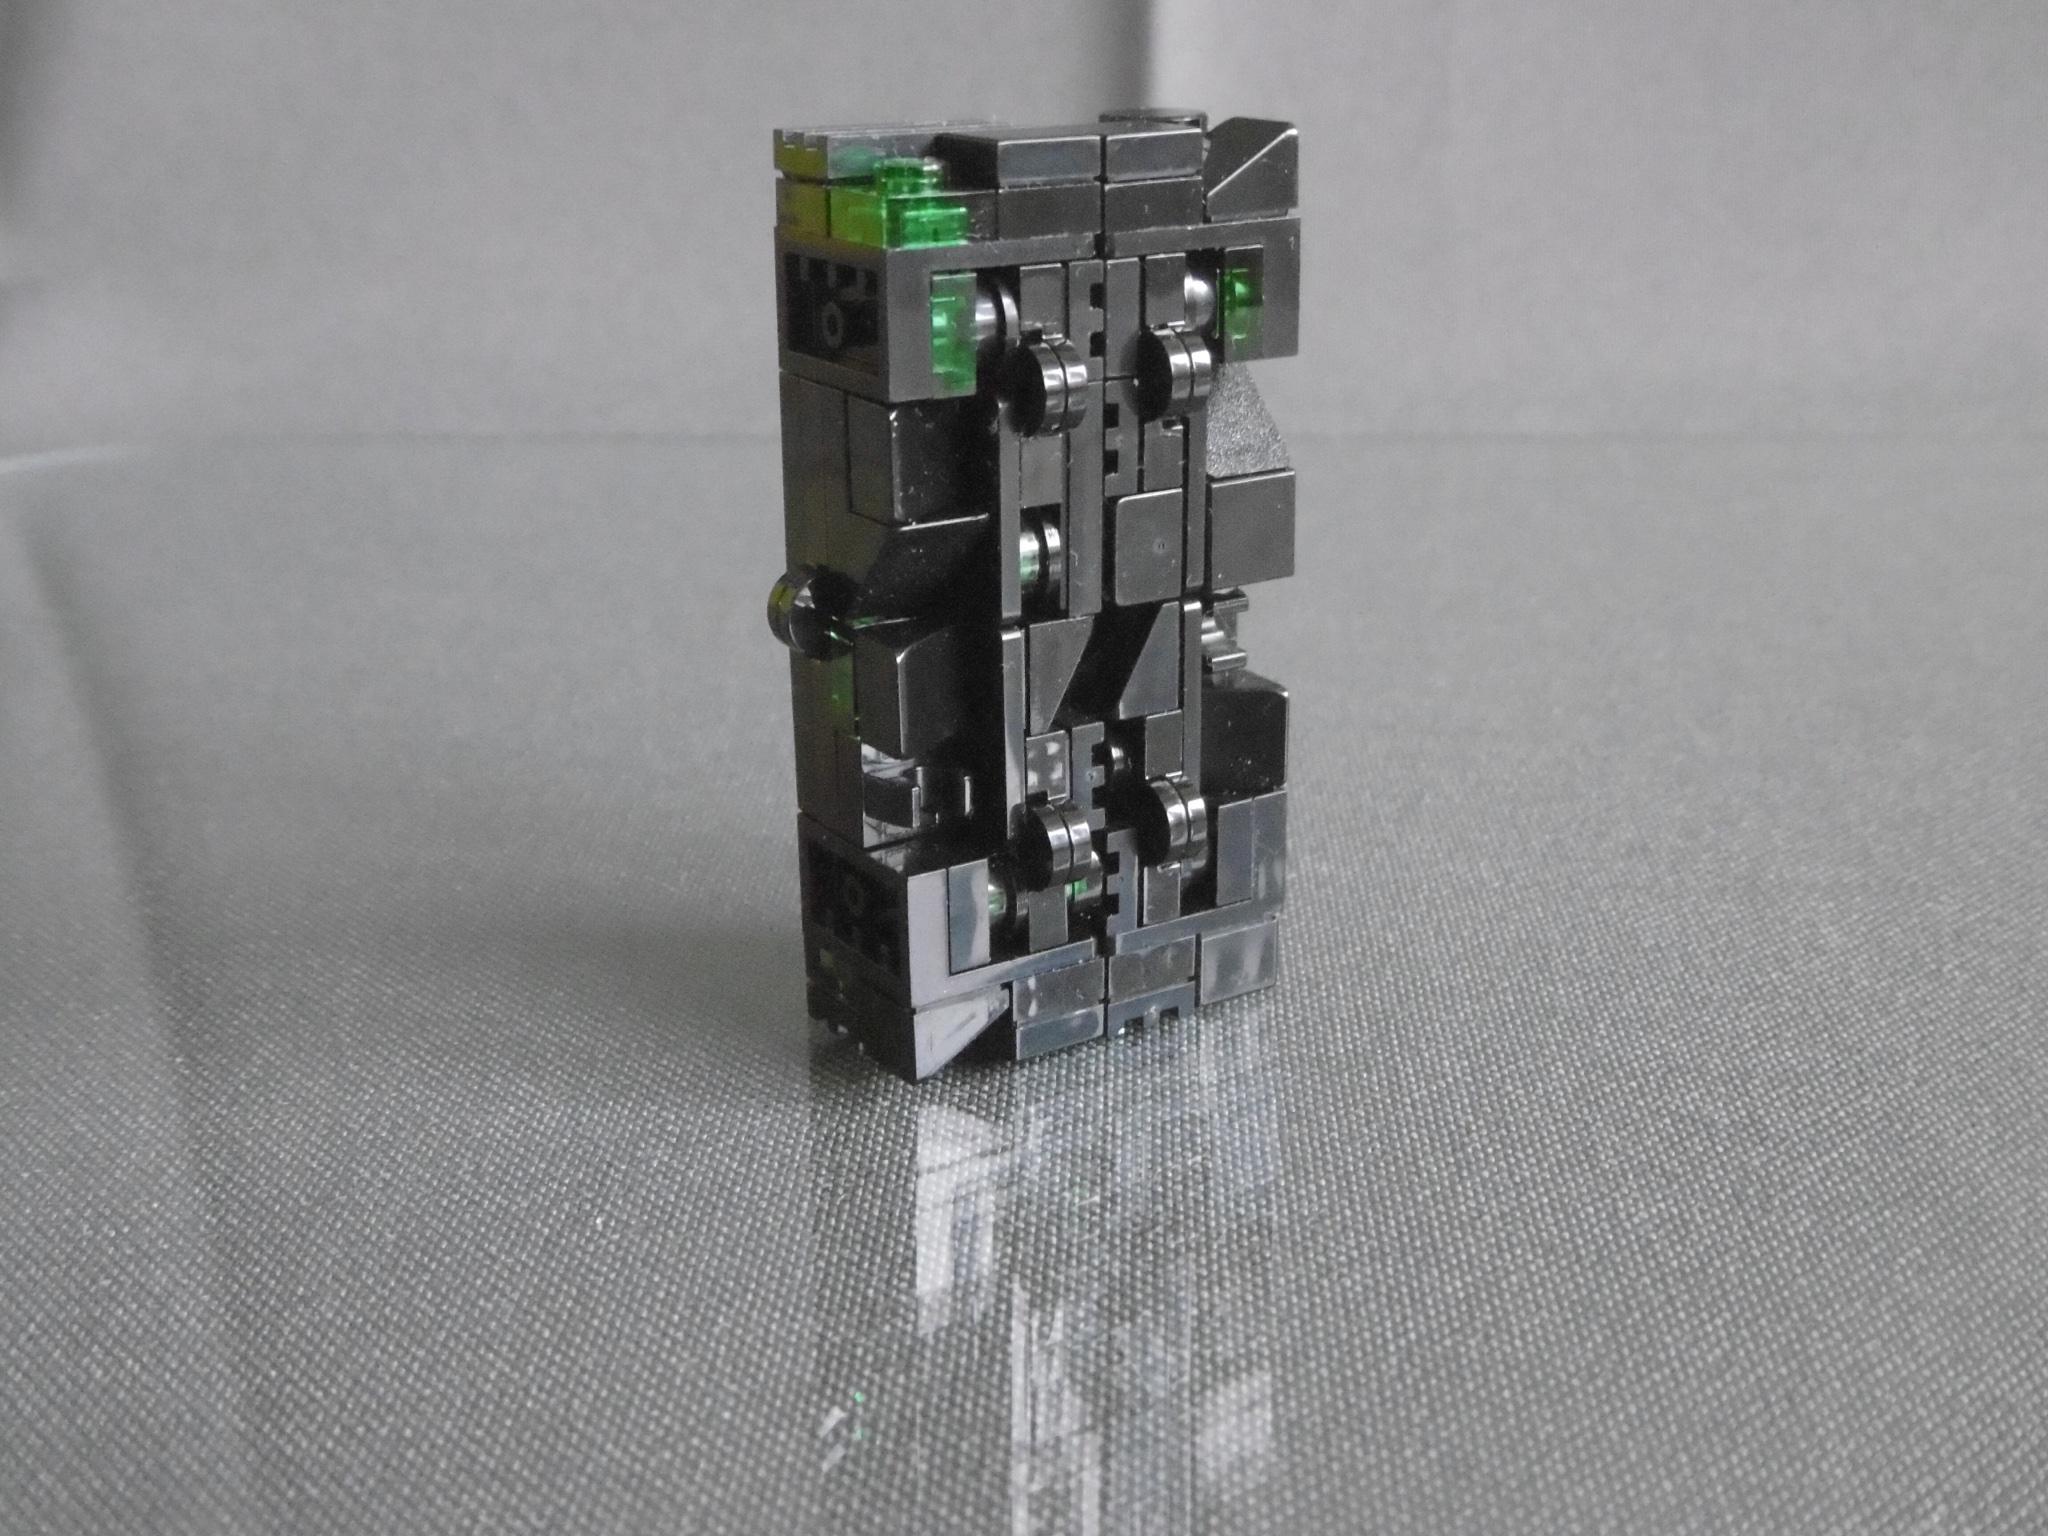
Side view: O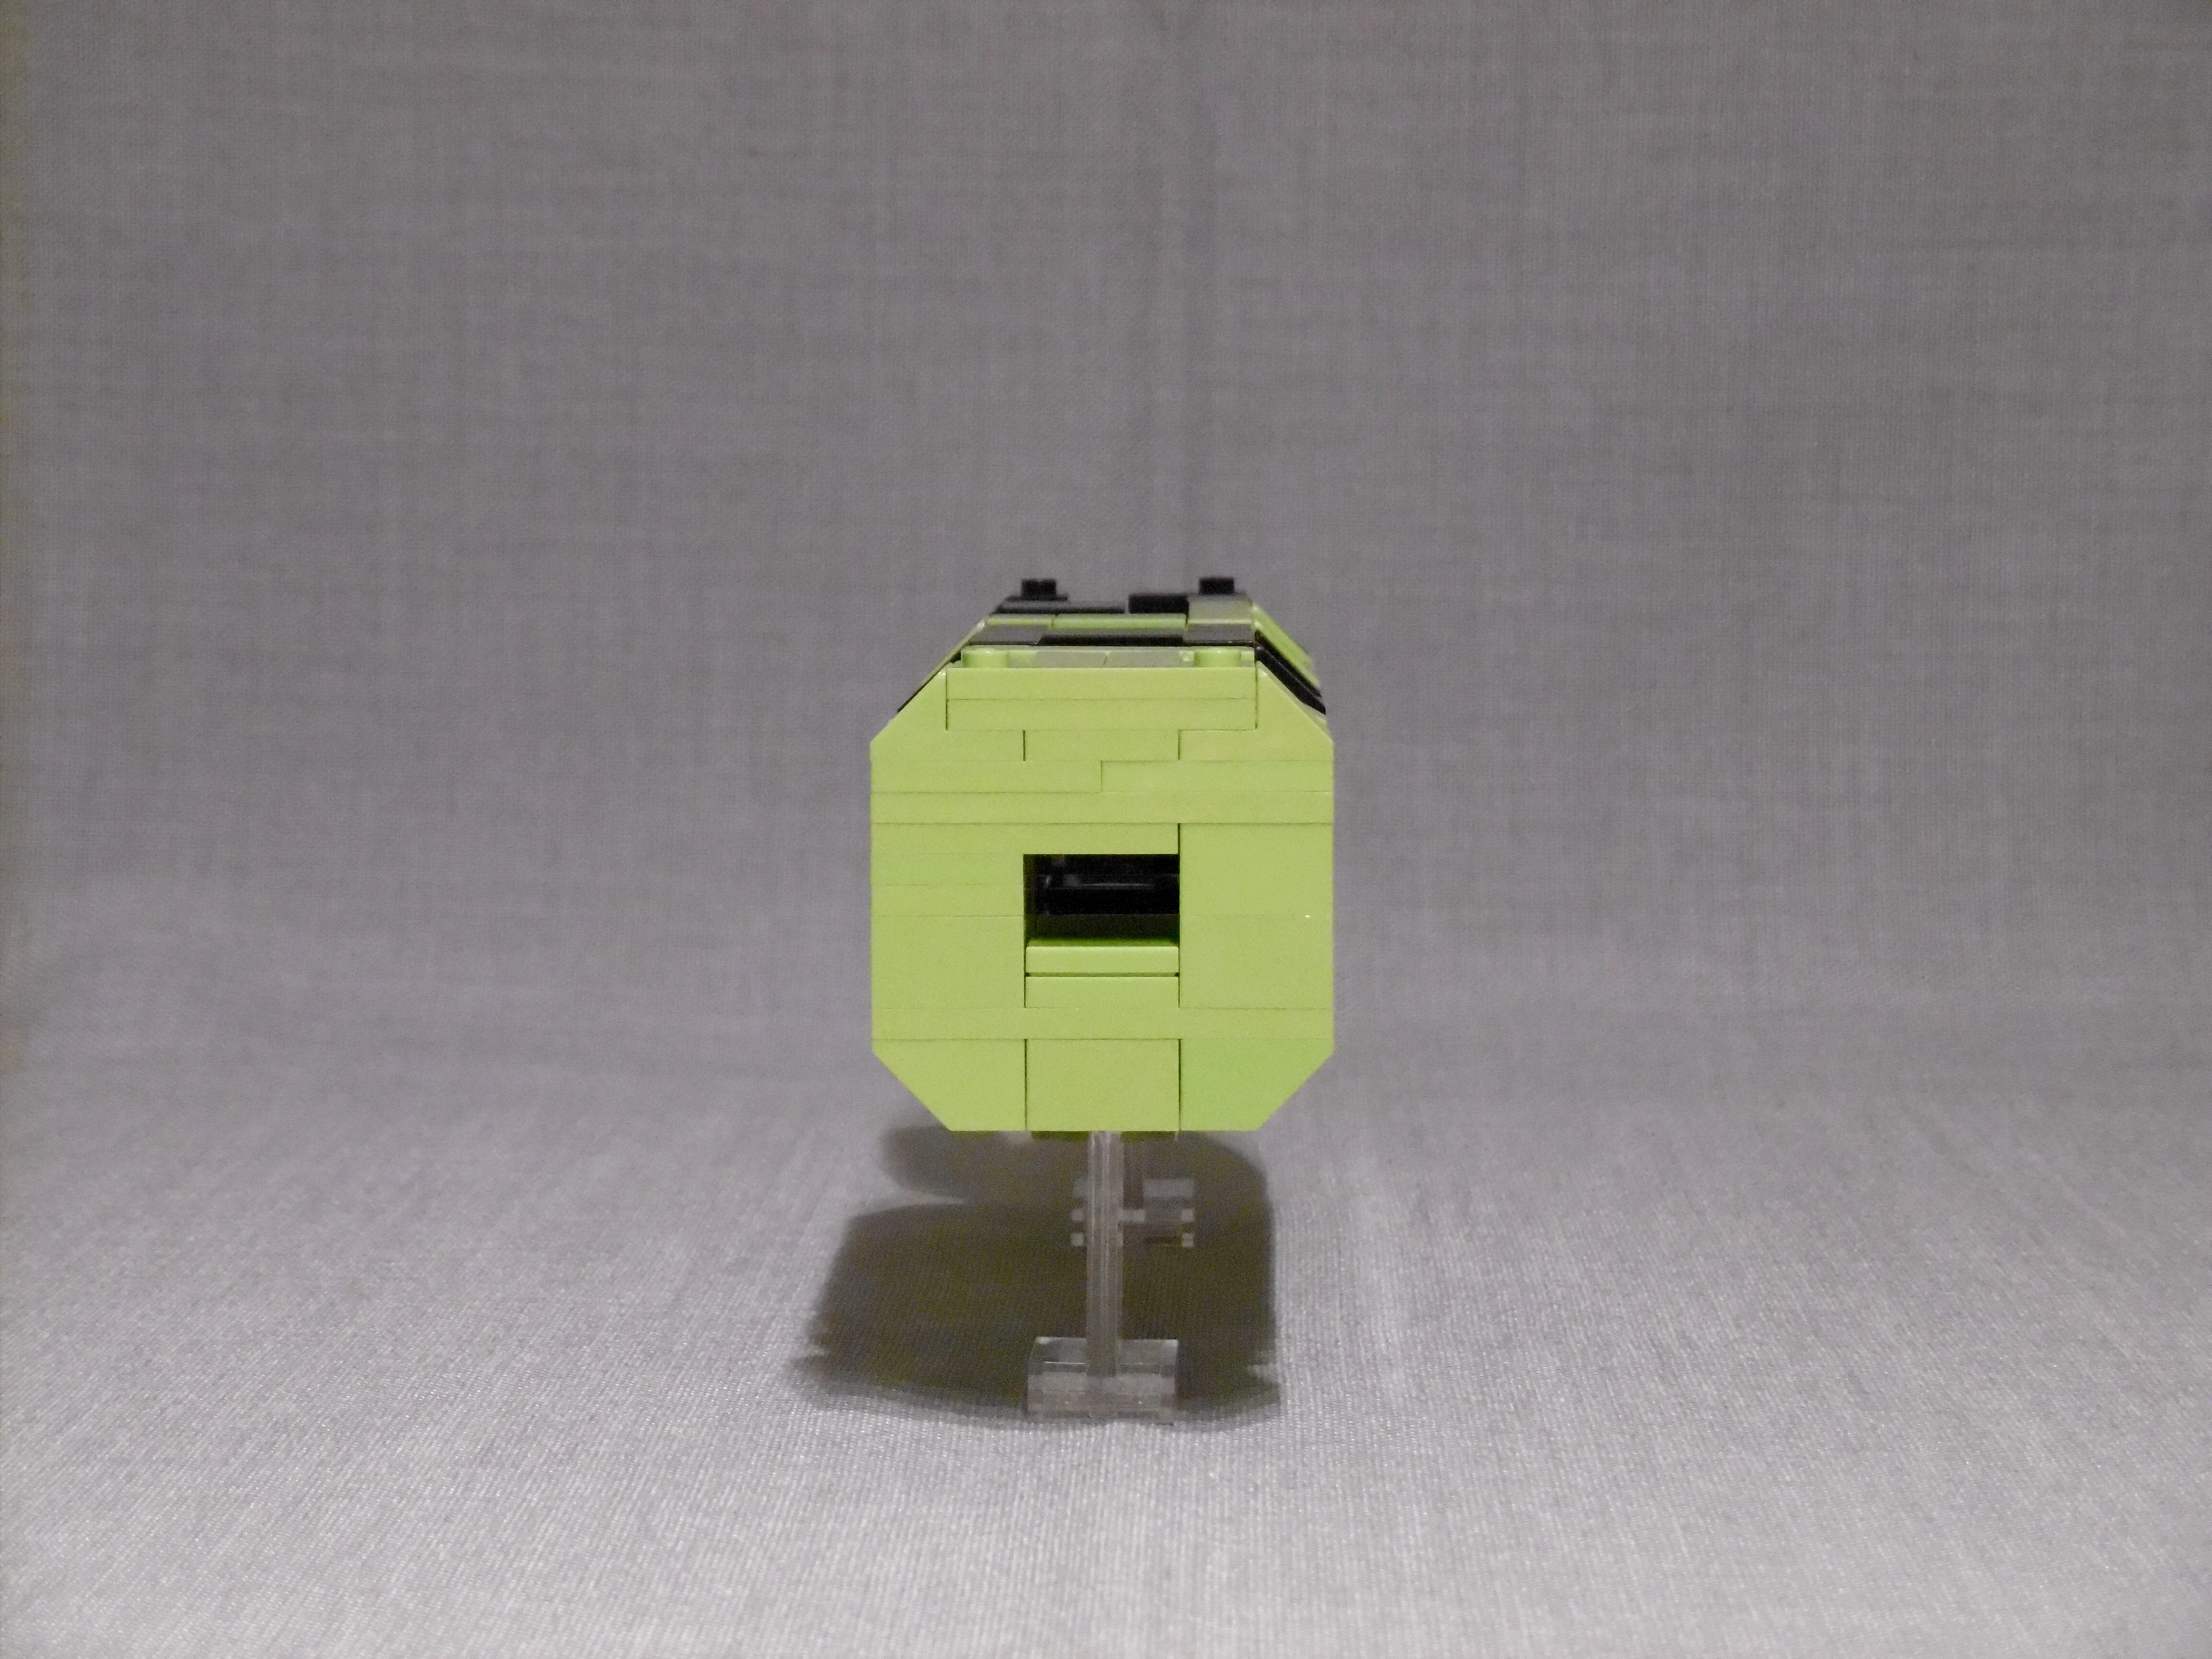
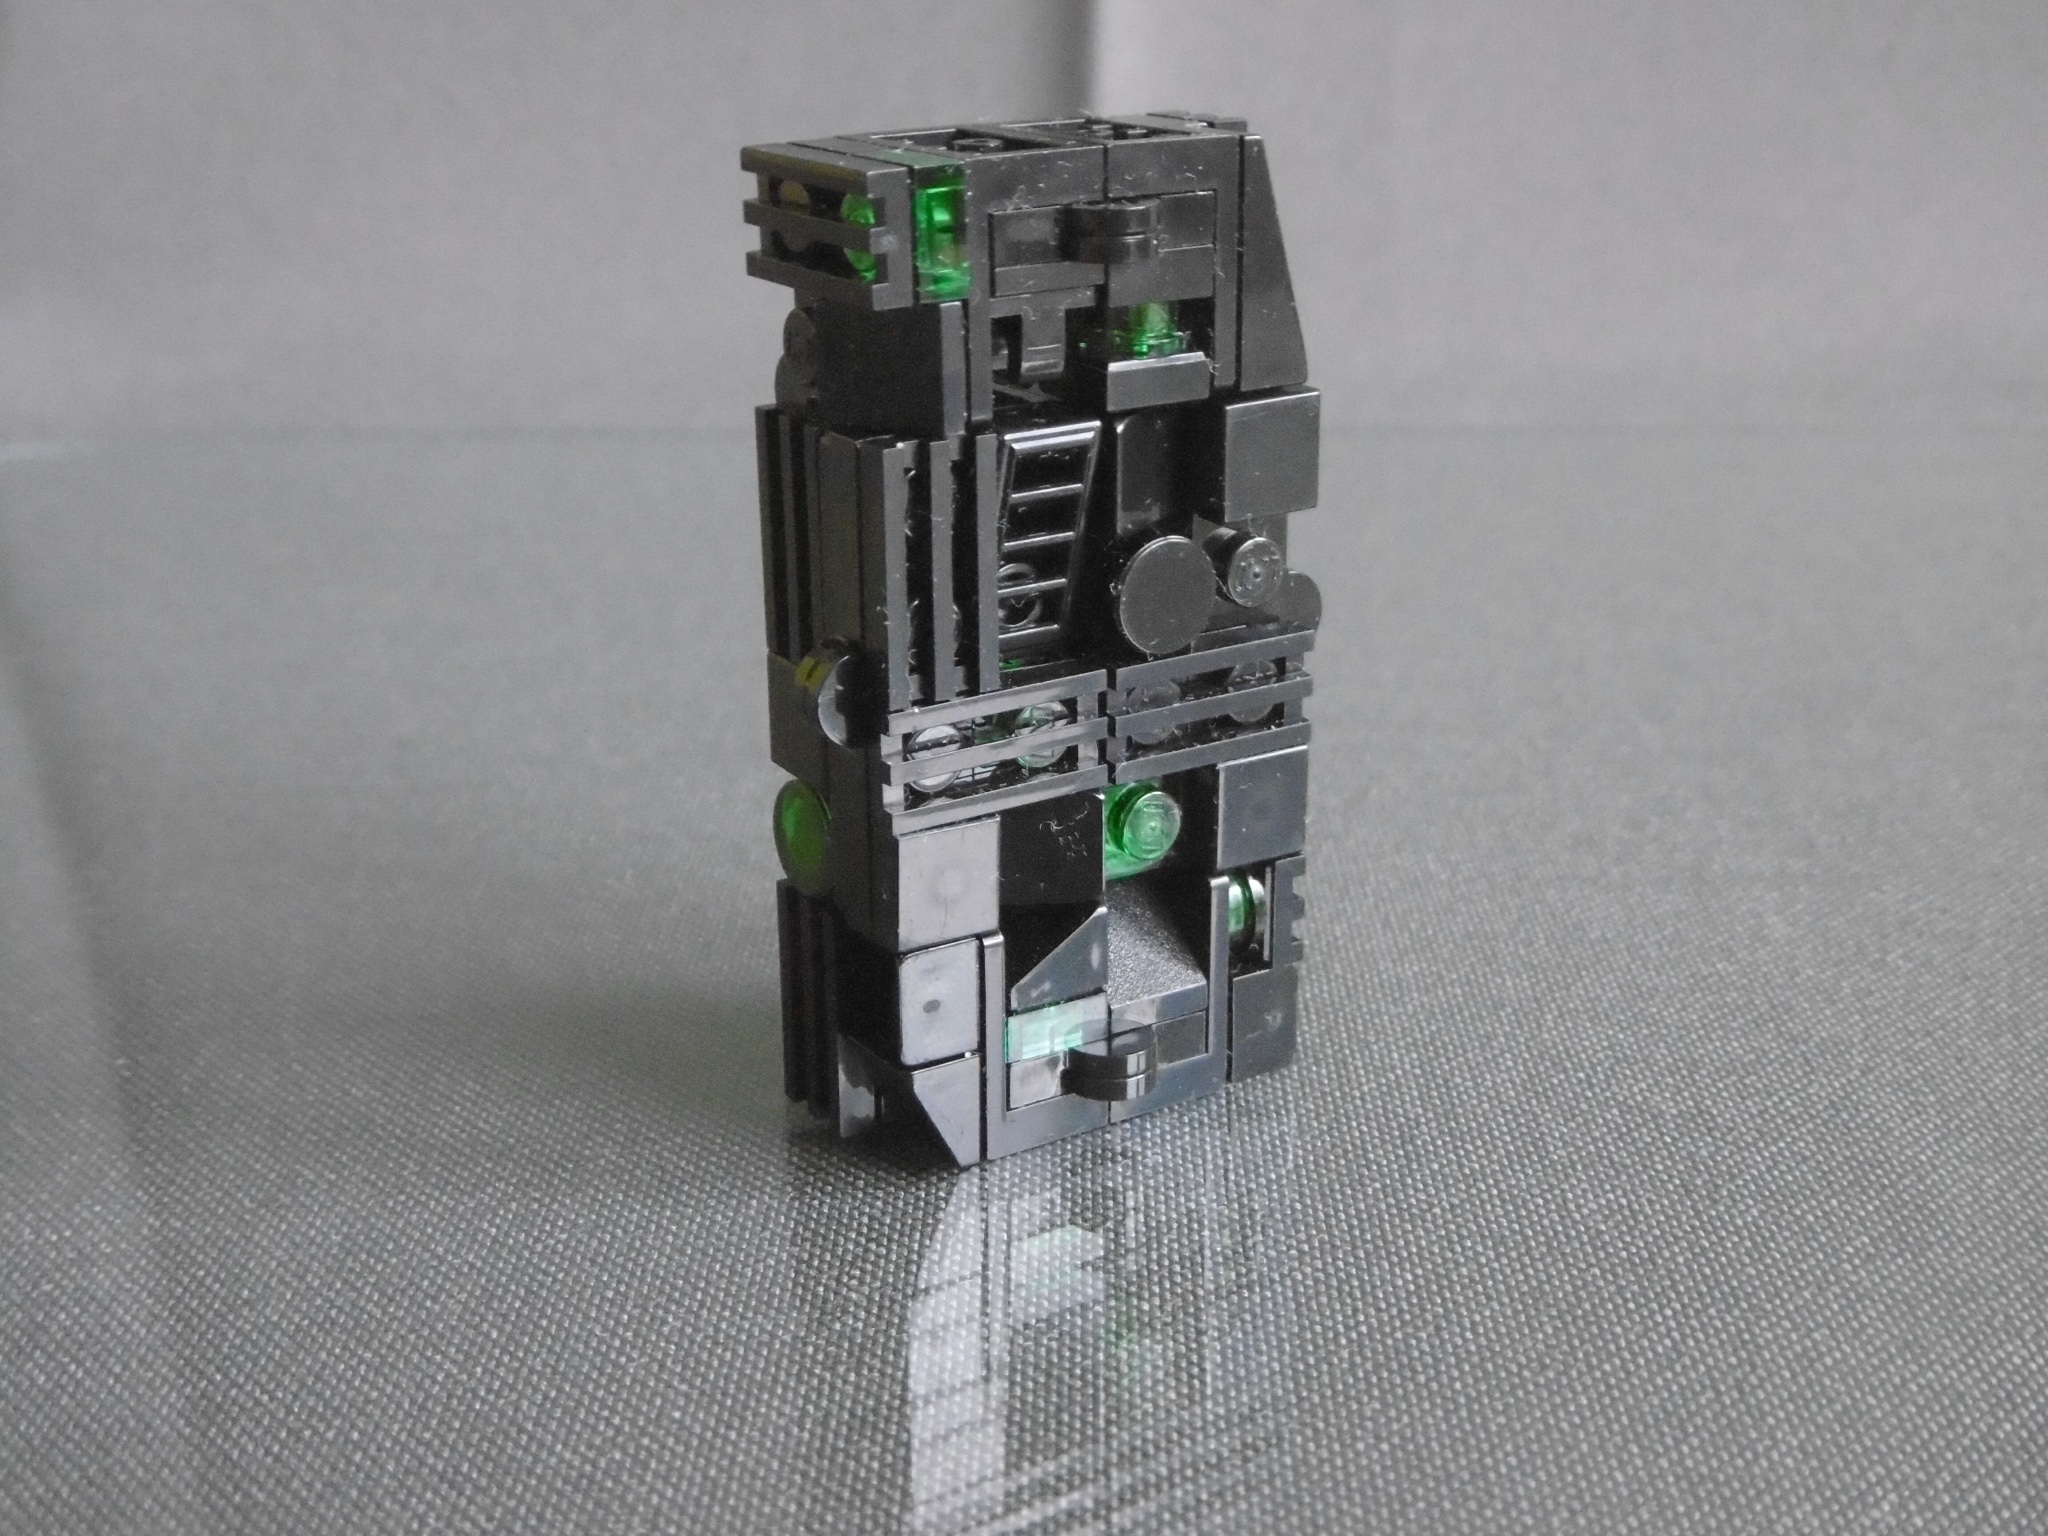
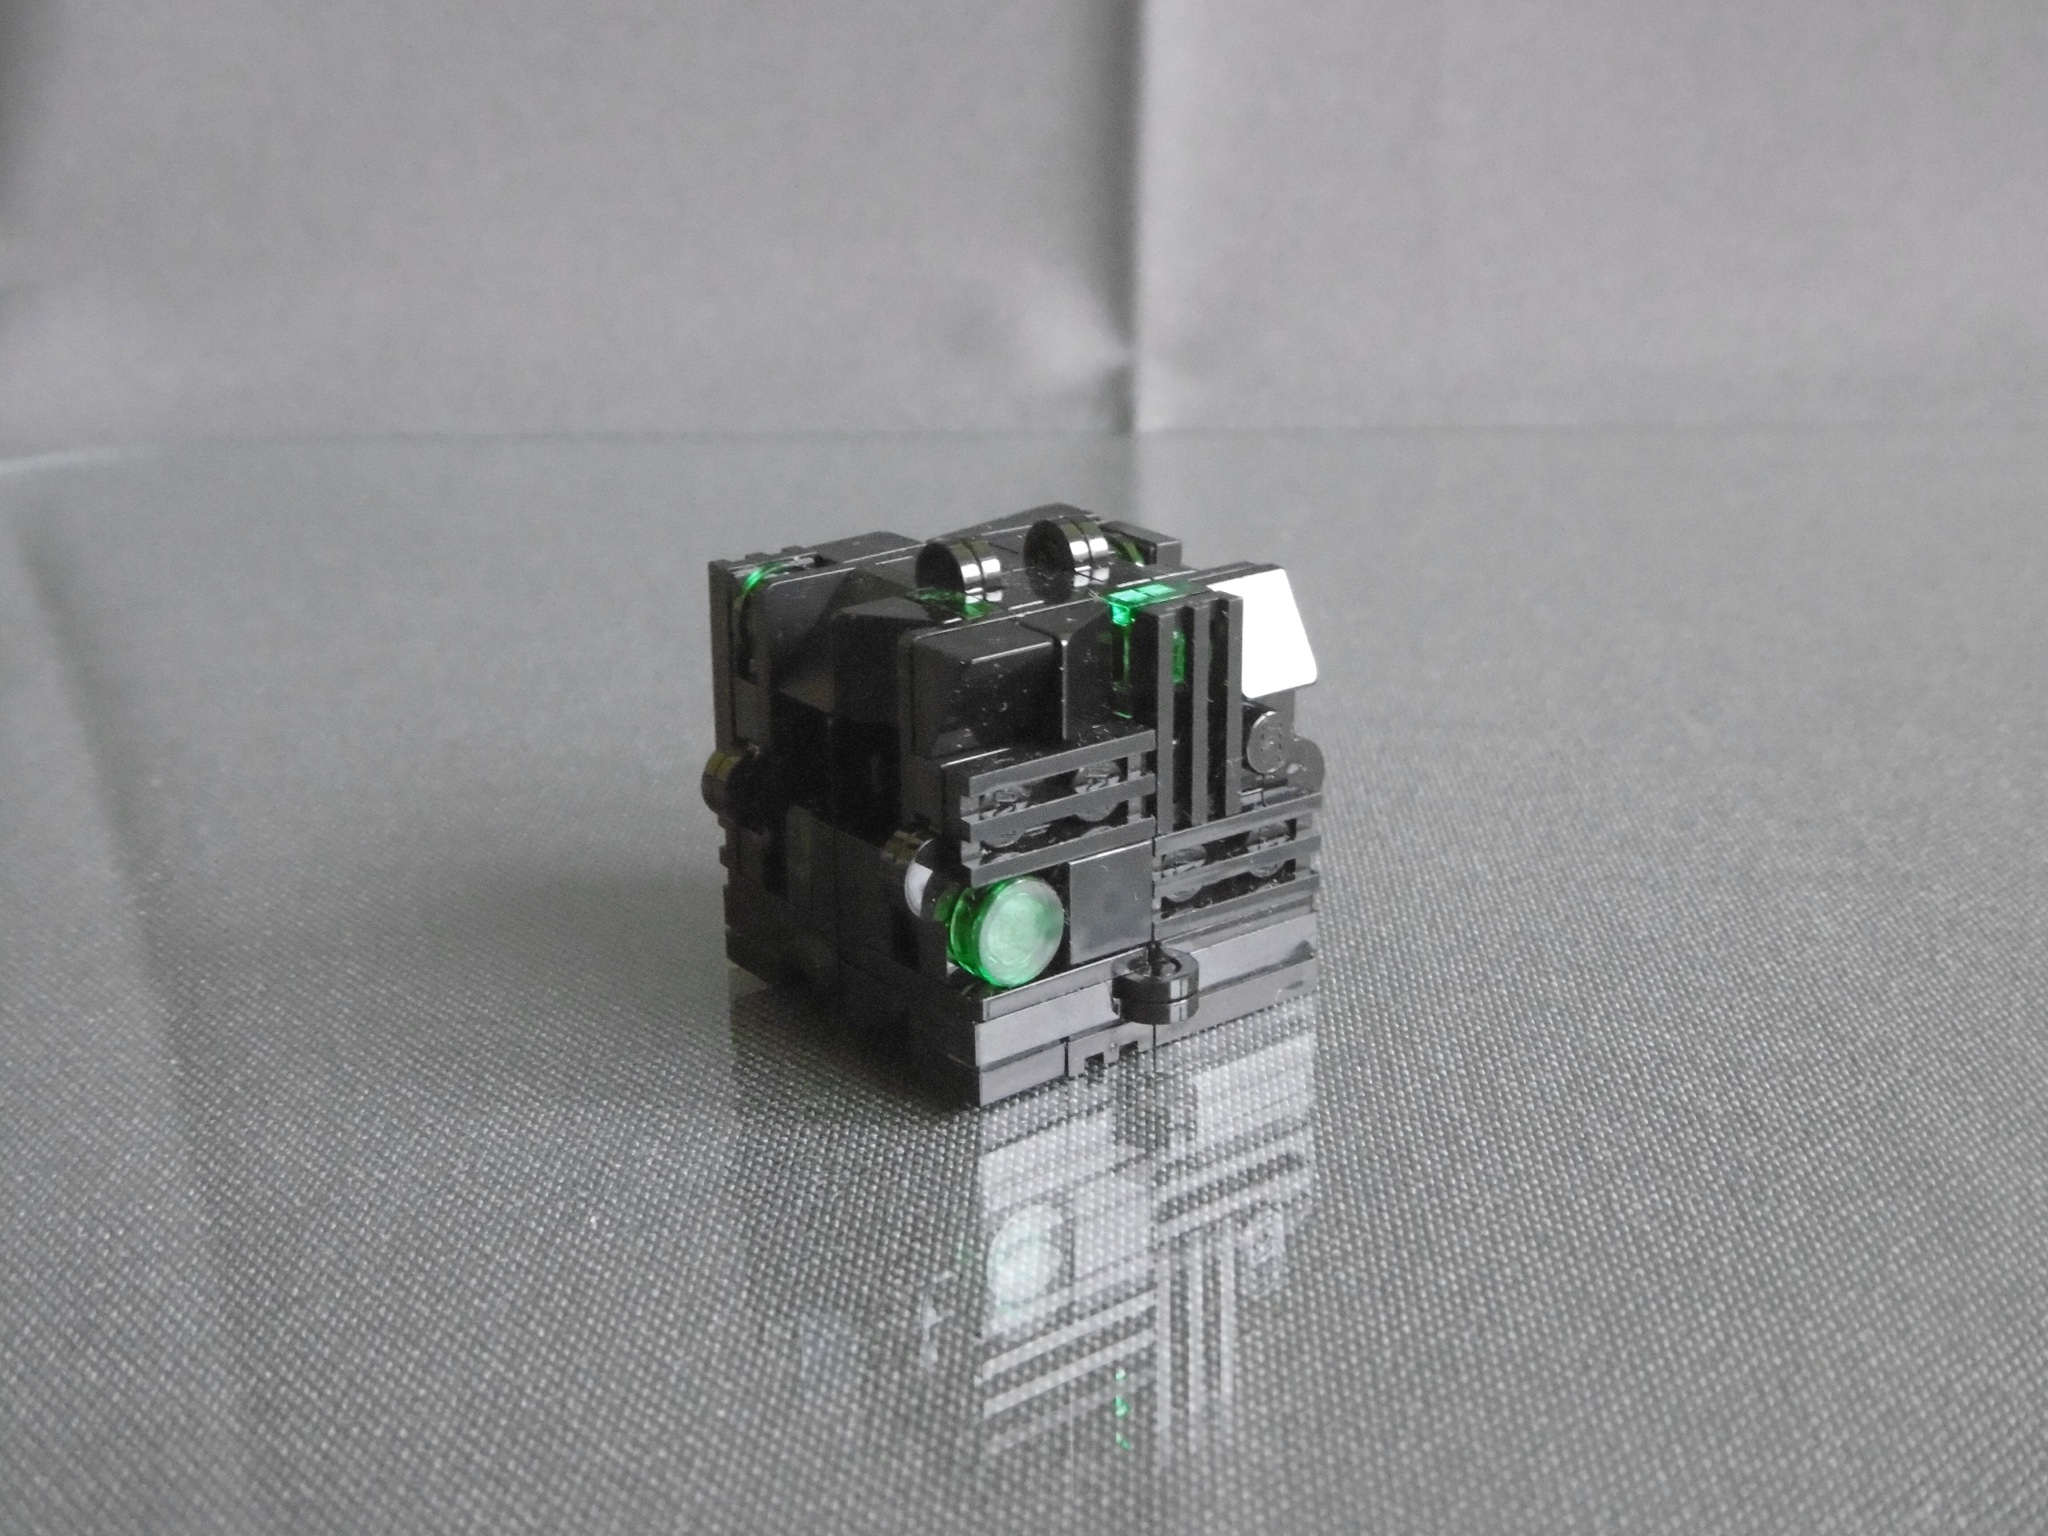
Front view: BRIX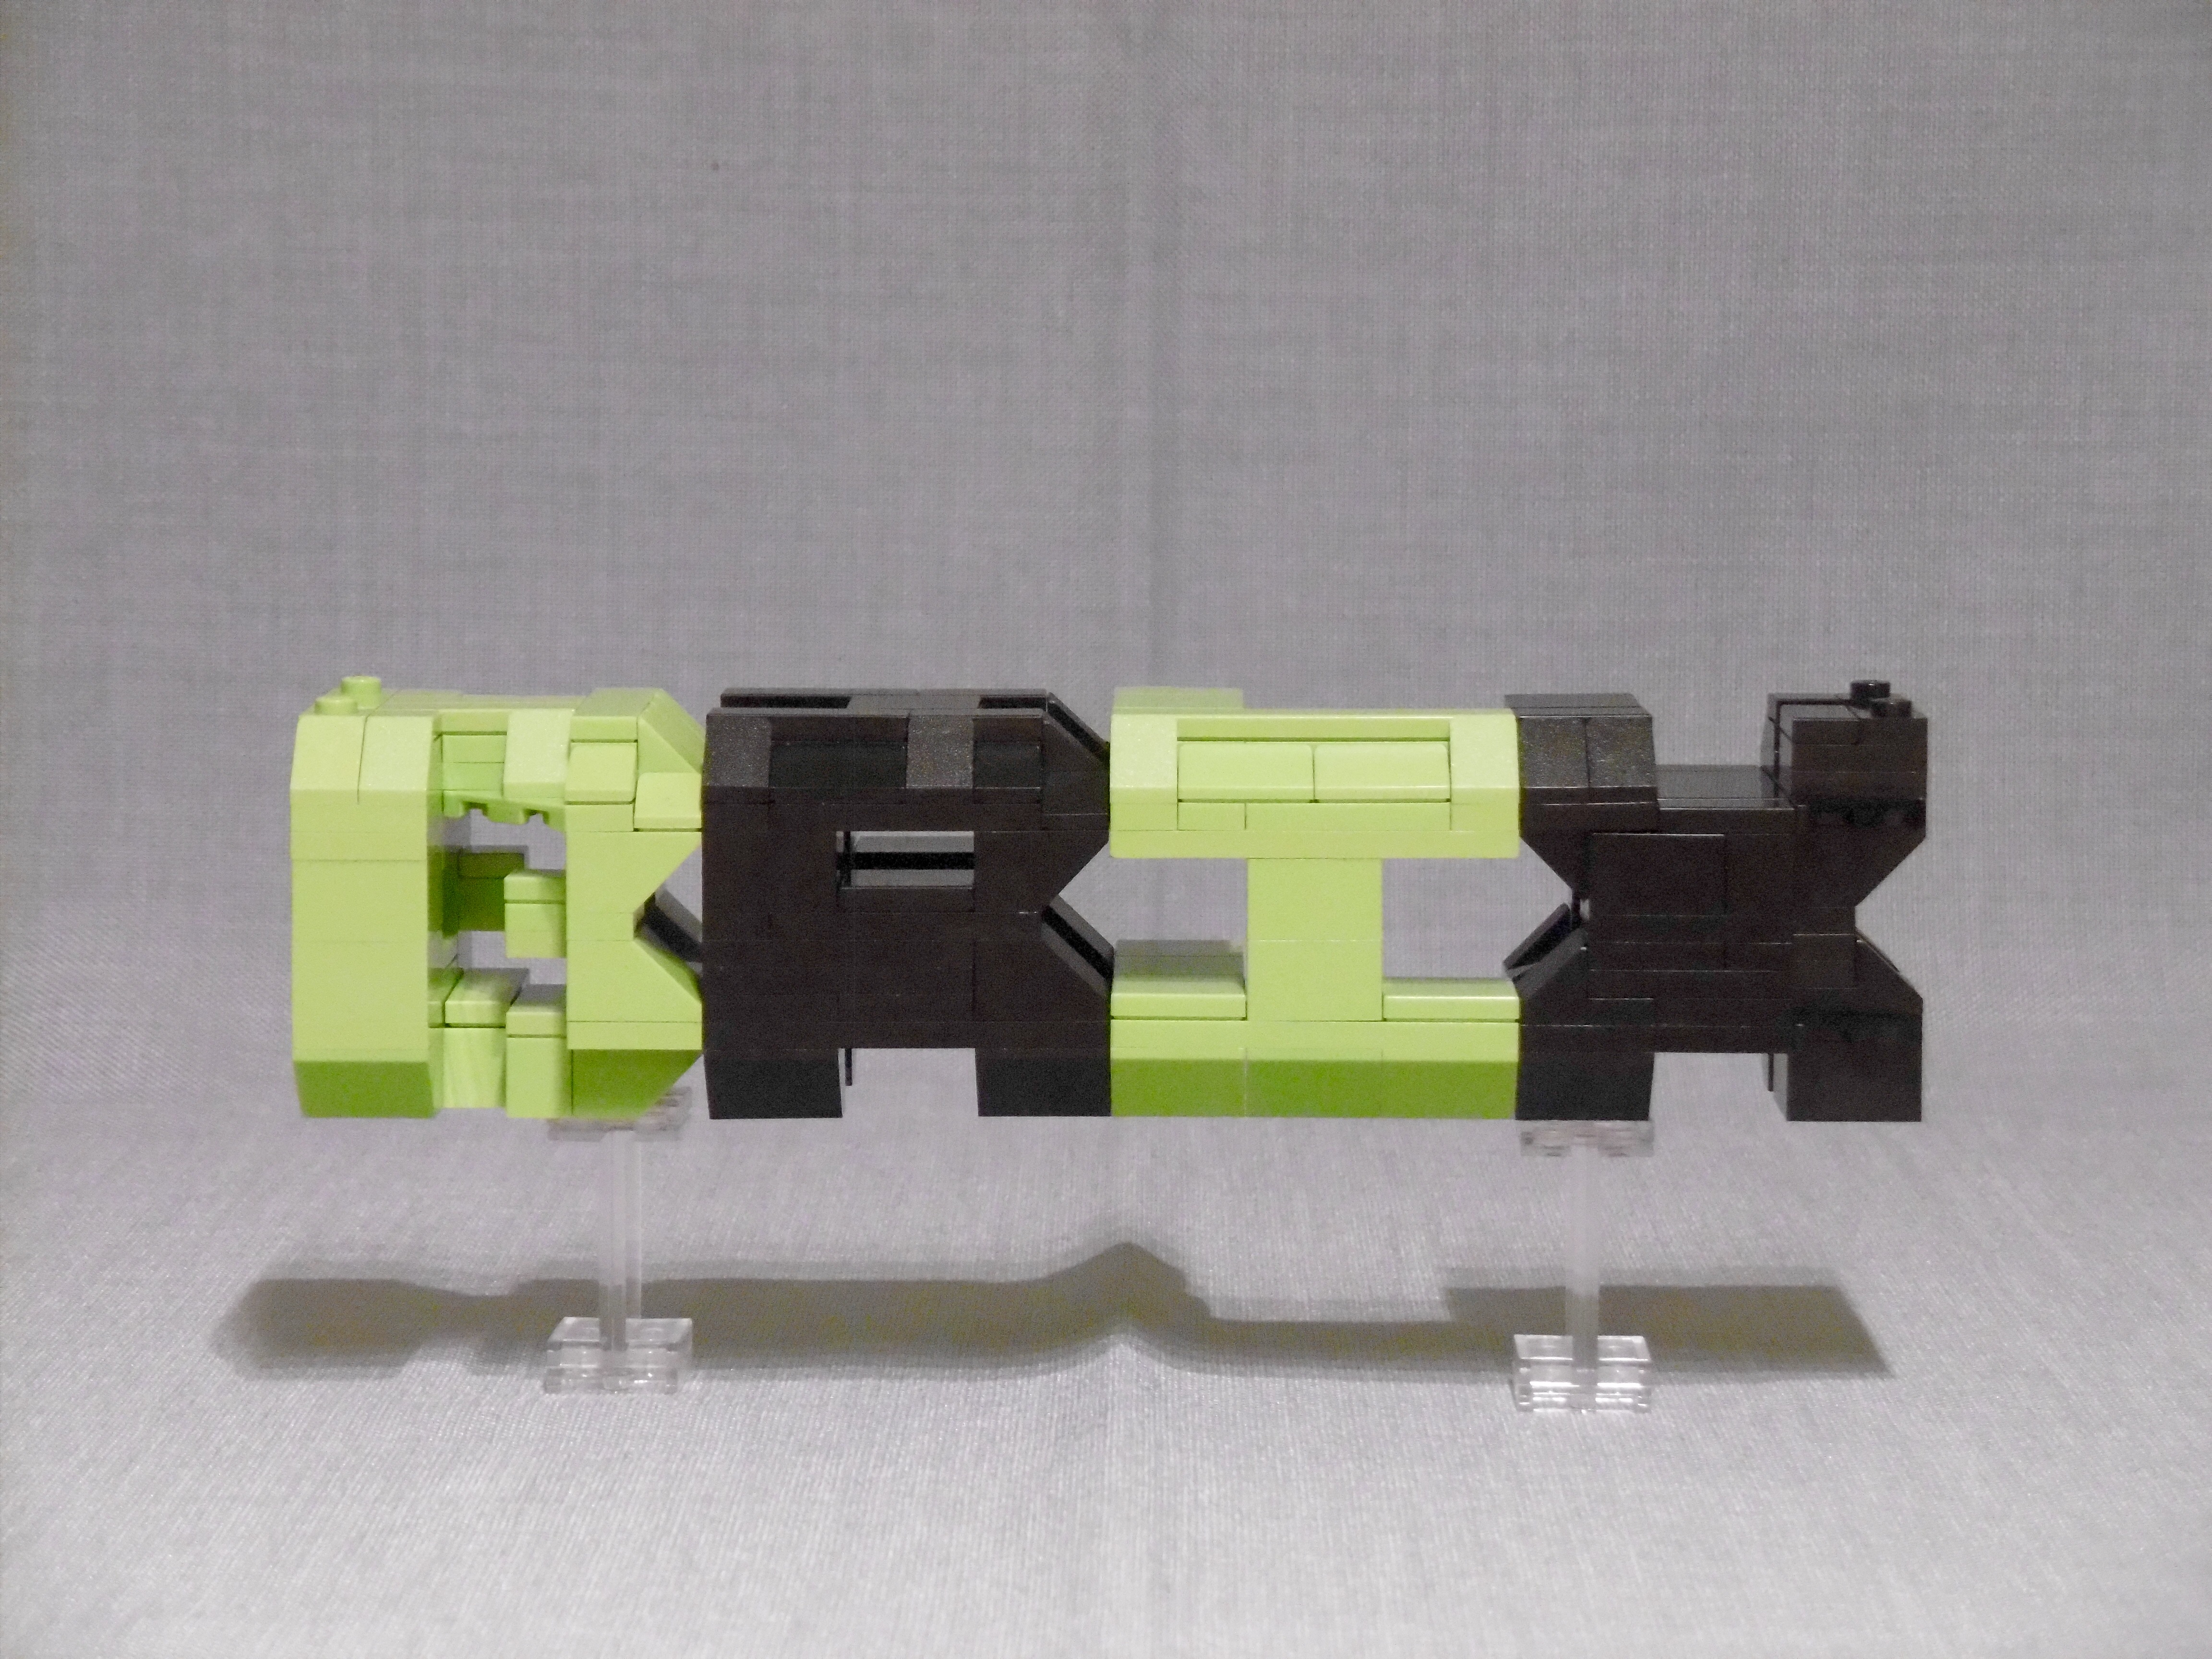
(You can almost see a “NILS”-shaped shadow on the surface)
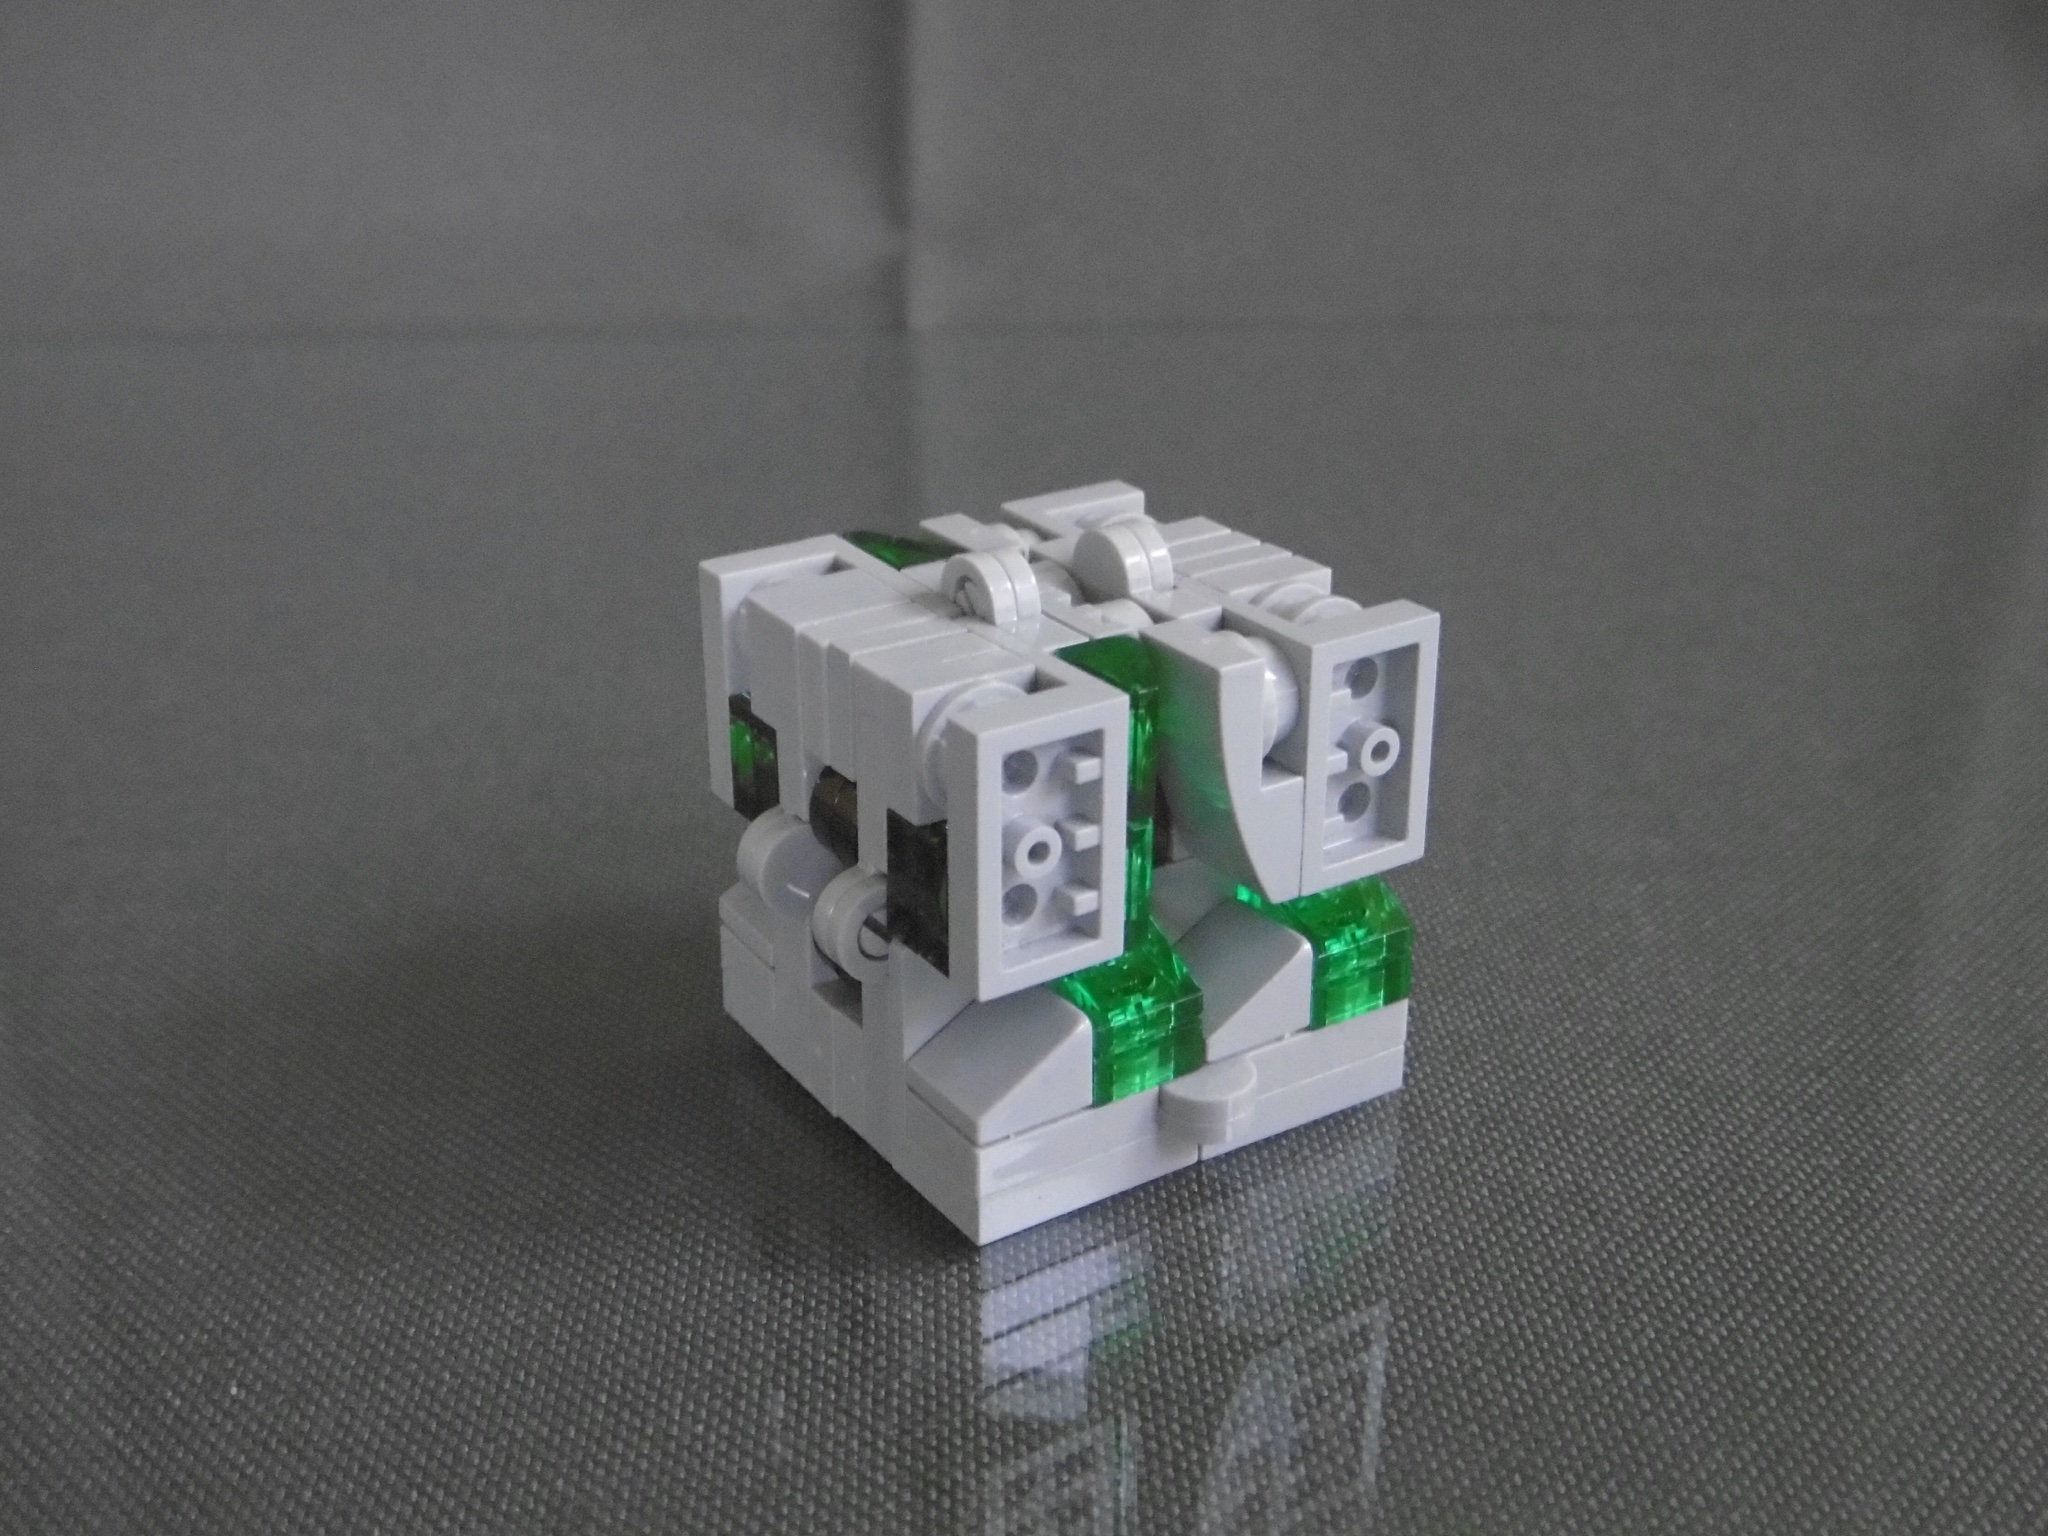
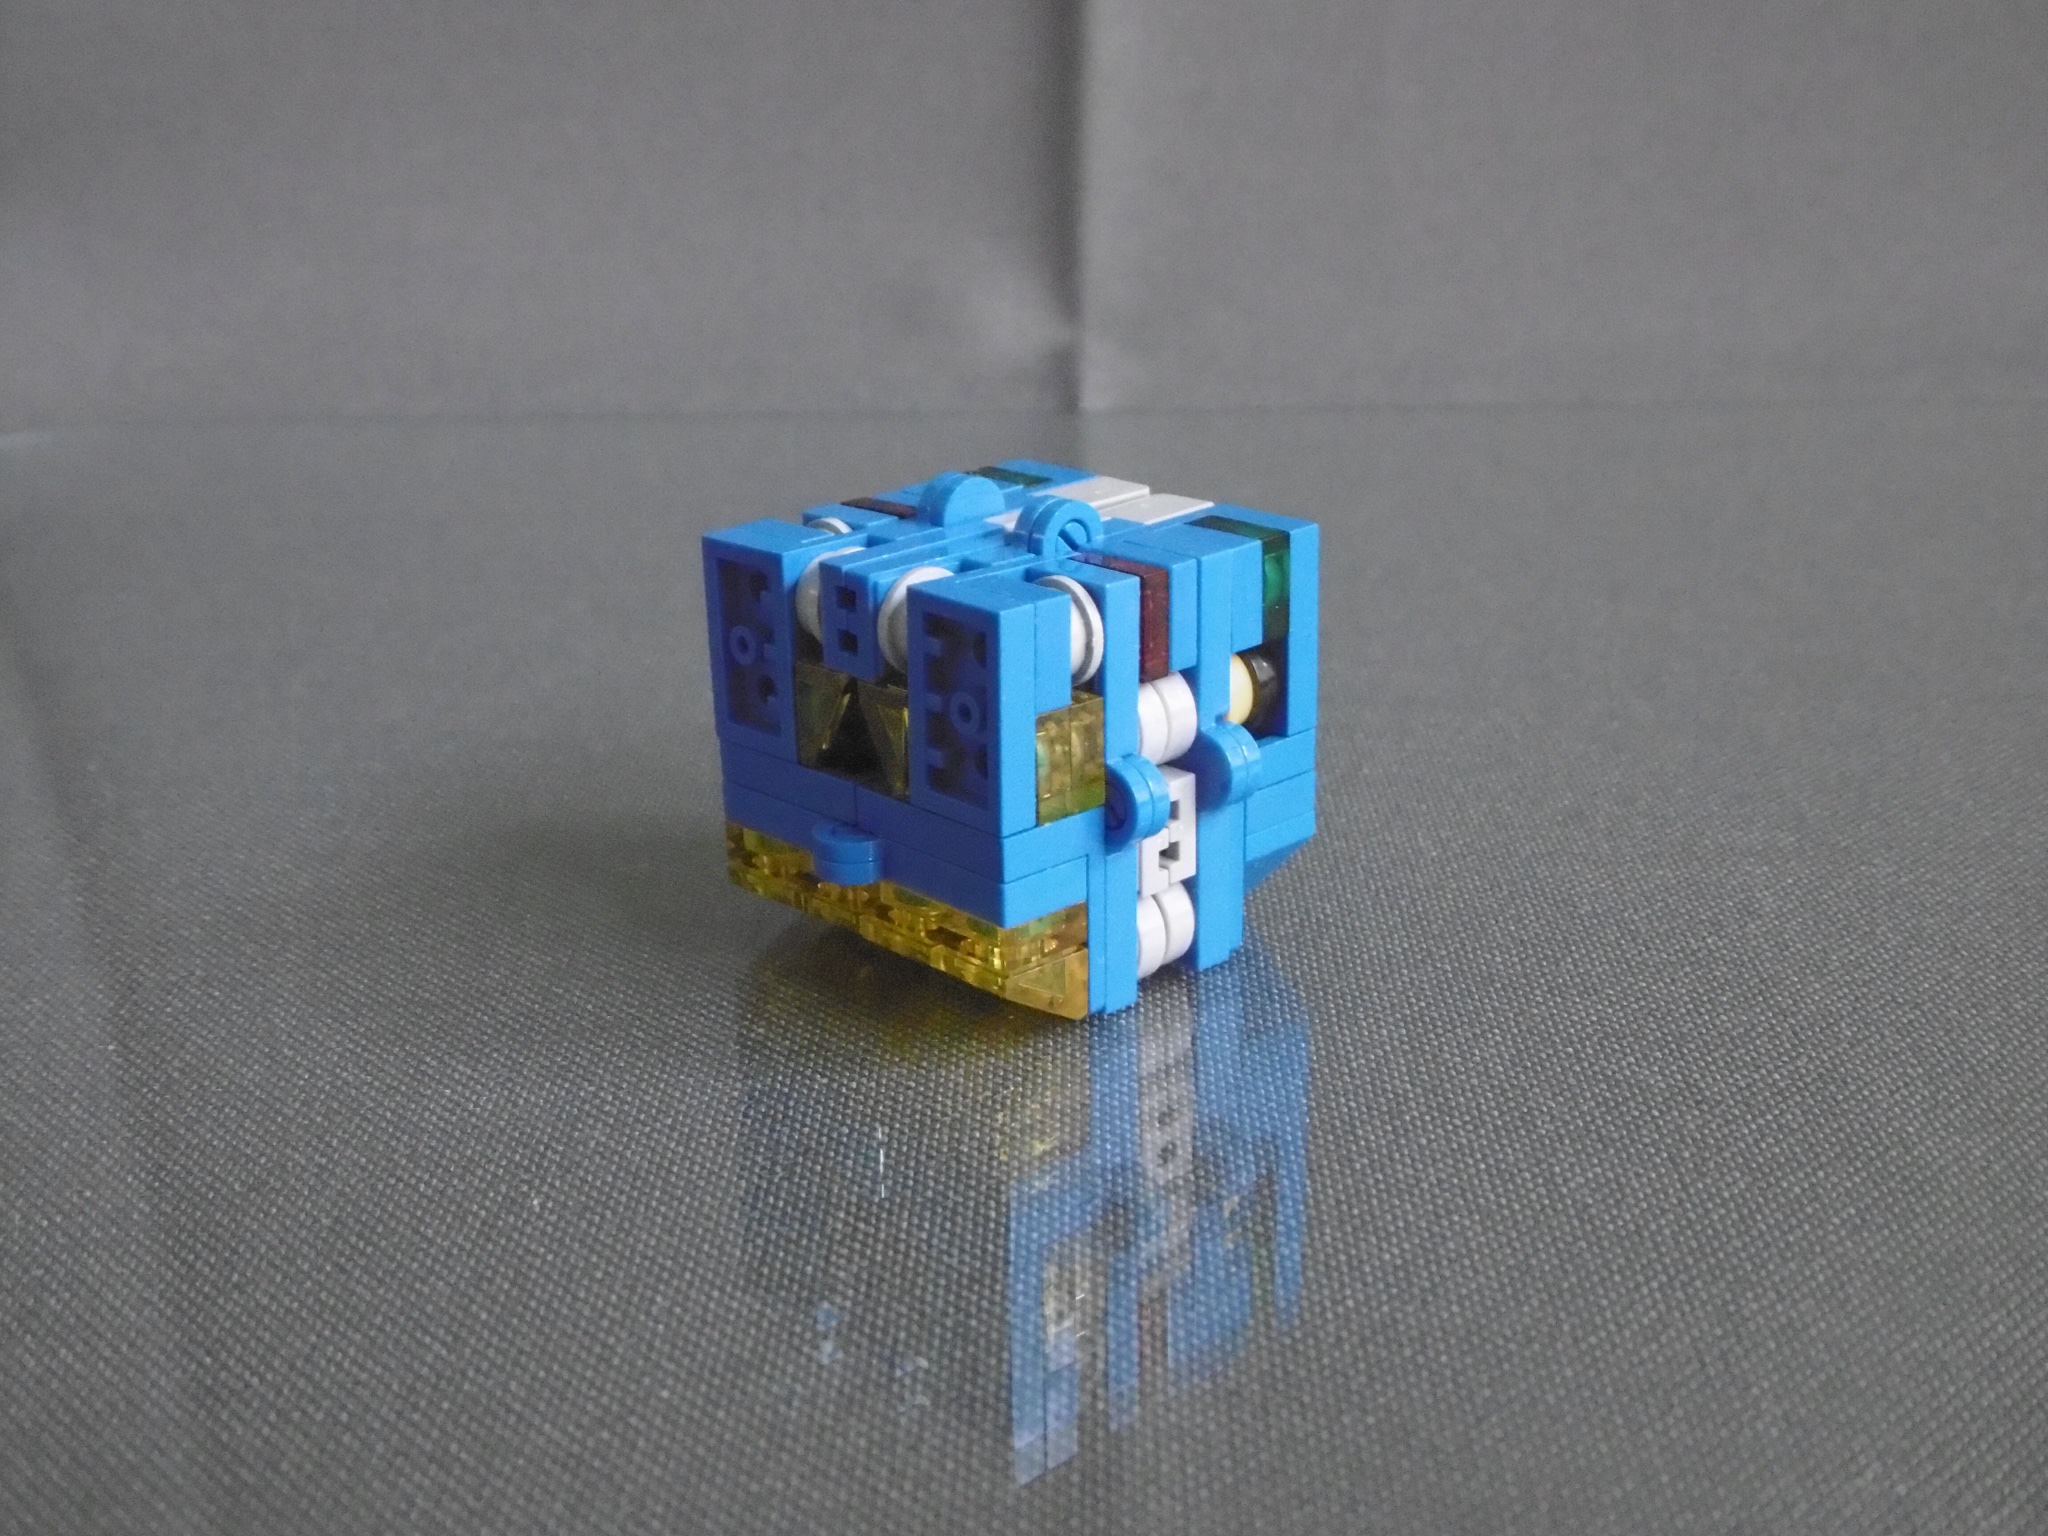
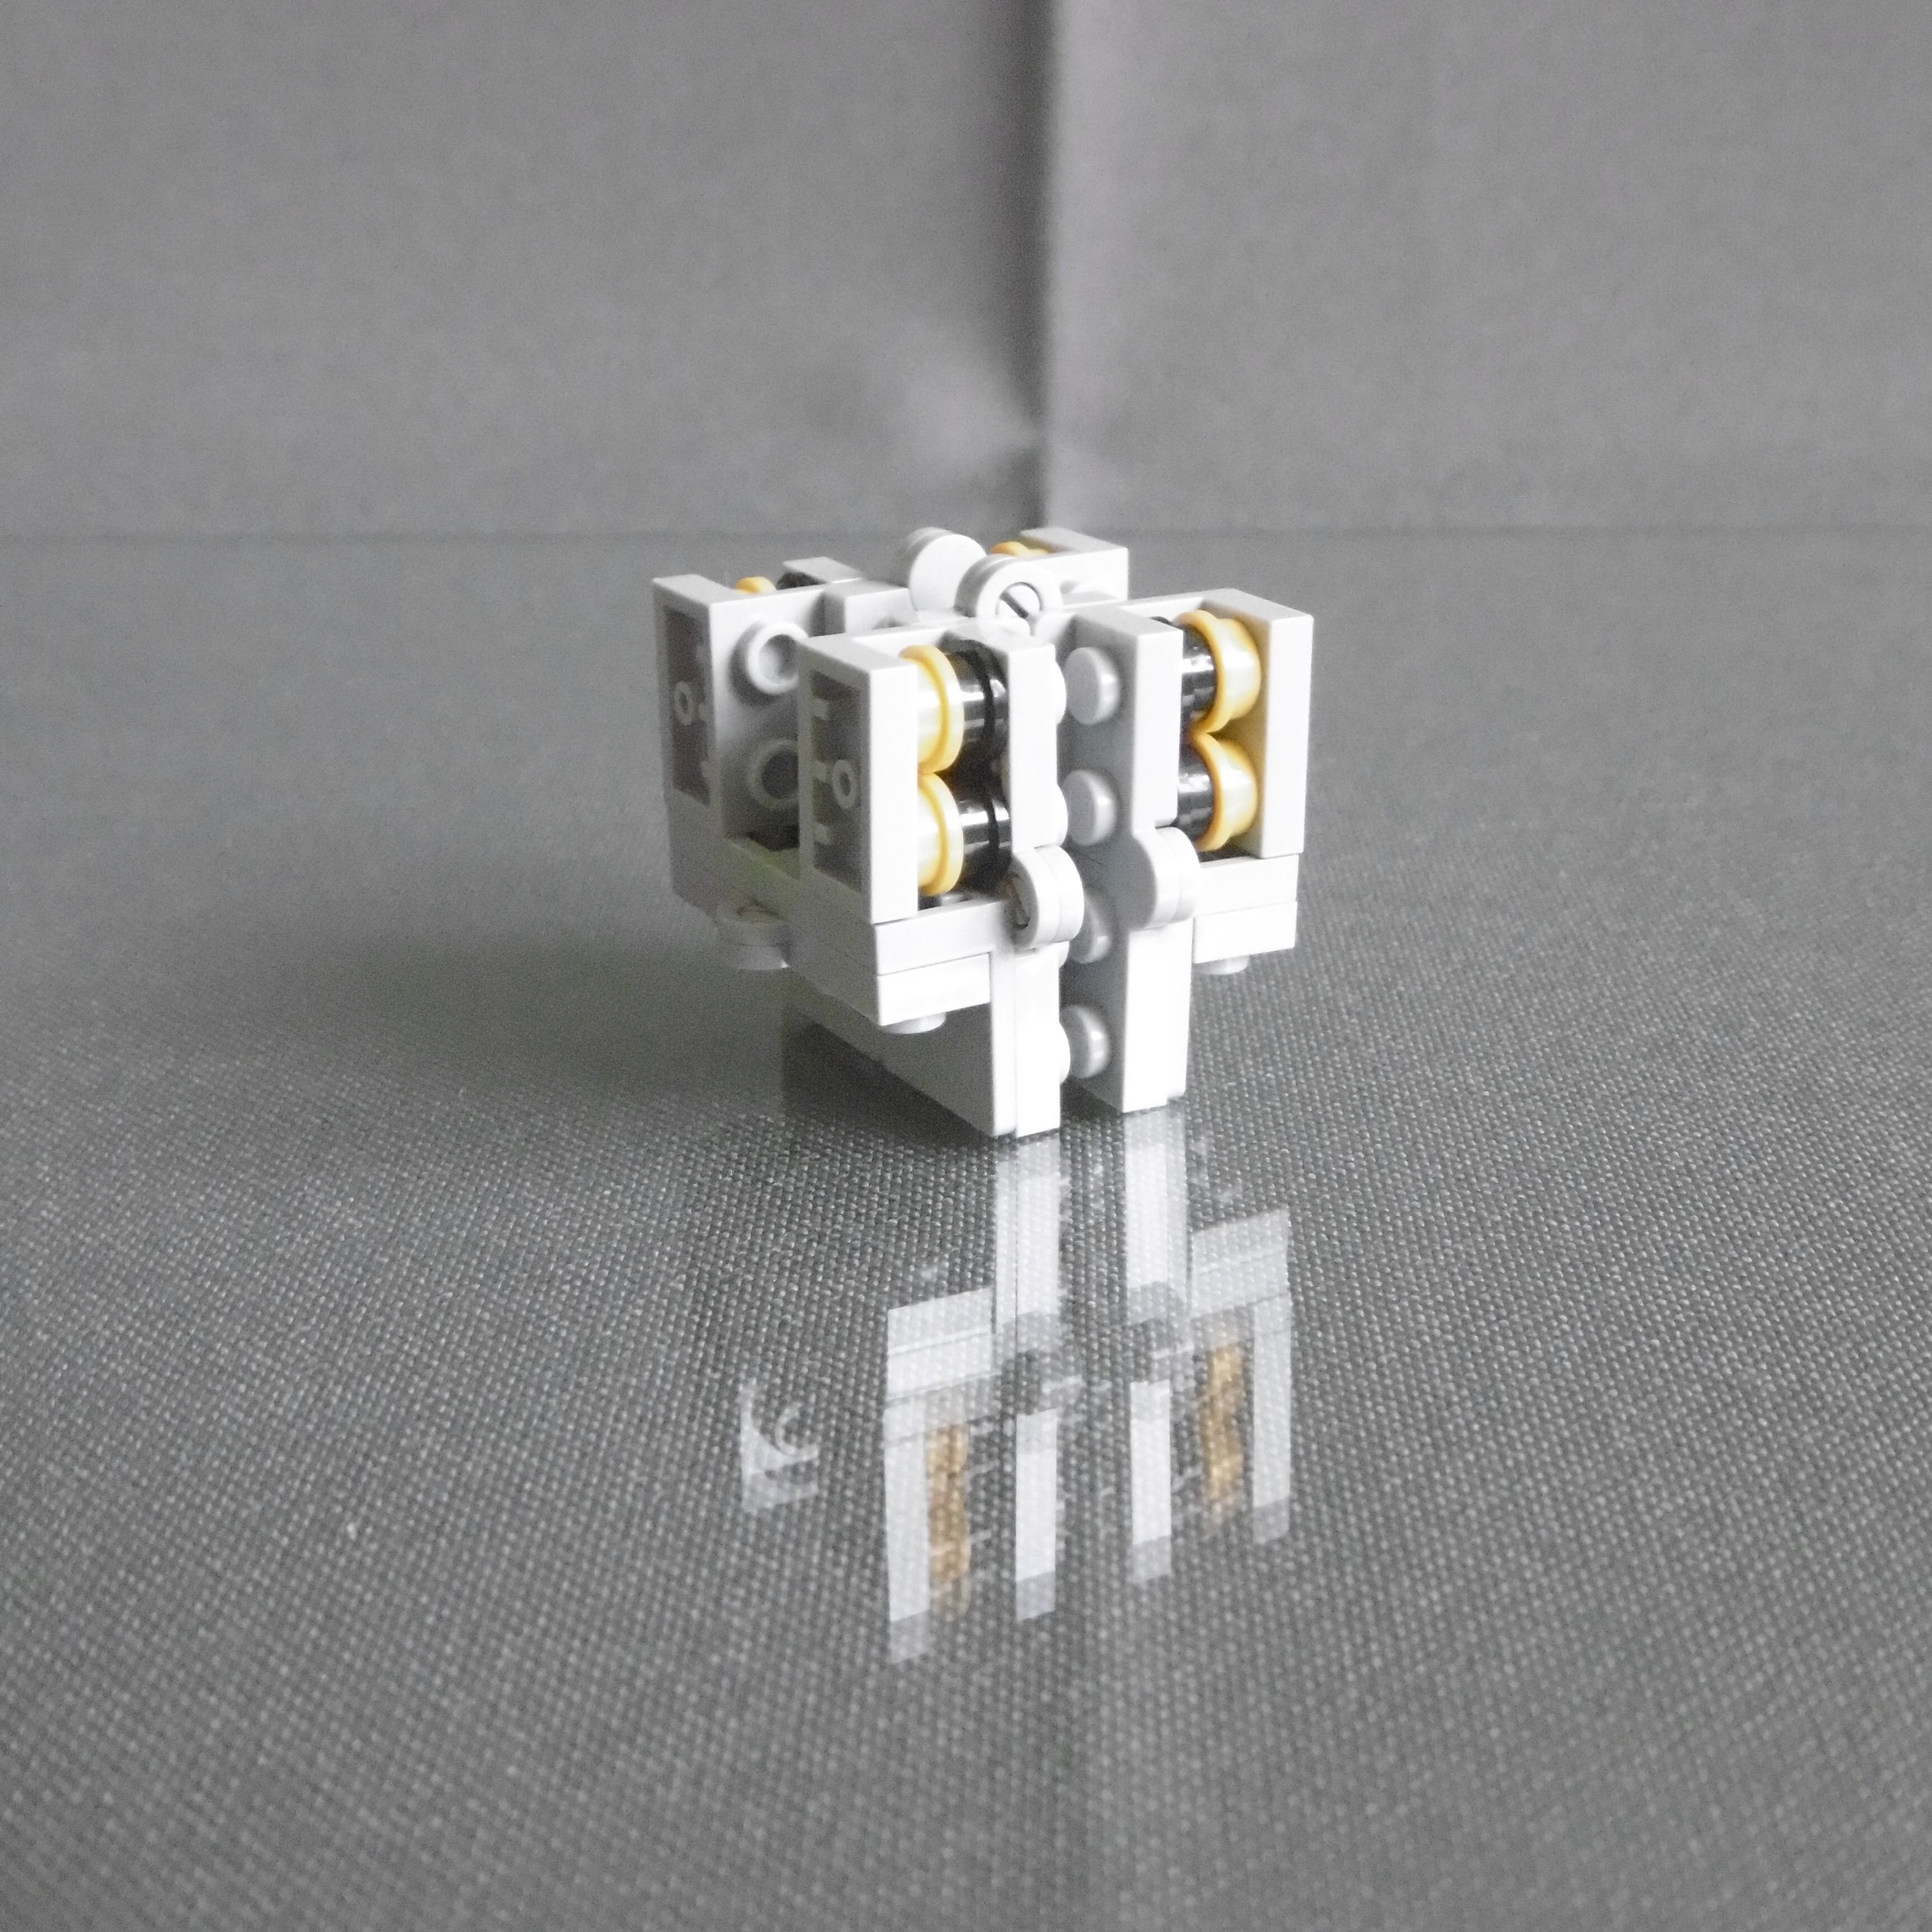
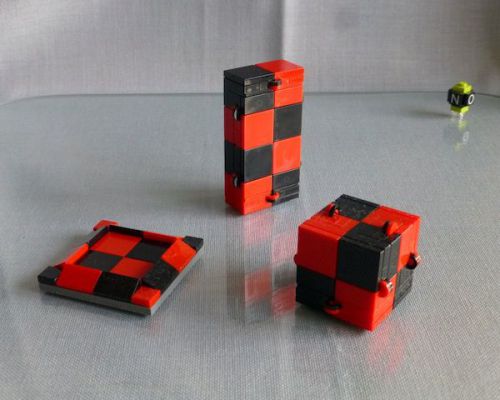
Additional detail: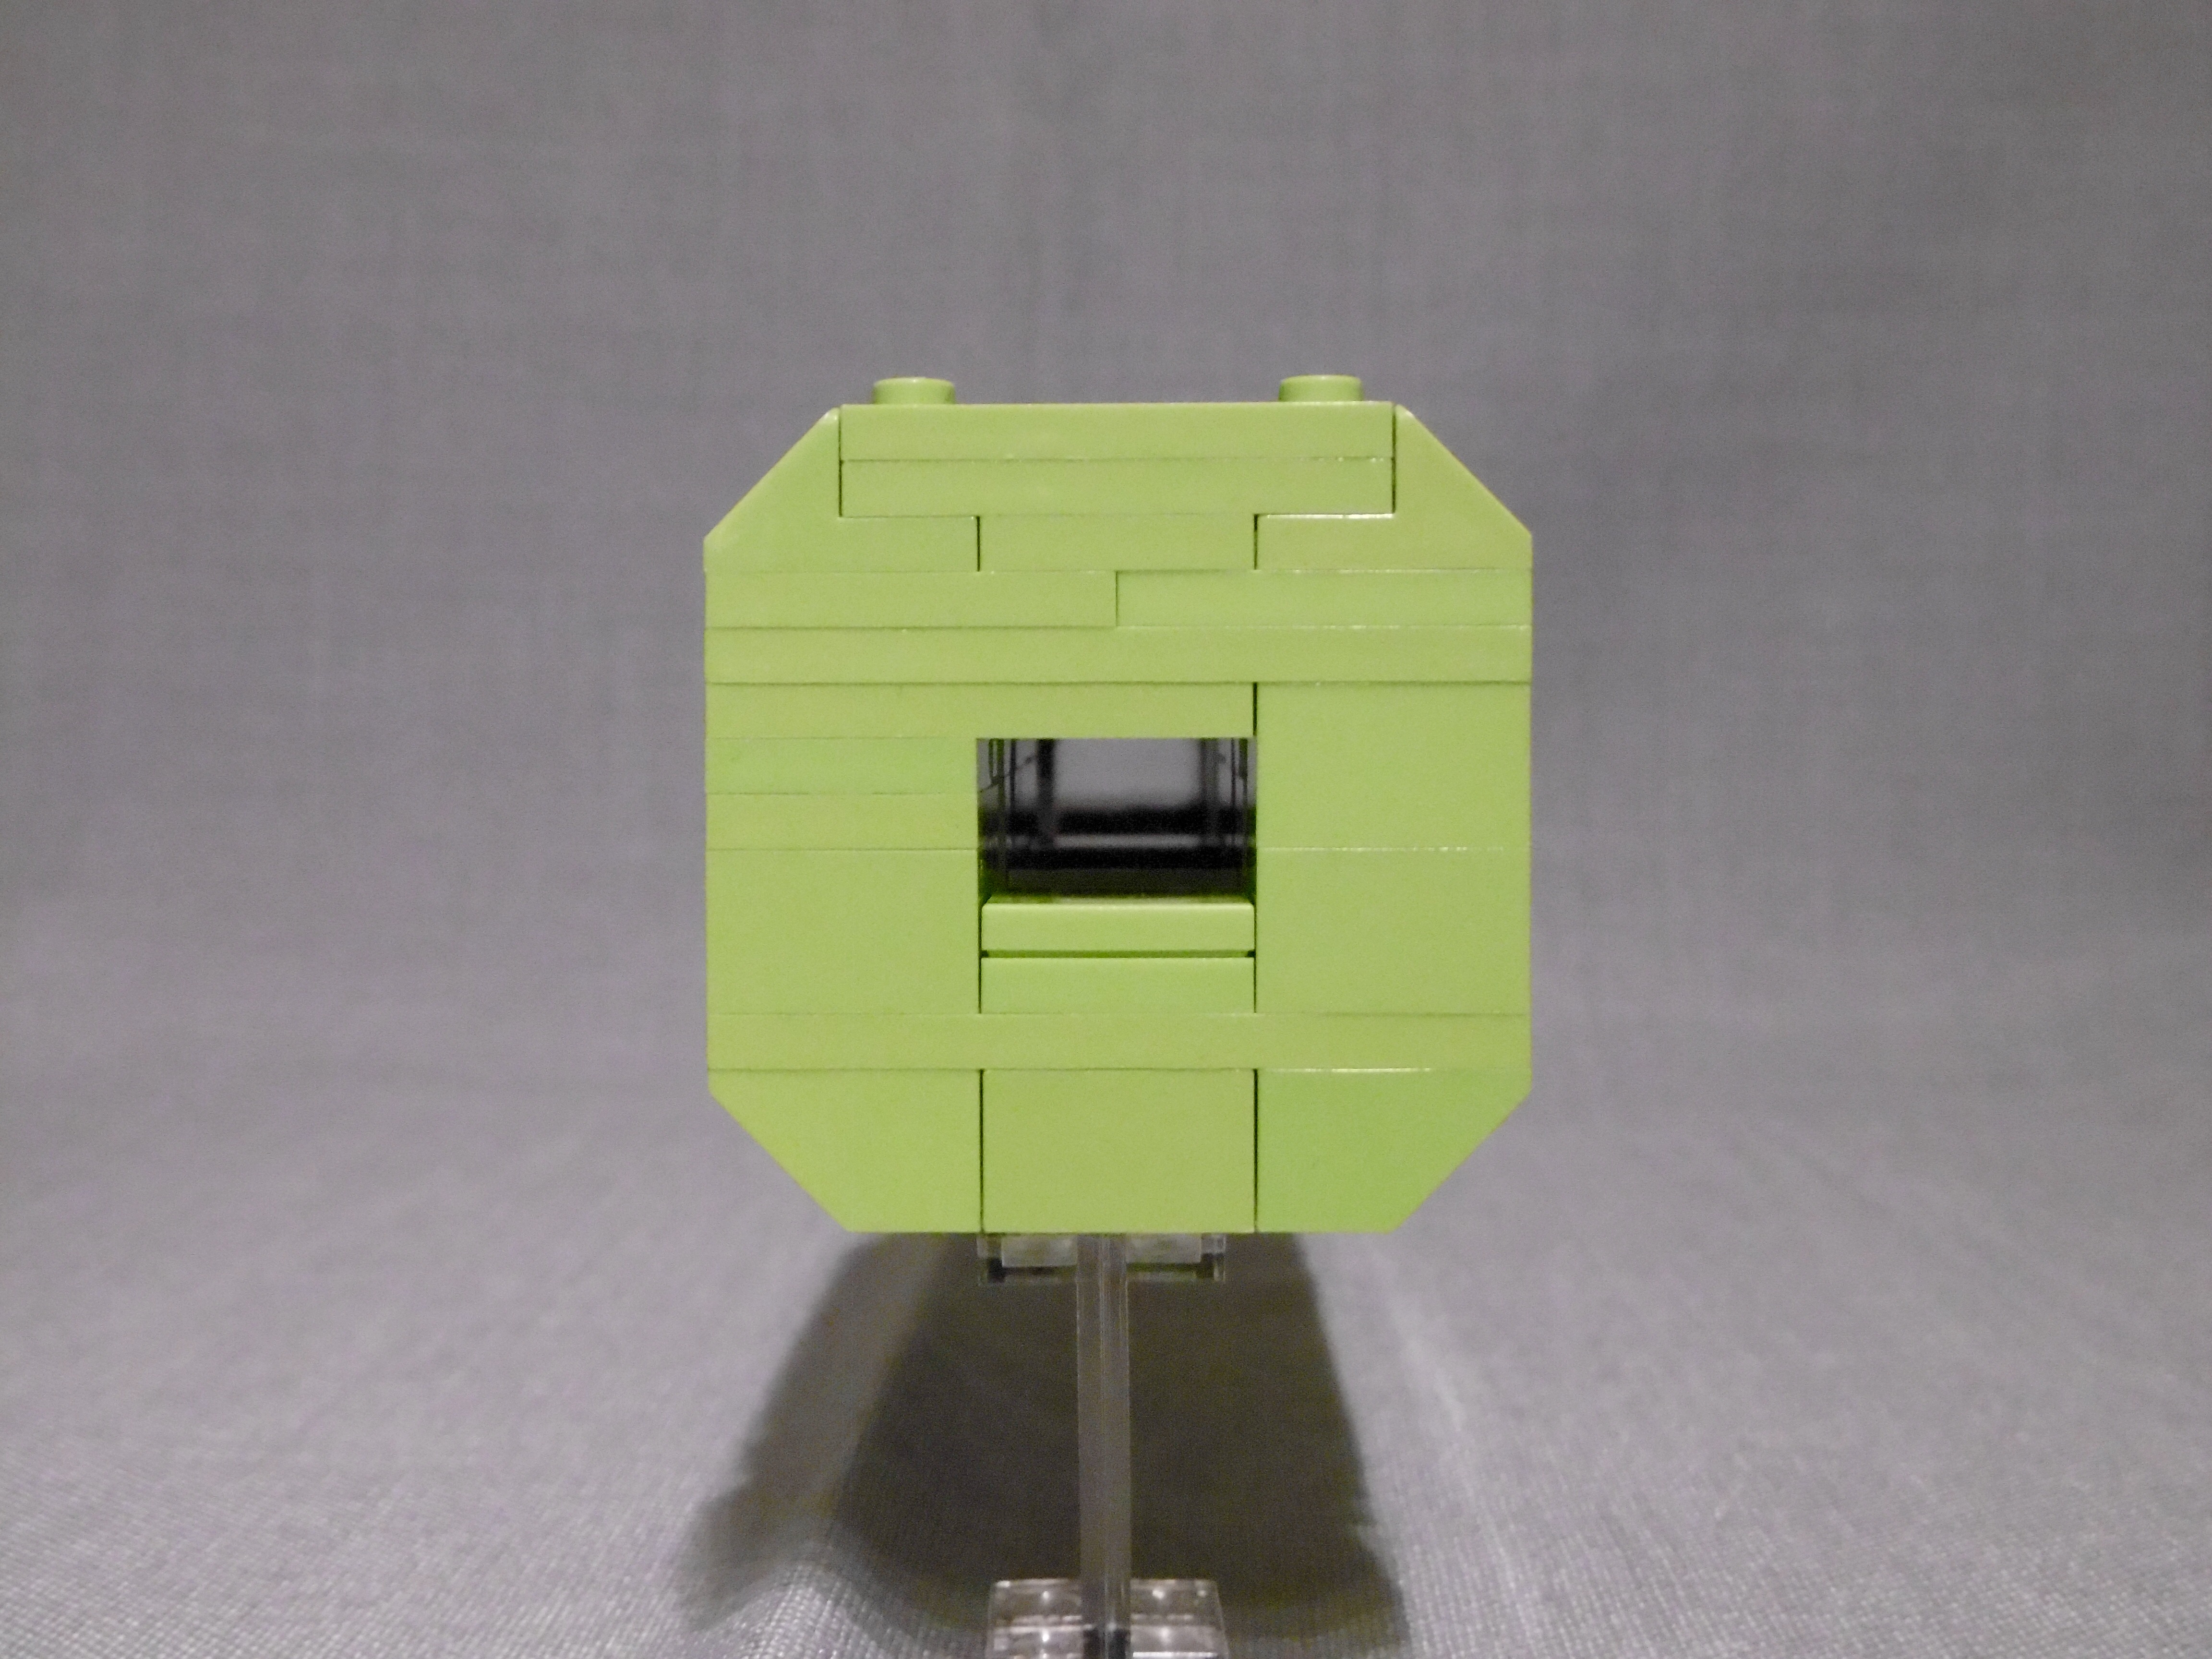
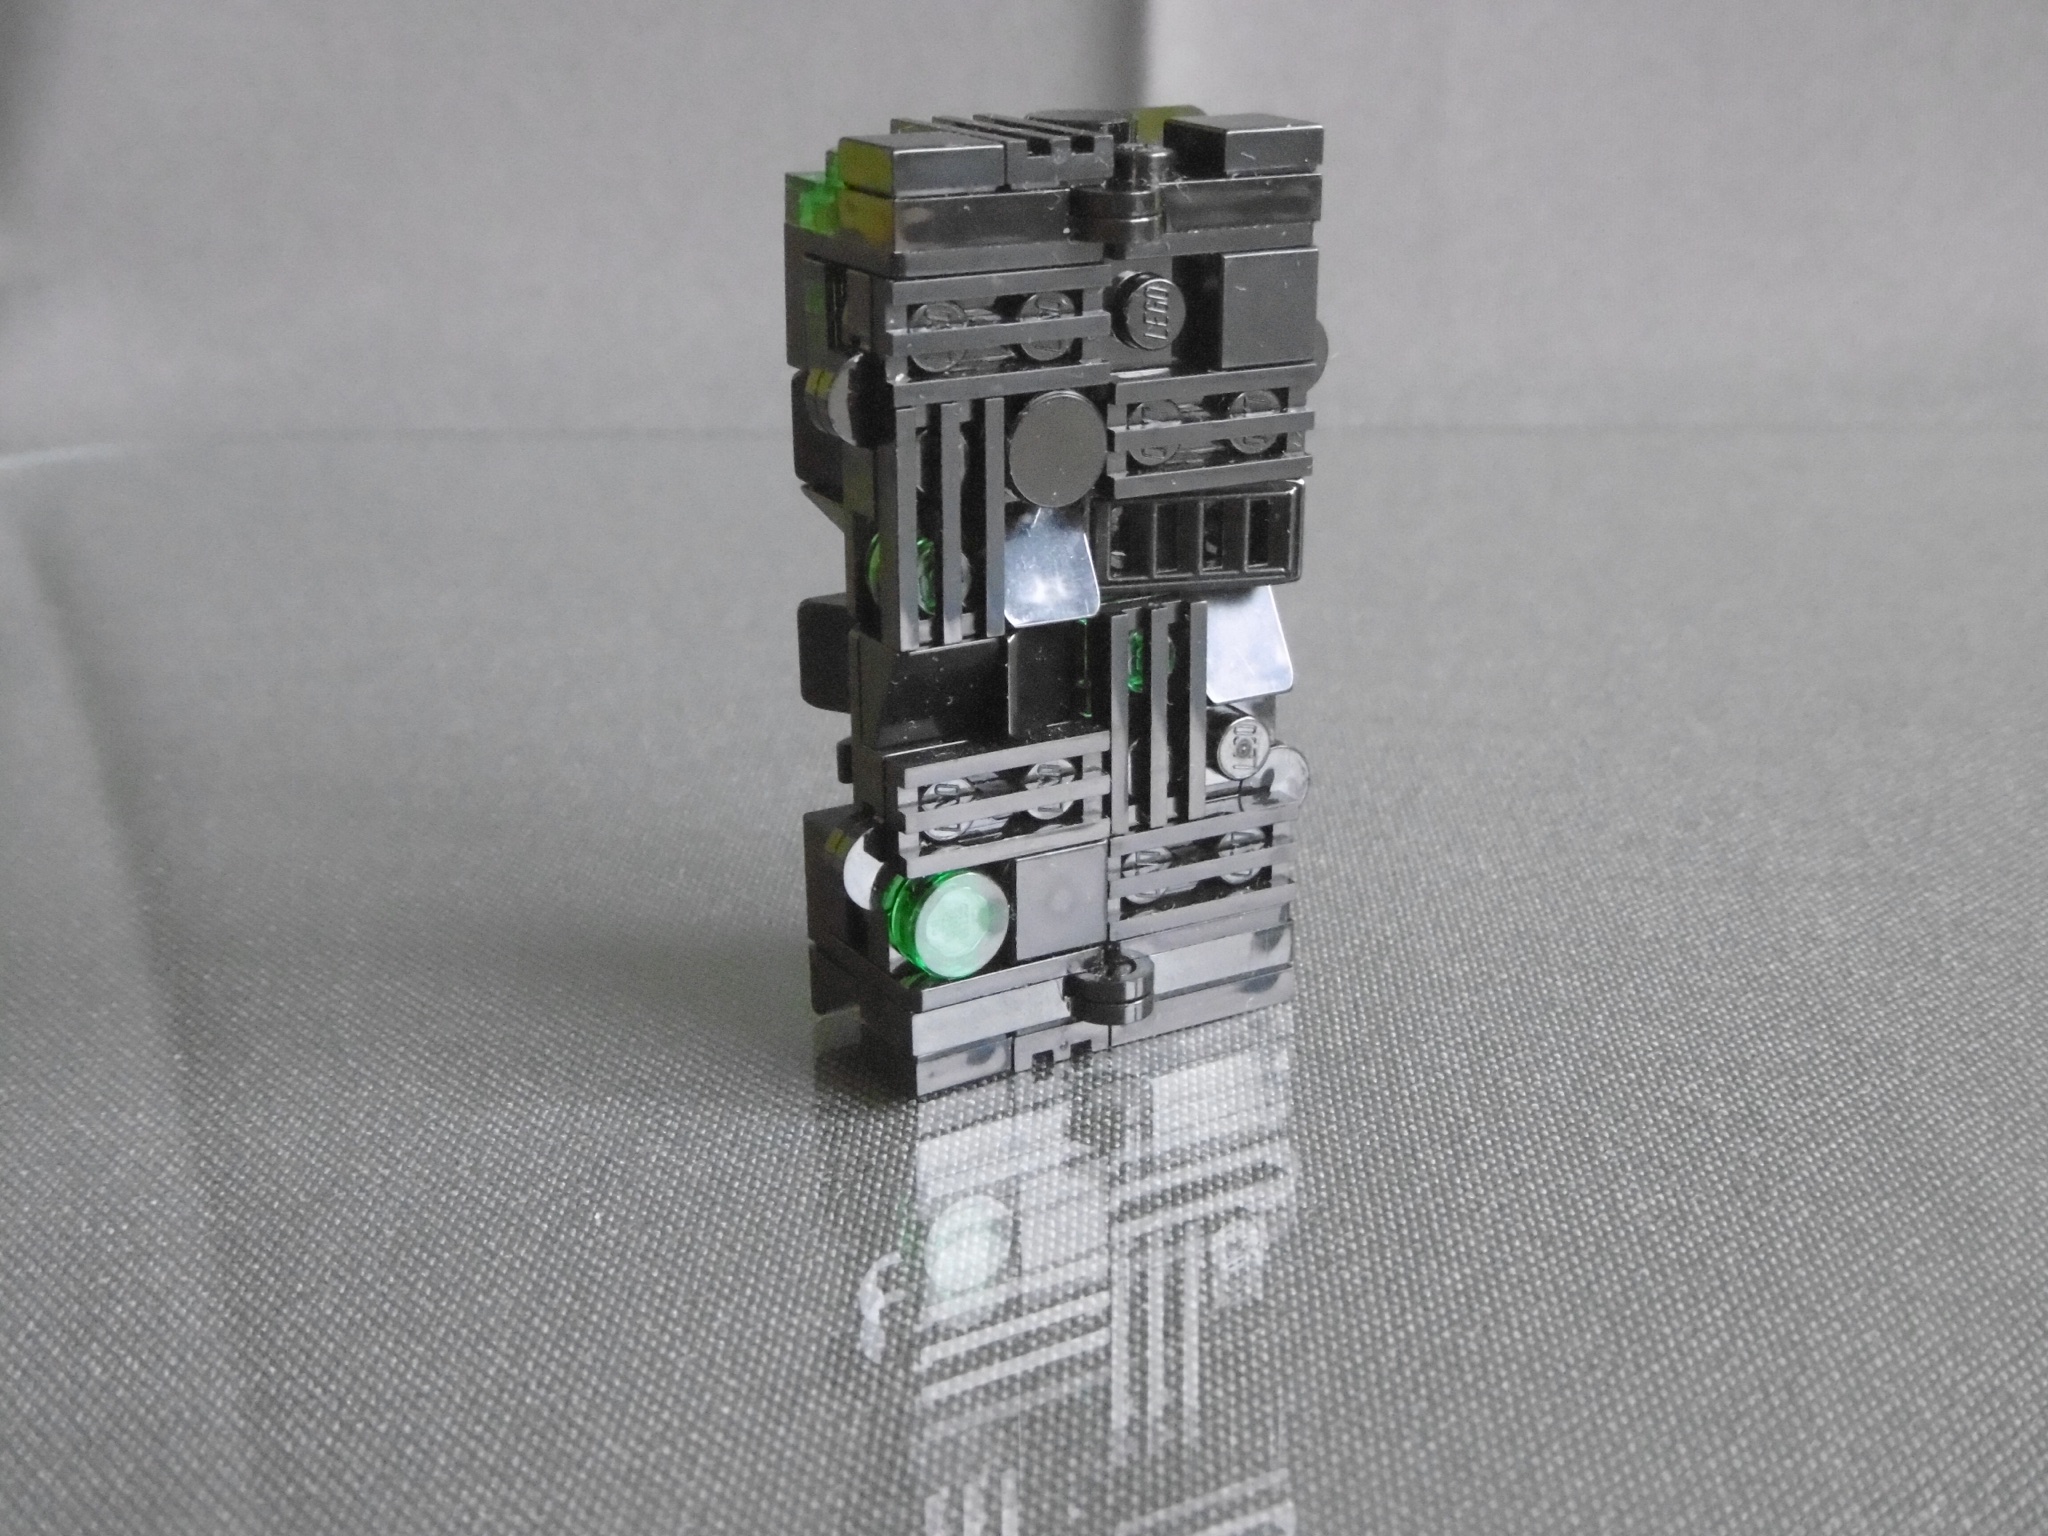
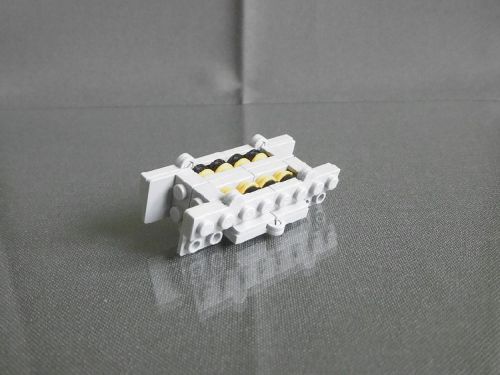
The centre hole of the “O” goes all the way through the sculpture. It was really a challenge to achieve that without weakening the structure too much.
So this is my 3D Lego ambigram showing the lettering NILS-O-BRIX.
I hope you like it :-))