Rated 5 out of 5 (36 ratings)
3,102 visitors
29 comments
Added January 8, 2015
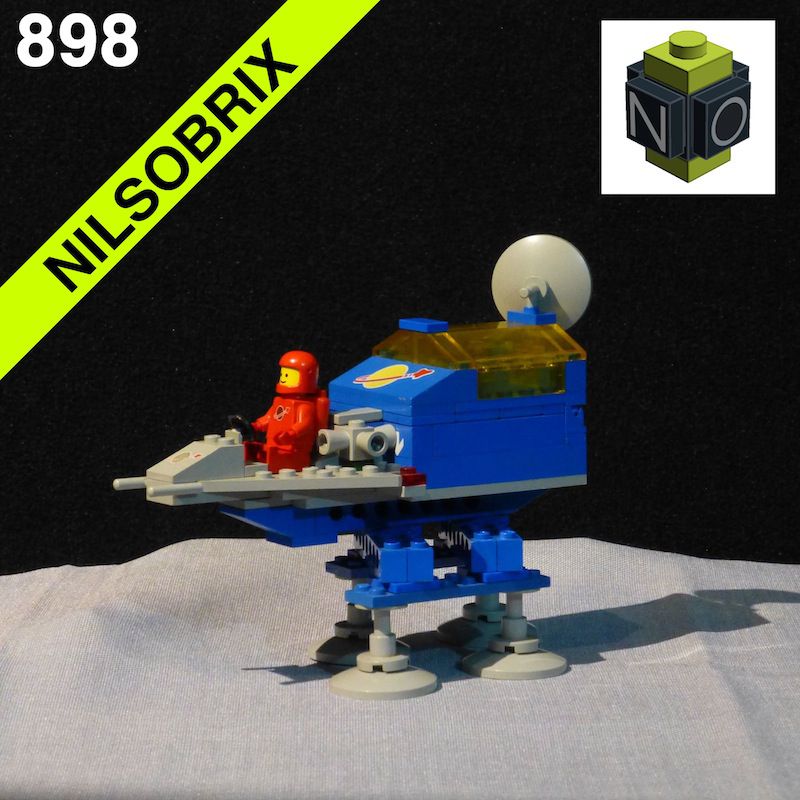
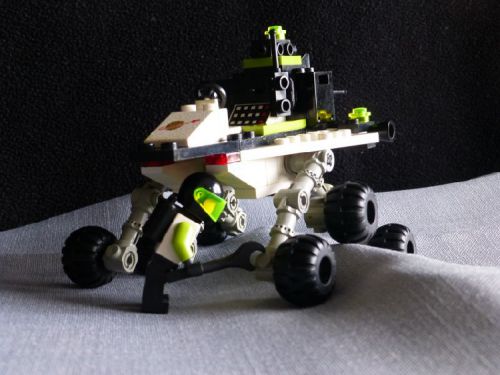
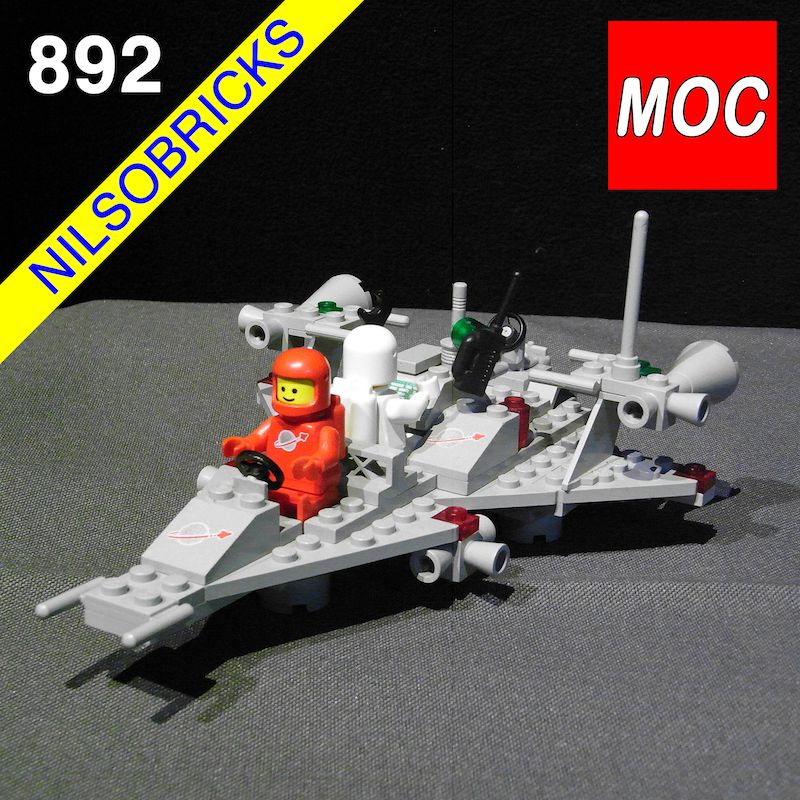
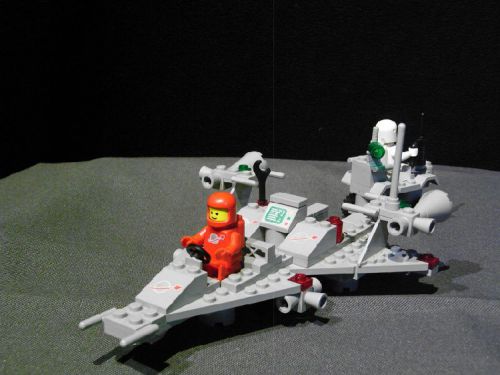
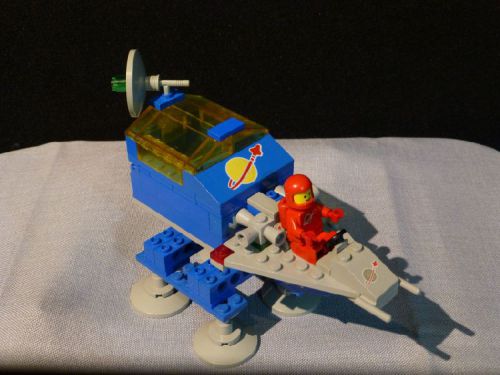
Where no CS astronaut has gone before: There was a prototype of the “Alienator” long before the Blacktron era – The Alien Planet Explorator.
My entry to the Classic Space Pocket Money Contest 3:
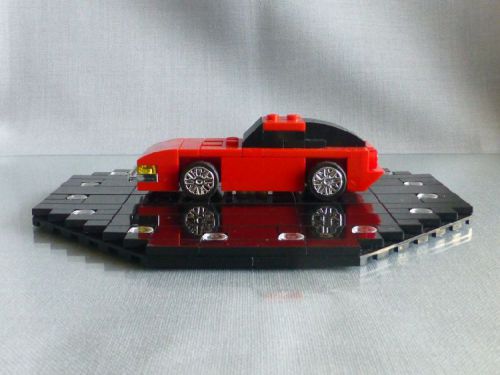
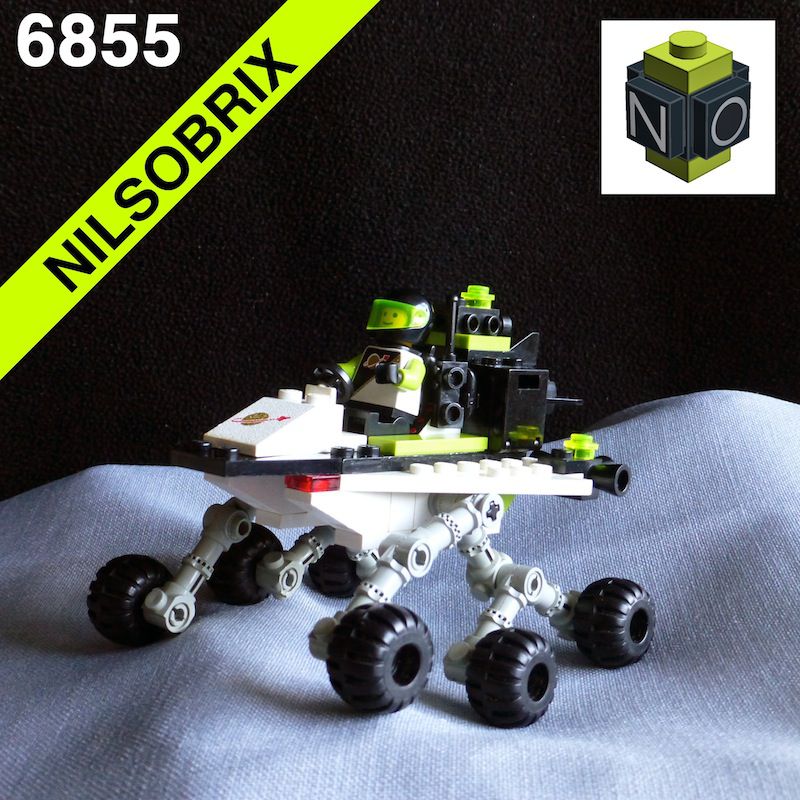
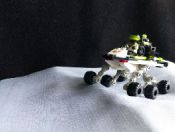
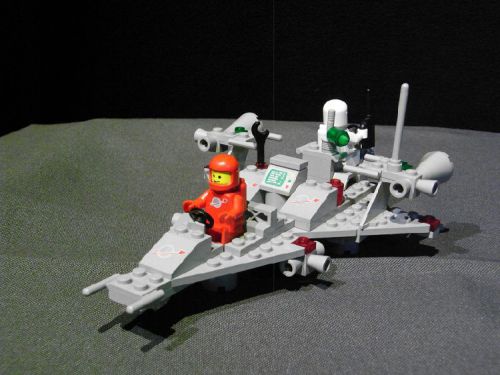
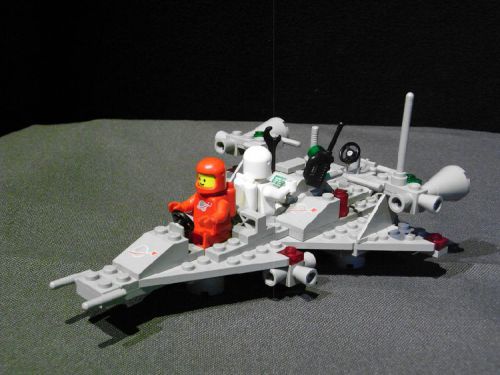
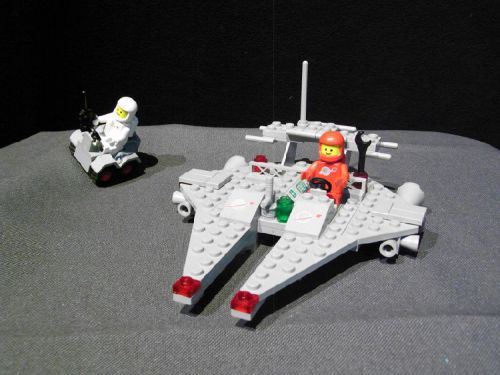
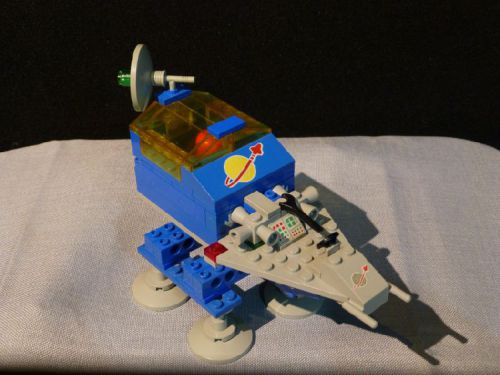
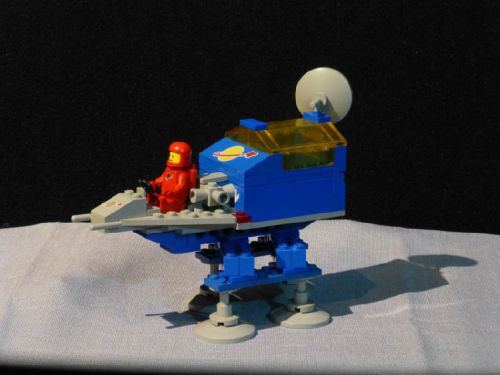
The 898 Alien Planet Explorator.
BREAKING NEWS:
For a long time there have been rumours about a prototype of the famous Blacktron “Alienator” that was meant to be part of the first line of space exploration vehicles from Stardate 1979. Now a private collector who wants to remain anonymous has got his hands on the original data. And not only that, he has also found a special workshop to build a prototype. The working title of this prototype according to the data is “Alien Planet Explorator”, a possible origin of the name “Alienator”. These are the first exclusive photos…
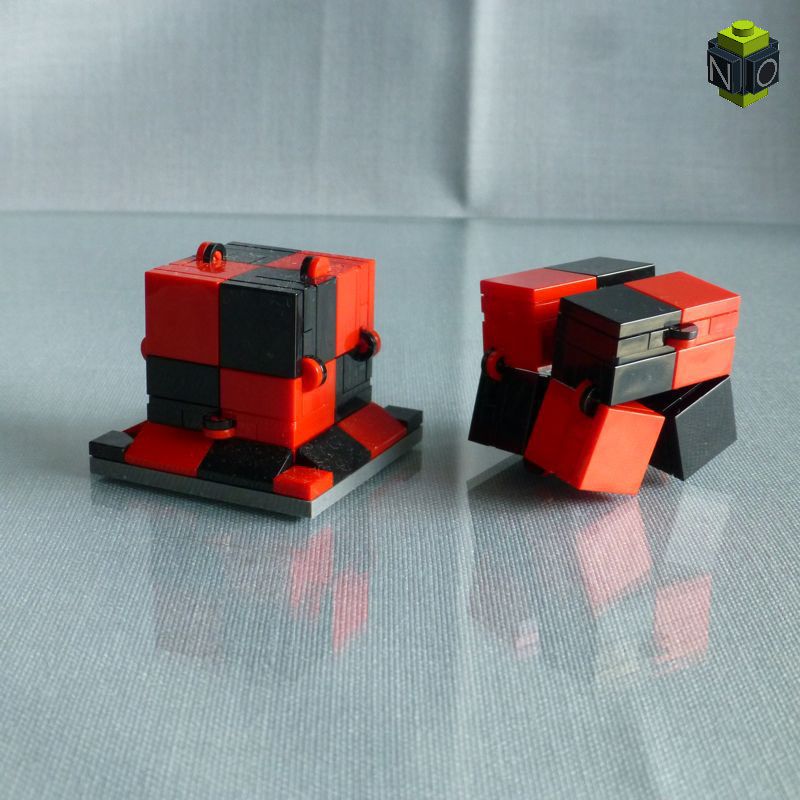
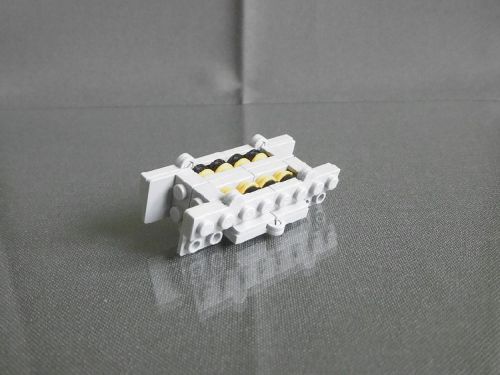
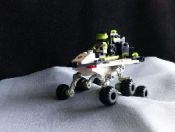
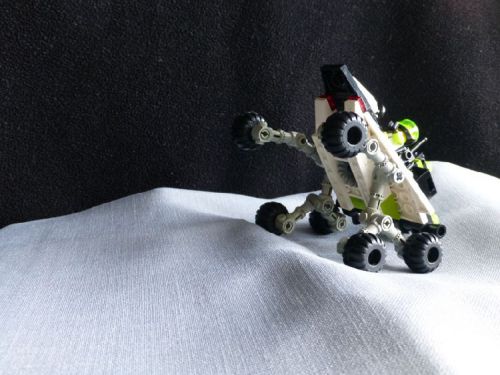
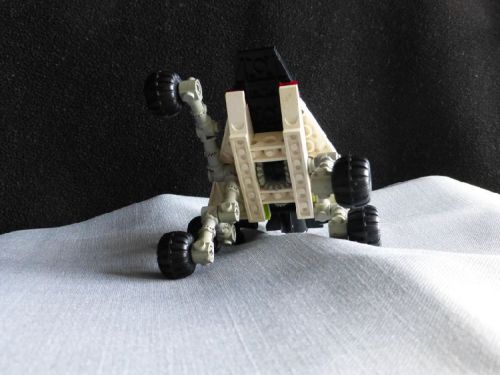
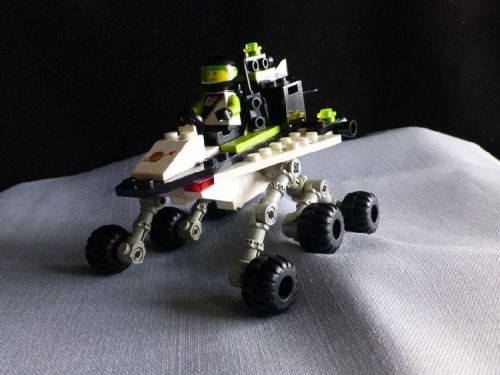
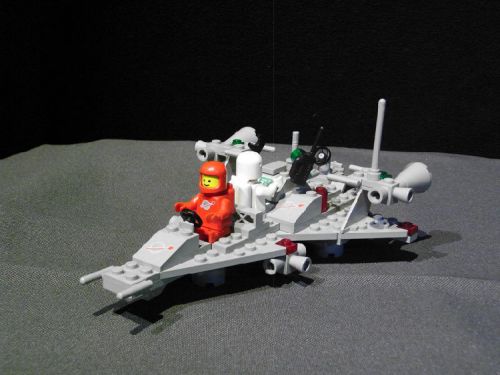
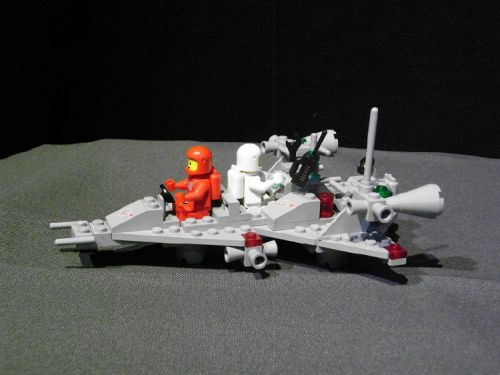
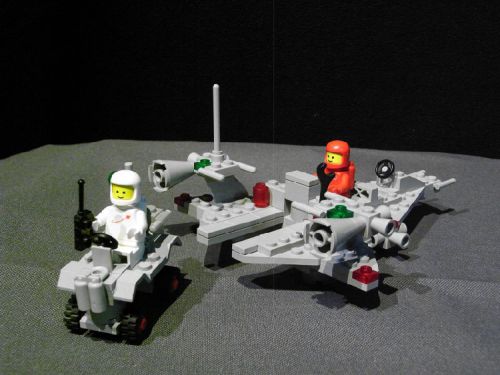
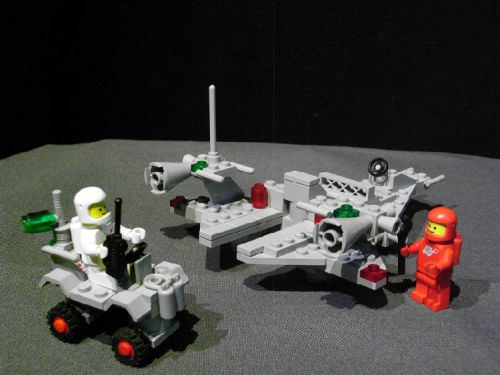
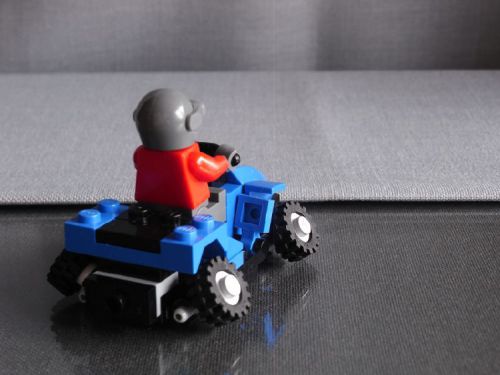
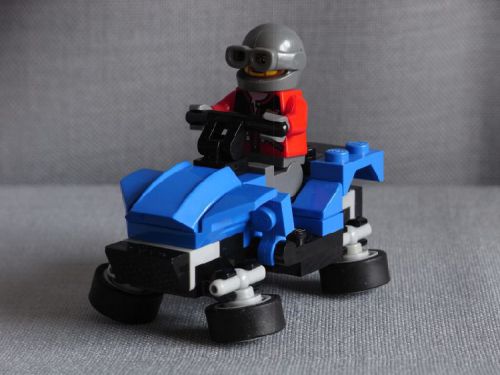
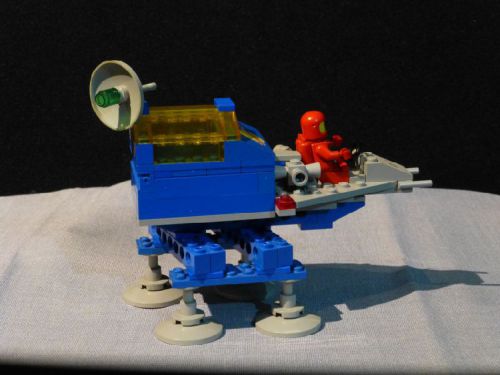
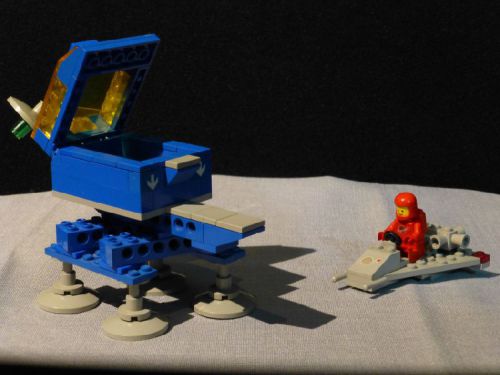
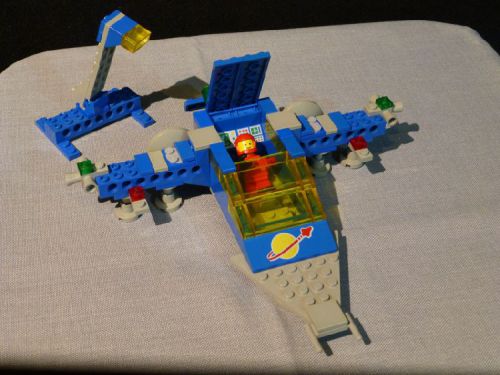
The vehicle is a mobile sensor array for ground analysis. Every “foot” of the vehicle contains a lot of different sensors. With every step of the vehicle a new area of the ground is analysed.
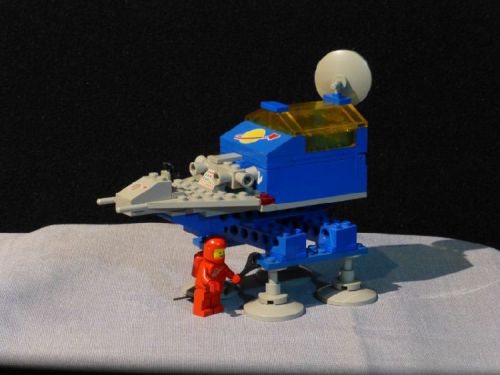
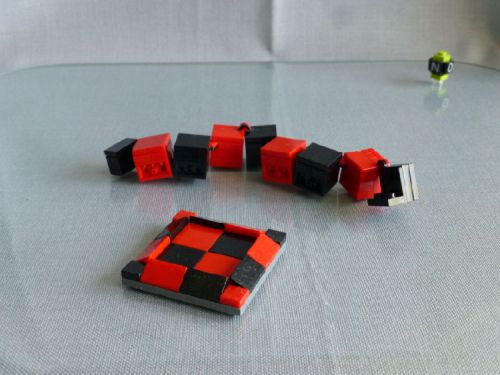
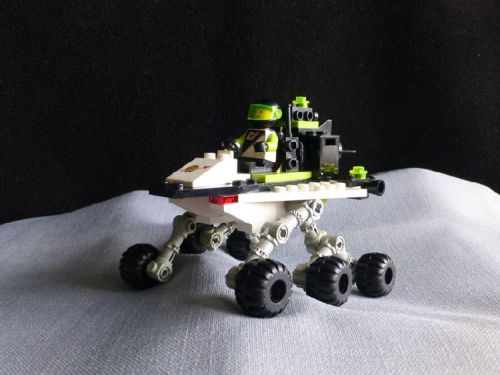
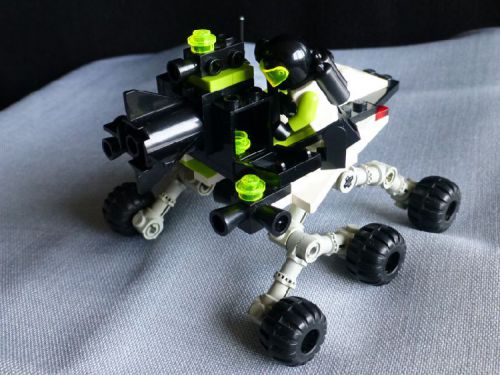
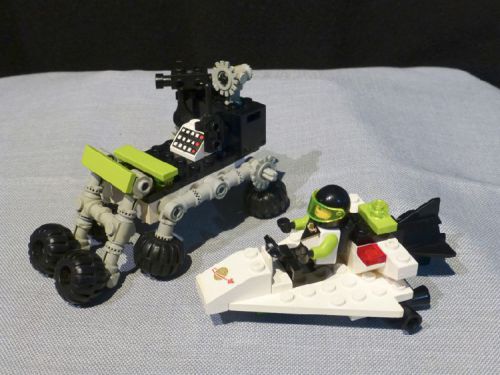
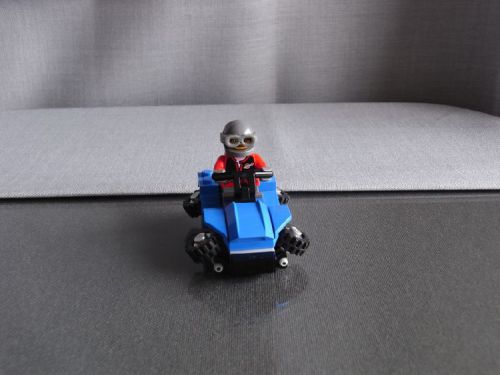
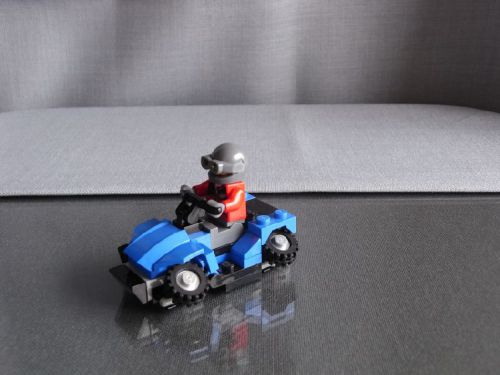
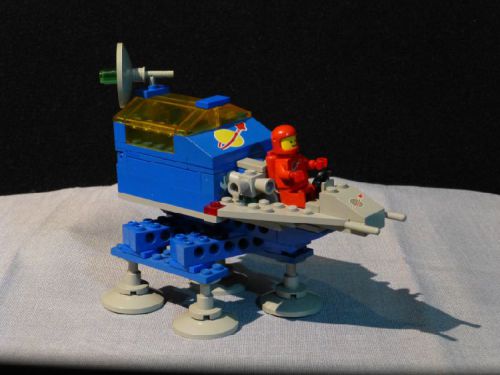
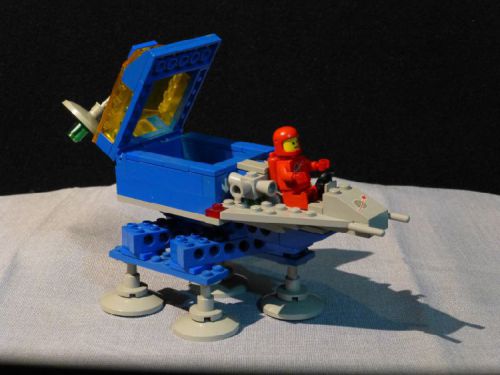
The front part of the vehicle can be seperated from the main section and be used as a scooter. The rear section can analyse the ground autonomically. The operator returns when necessary to analyse data or for repairs.
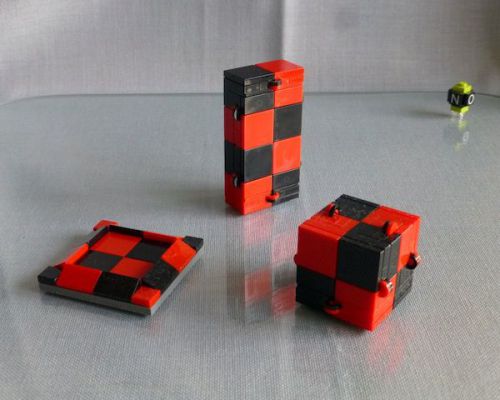
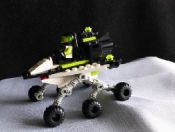
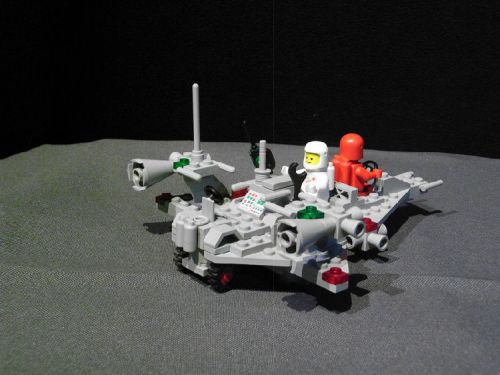
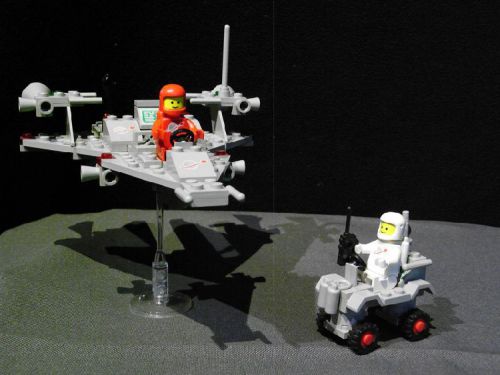
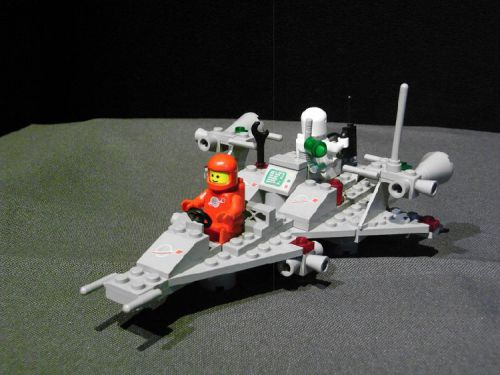
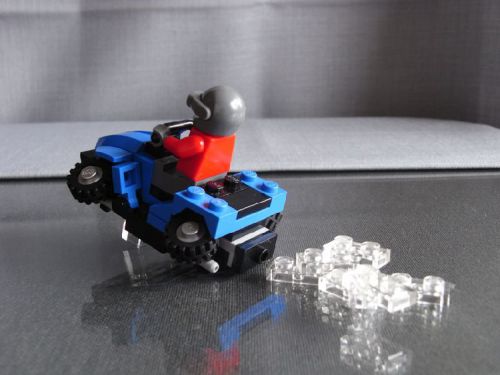
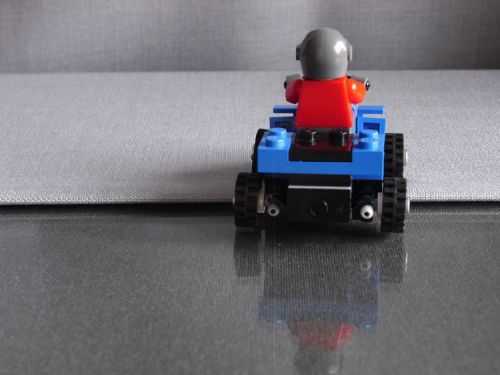
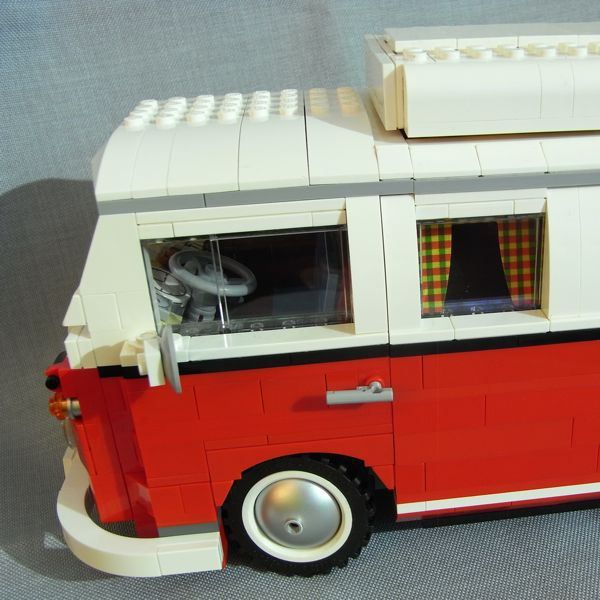
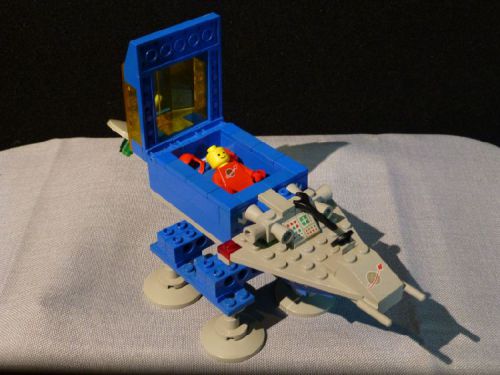
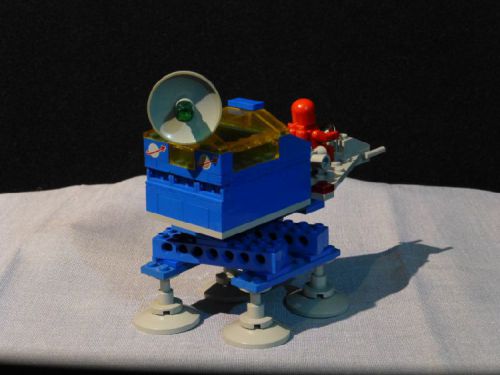
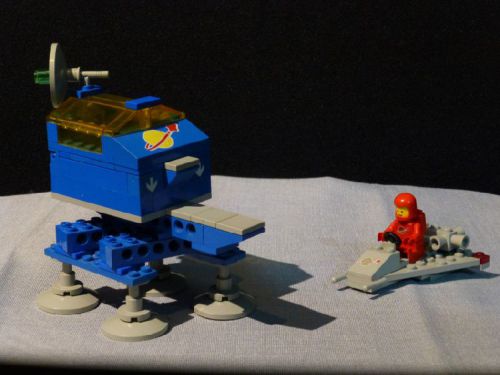
The rear section can be entered via the opening roof. There is a main computer console for the further processing of the collected data.
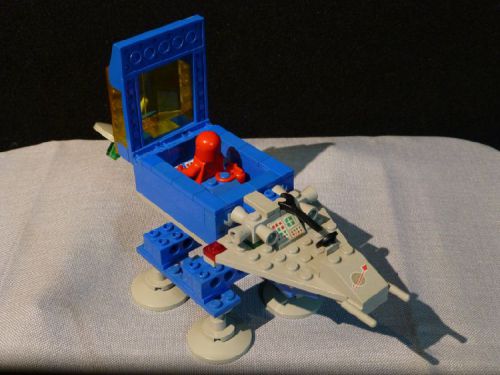
With the roof closed a small sealed room with a controlled environment is created for the astronaut.
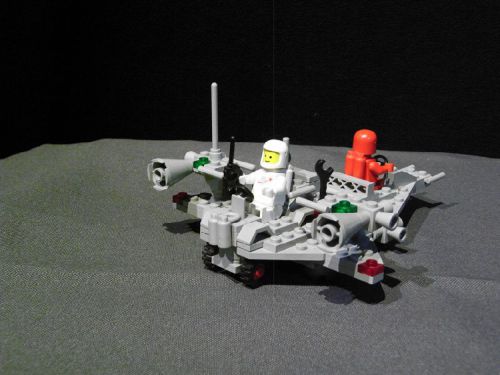
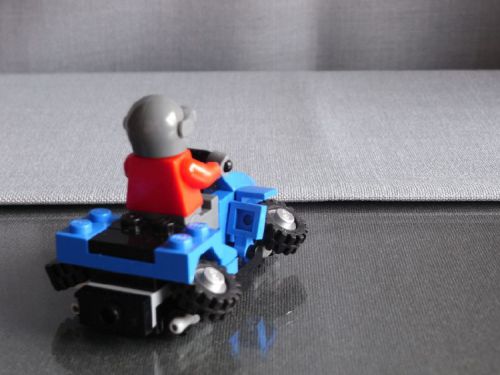
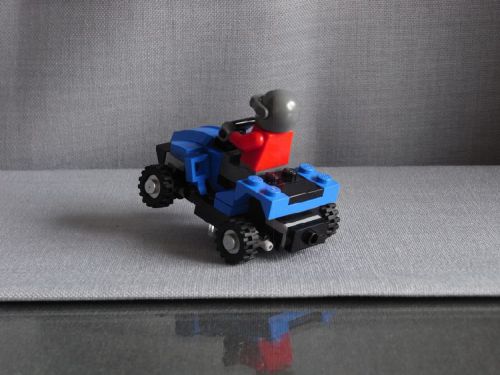
By moving the big cushion the working chair can be converted into a bunk.
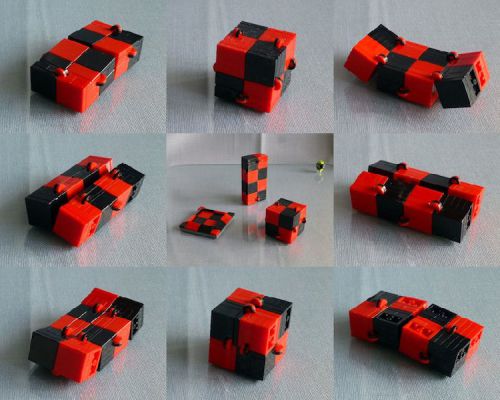
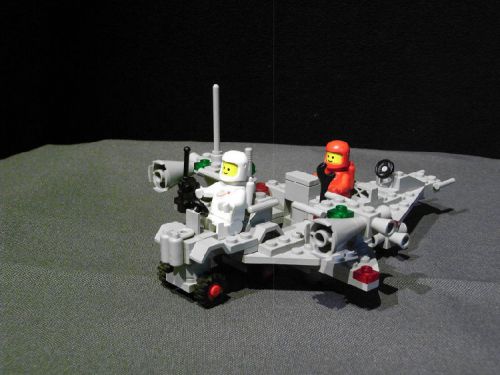
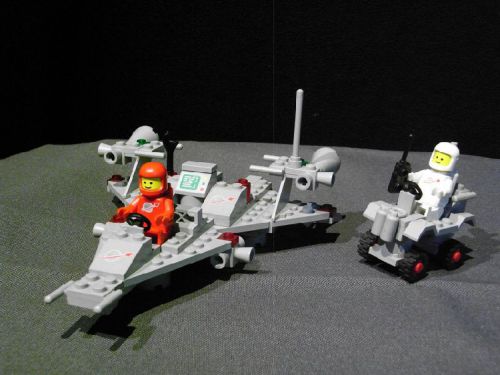
Some additional photos…

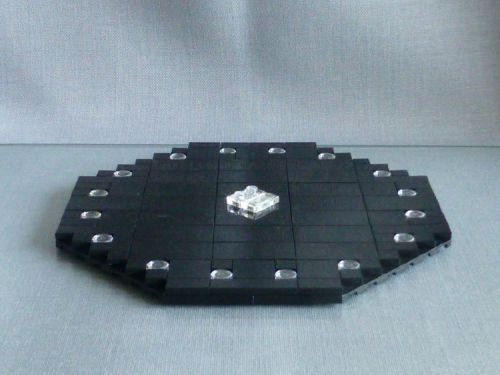
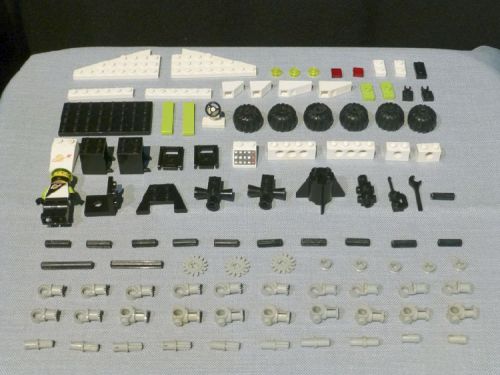
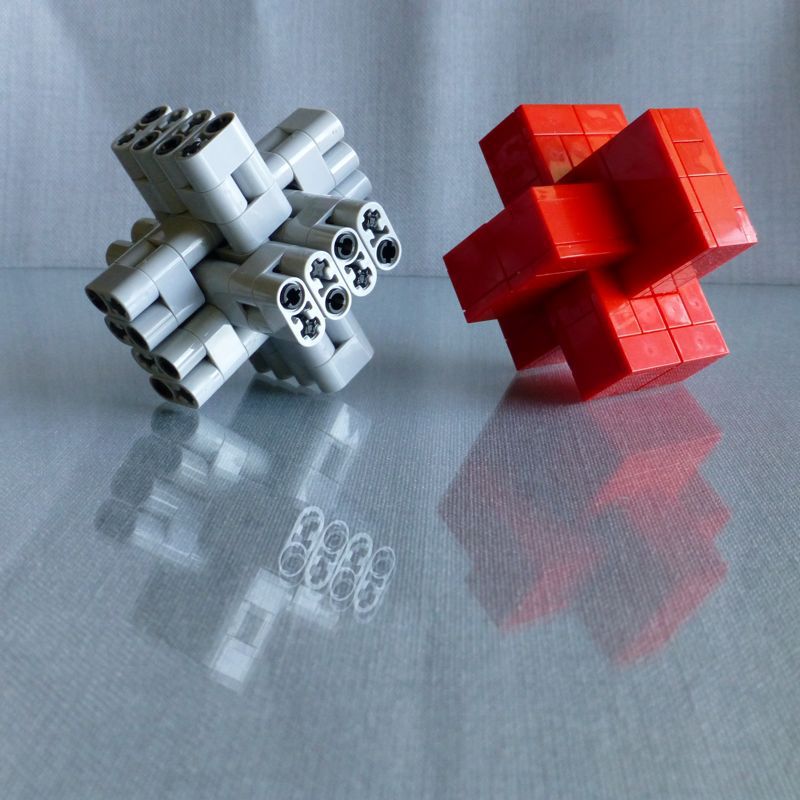
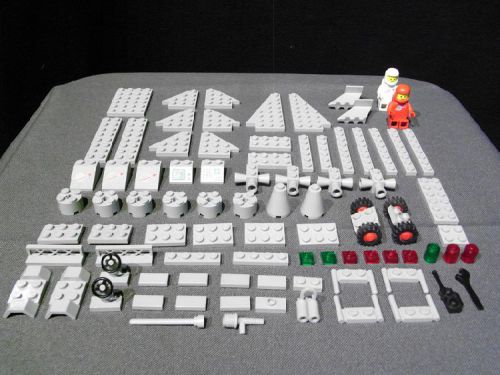
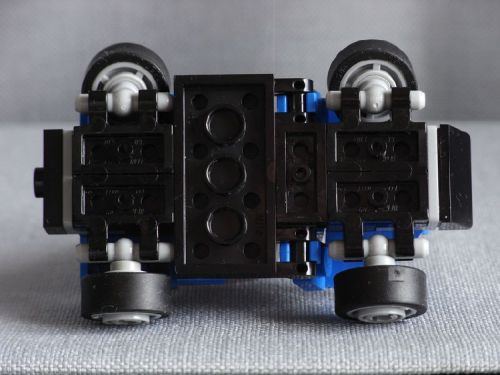
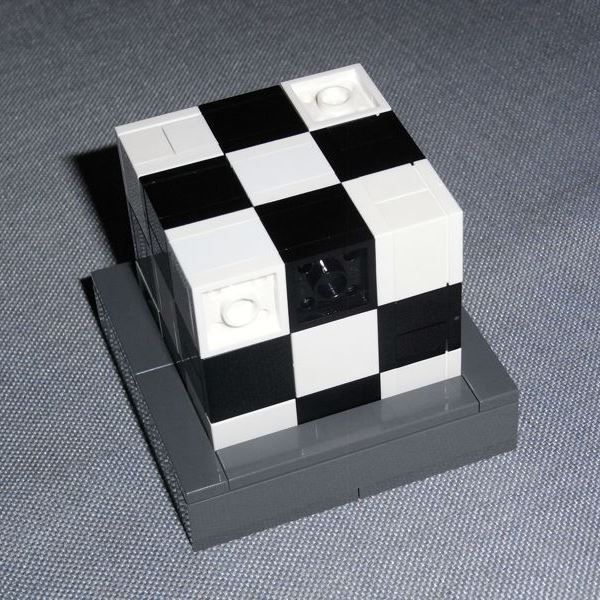
Parts count, the easy way:

Ten rows with ten parts each = 100 parts.
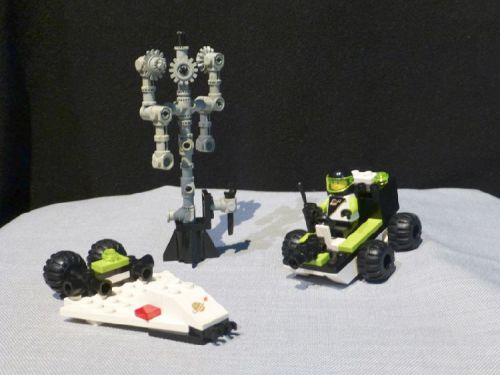
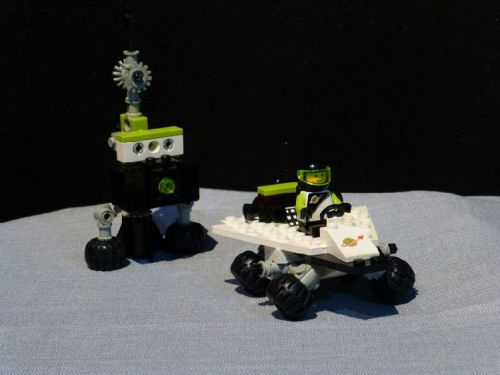
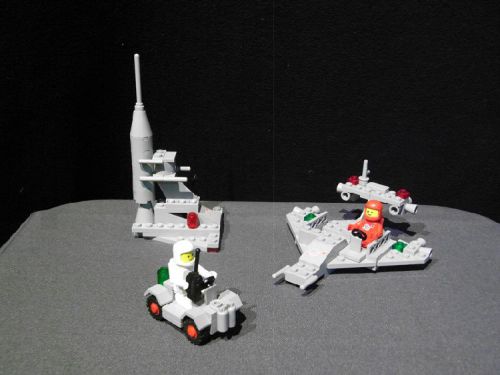
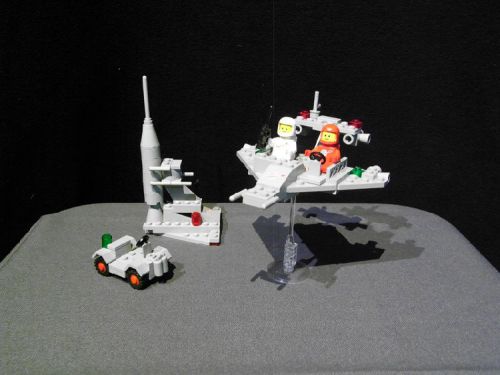
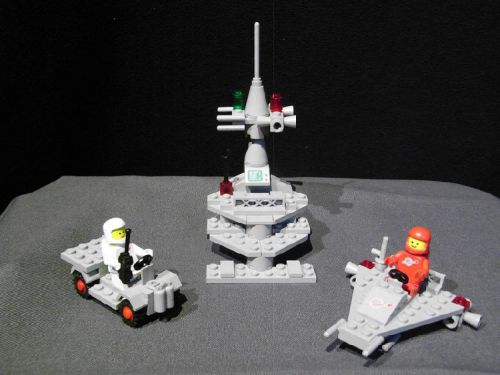
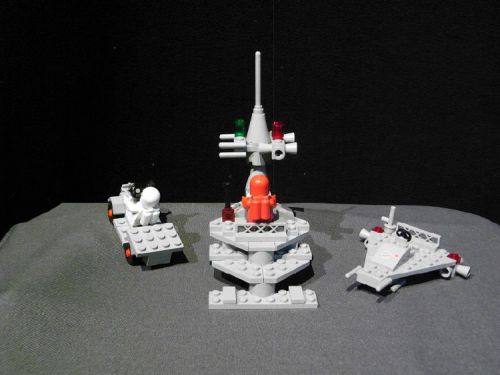
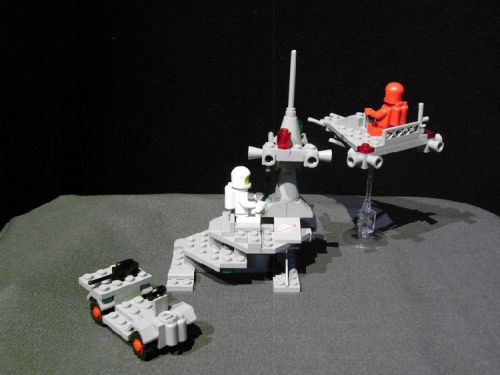
And now for the alternative models:
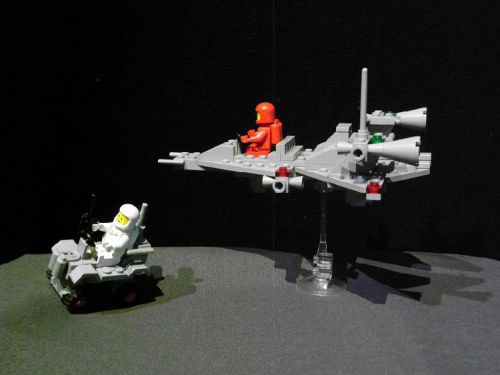
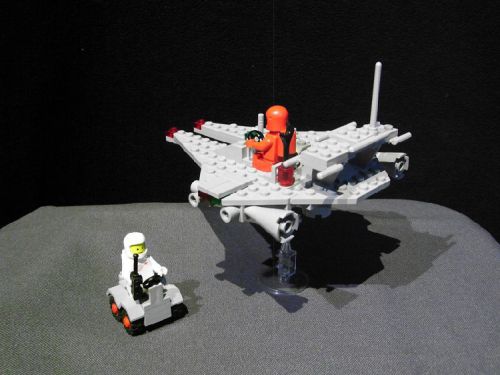
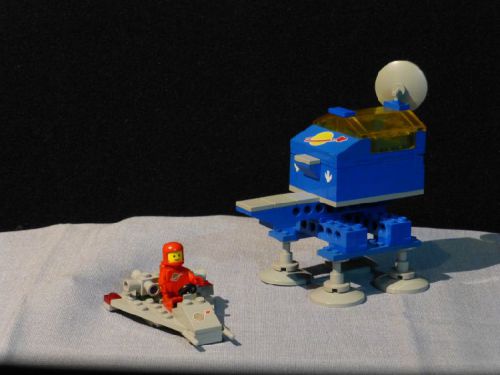
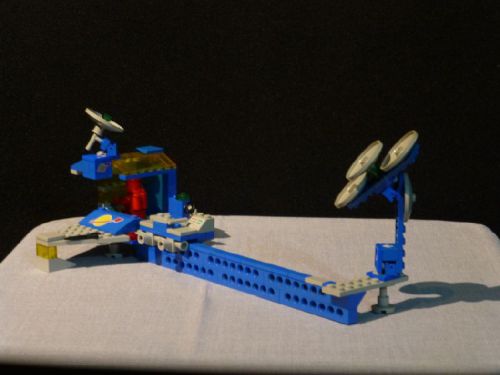
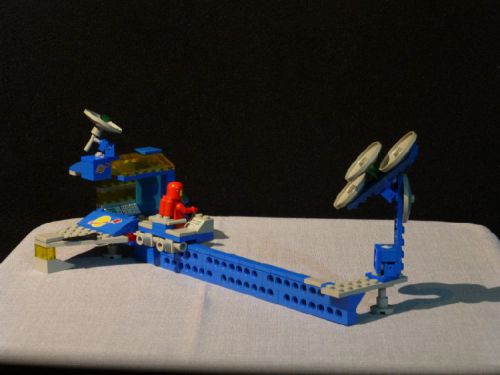
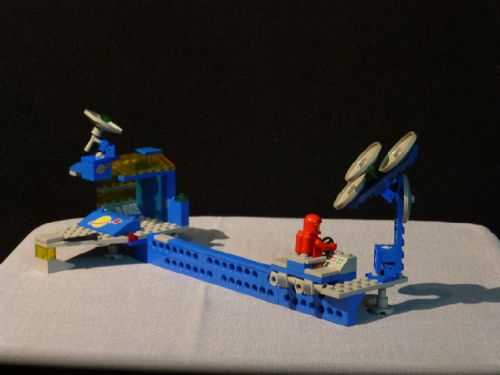
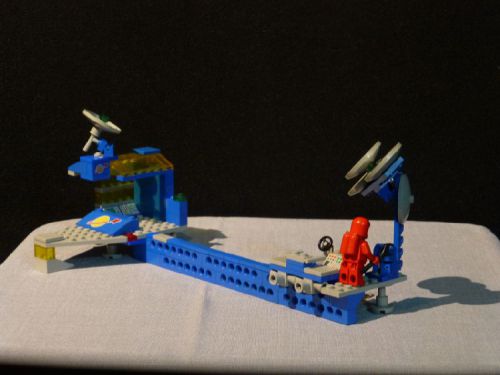
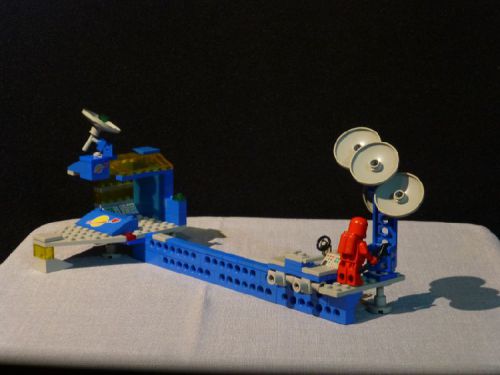
Alternative 1
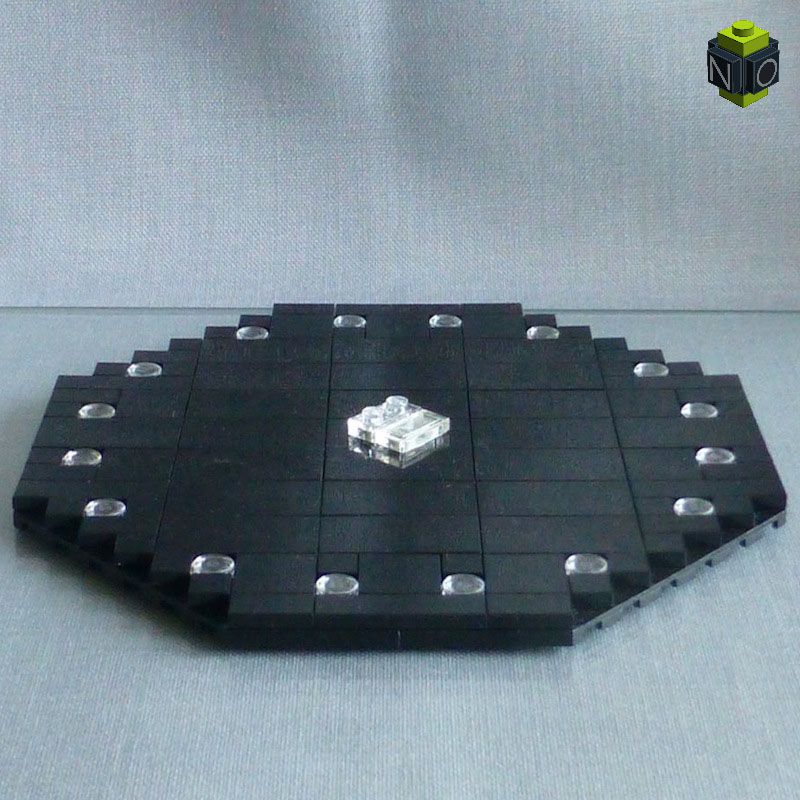
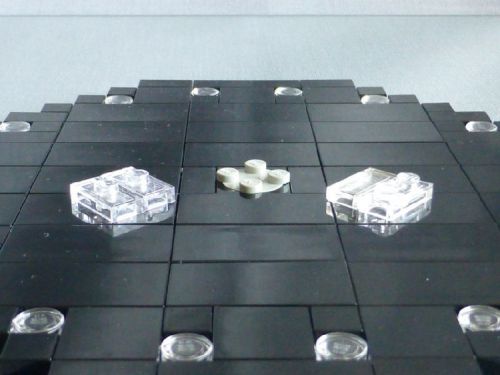
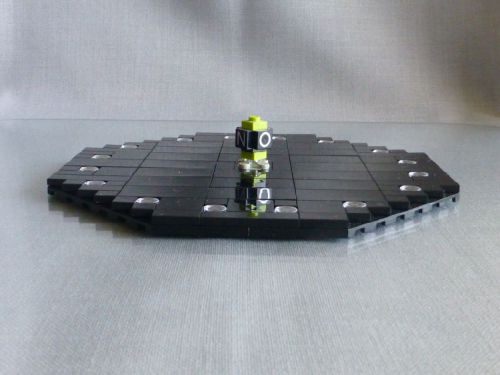
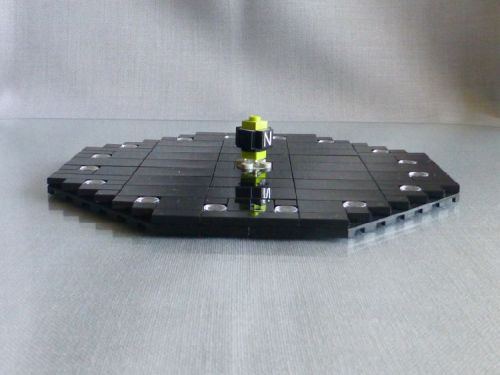
A small communication outpost with a little monorail
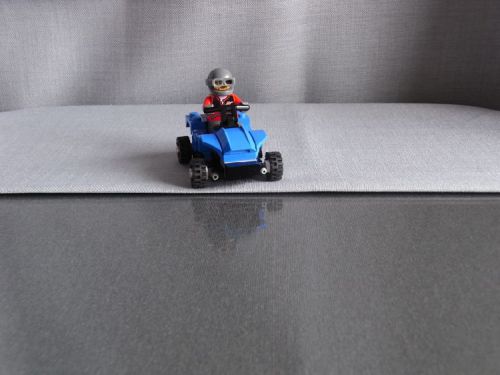
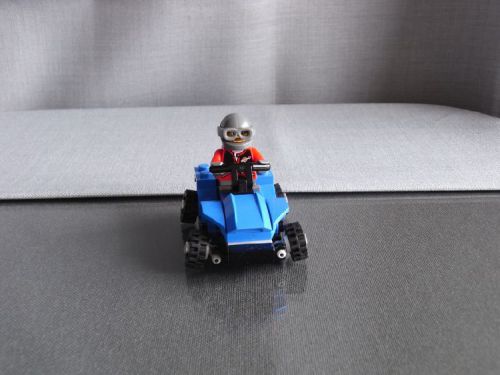
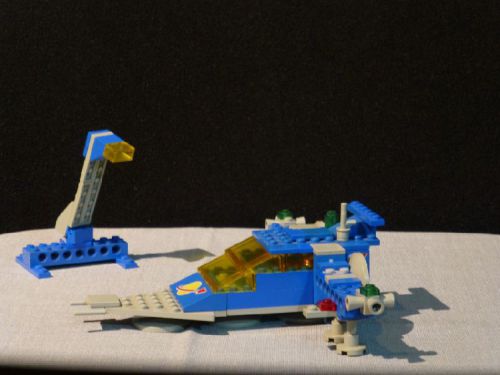
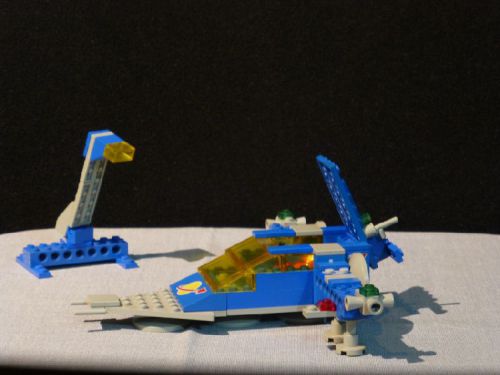
Alternative 2
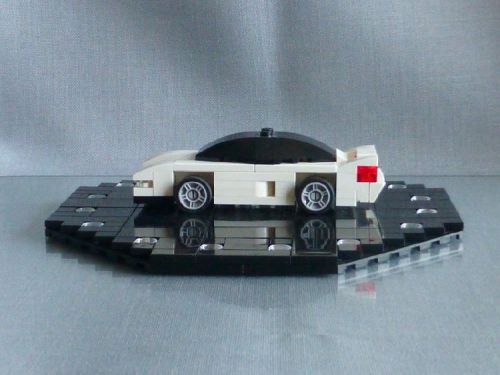
A one man scout ship
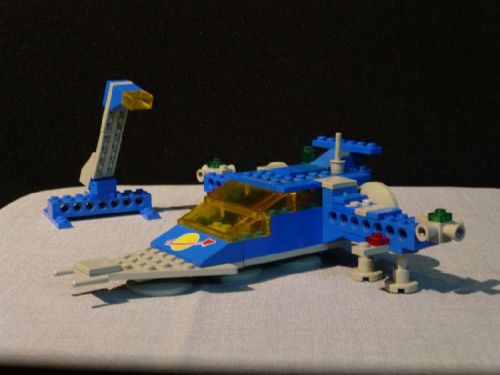
There were some bricks left, so I added a flood light.
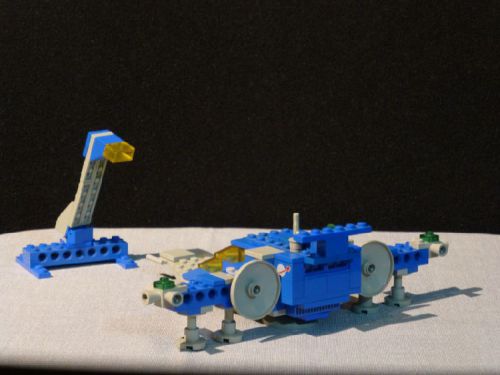
You never know when you need one ;-)).
 So this is my contibution to the Classic Space pocket Money Contest 3, the Lego 898 “Alien Planet Explorator”. I hope you like it as much as I do :-)).
And before I forget it: Thanks to you, David and David, for this wonderful contest! :-))
Bonus photos:
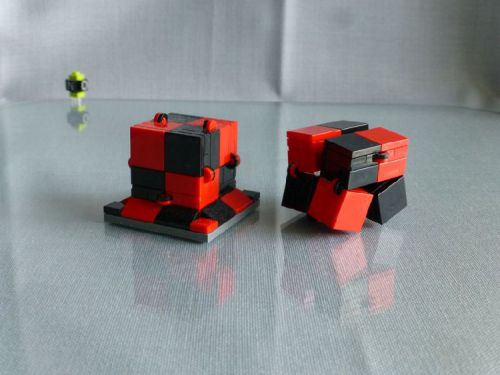
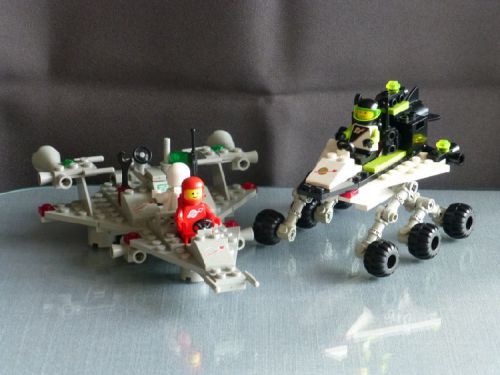
1) My “1979” model compared to the Blacktron “Alienator”
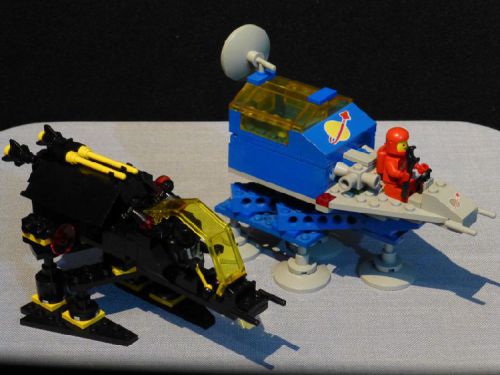
So, which one is the original? ;-))
2) My CSPMC models
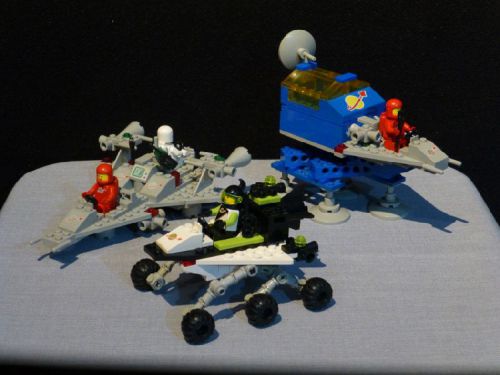
CSPMC1 (left), CSPMC2 (front) and CSPMC3 (right)
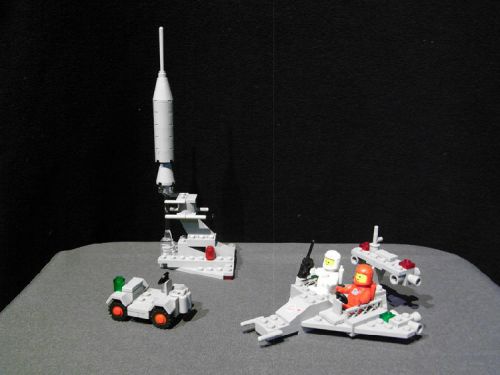
3) The LDD model
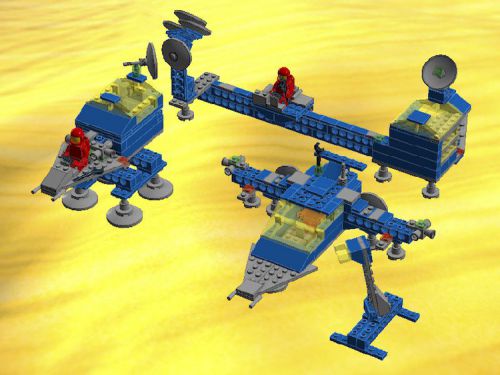
Main model + 2 alternatives