All posts by nilsobrix

Peugeot 205 Turbo16 Evo2 (4-Wide)

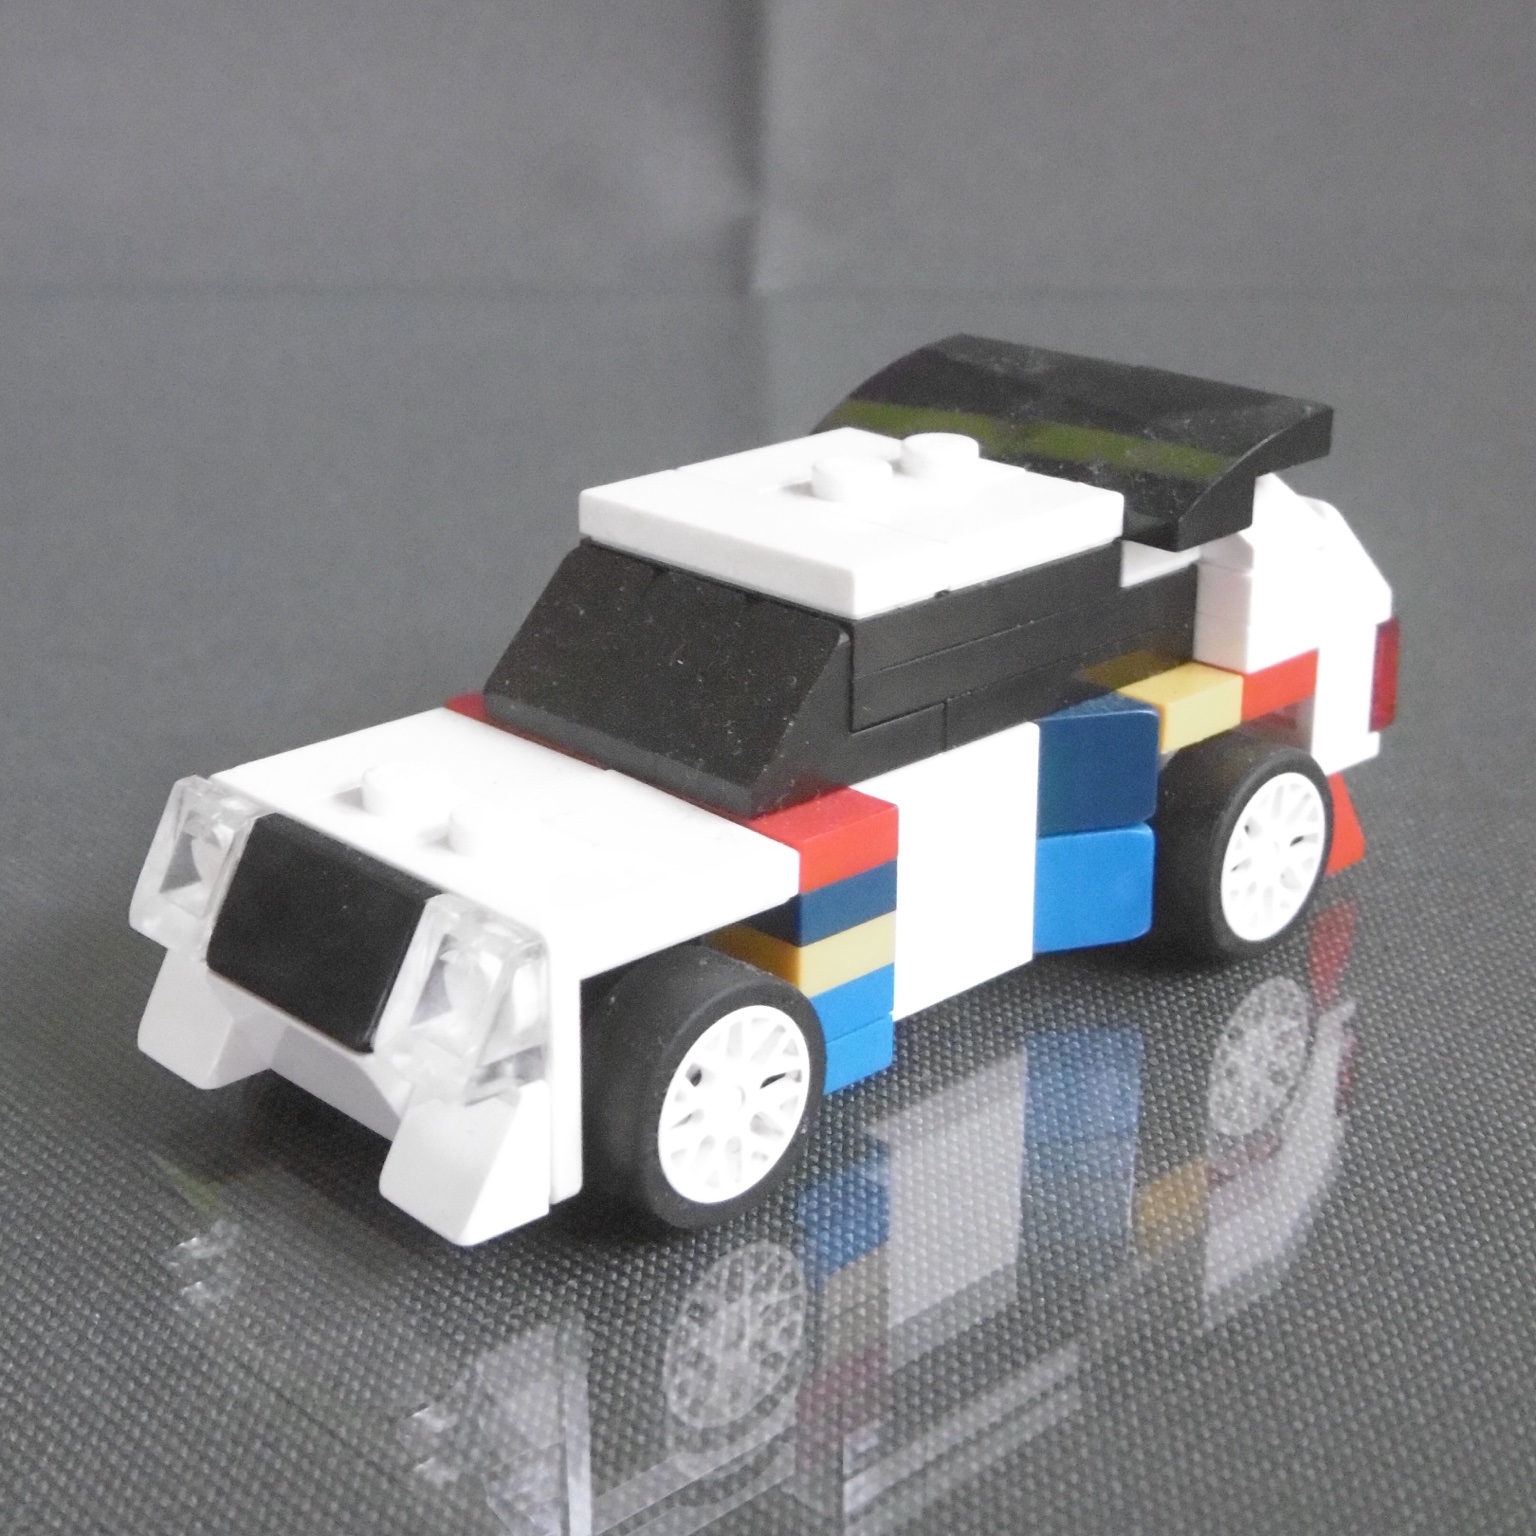
A 4-wide model of the 1980s Group B Rally monster.

When I built my 4-wide Audi sport quattro S1 some years ago I knew that one day I would build this one, too. A sketch model has been on my shelf for quite a while, but now I’ve finally found time to finish it, take some decent pictures and write some lines.

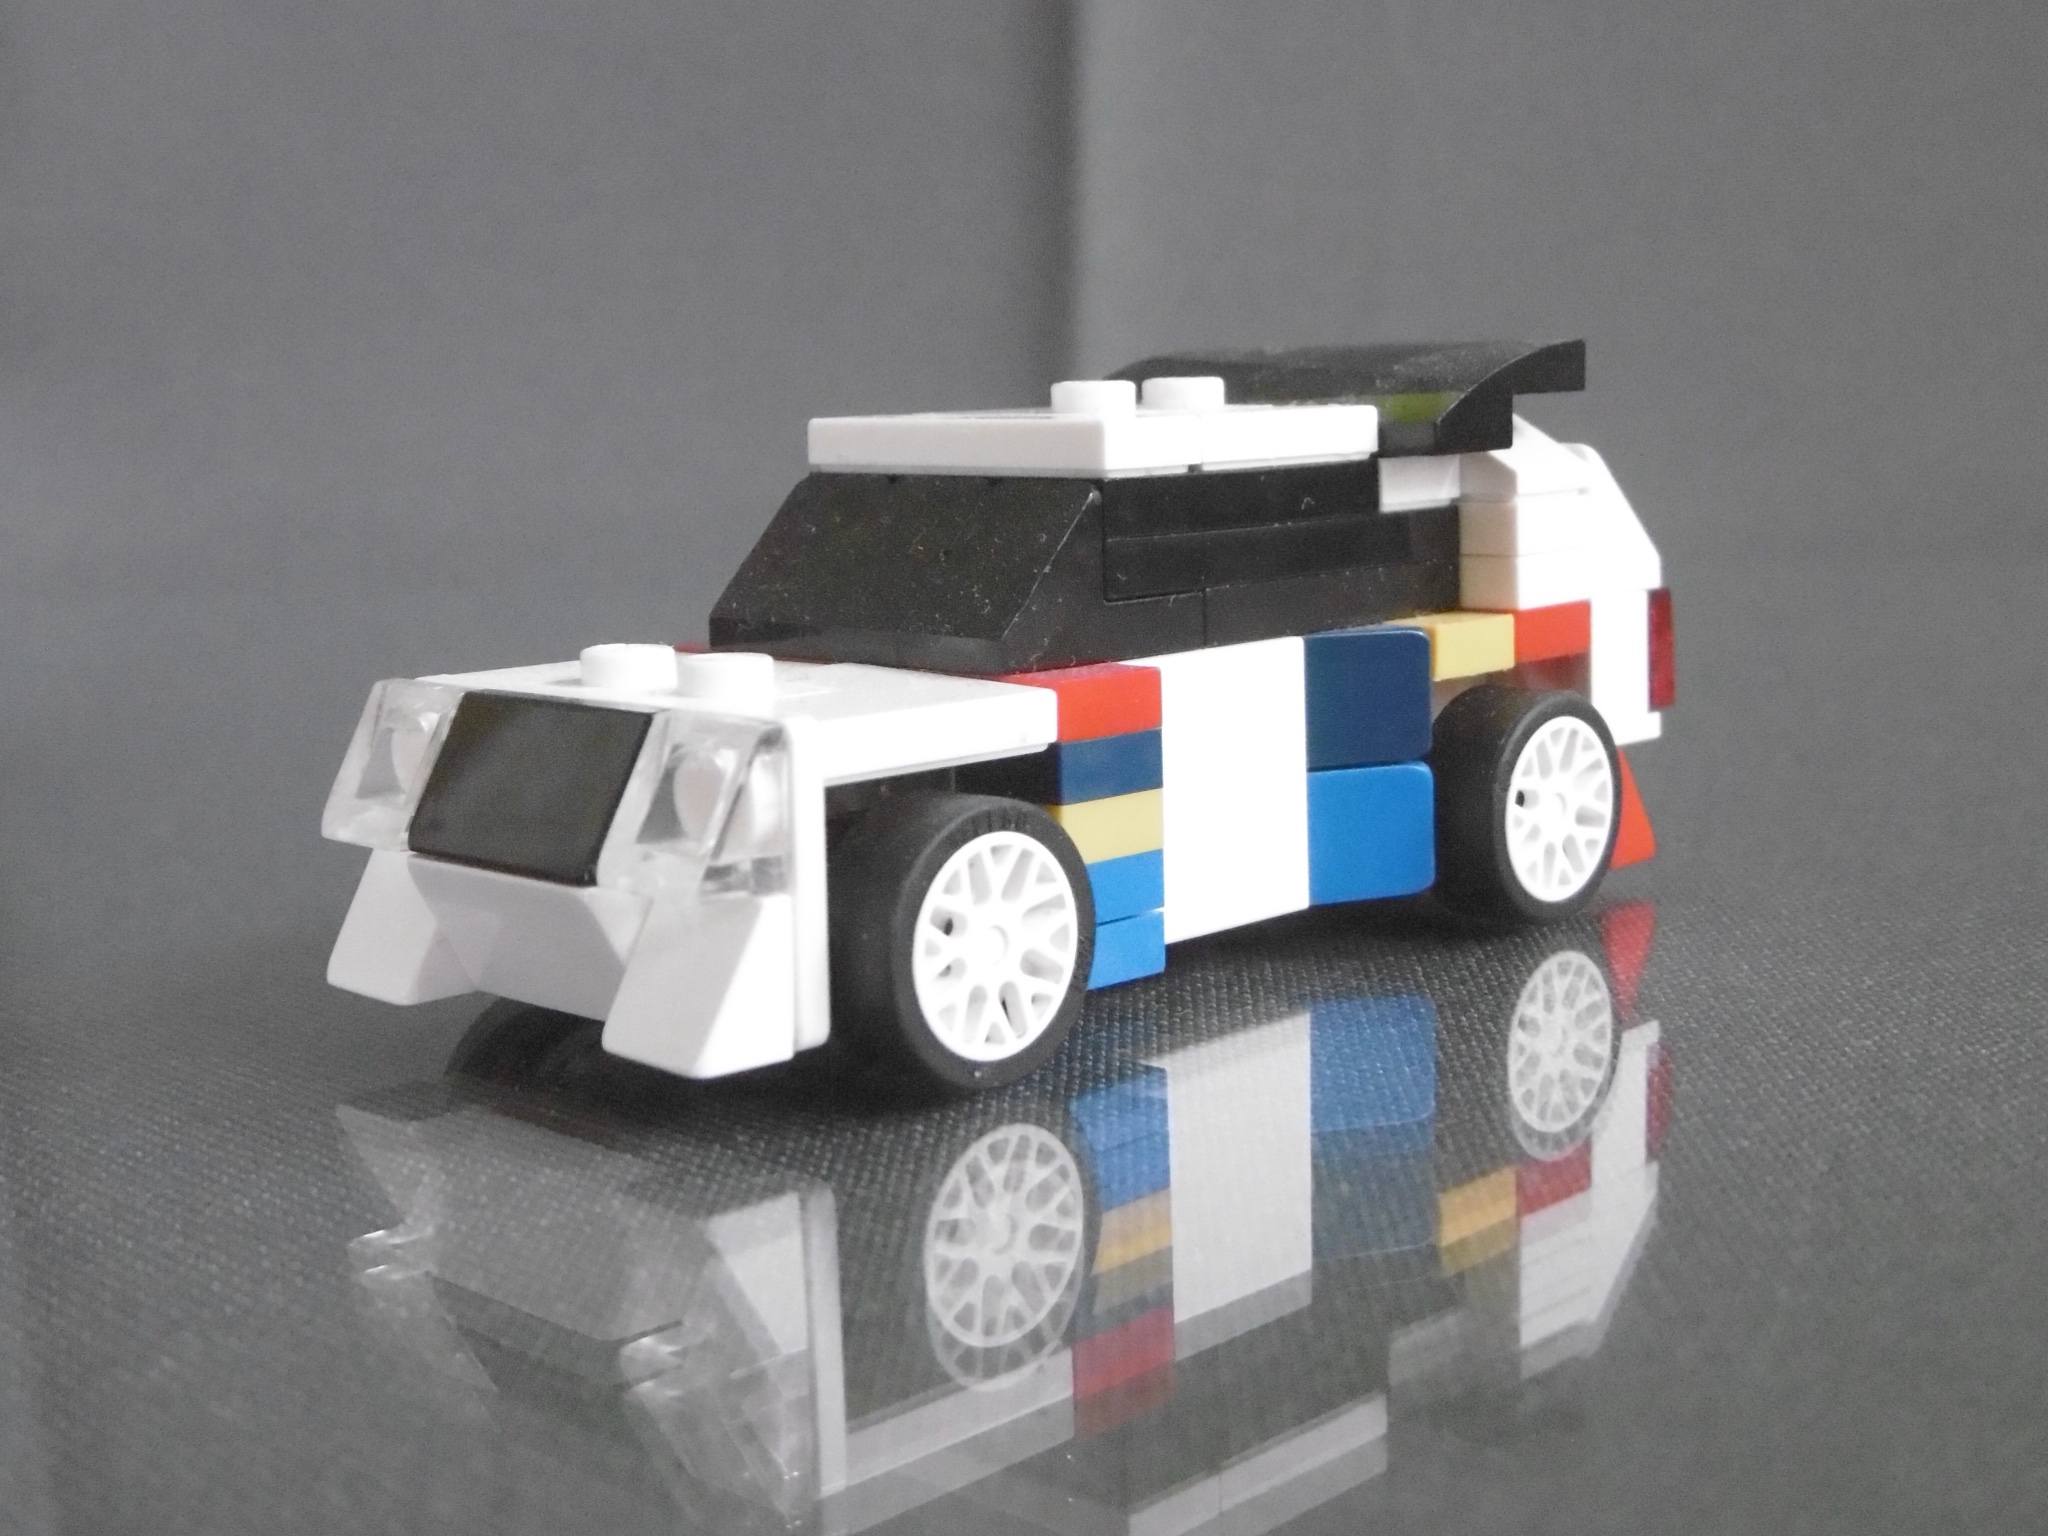
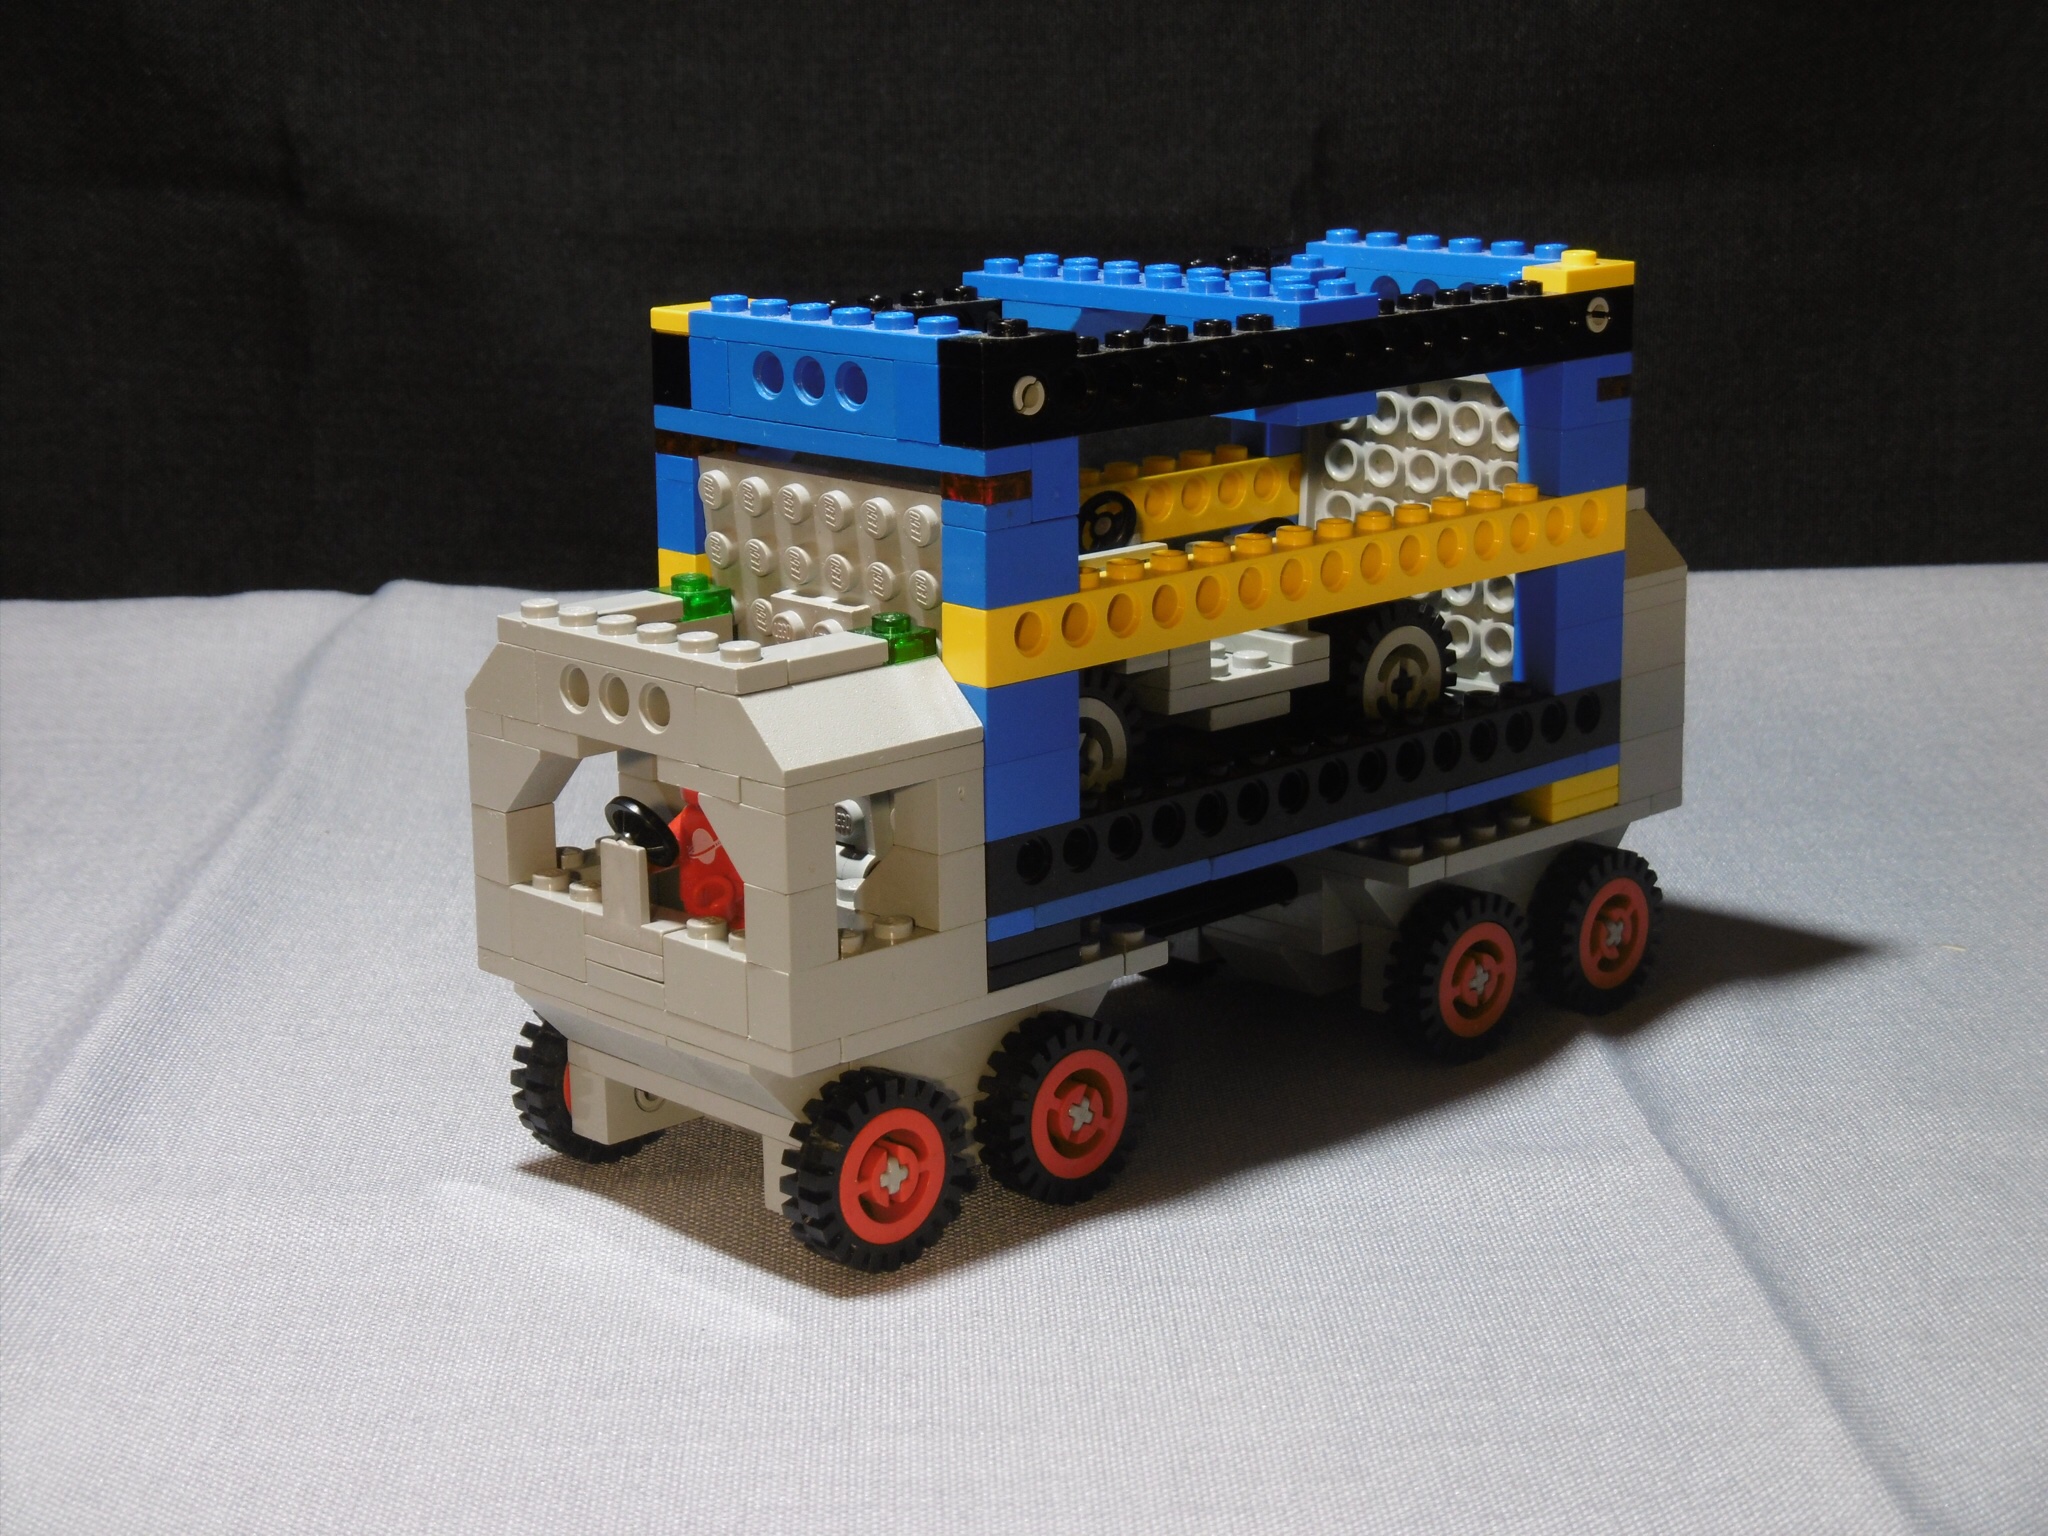
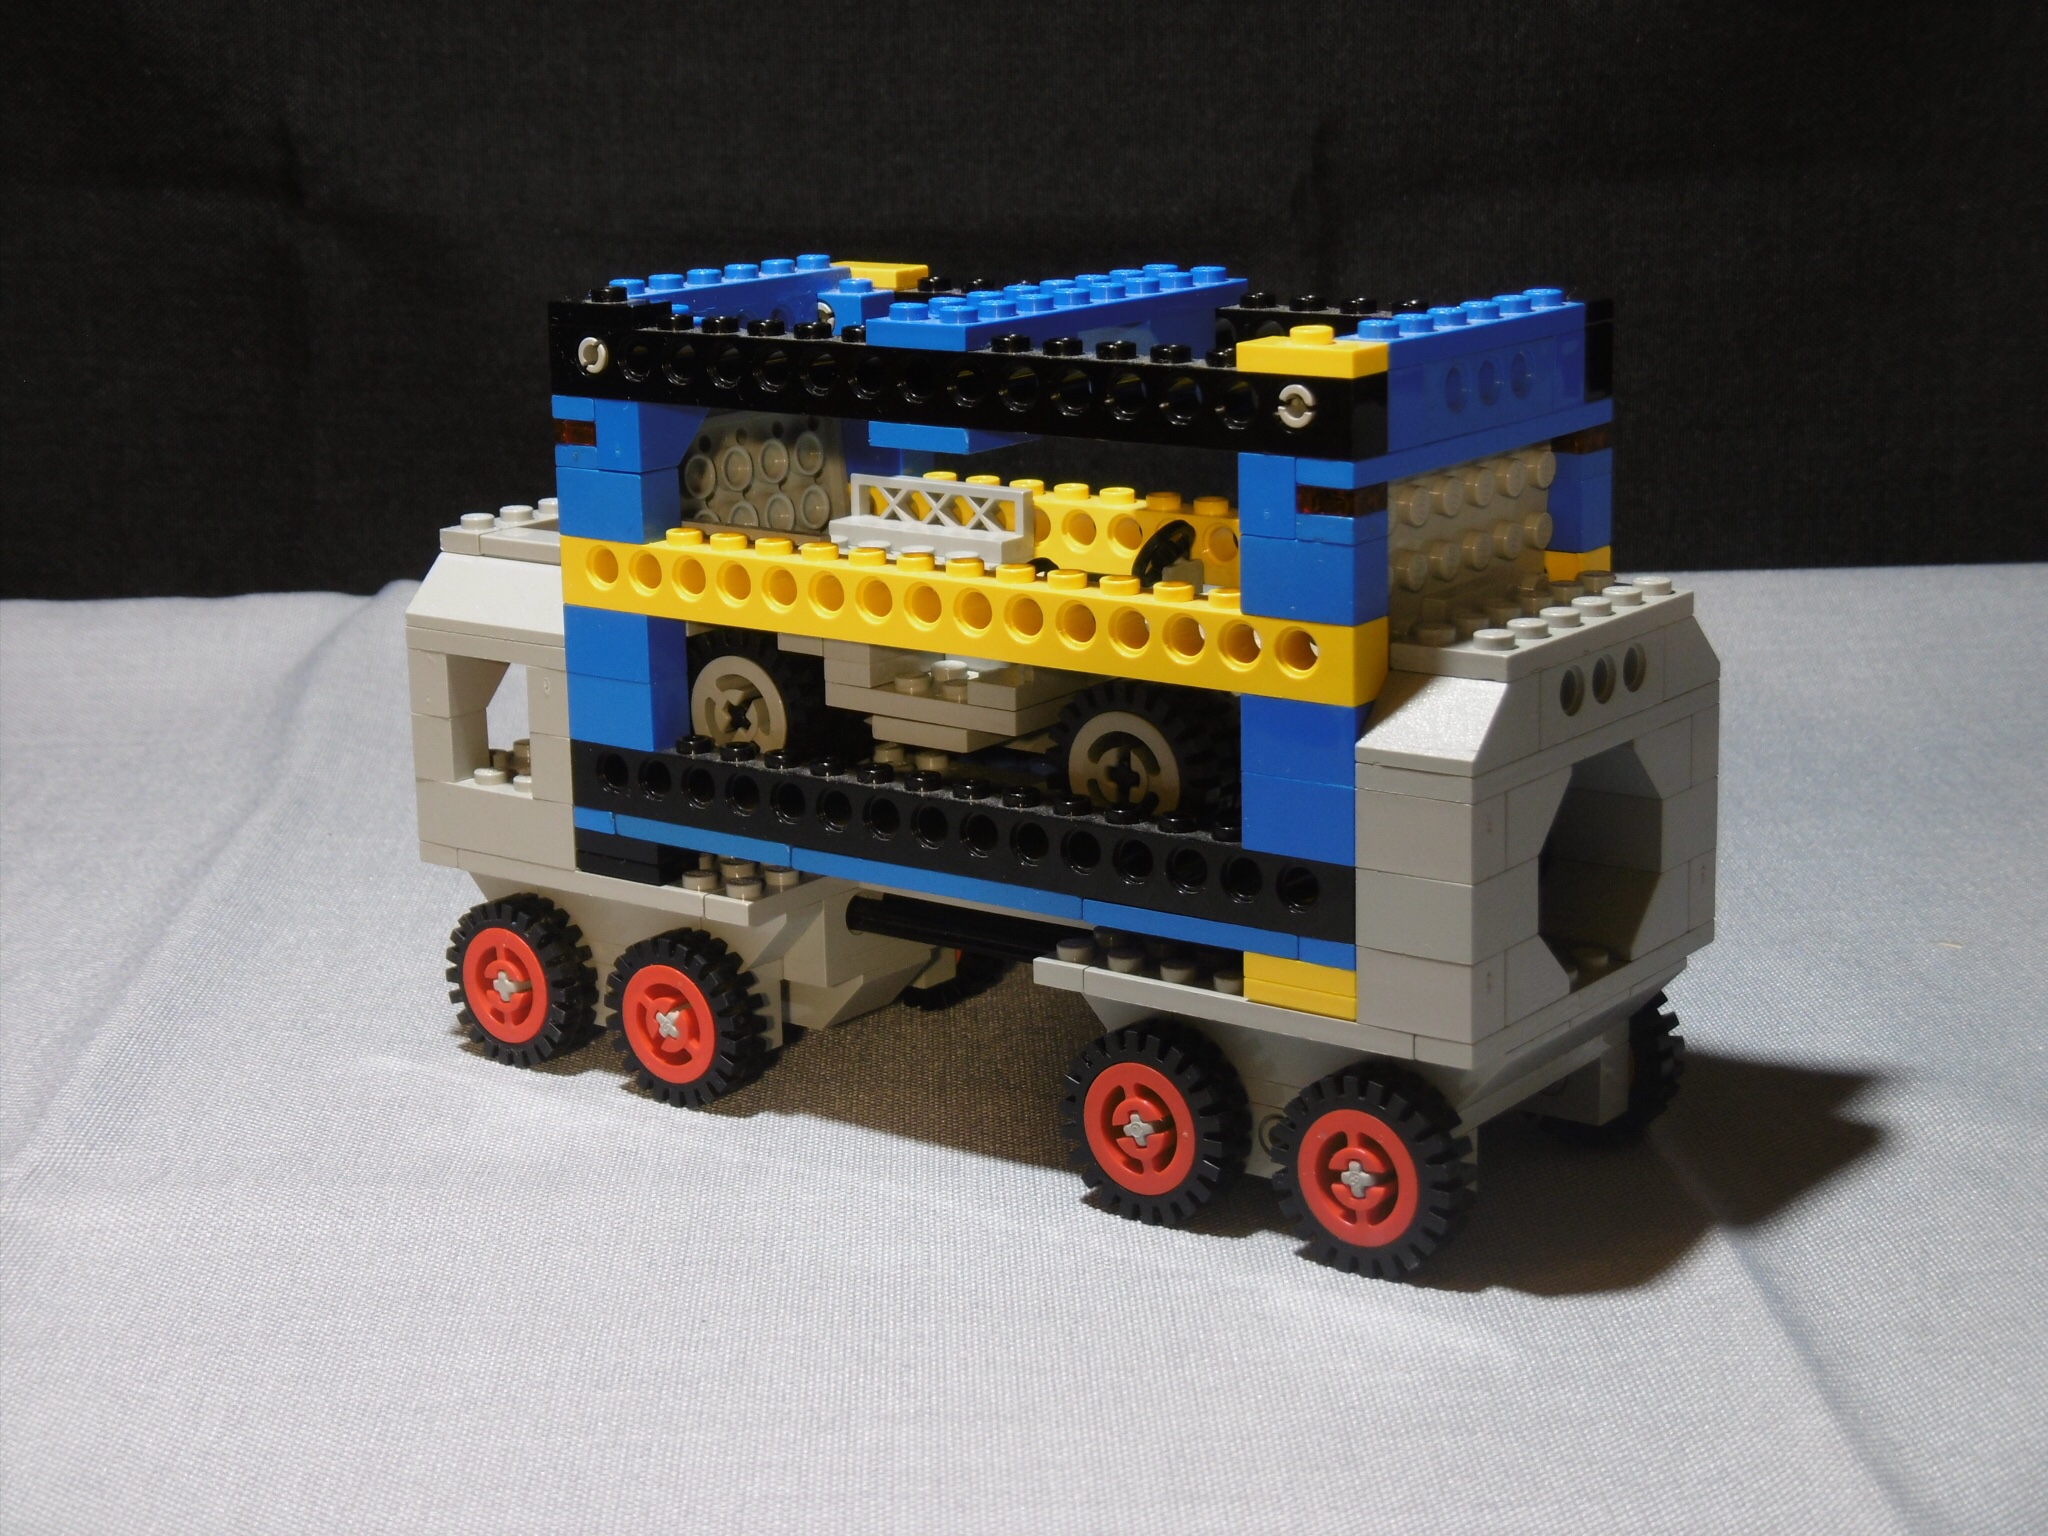
The basic design is similar to the S1 with 4-wide wheel arches and a slimmer middle section. I used SNOT brackets and cheese wedges for the rear wheel arches to get the wide body look of the 205 Turbo16. The 2x2x2/3 curved slopes worked well for the unique rear wing of the Evo2. The colour scheme needed some yellow accents to be distinguished from BMW and Martini racing stripes.

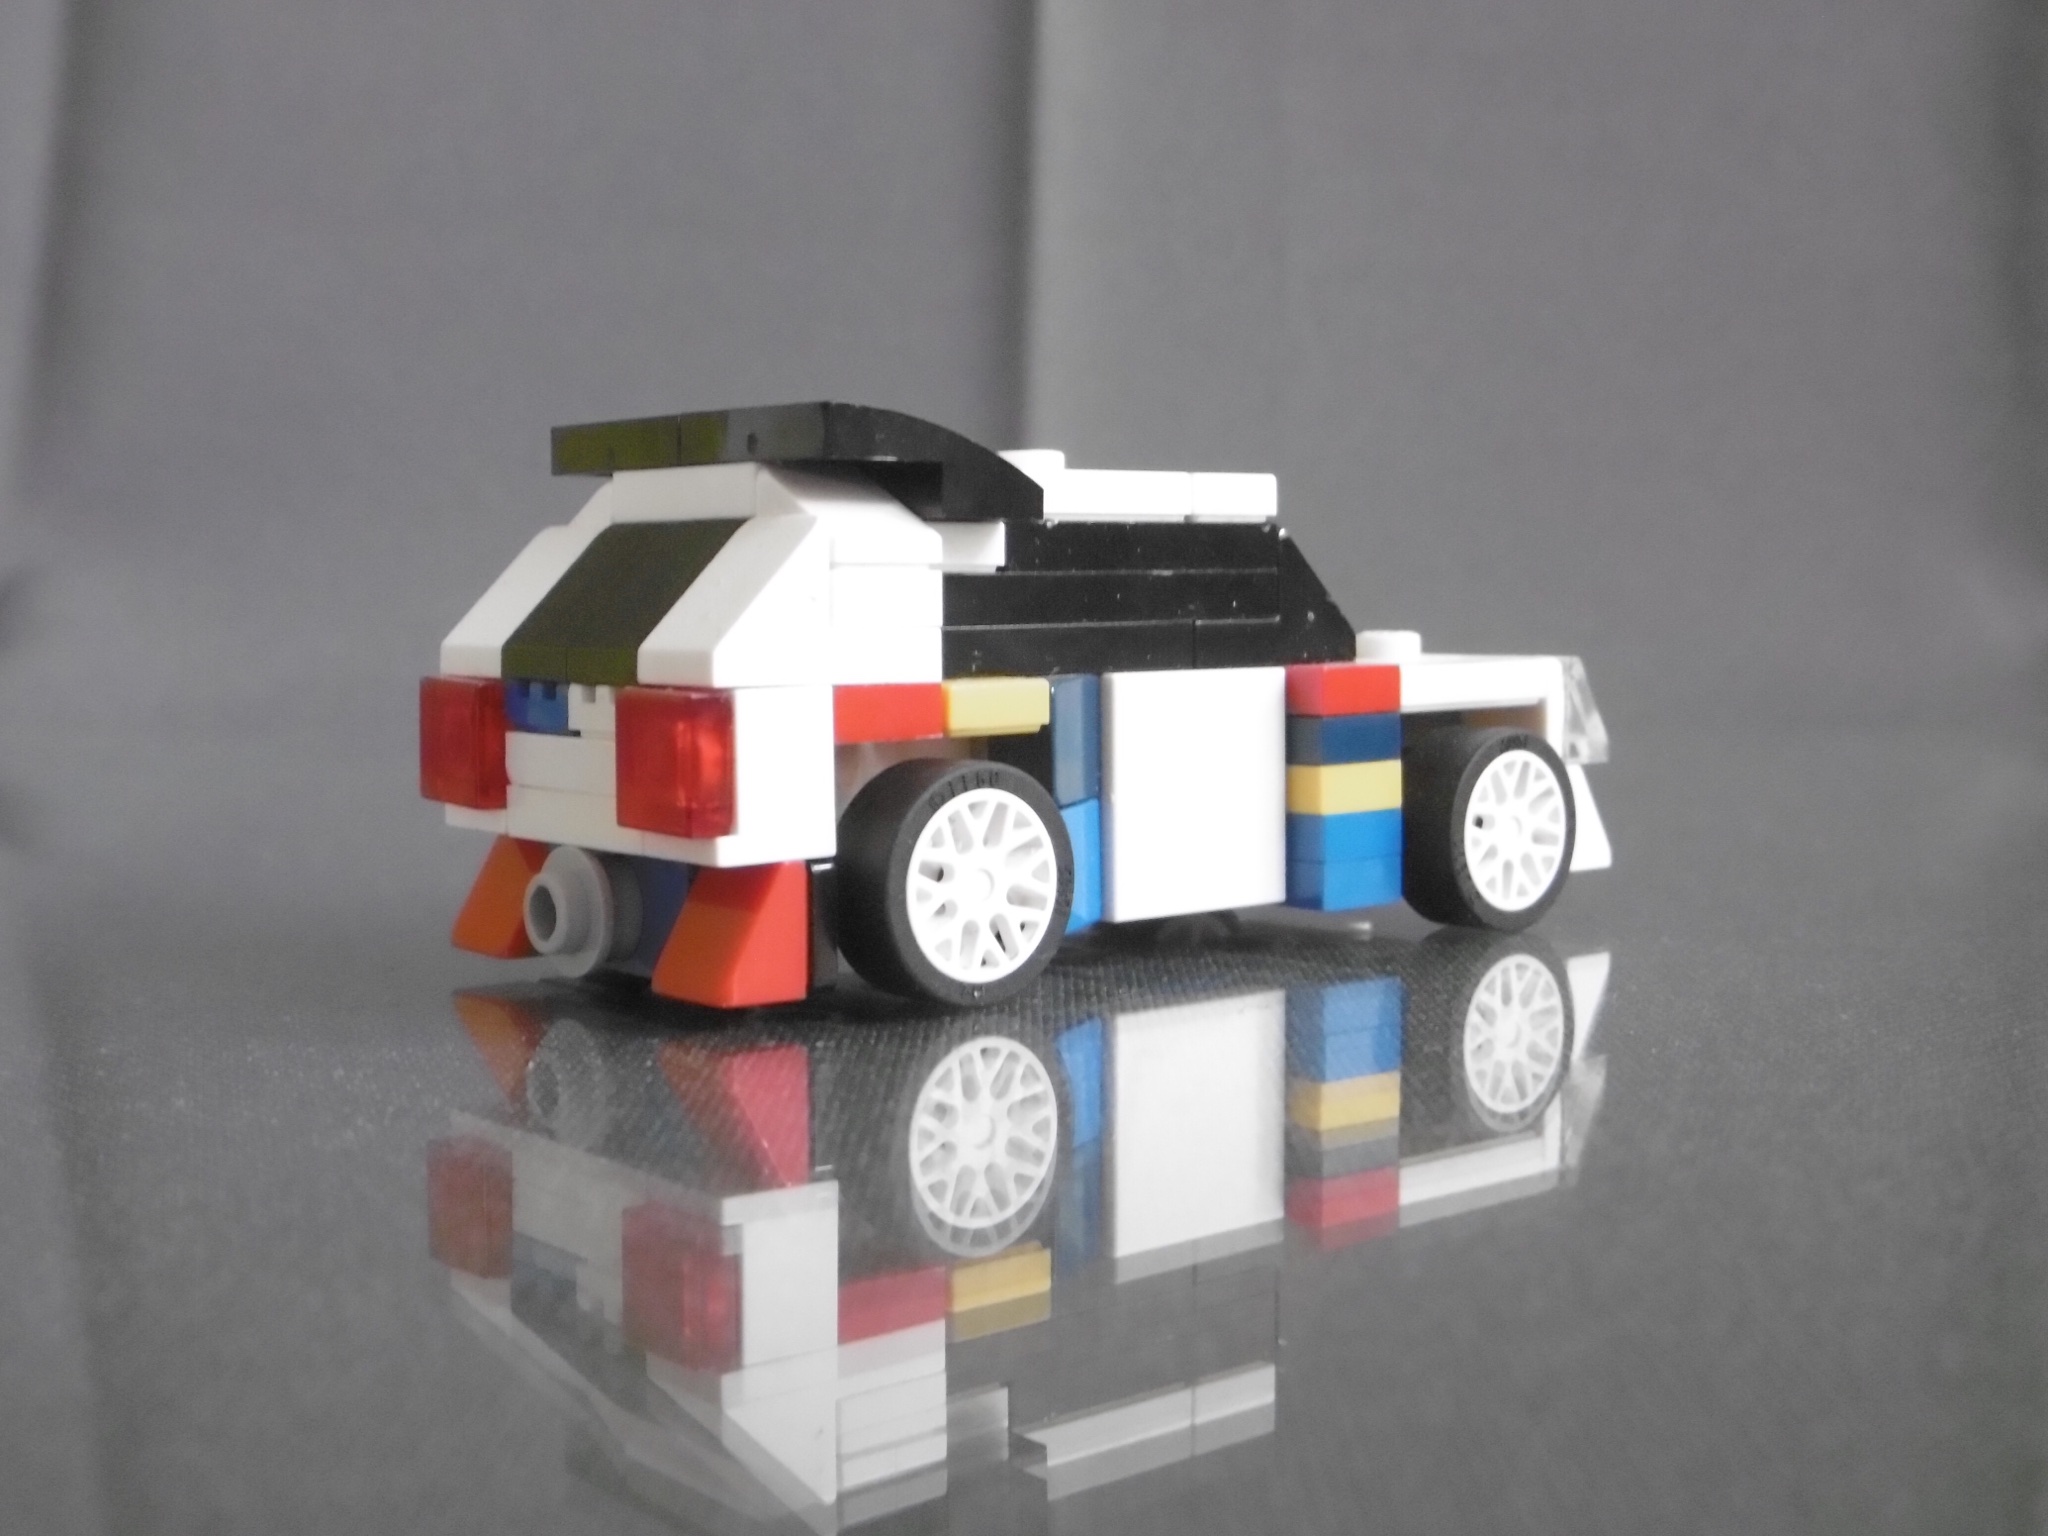
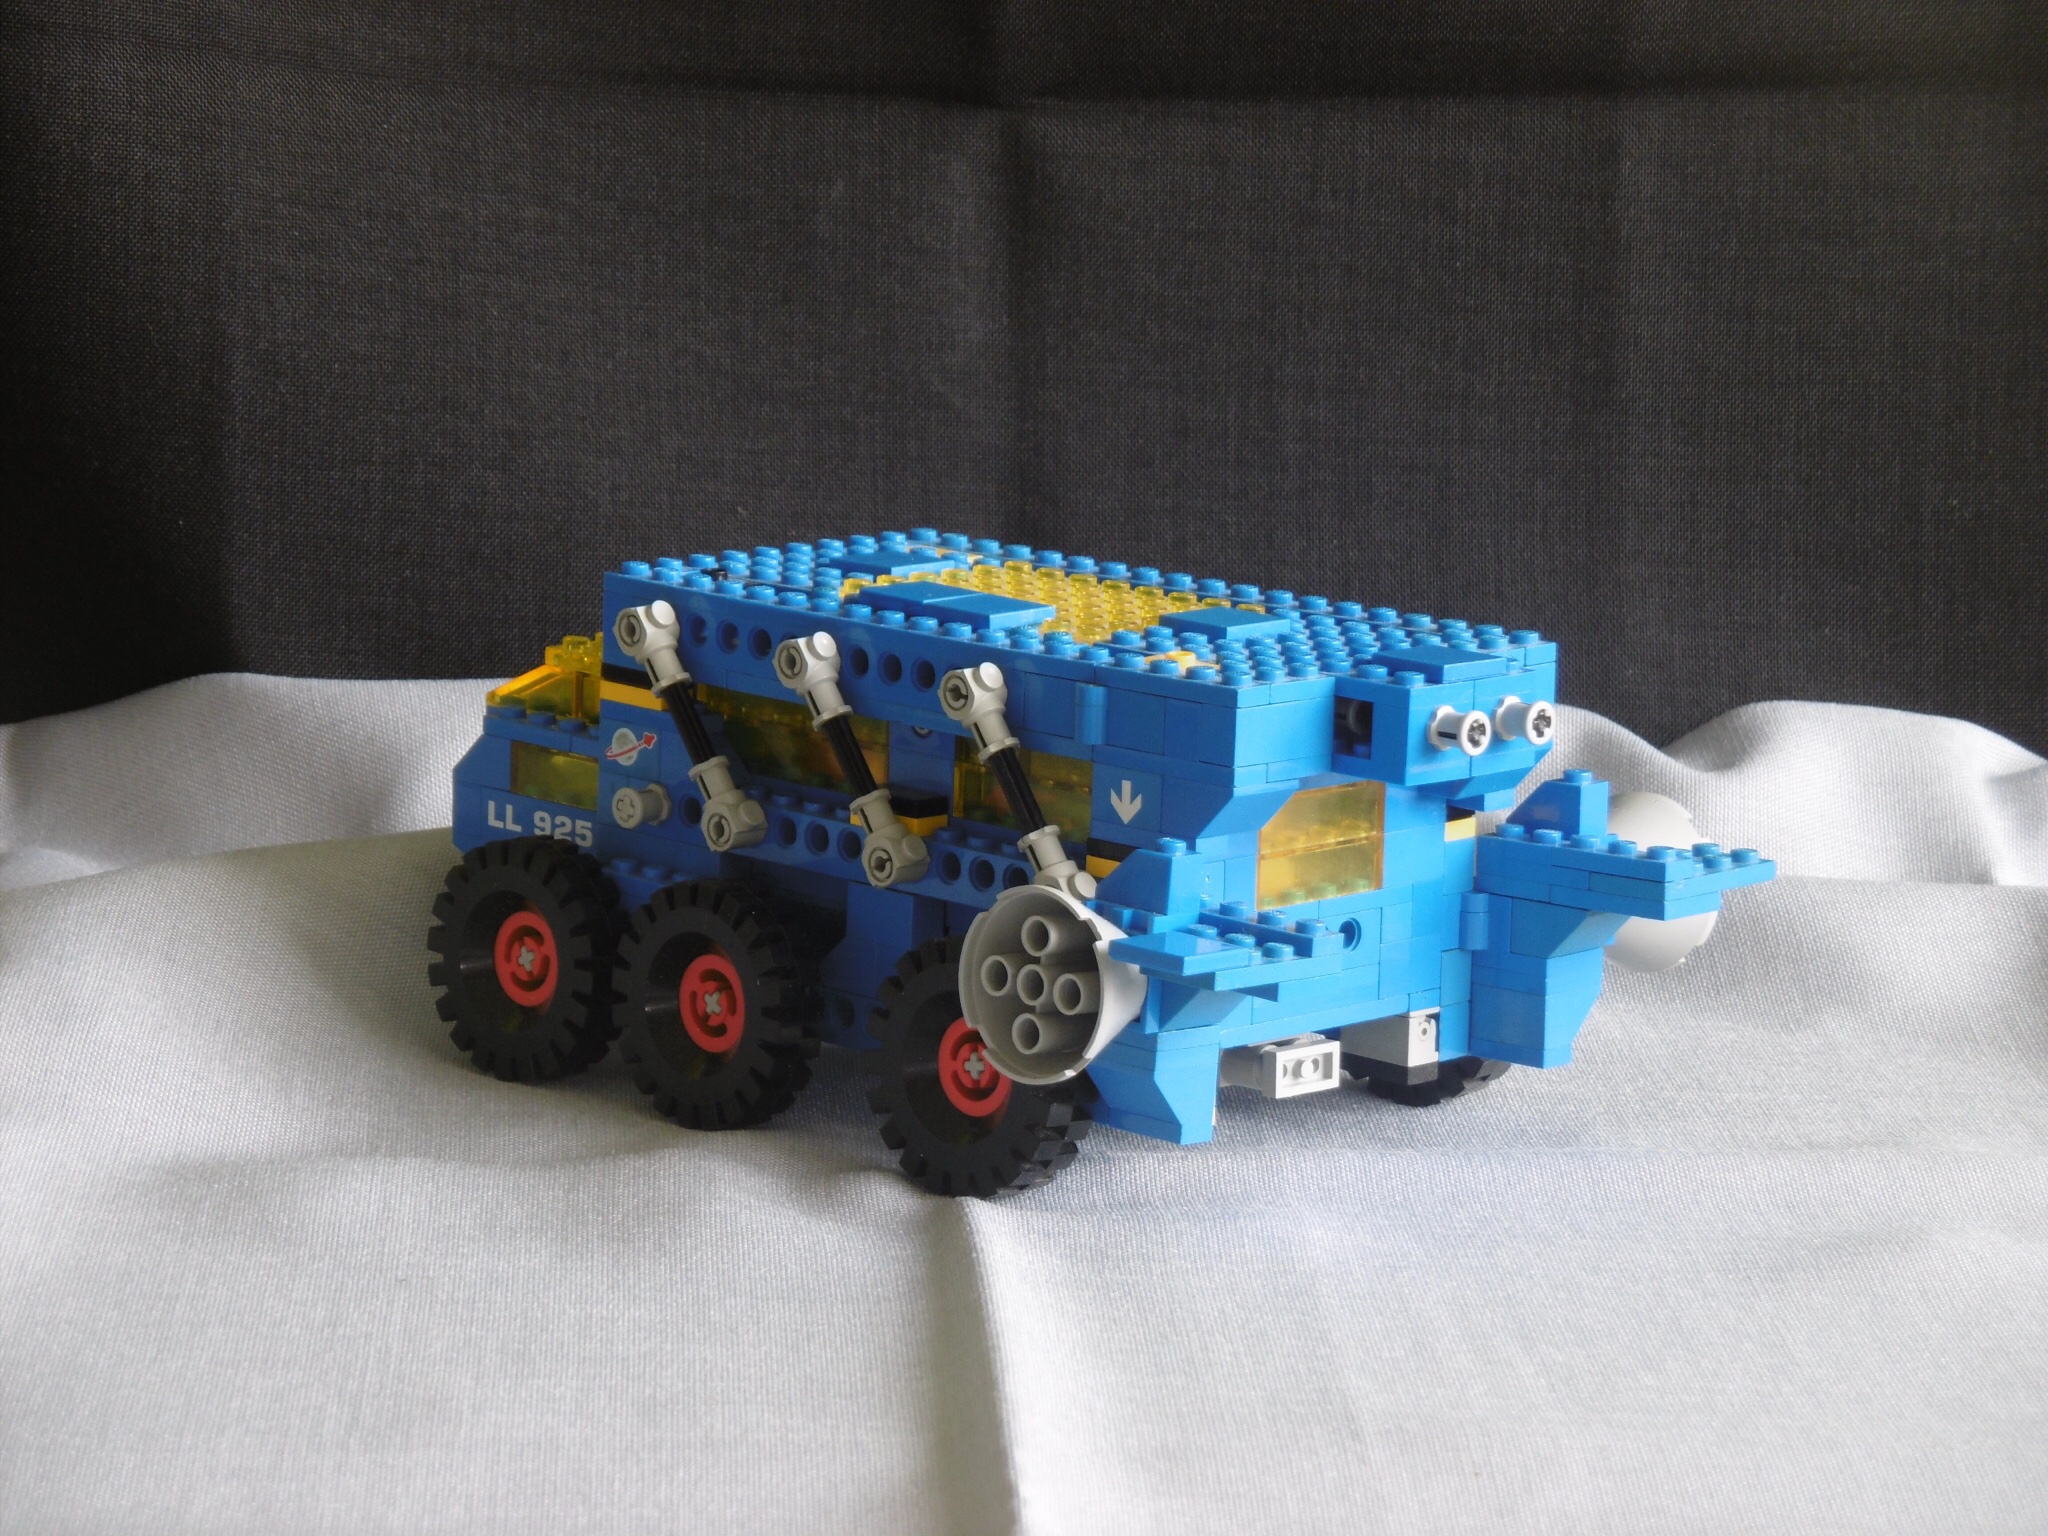
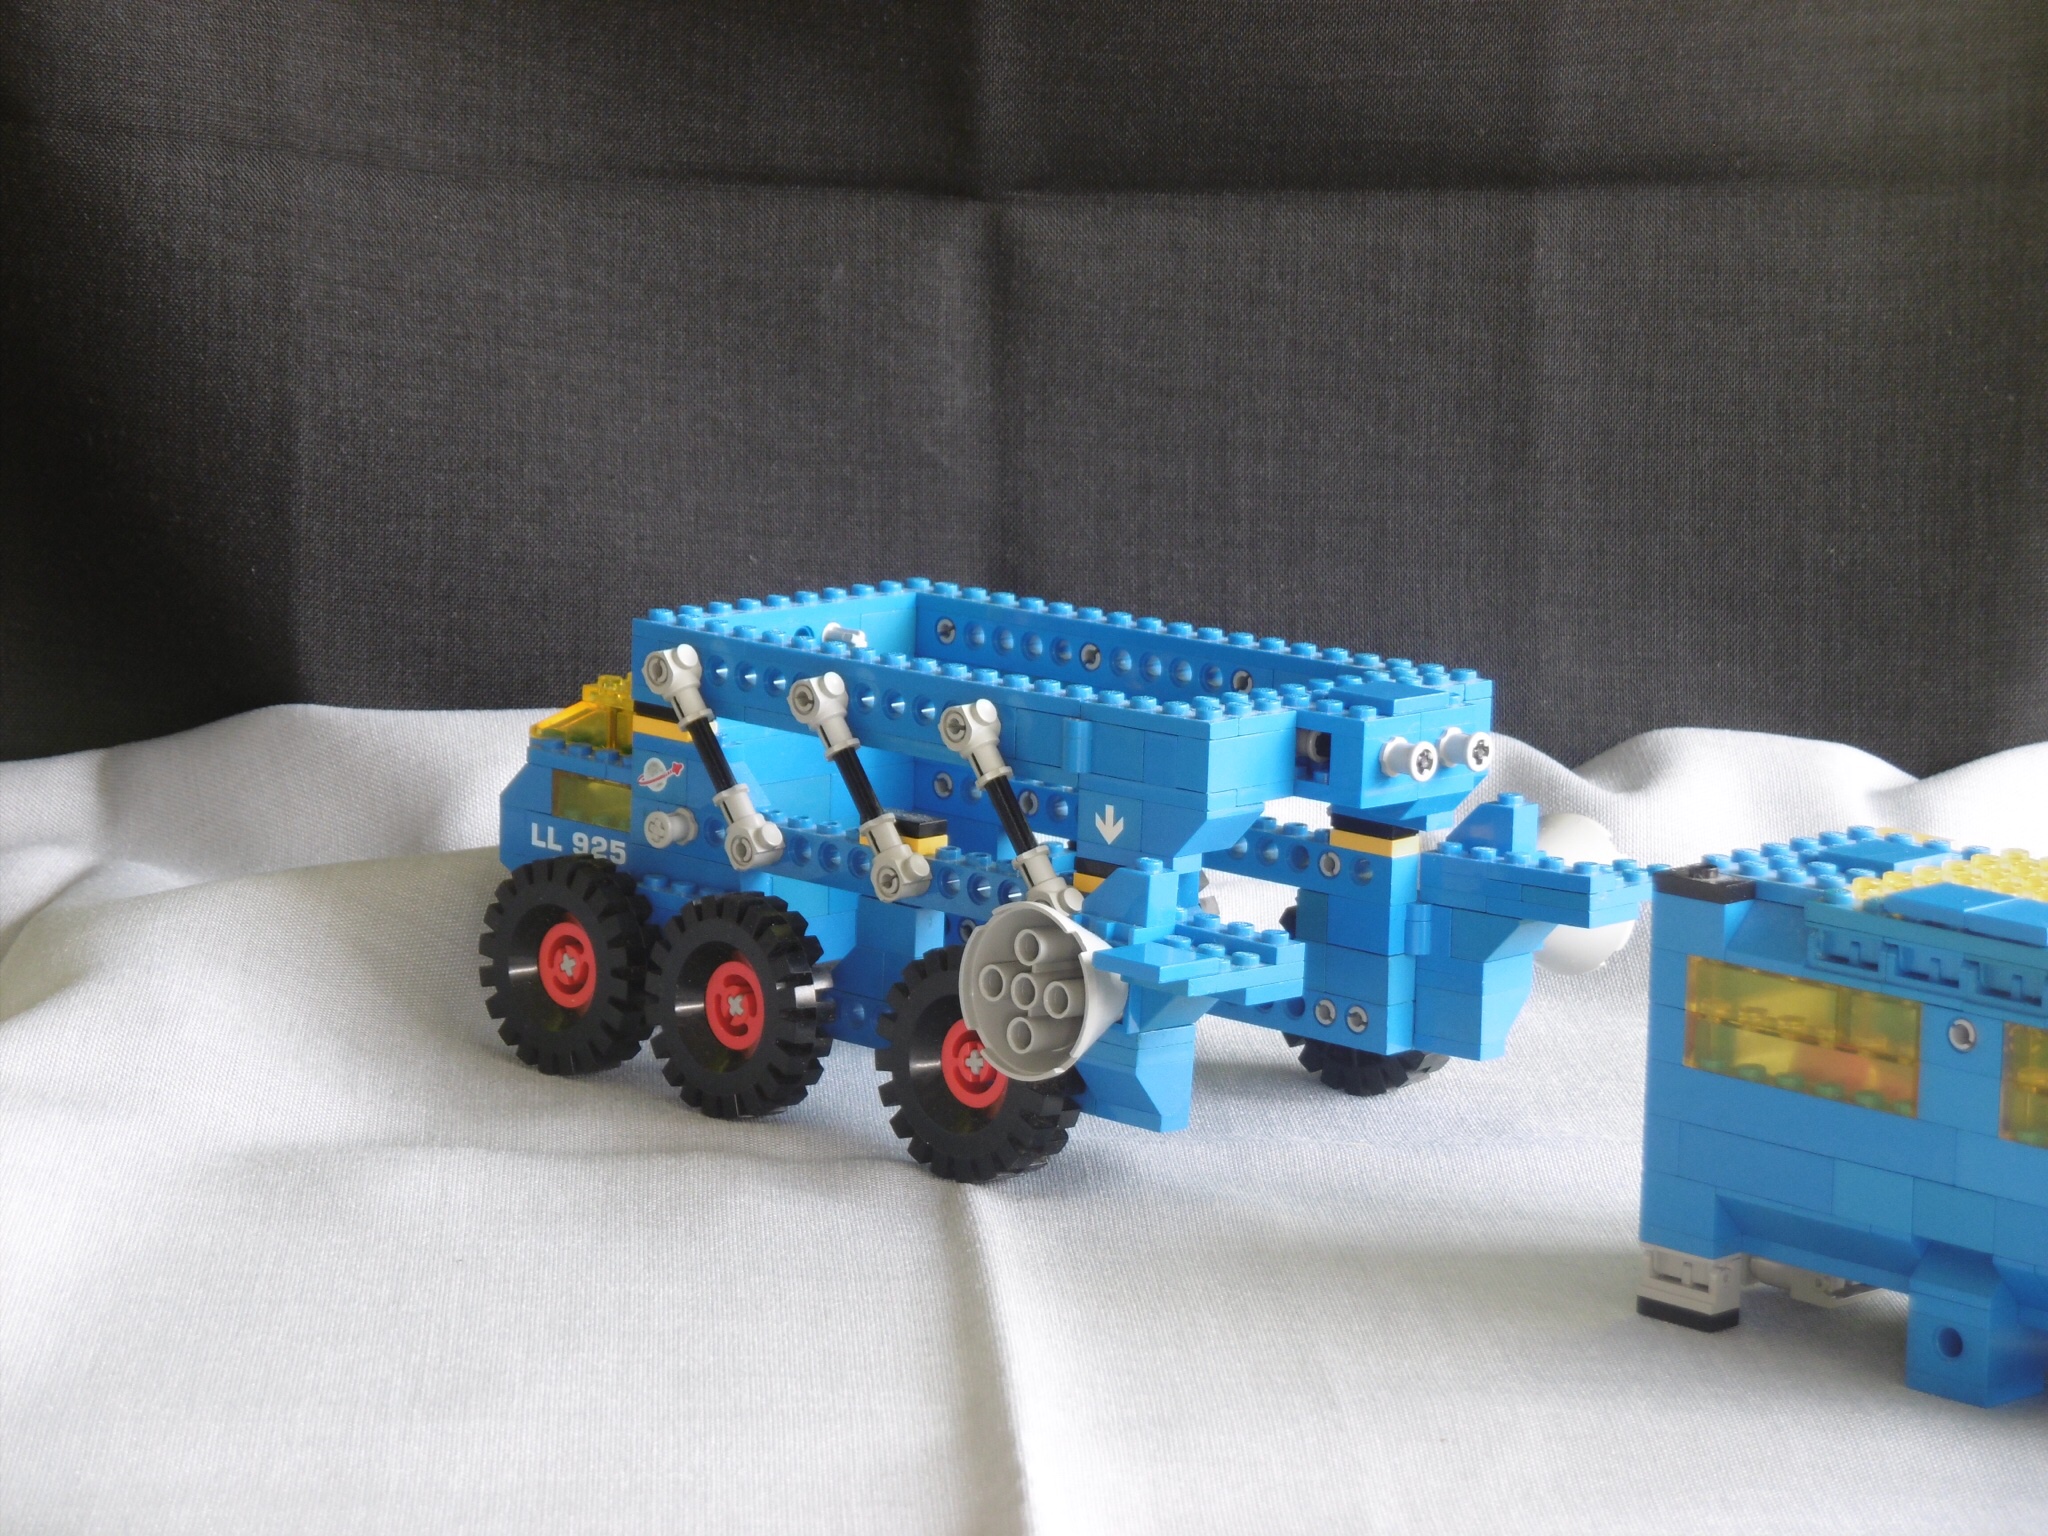
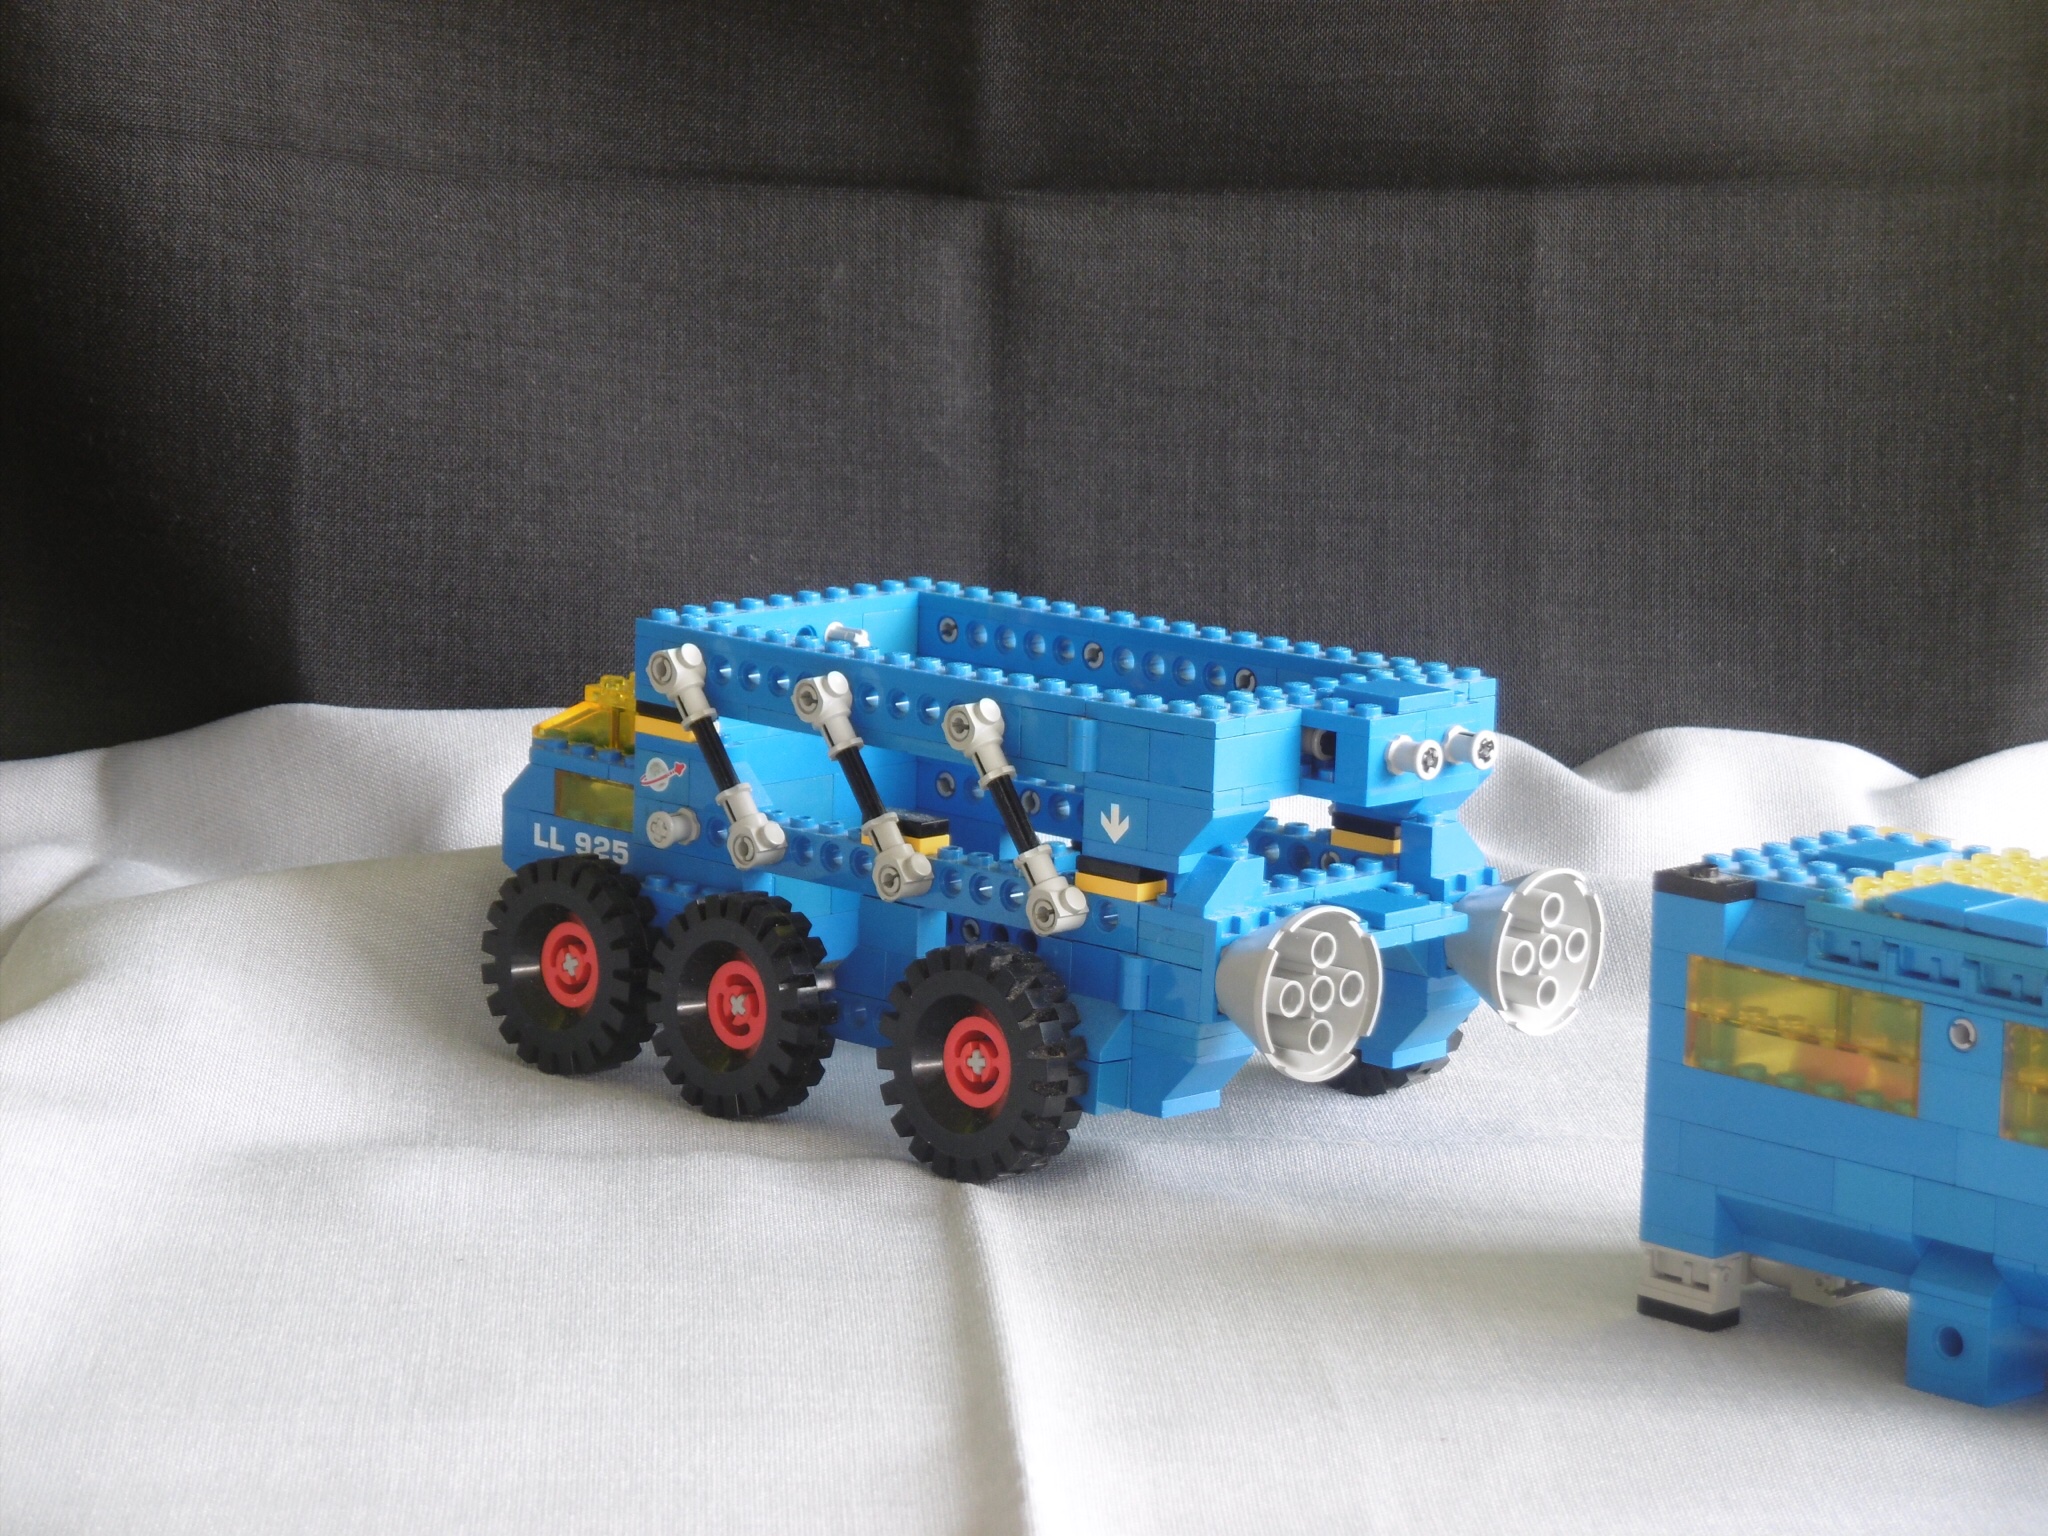
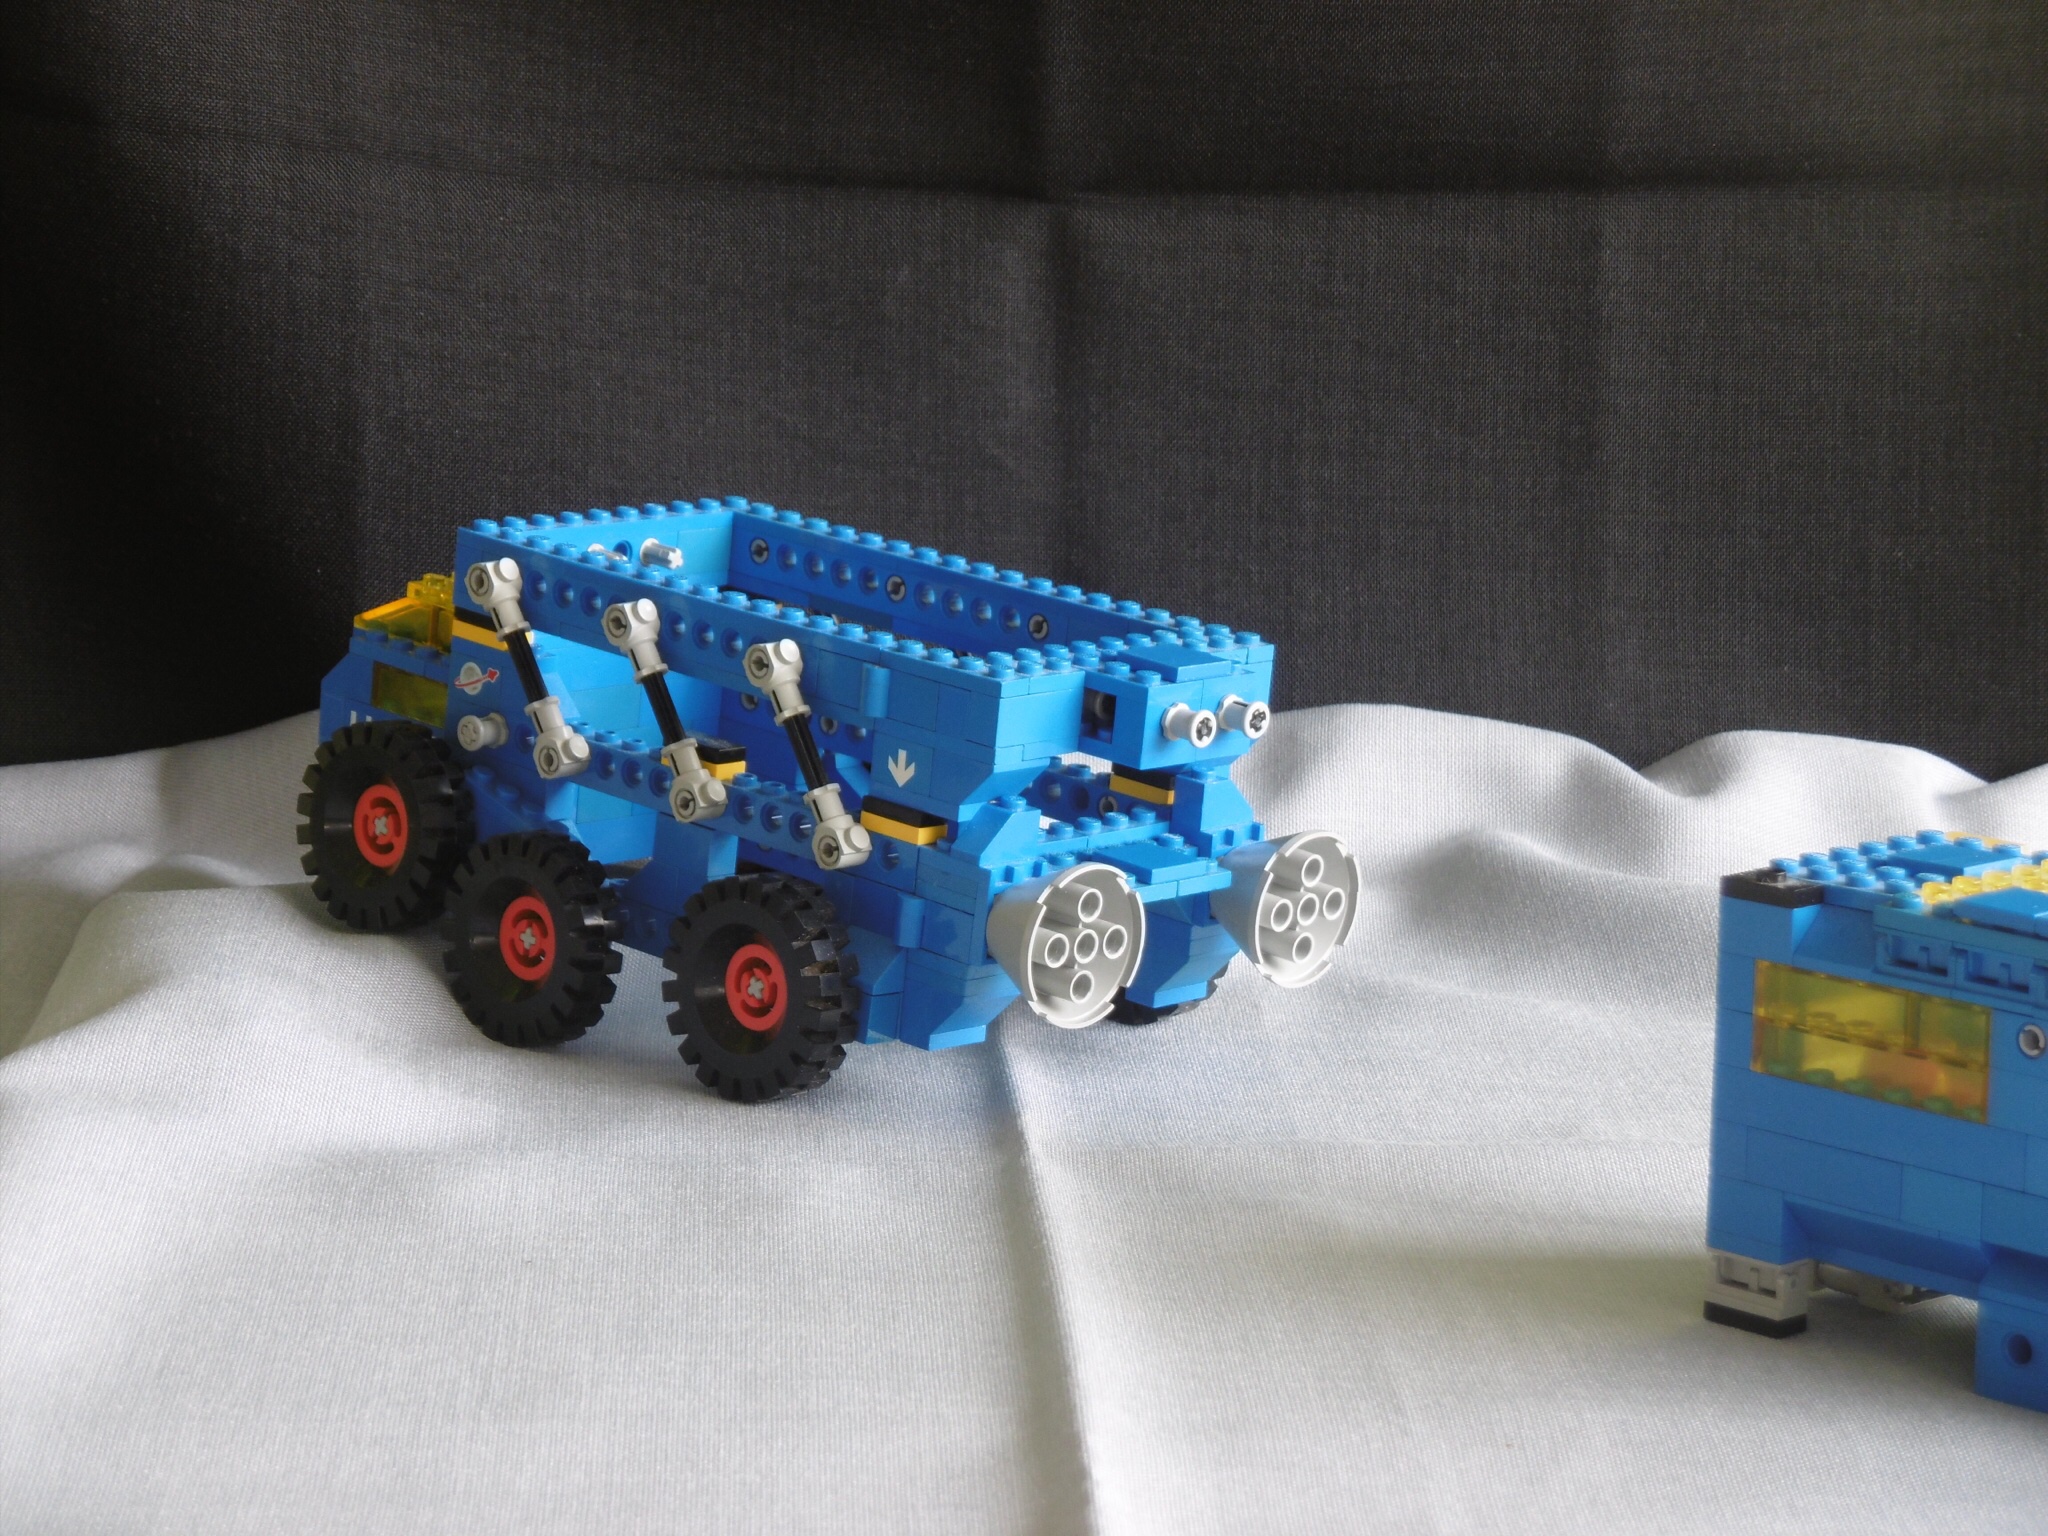
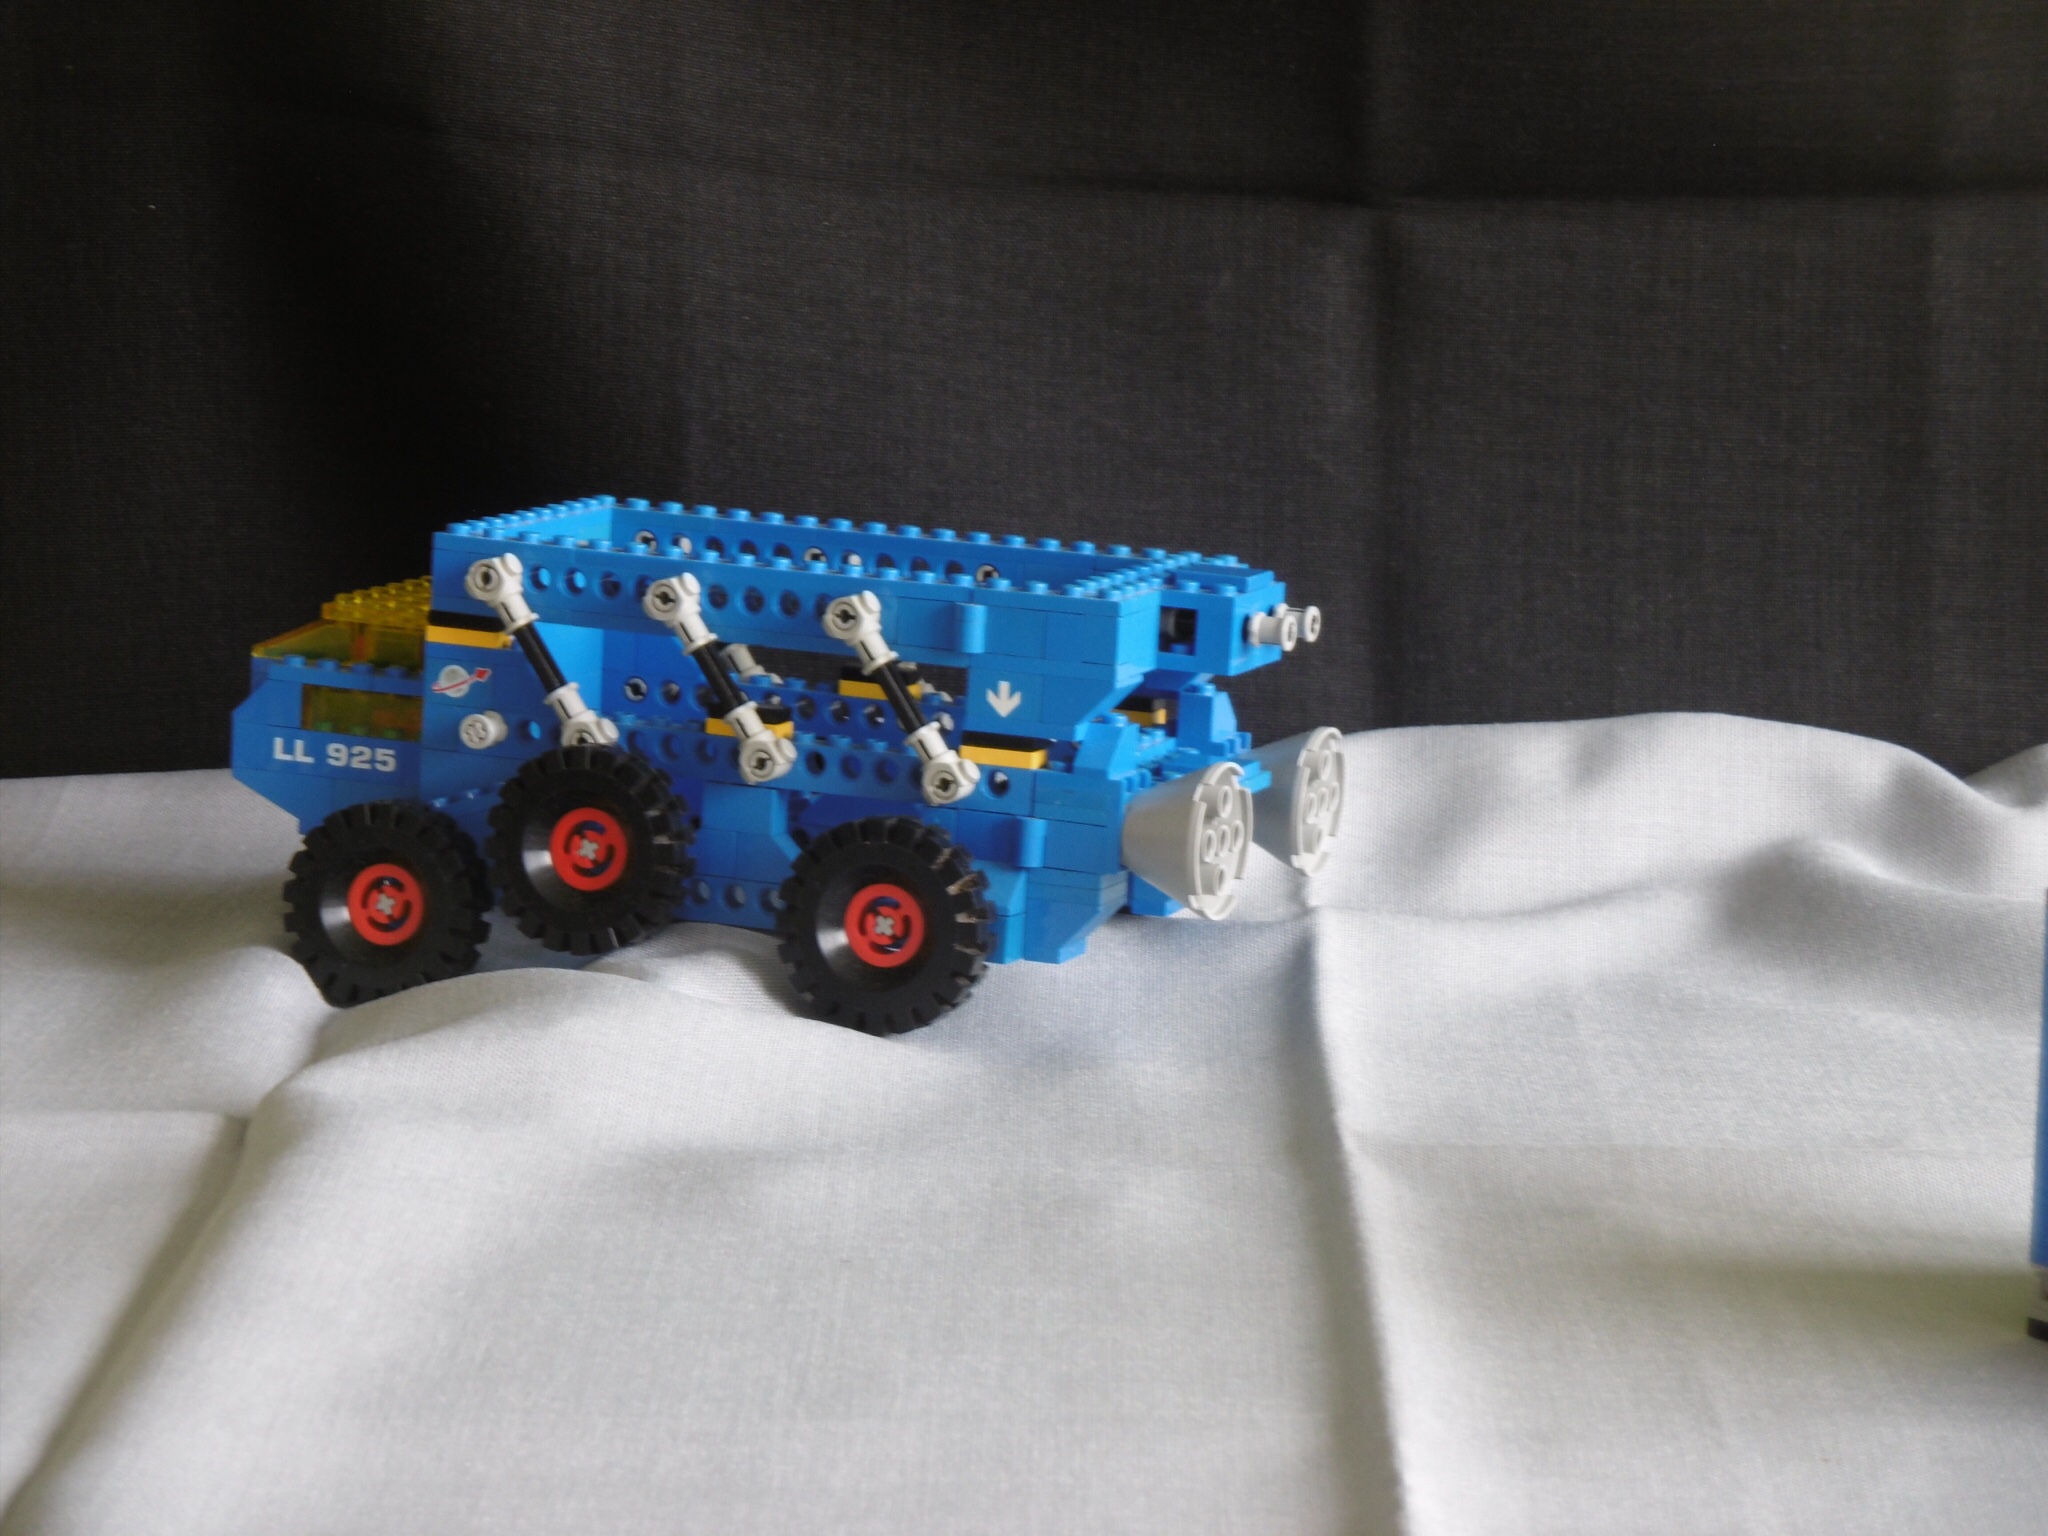
That’s really a big exhaust pipe! It was big (maybe not that much) and it could spit fire!

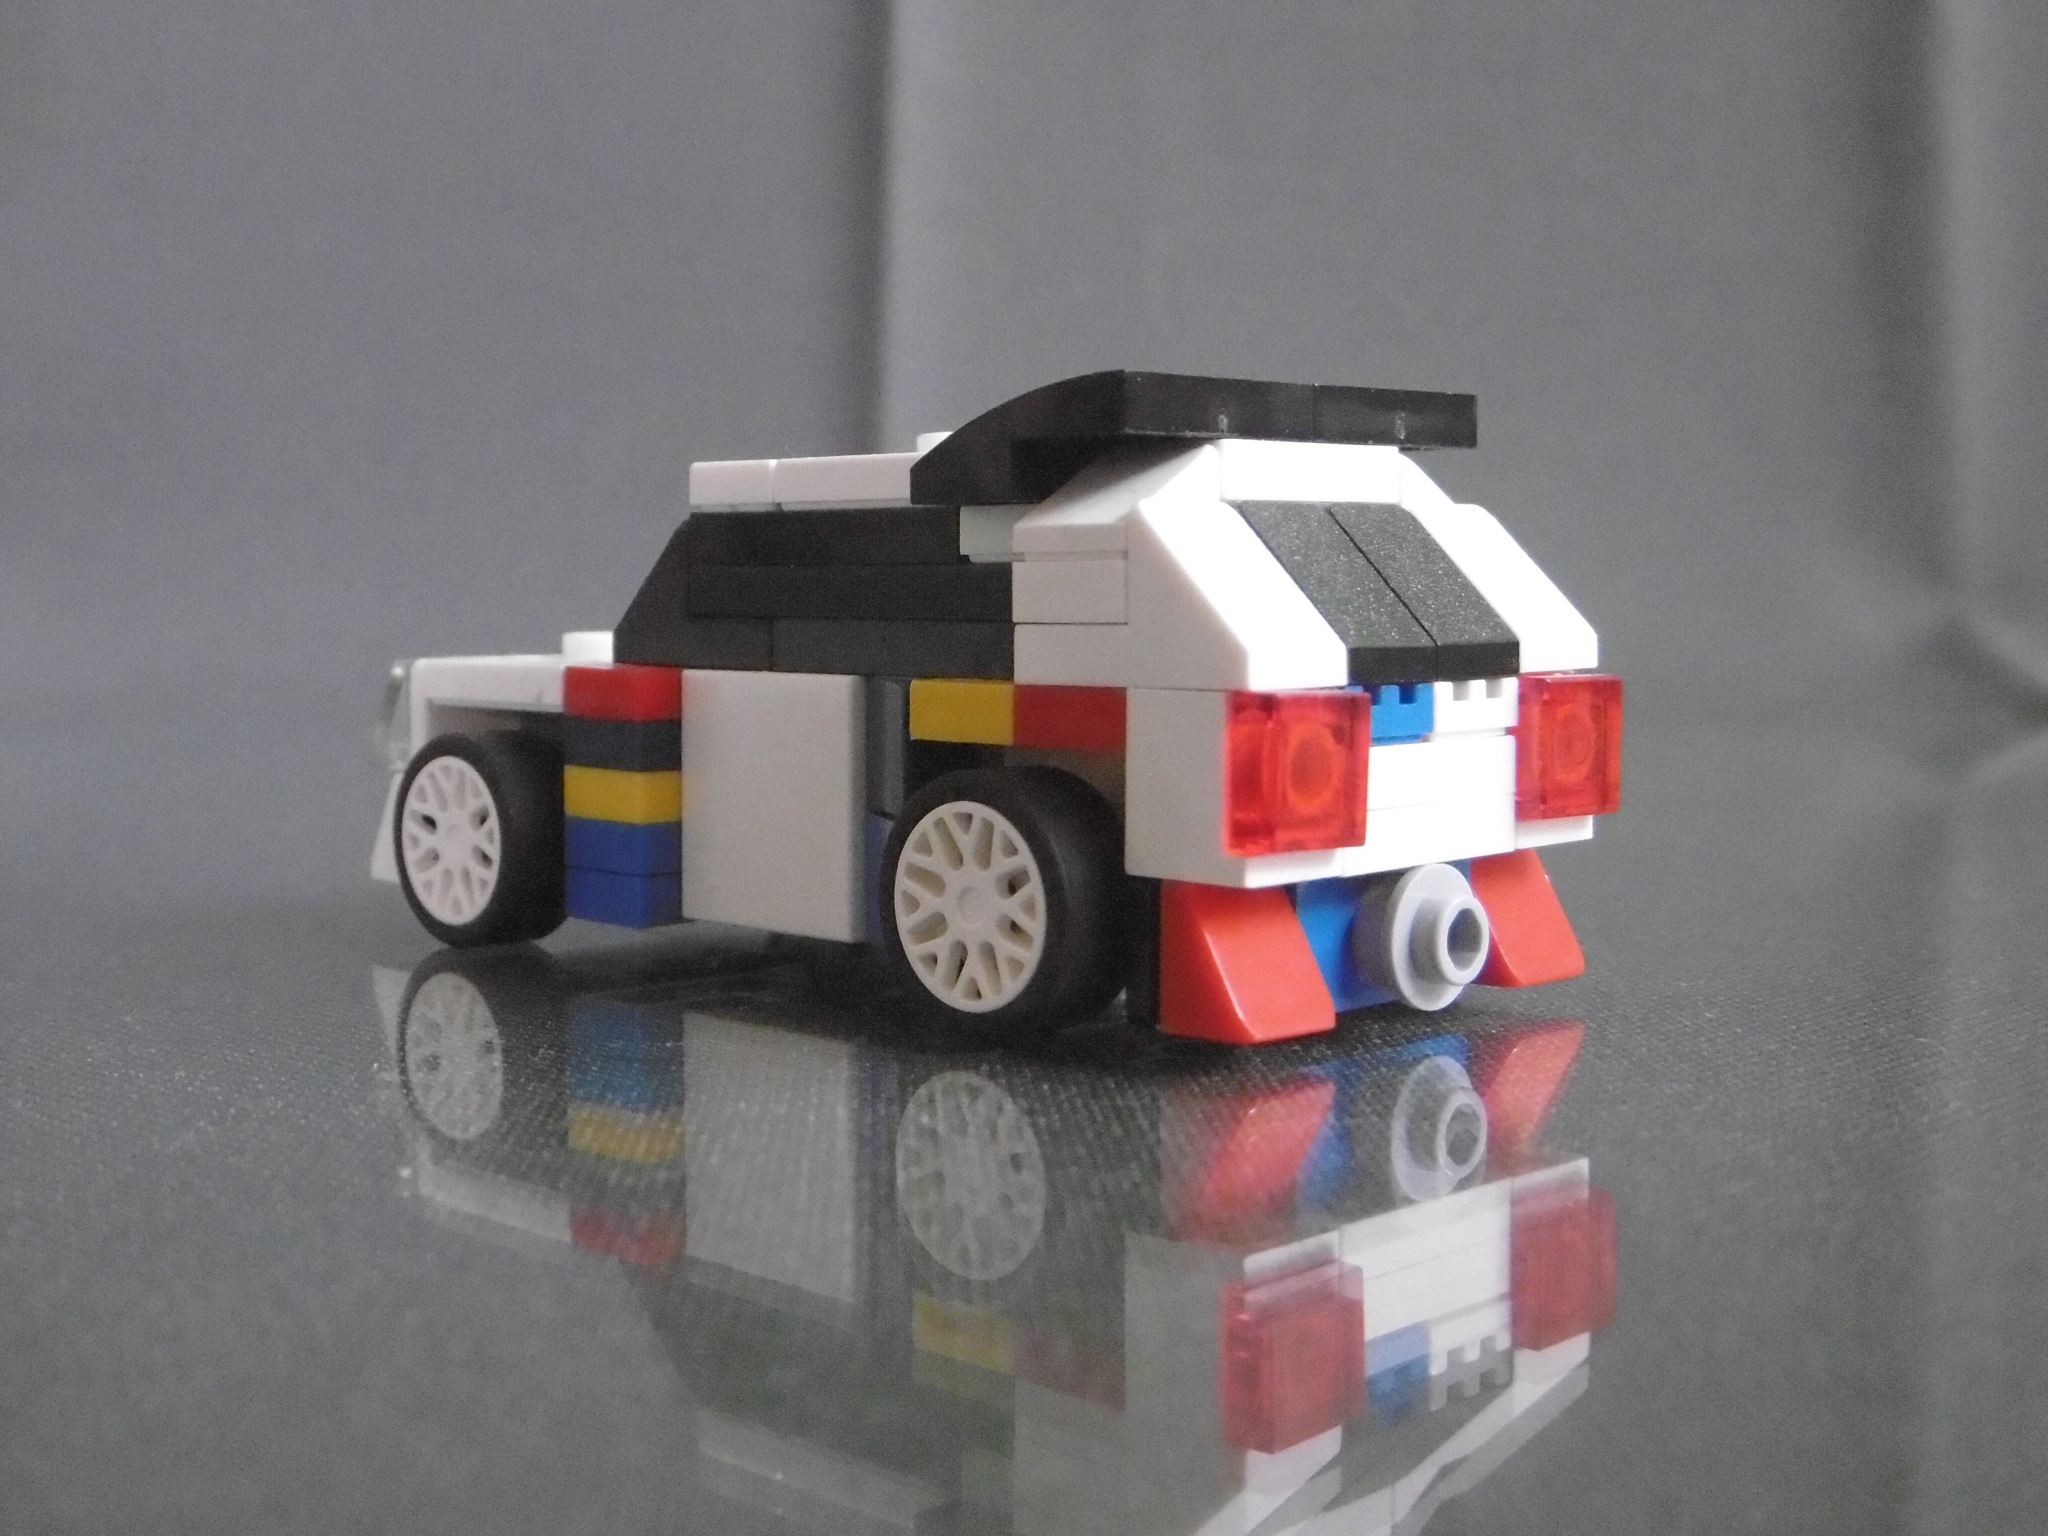
Just like the original:
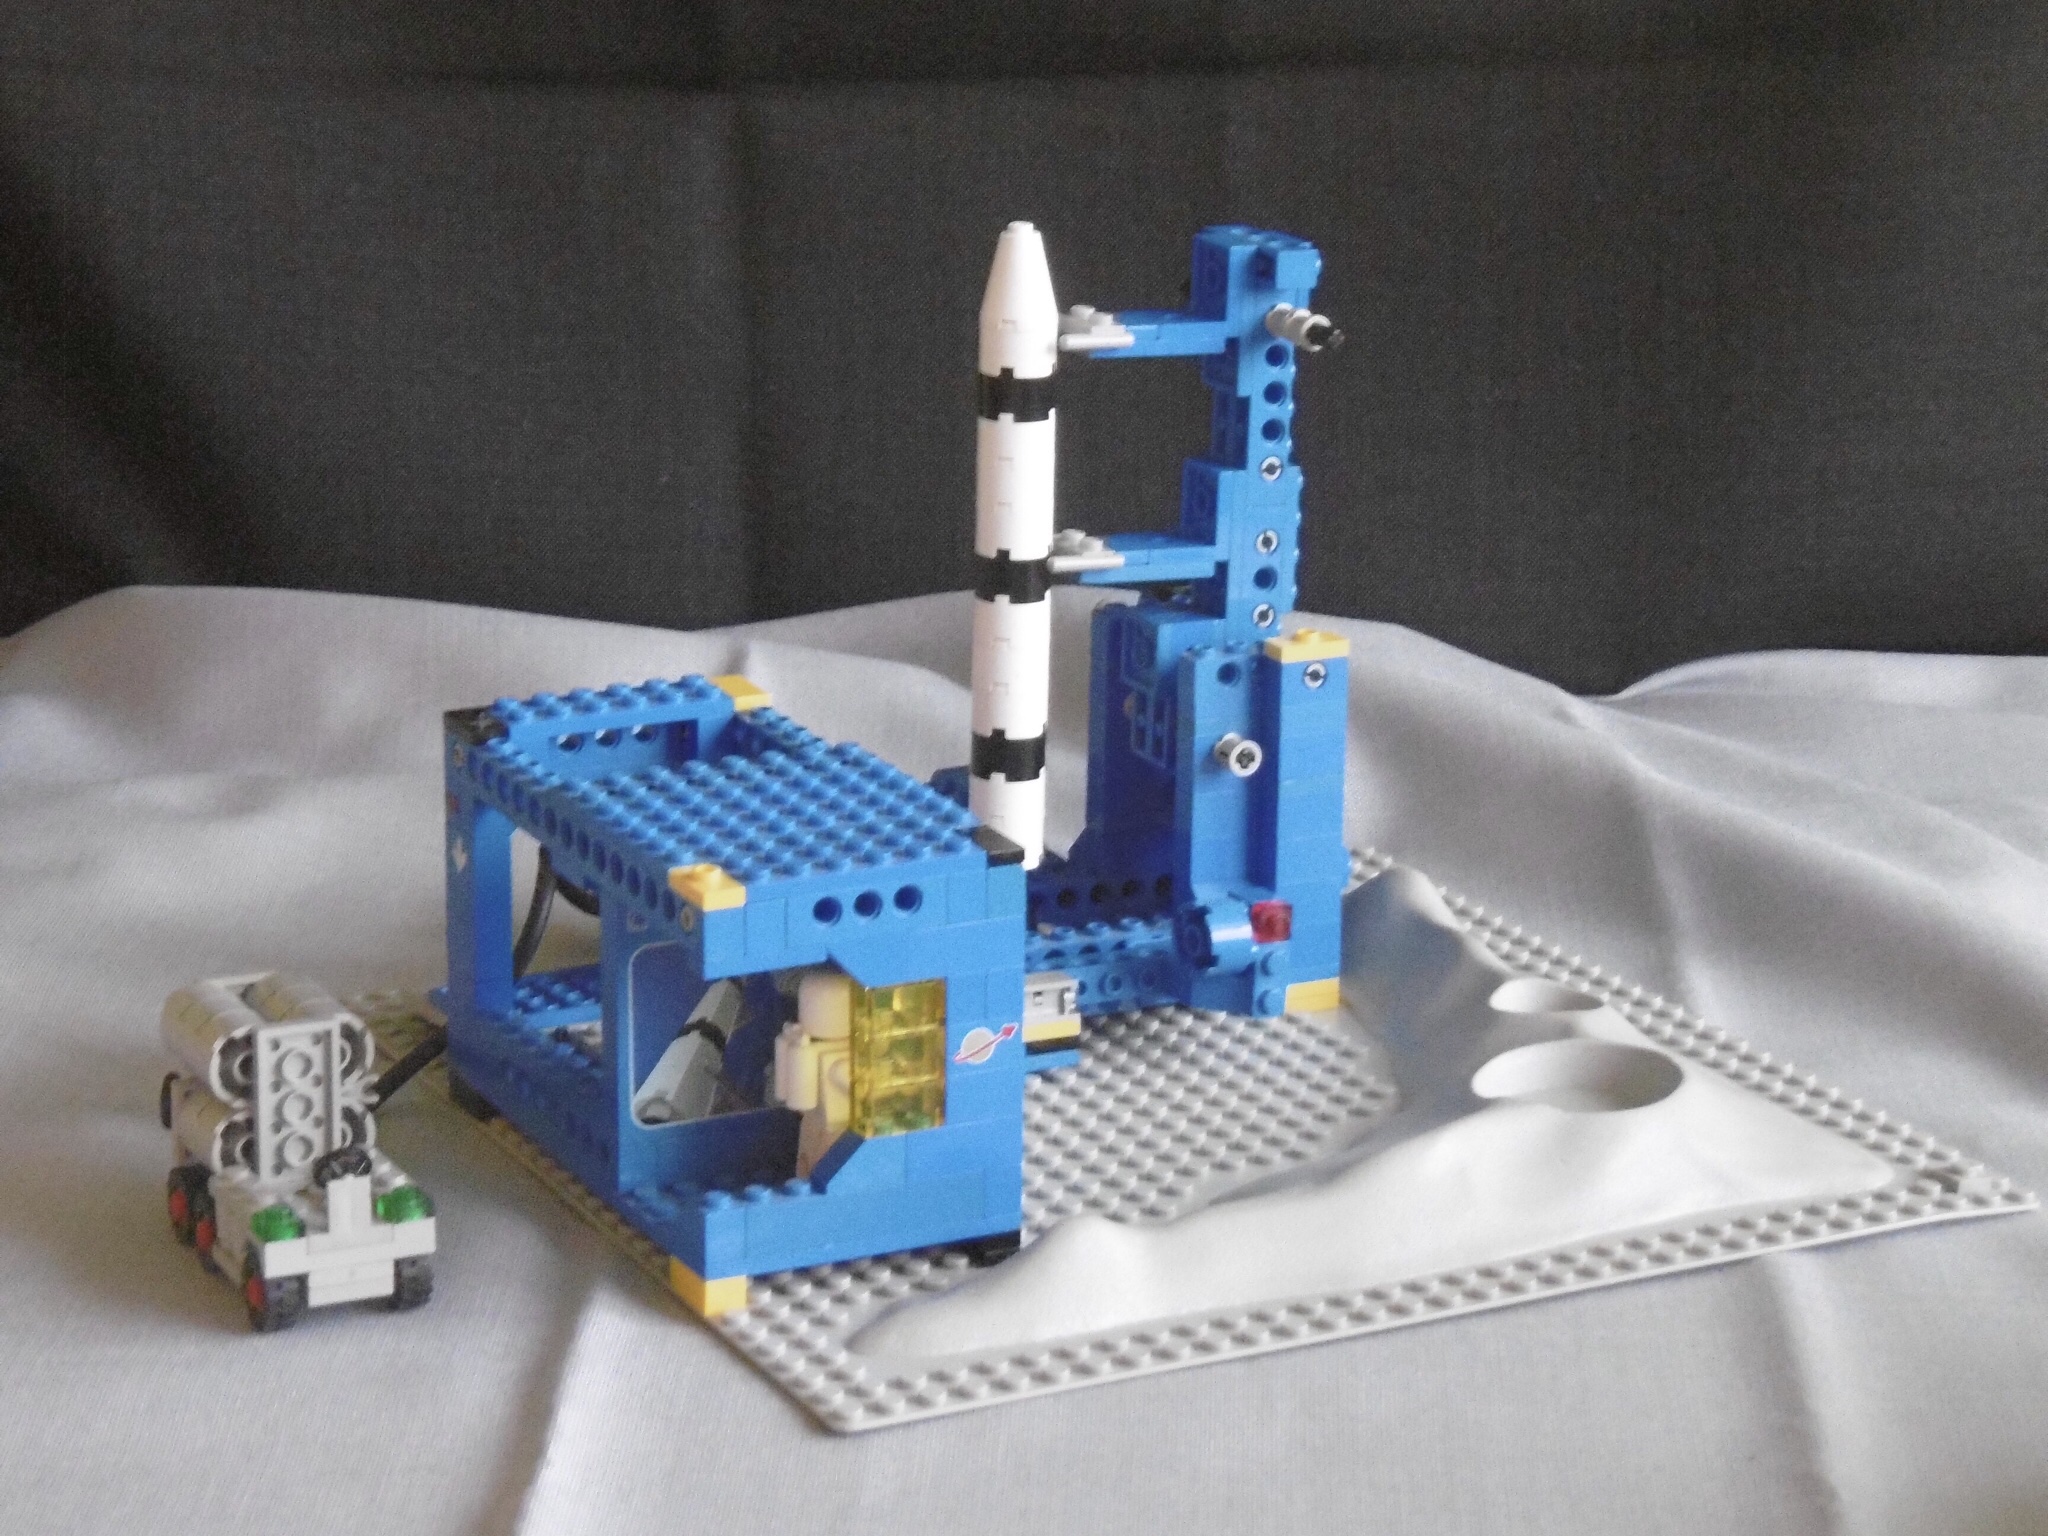
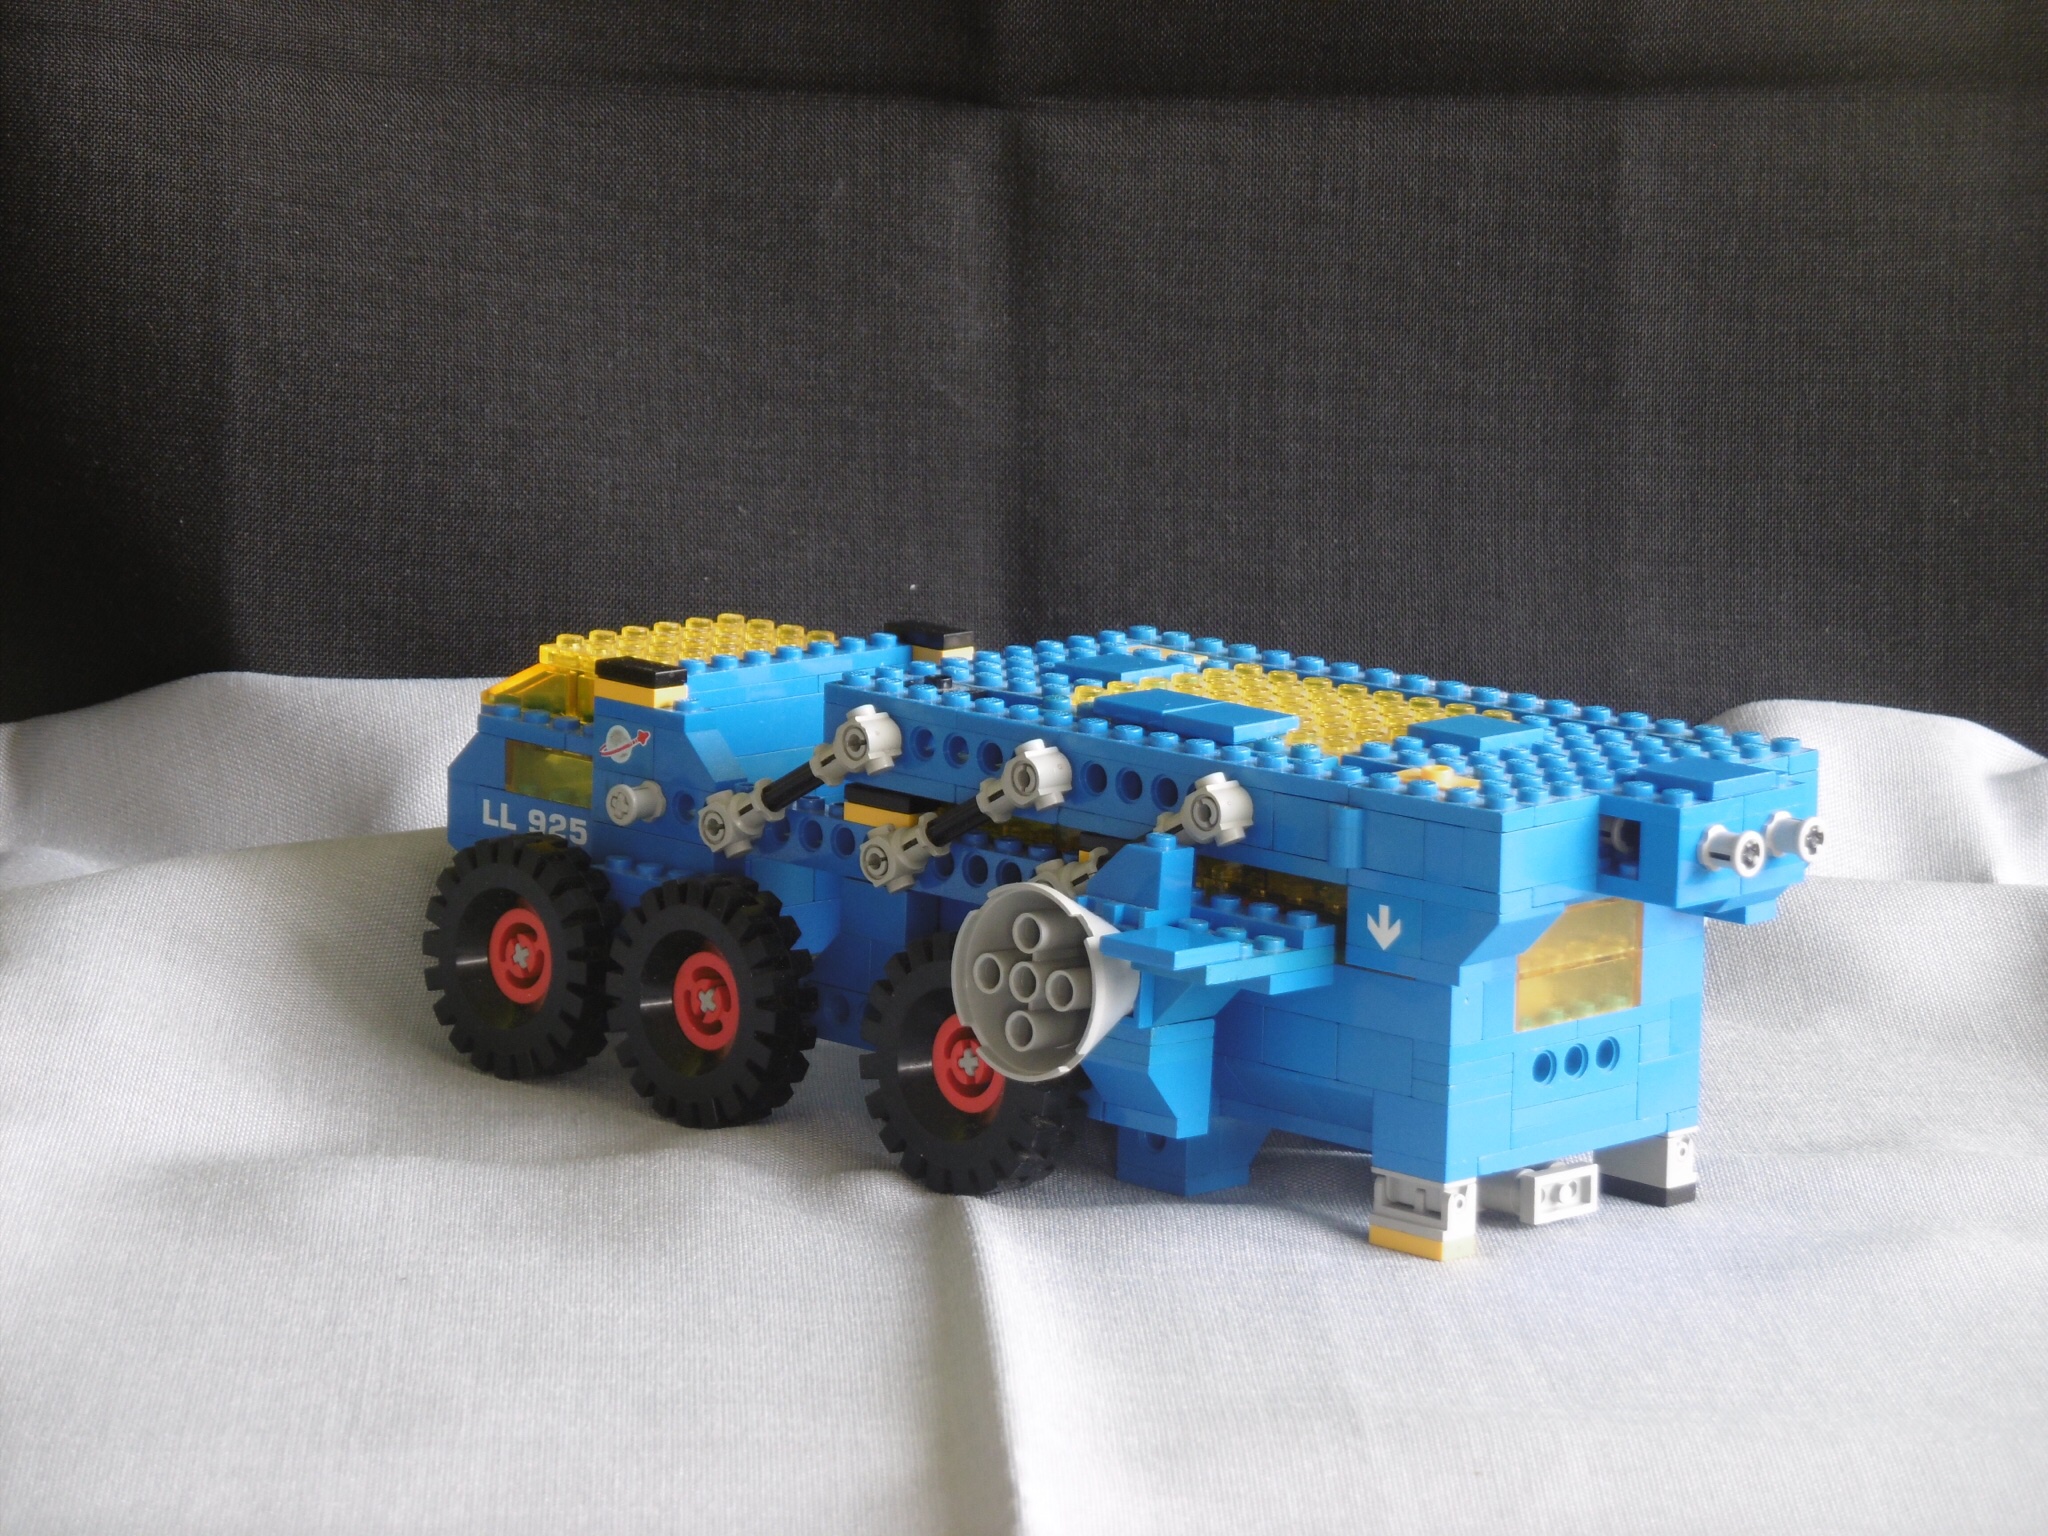
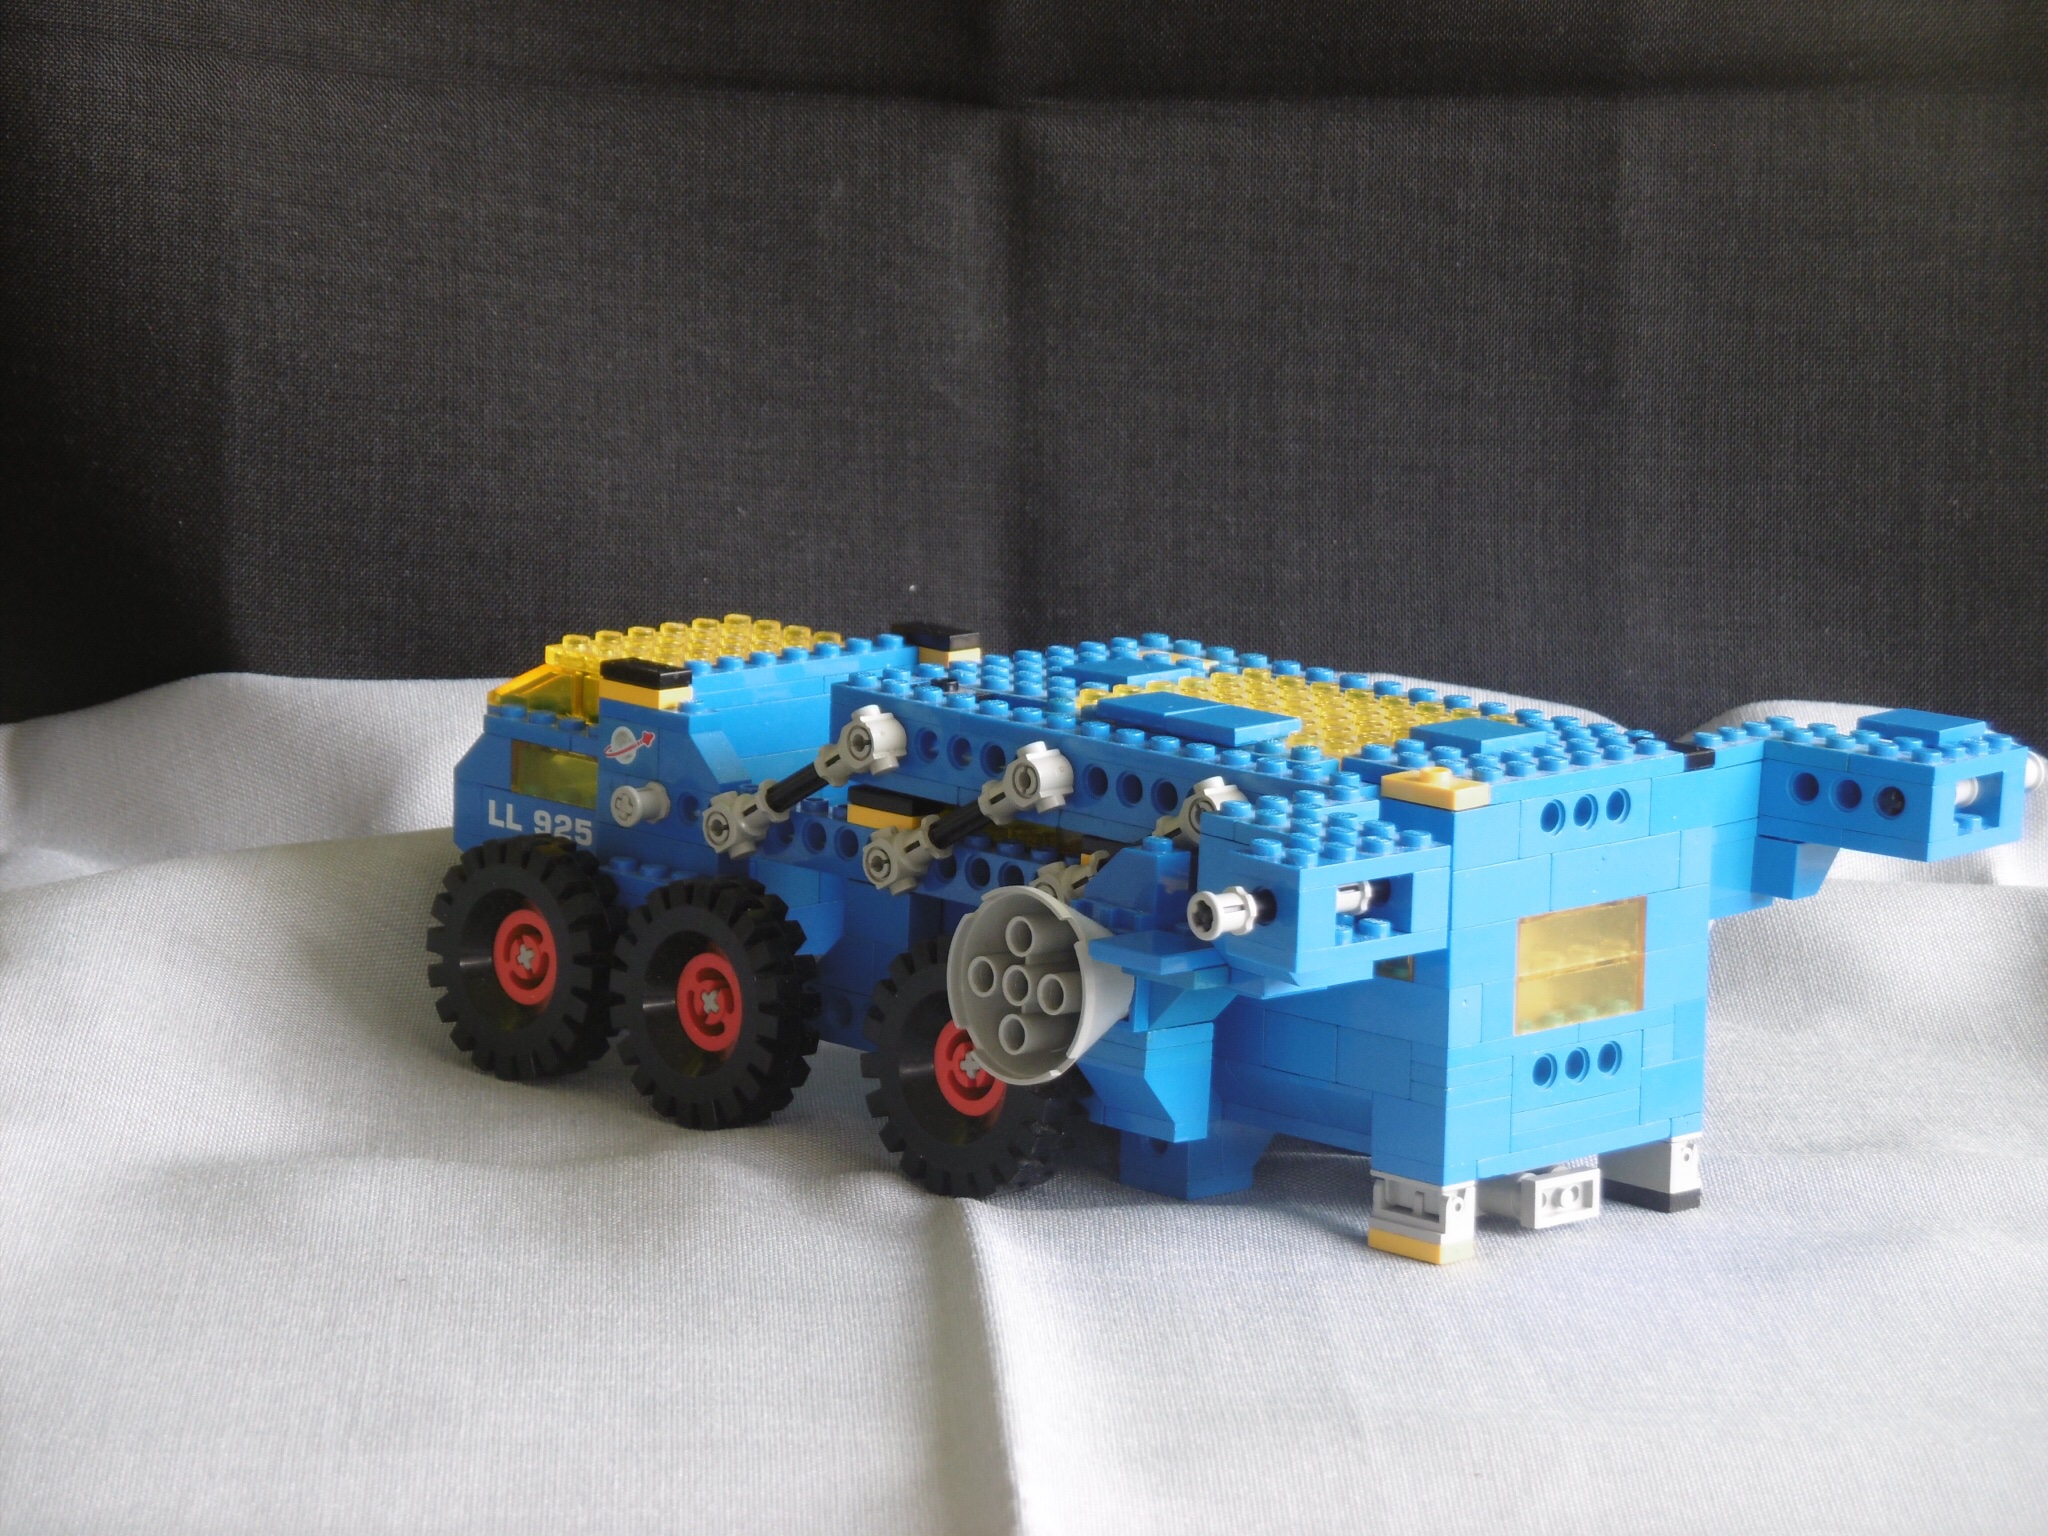
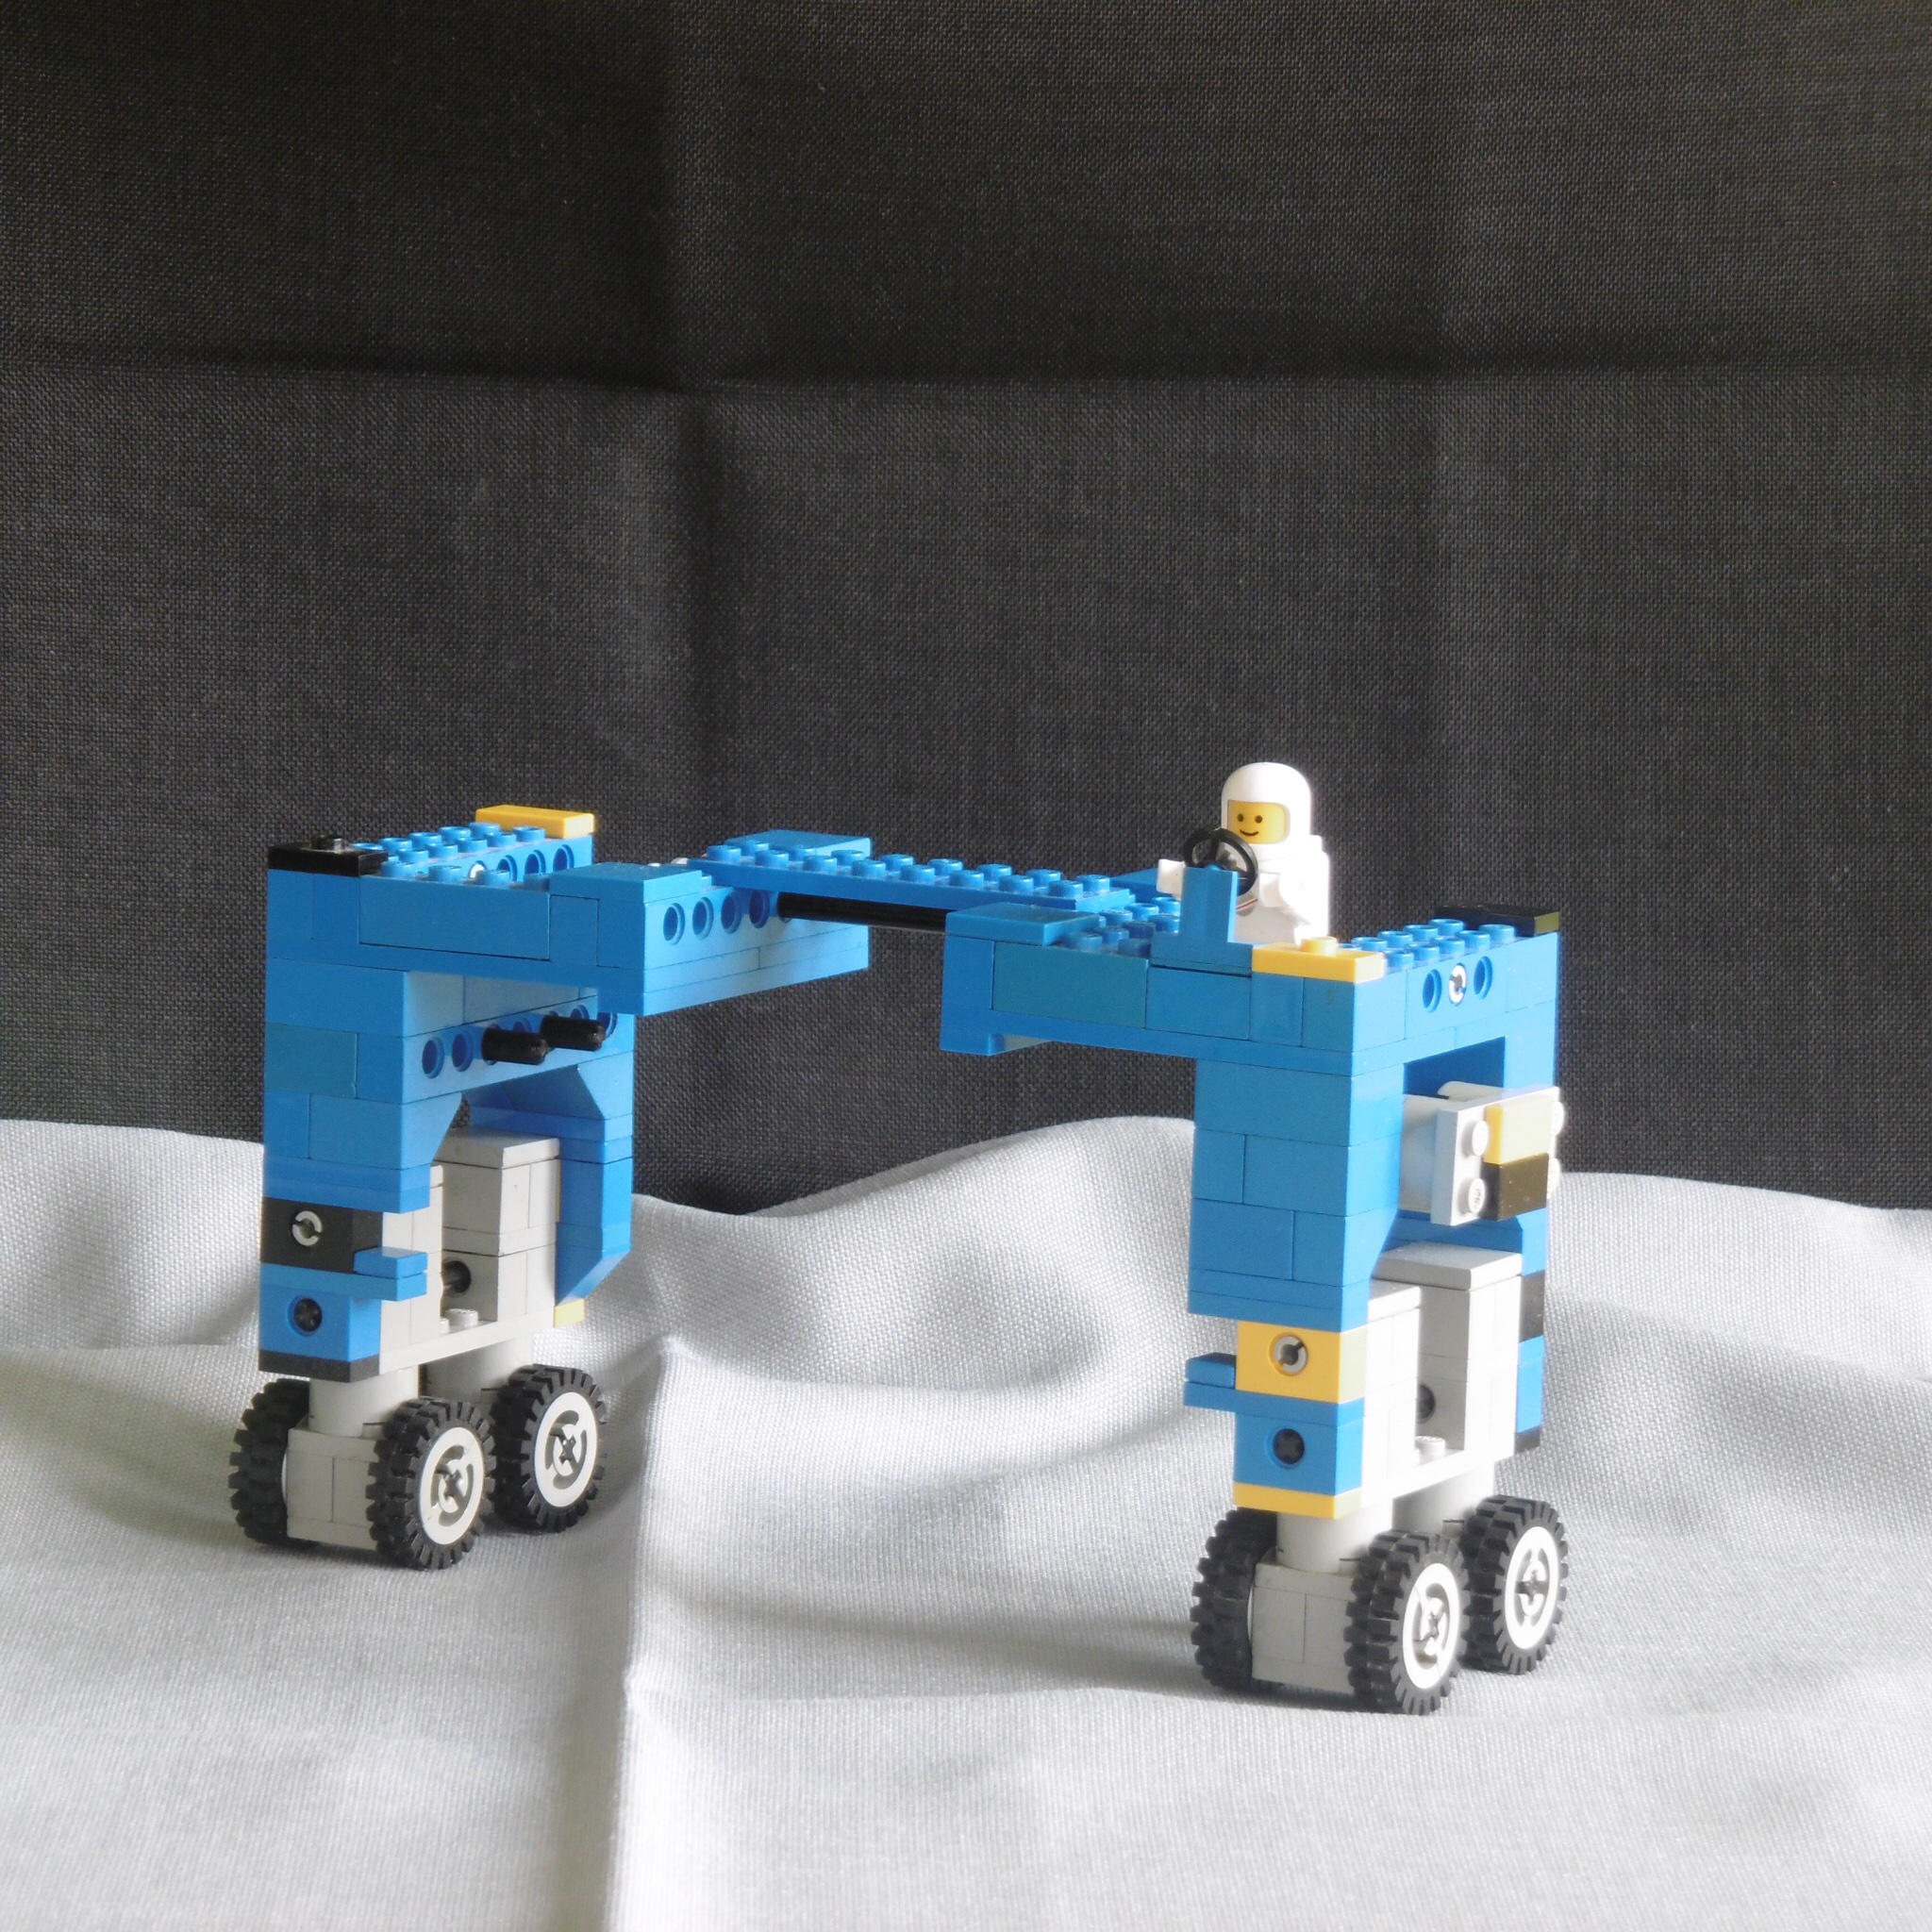
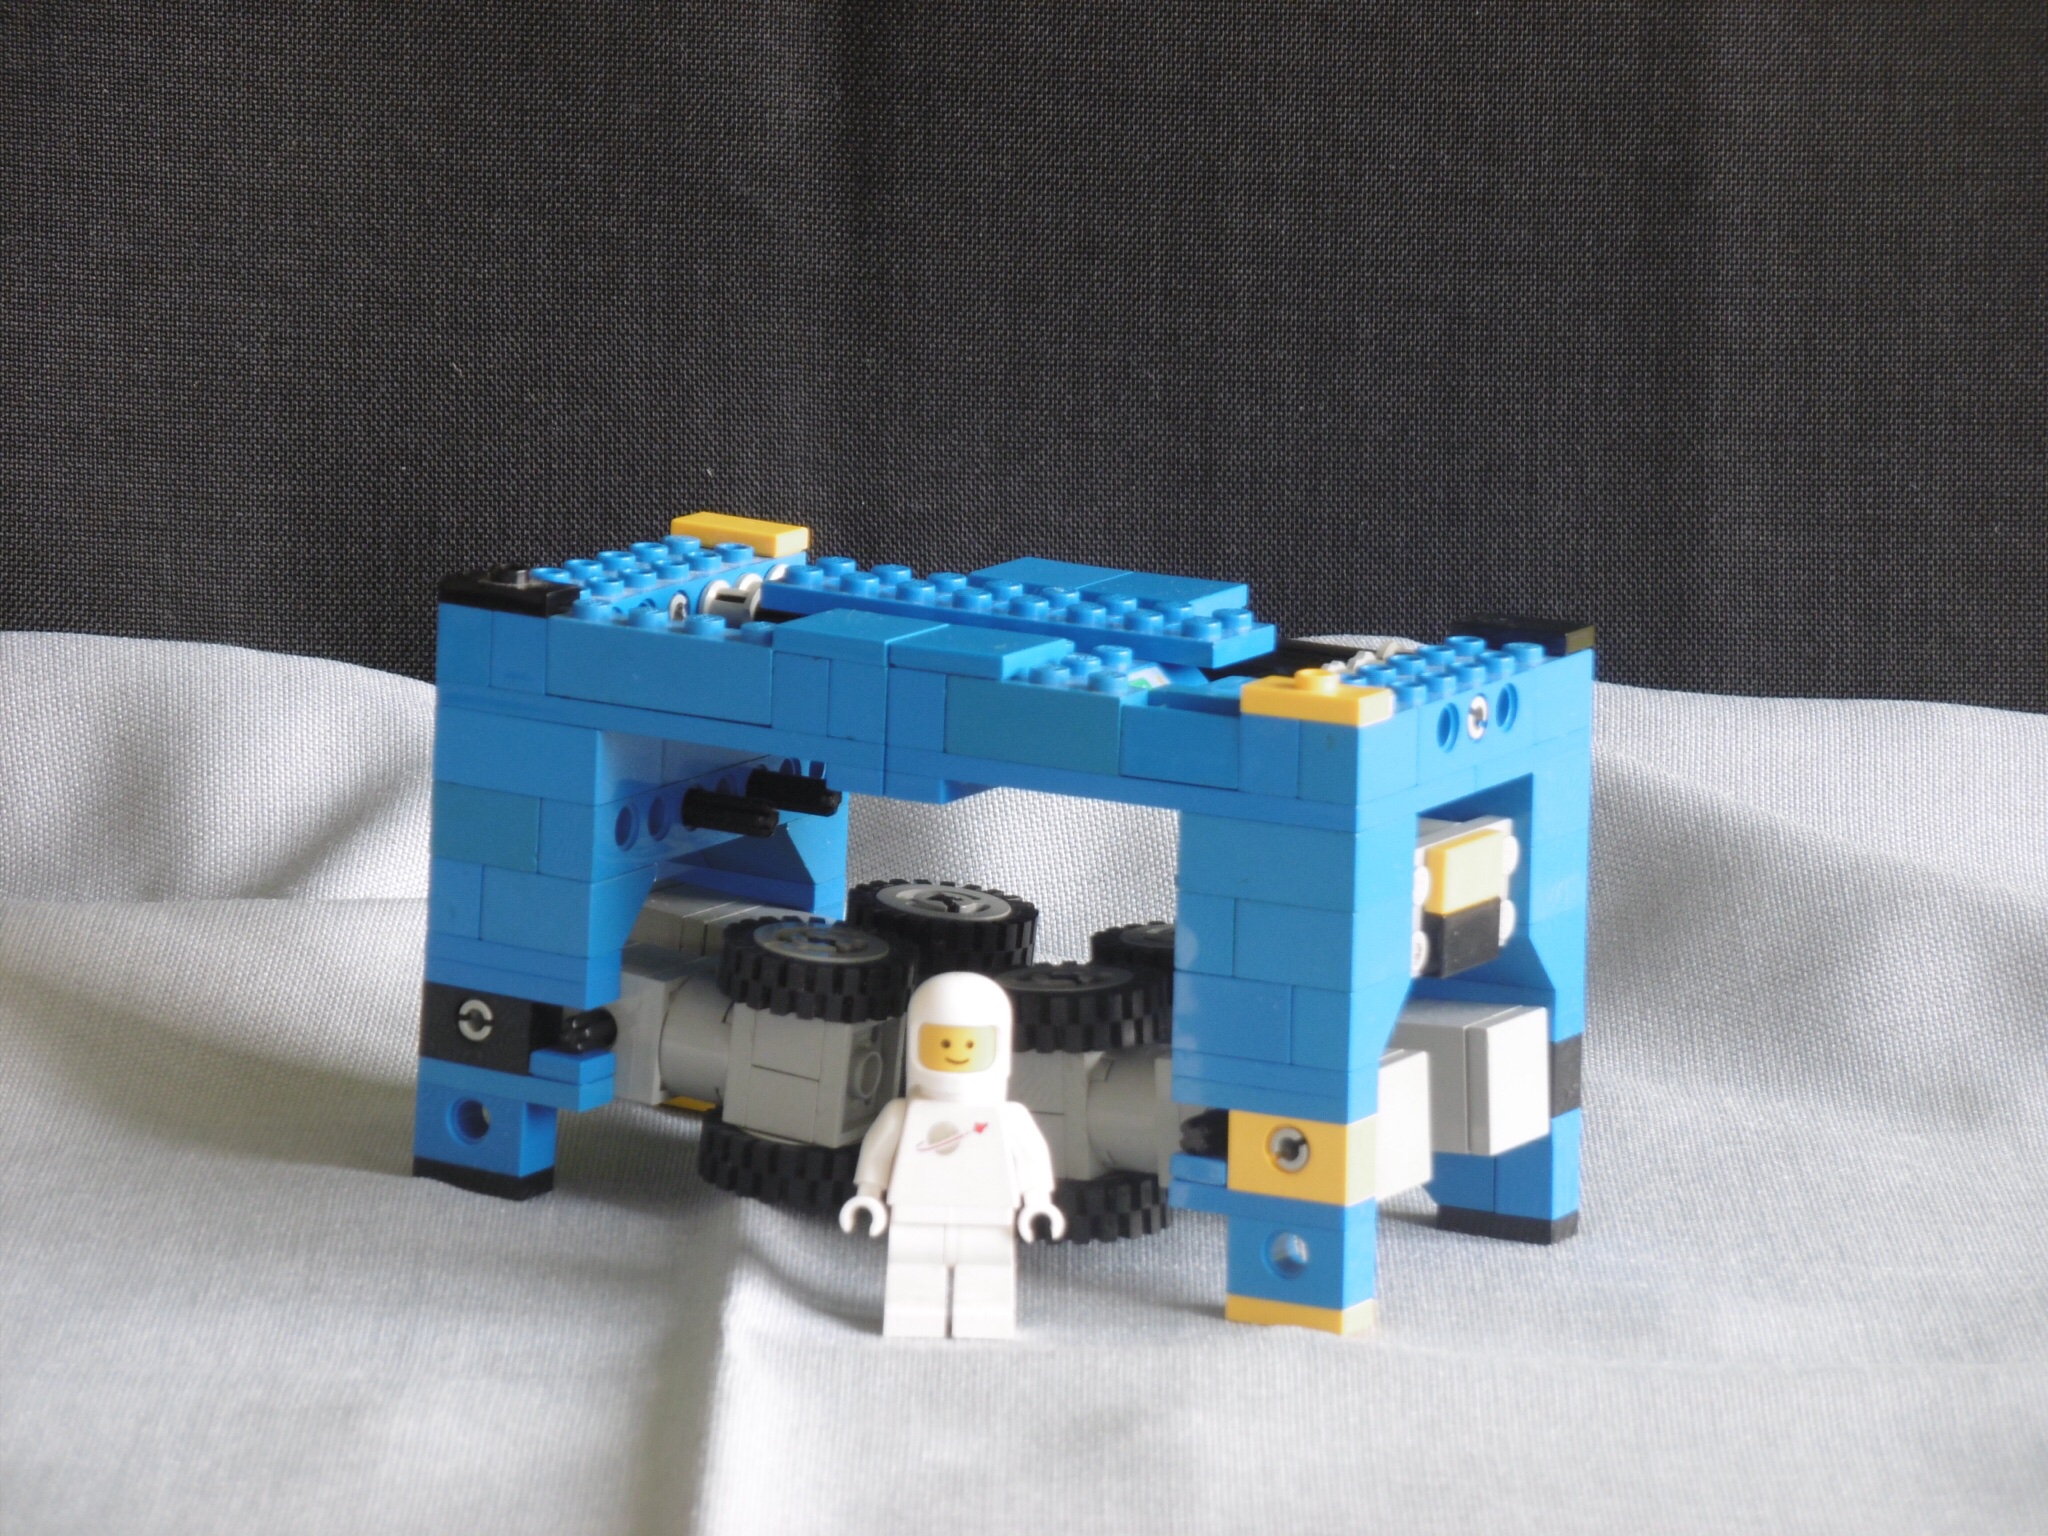
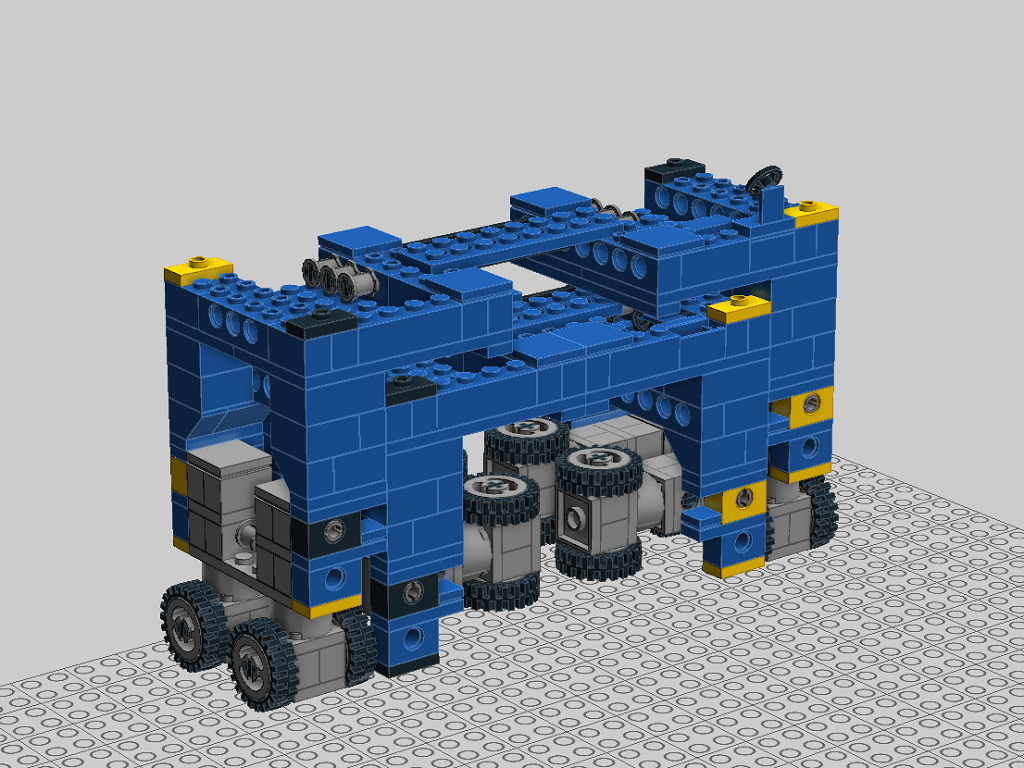
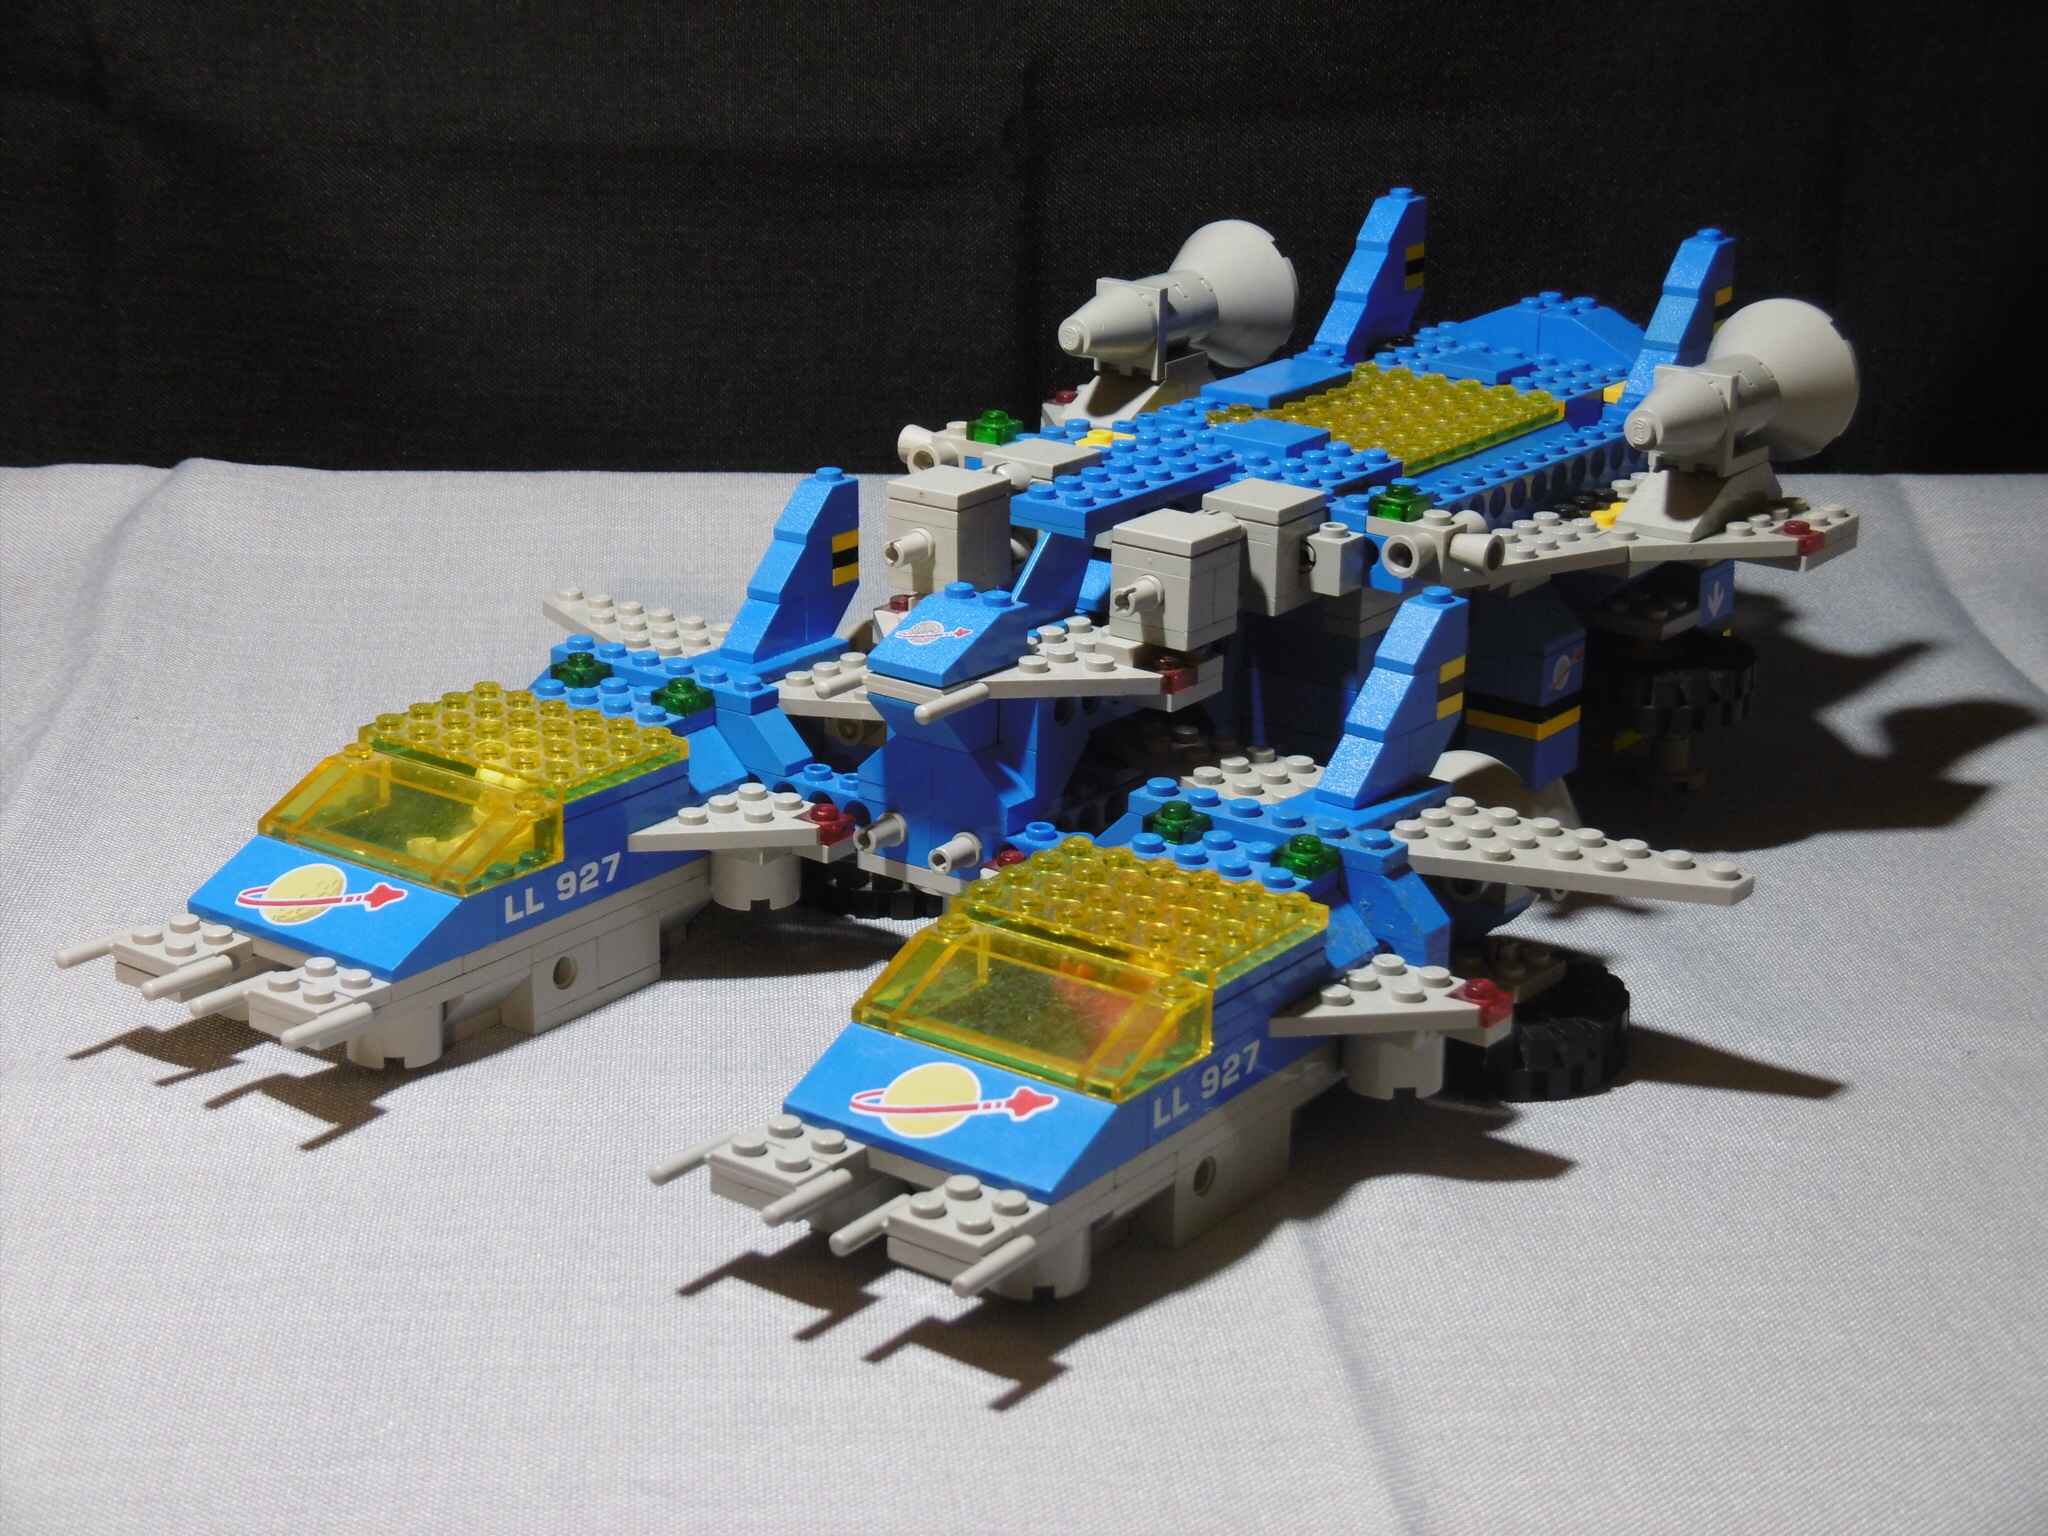
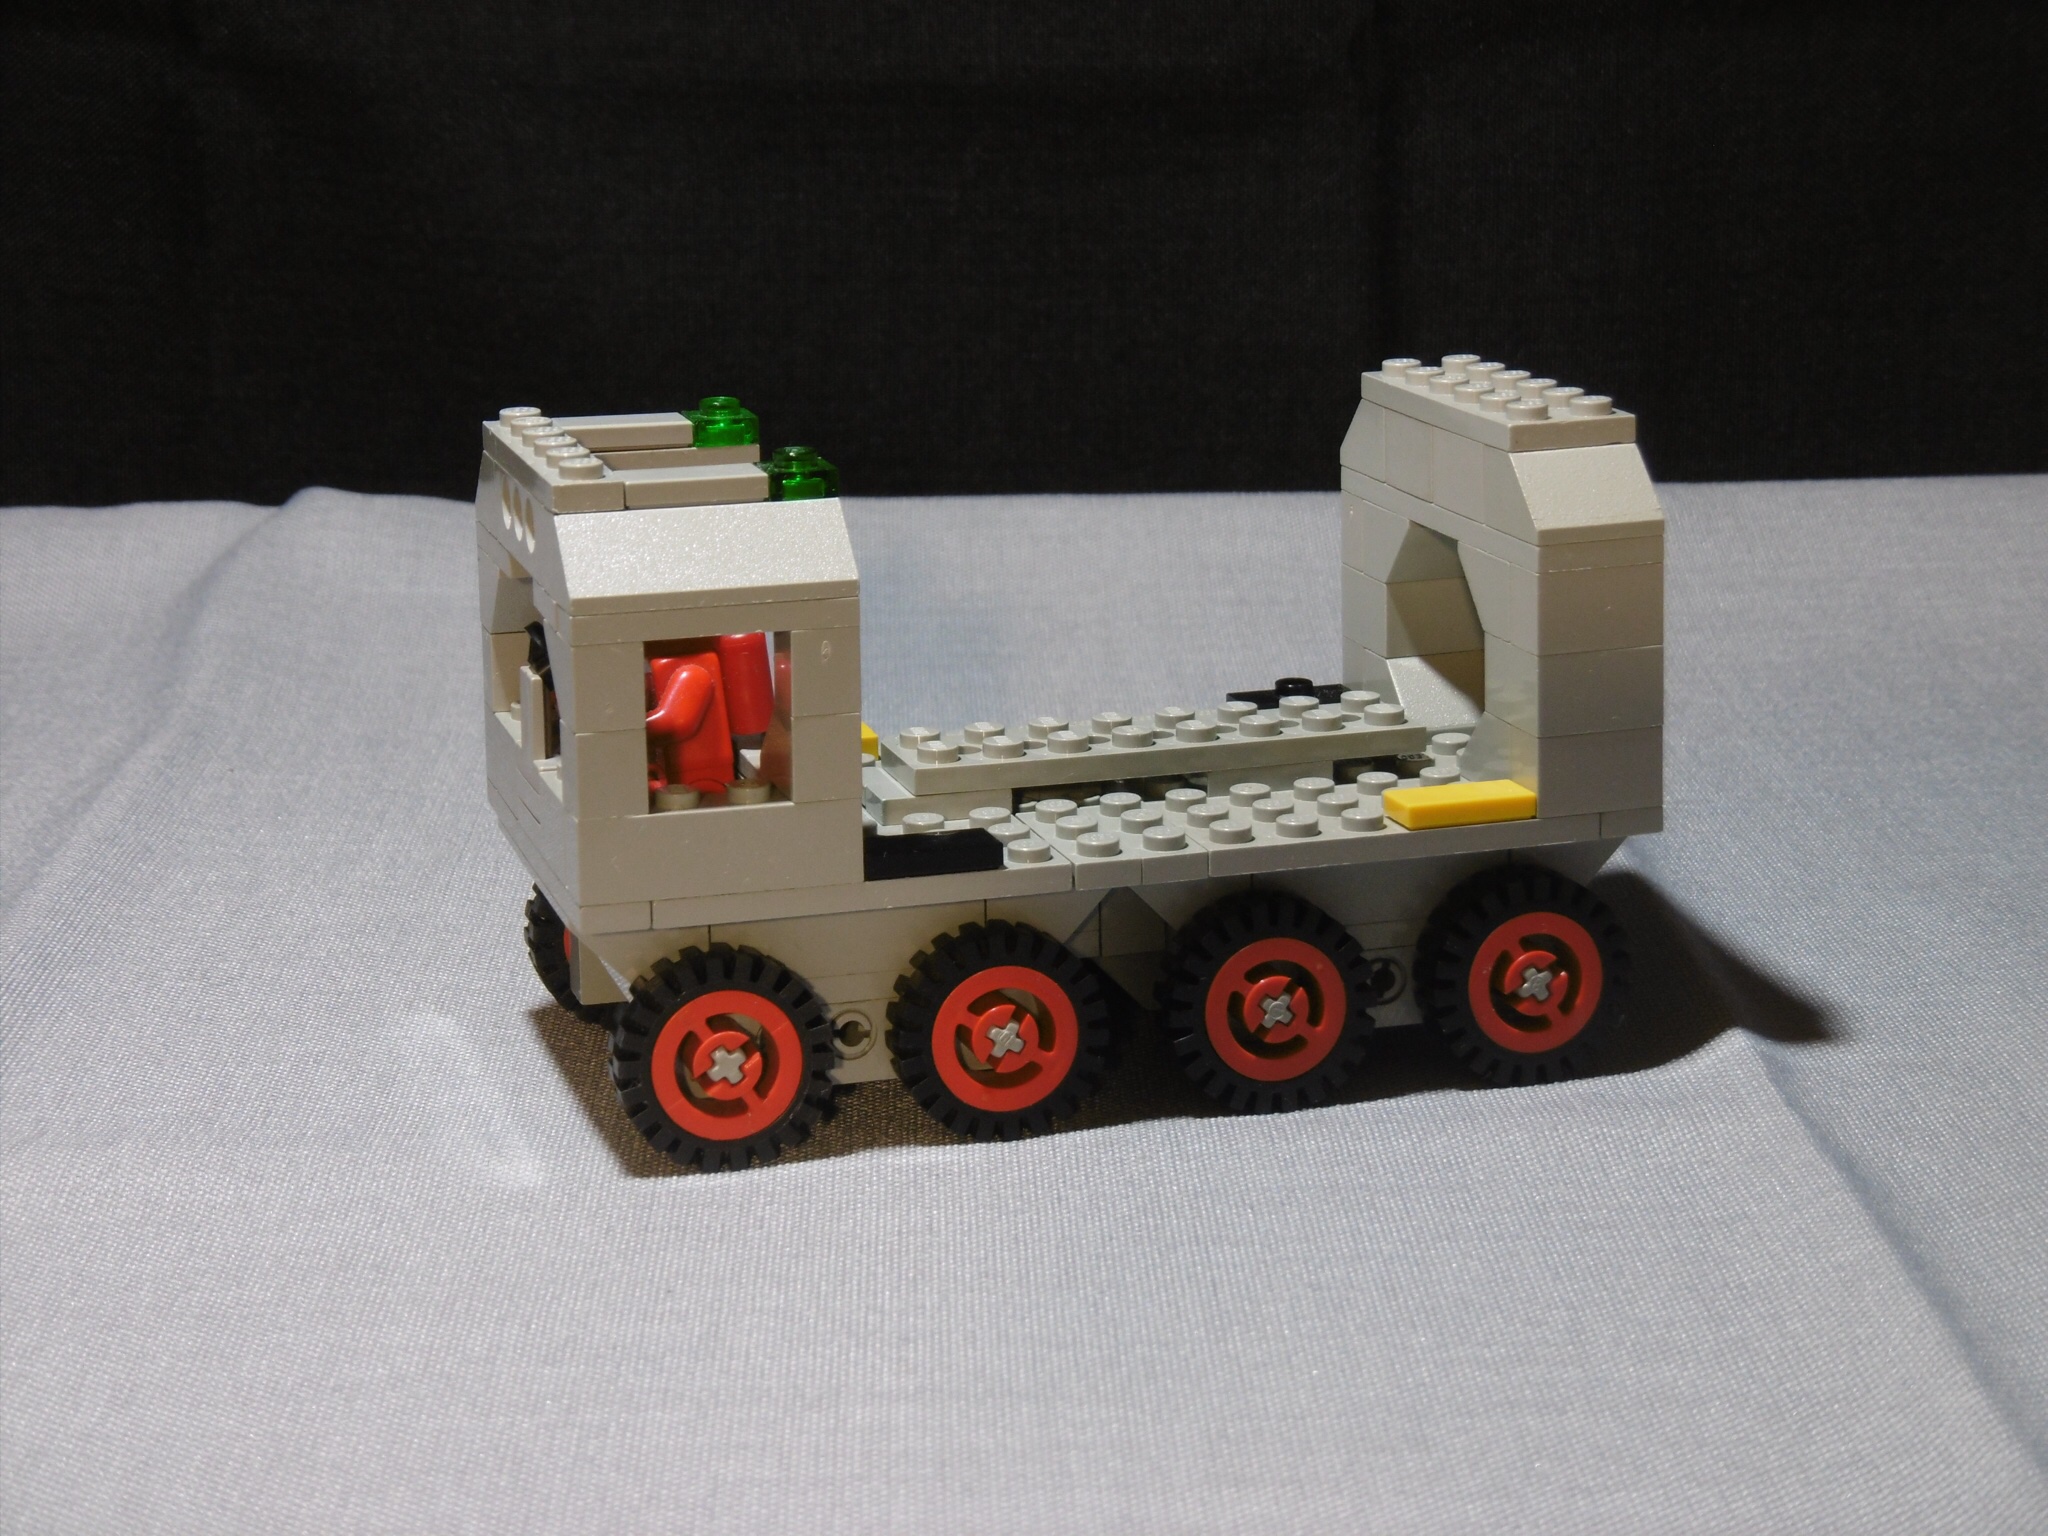
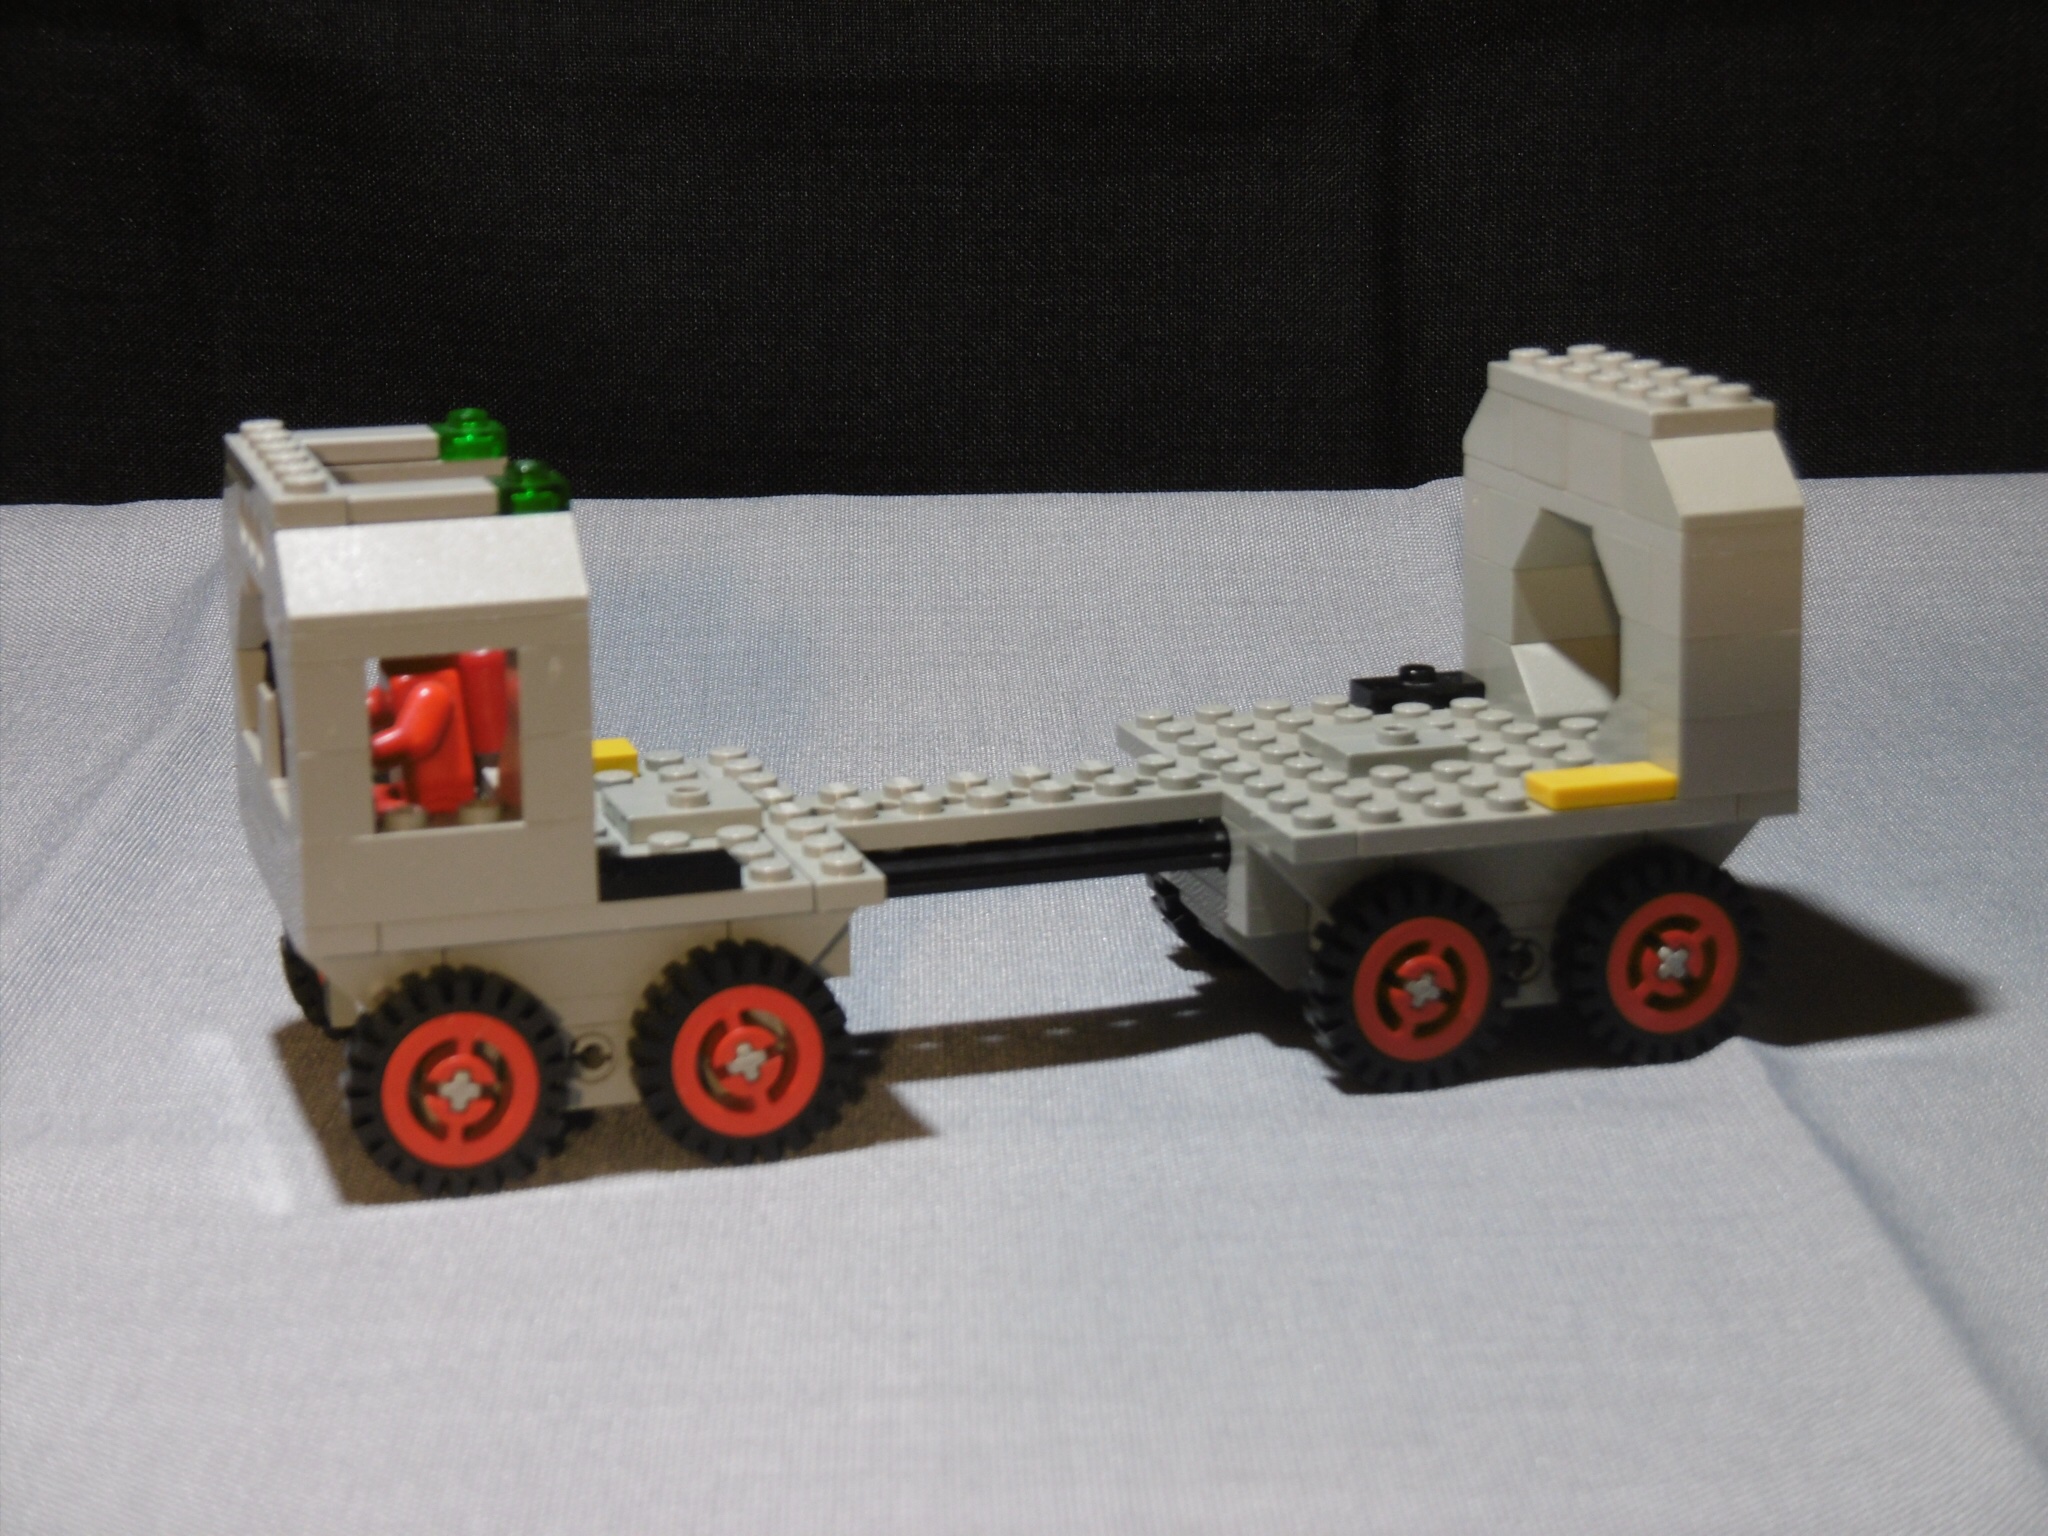
You can take off the front and rear section of the car’s body for repairs.

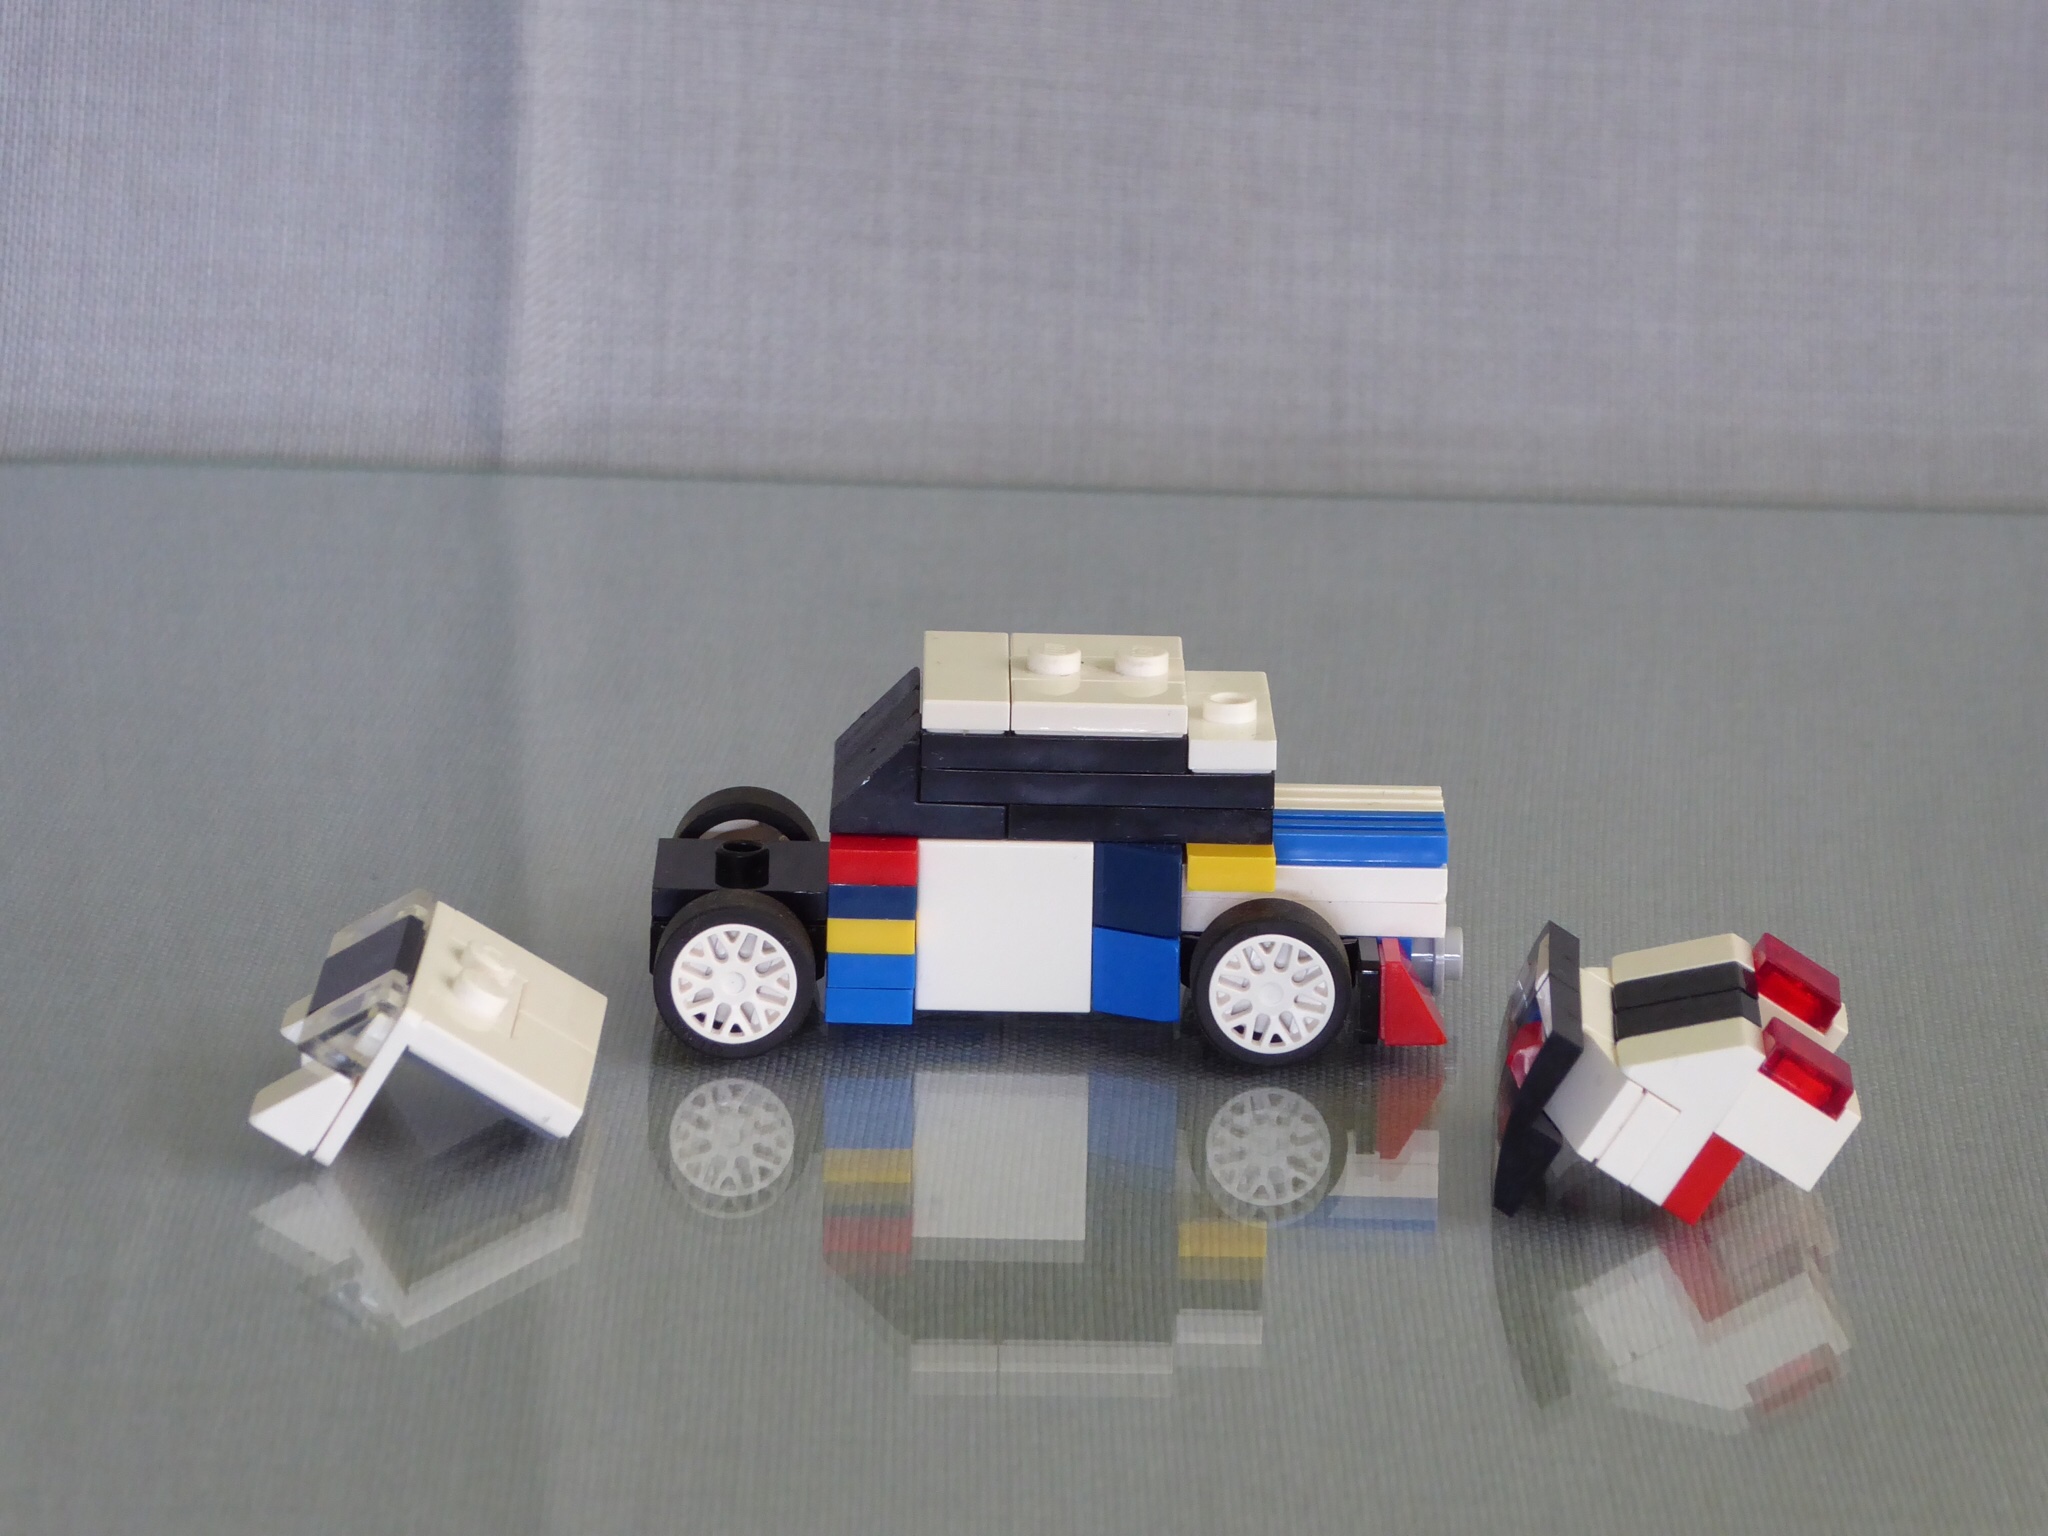
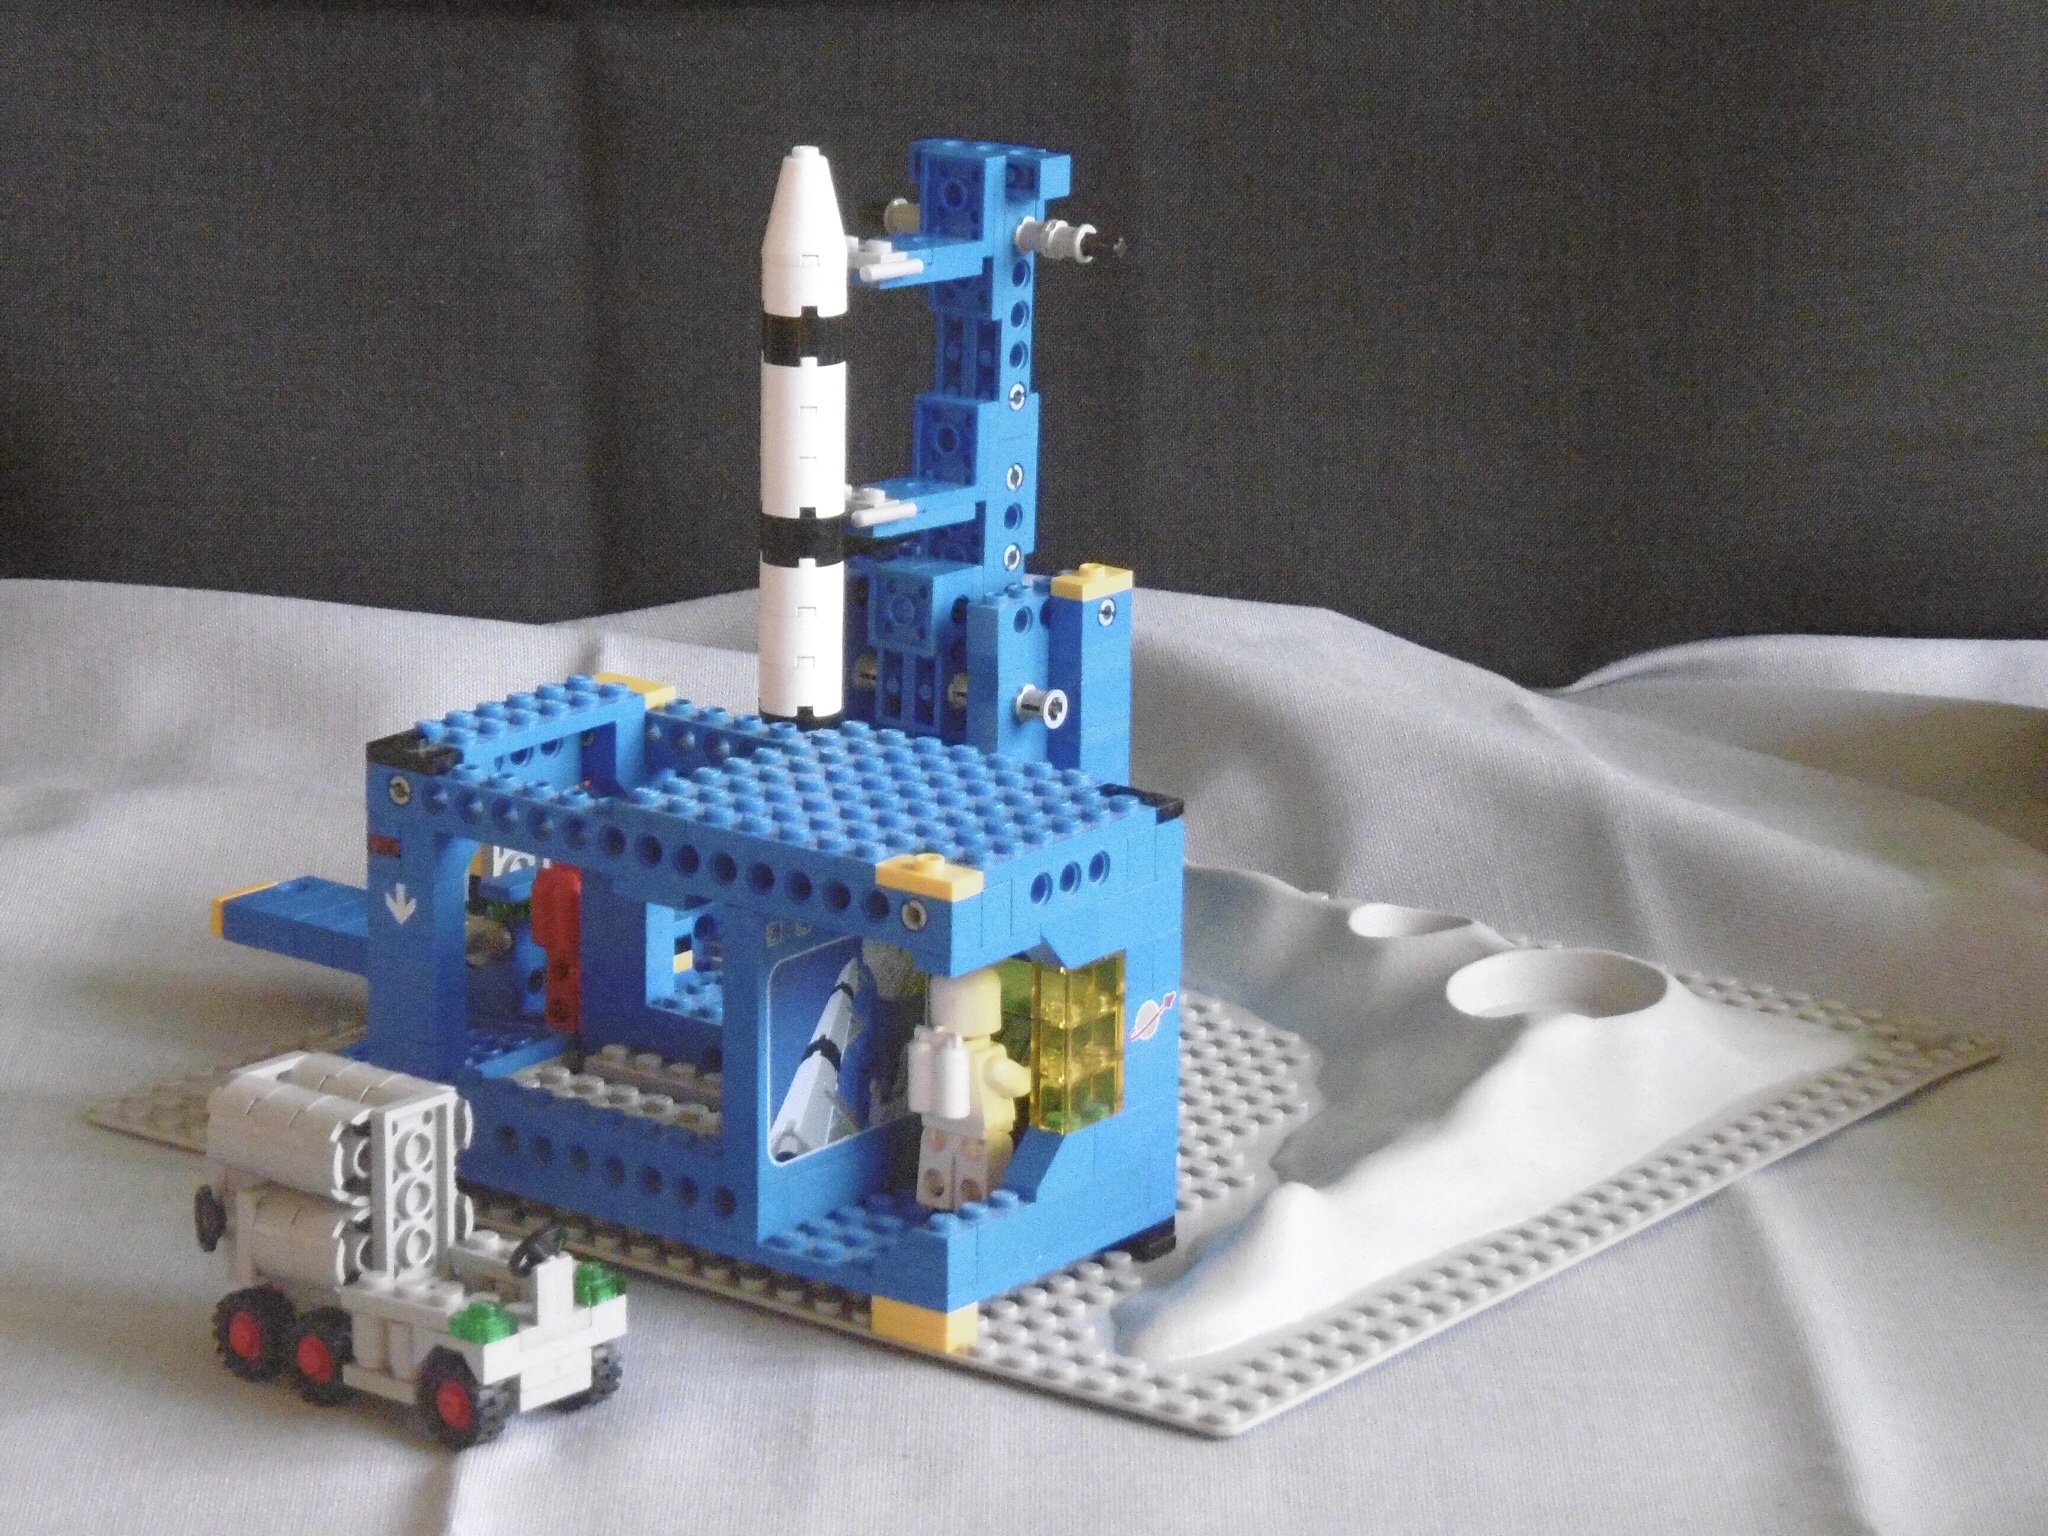
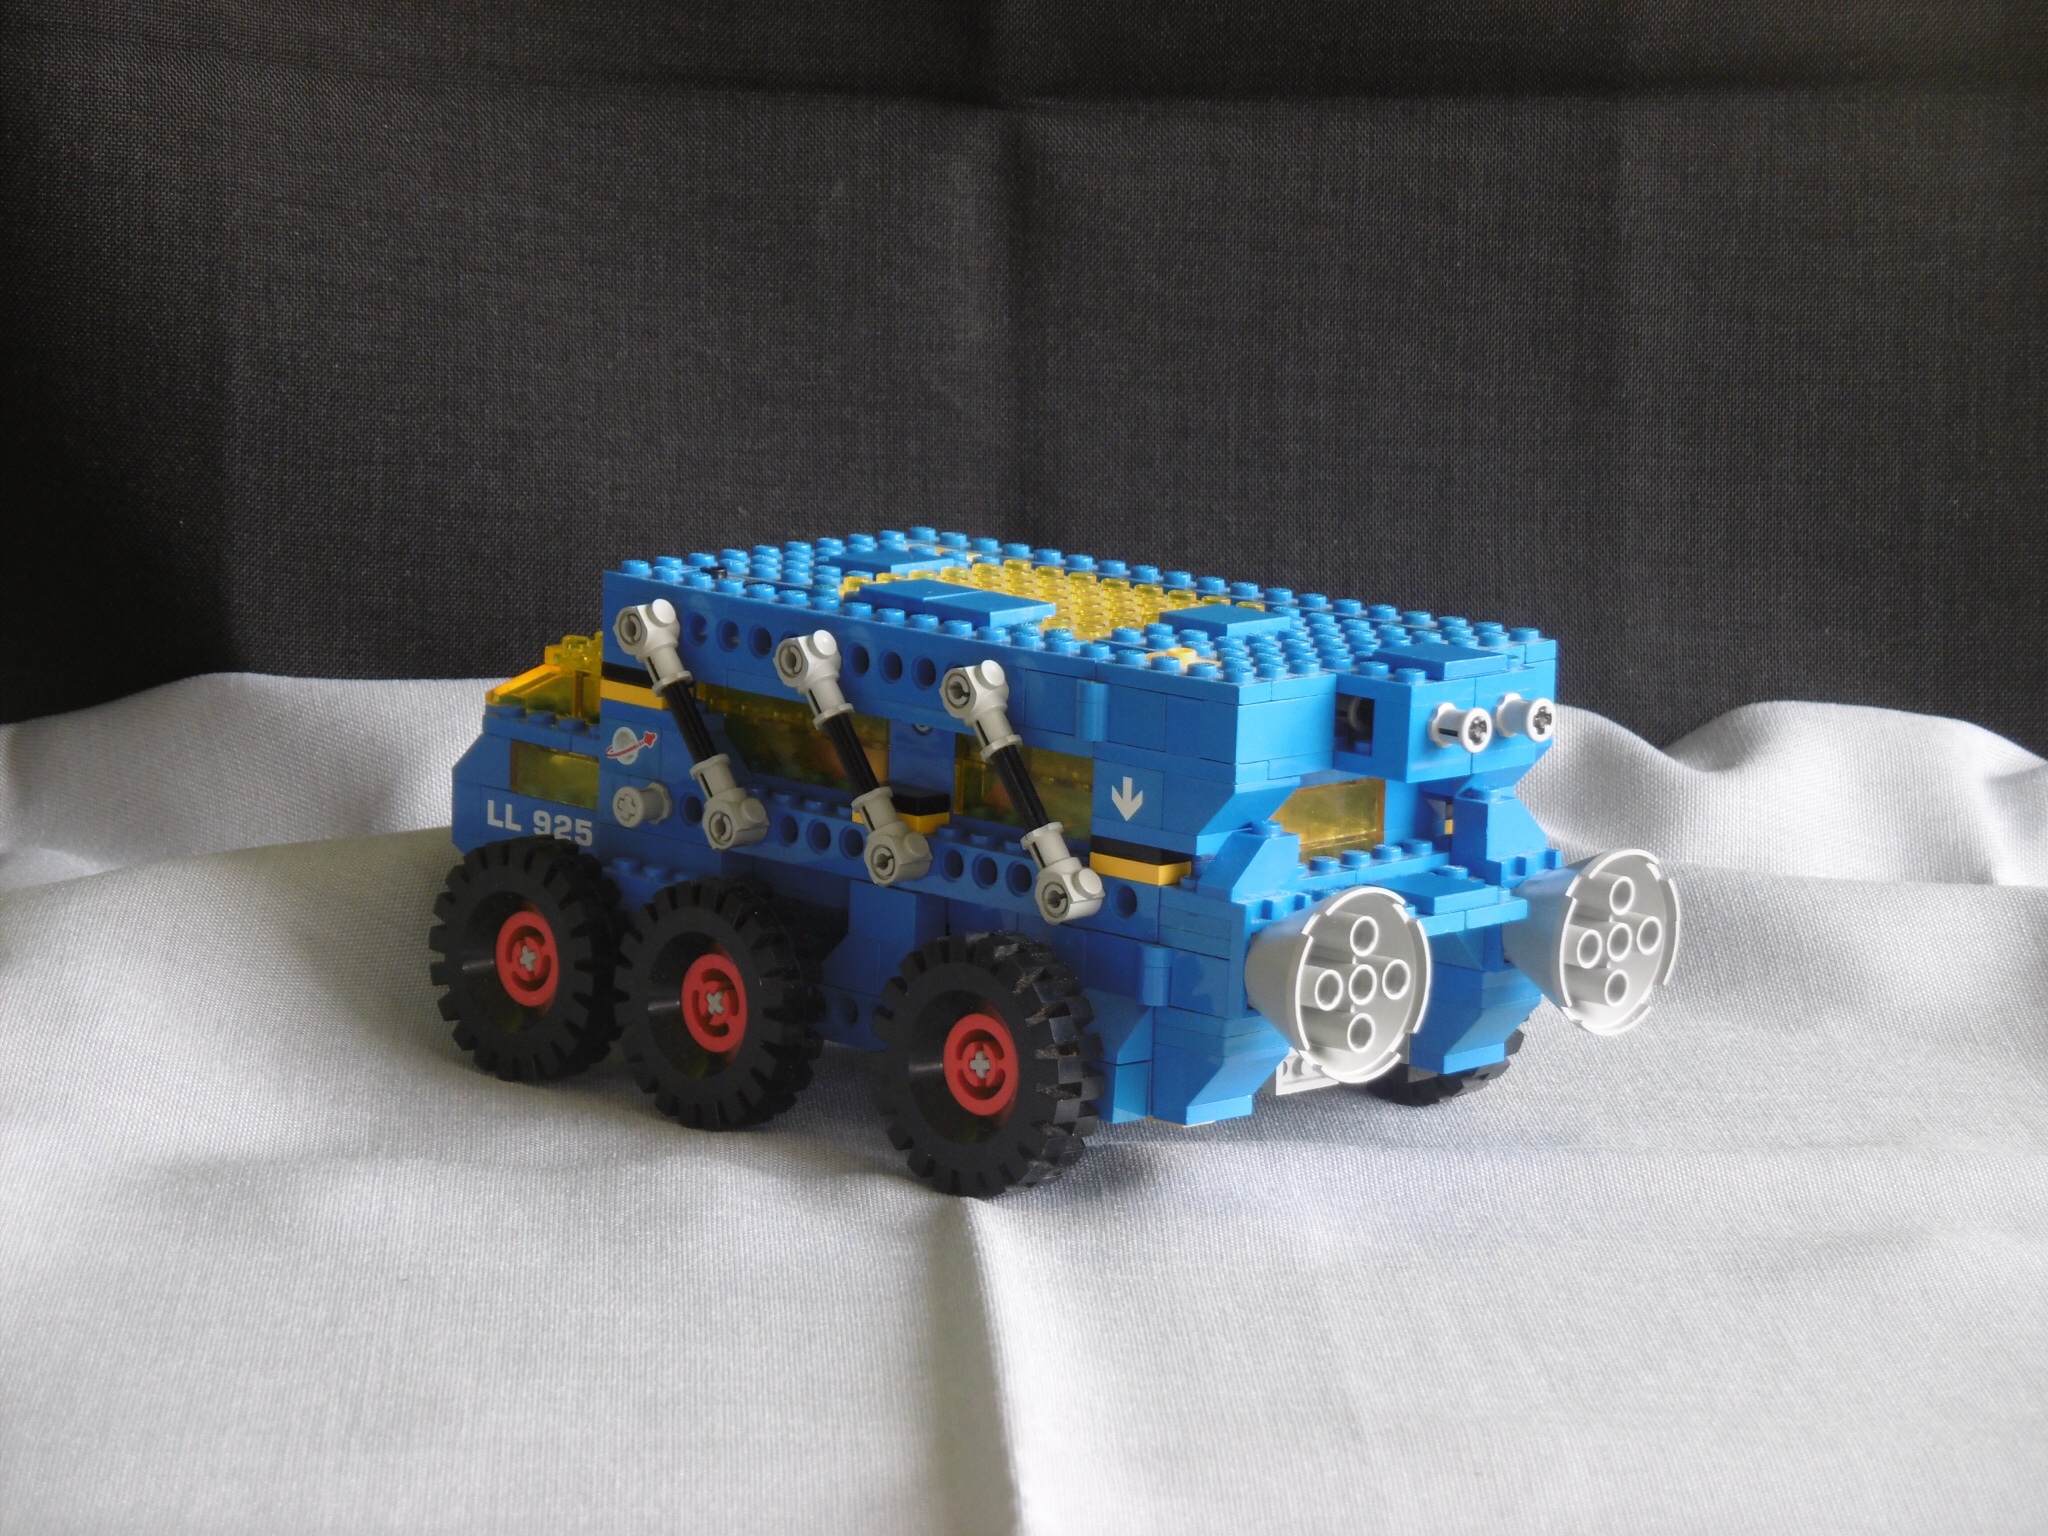
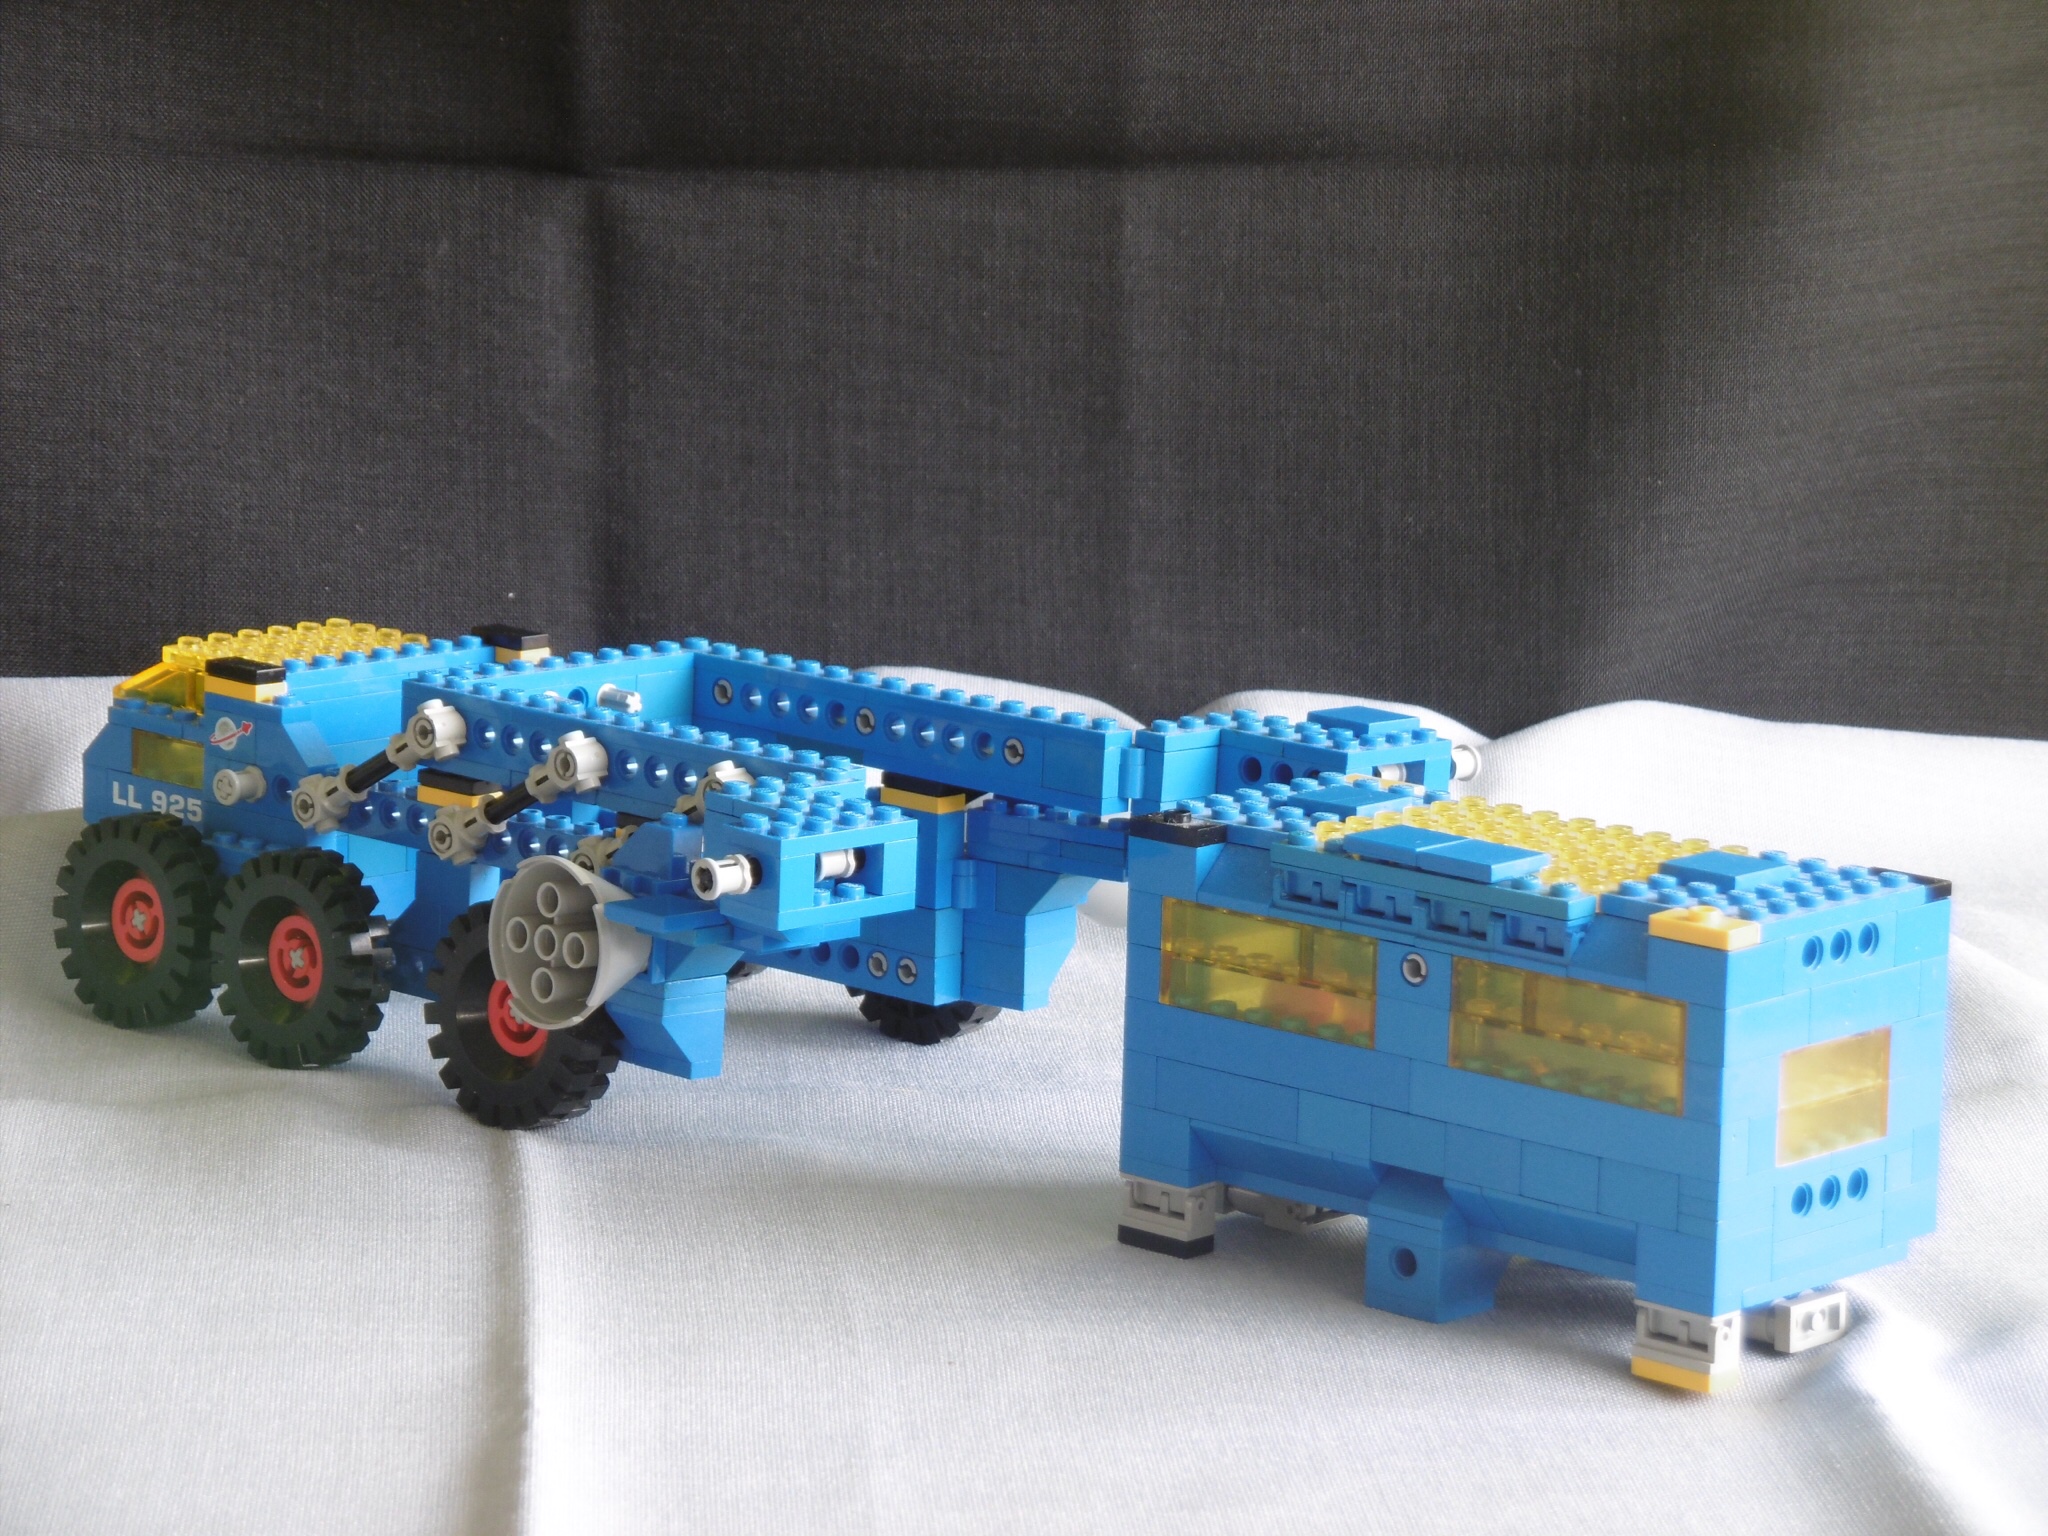
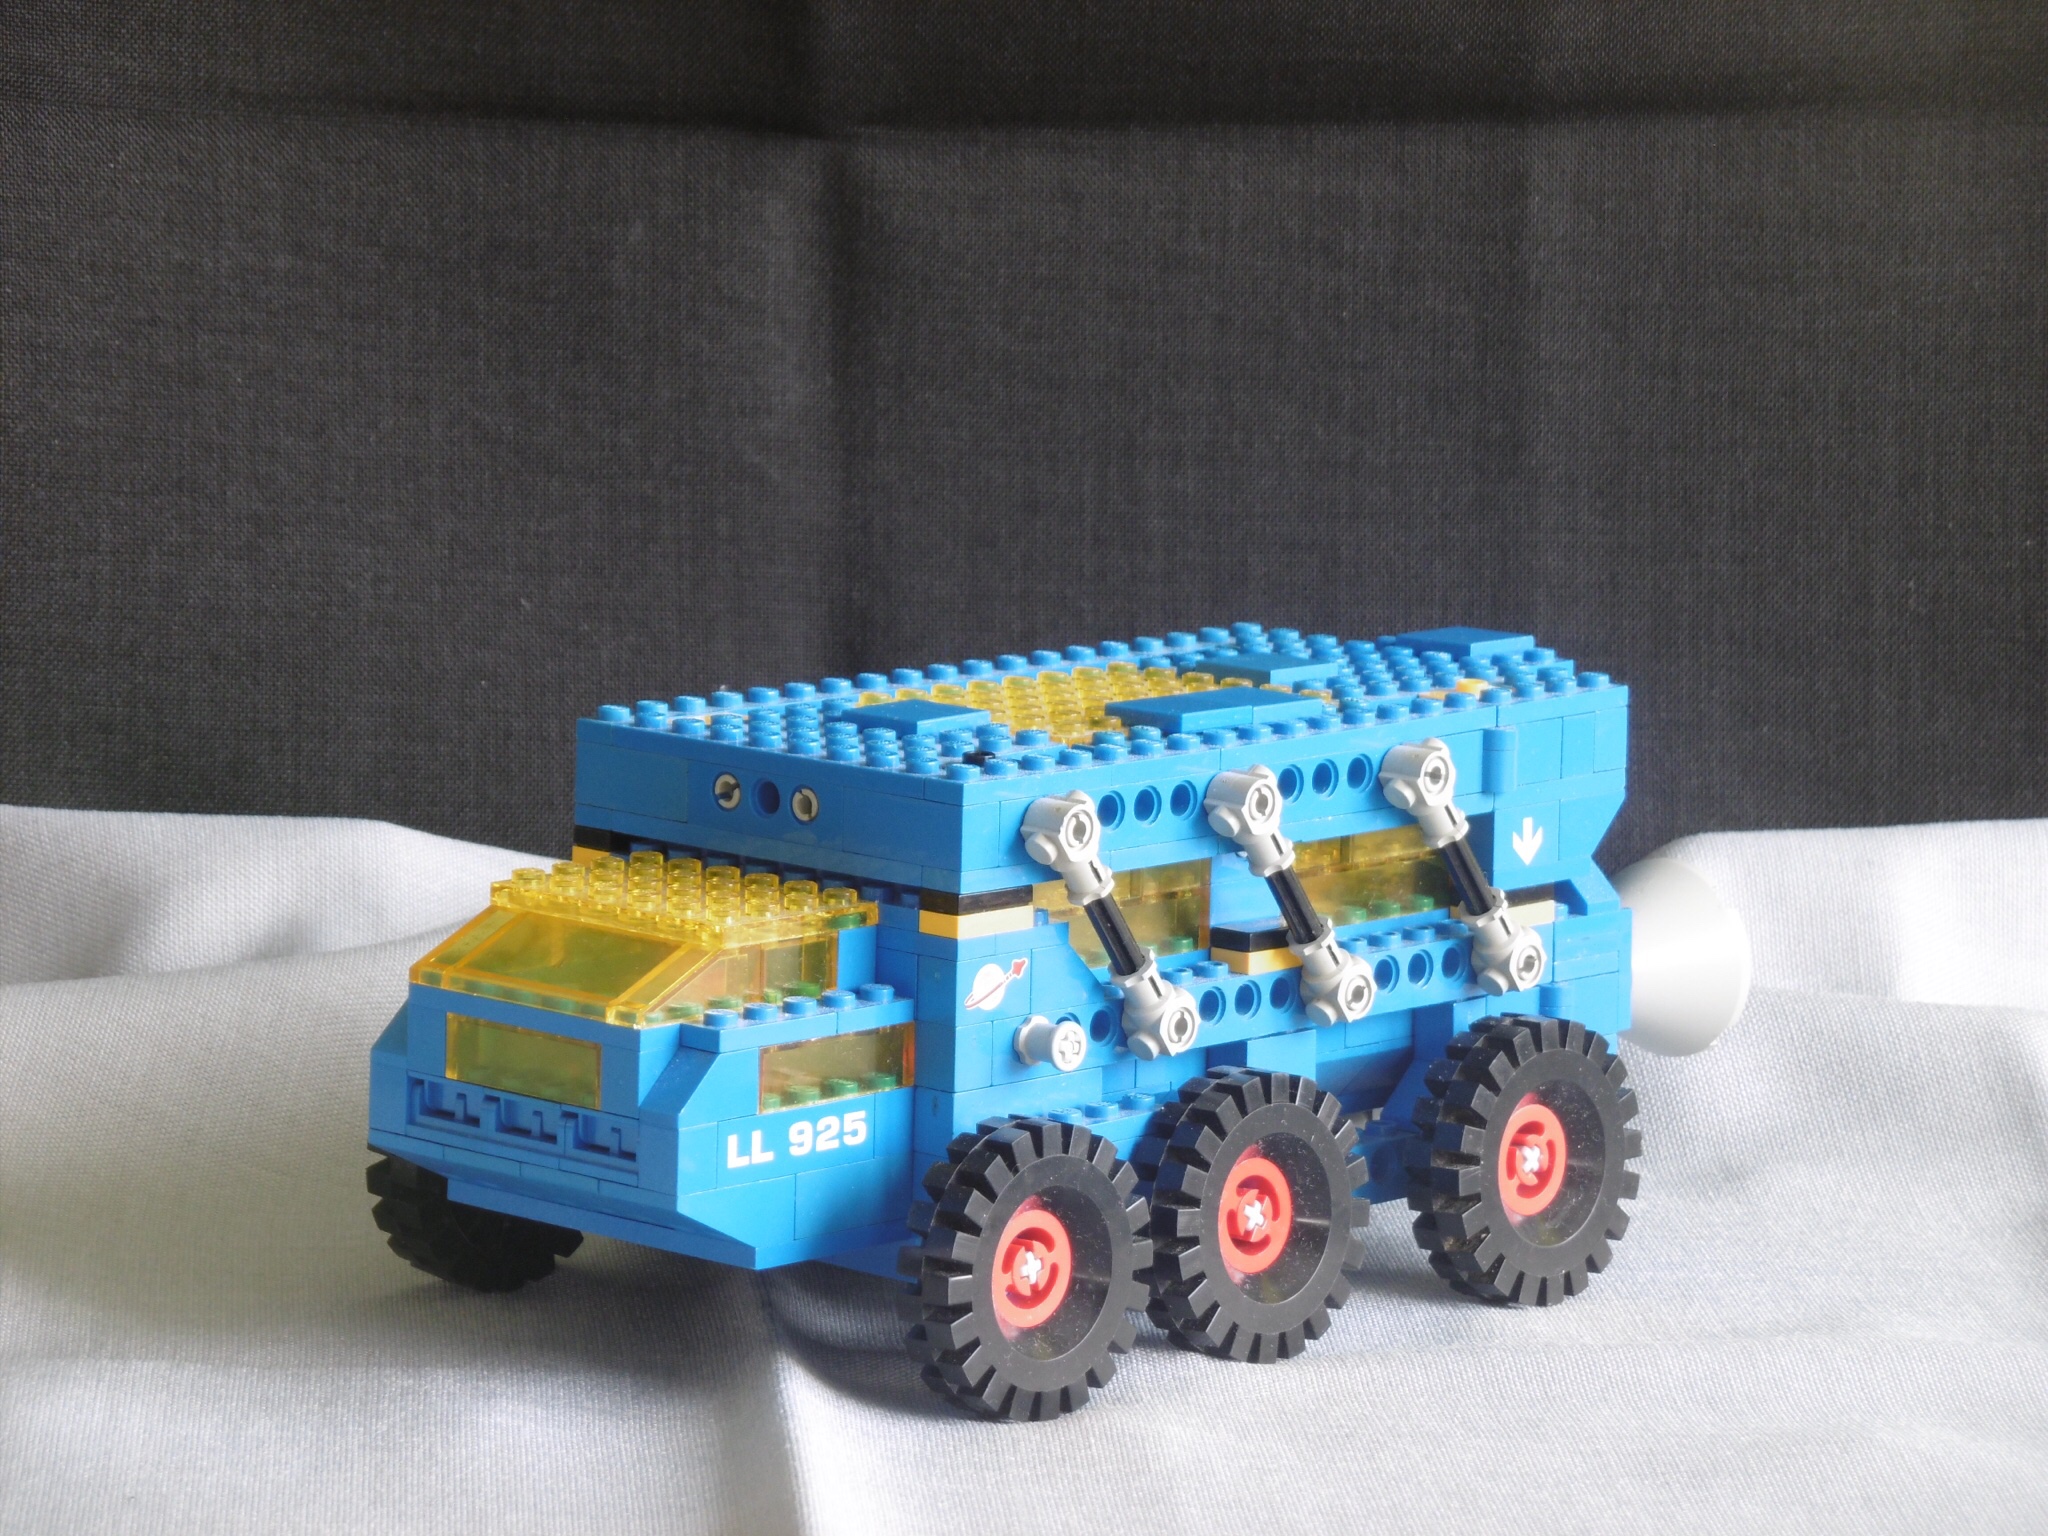
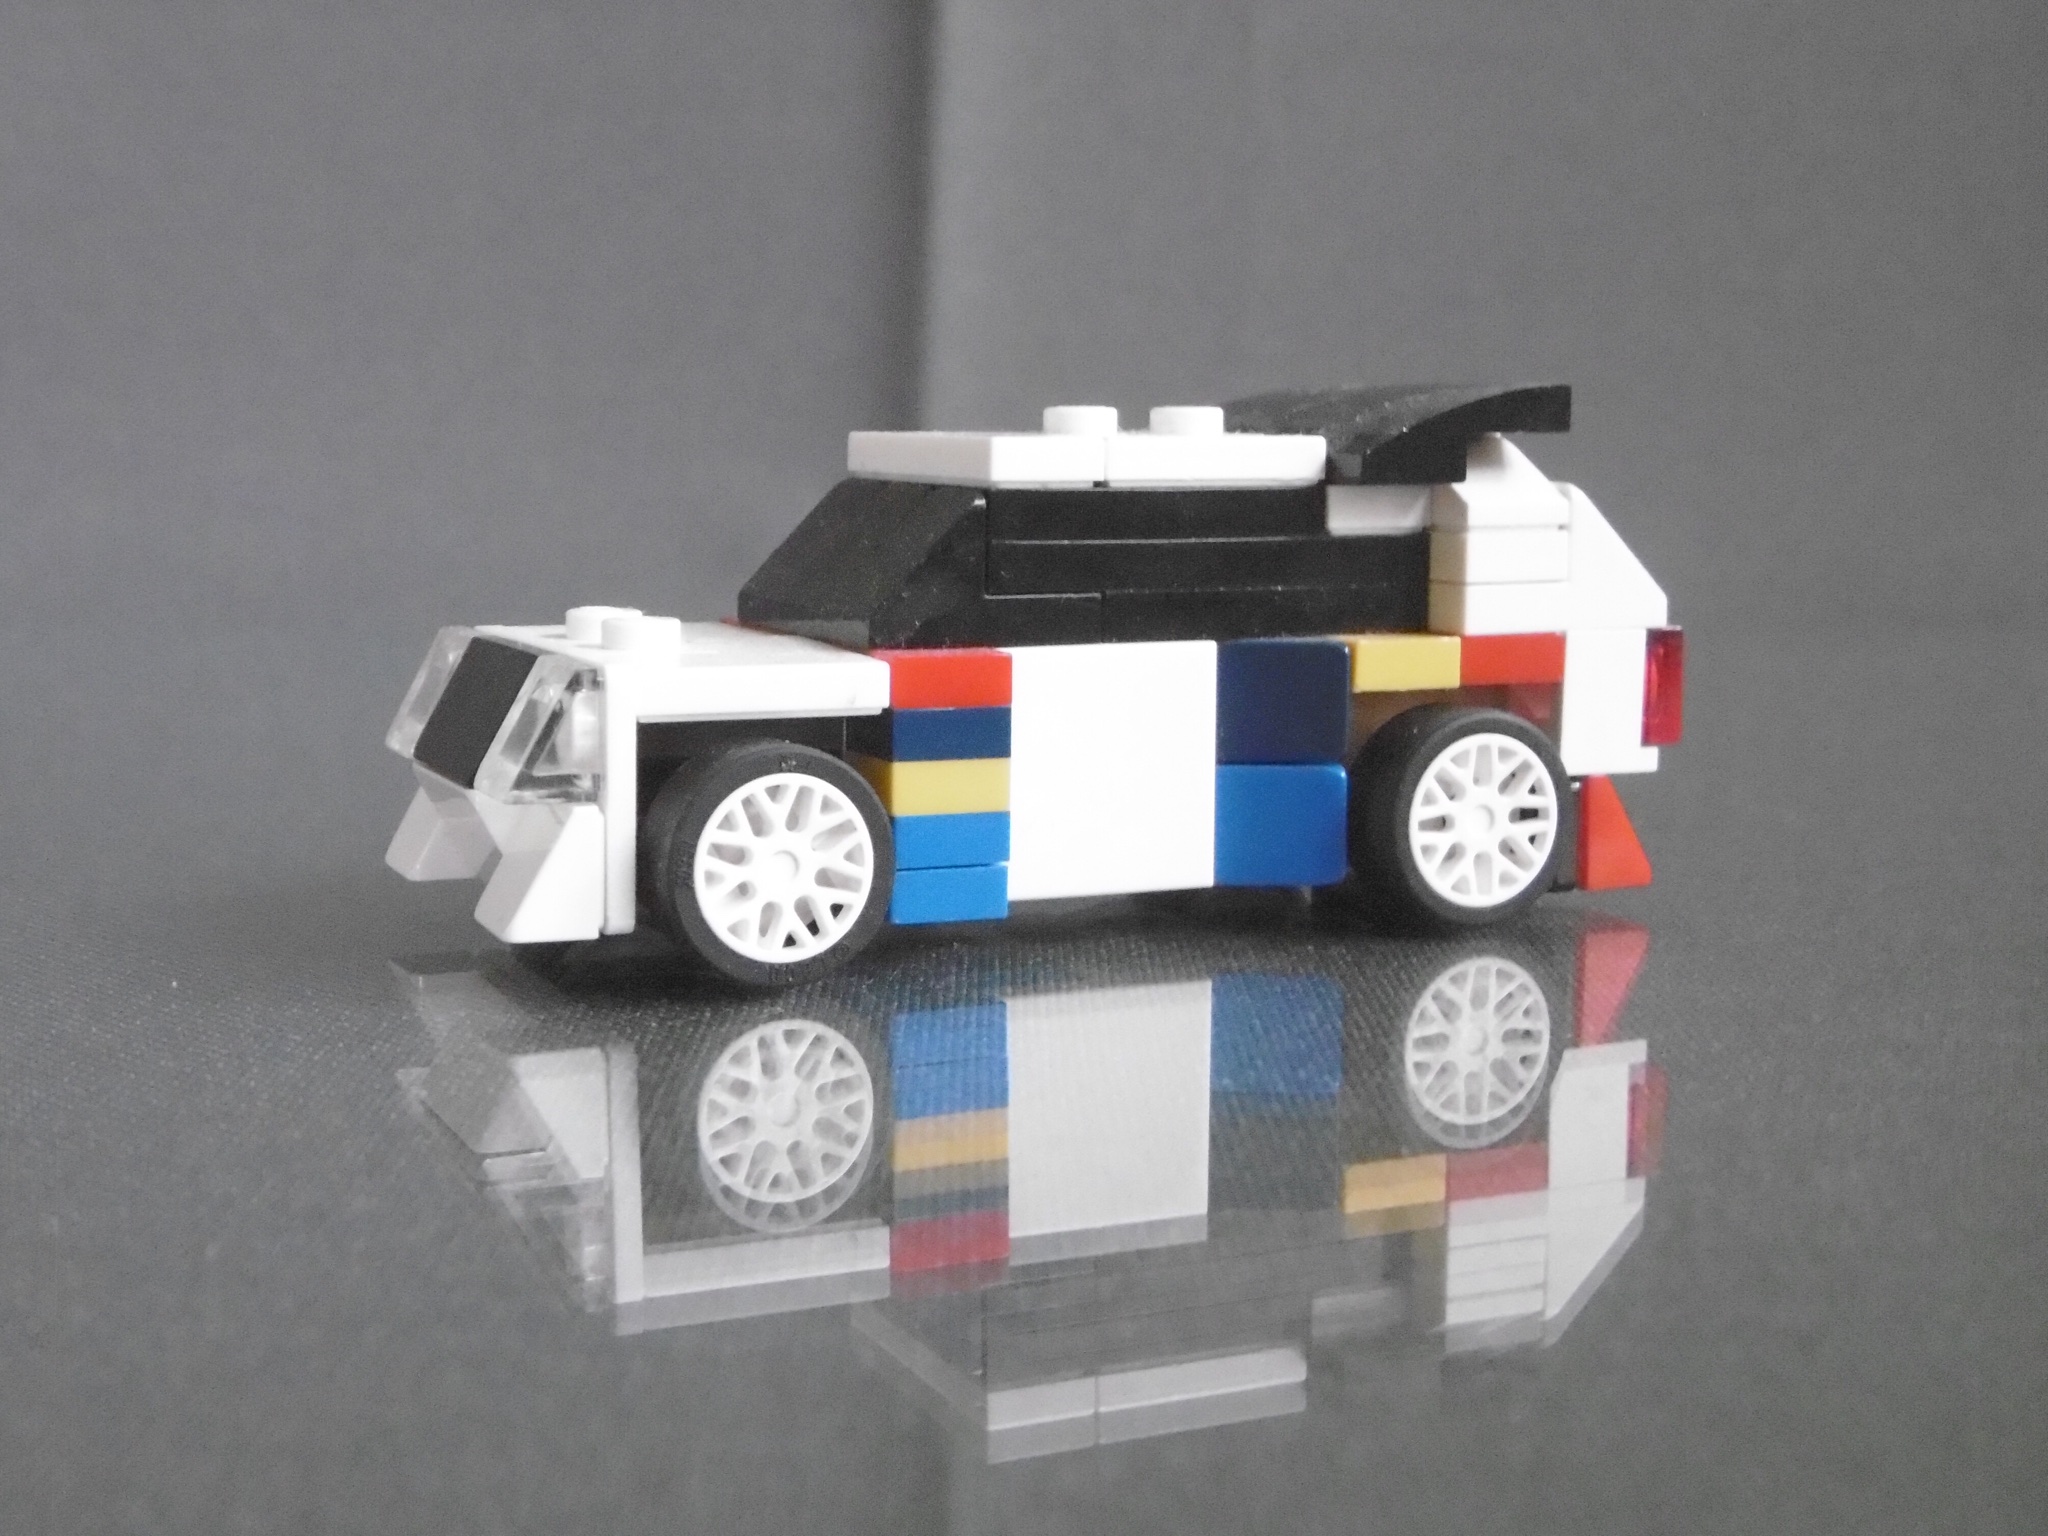
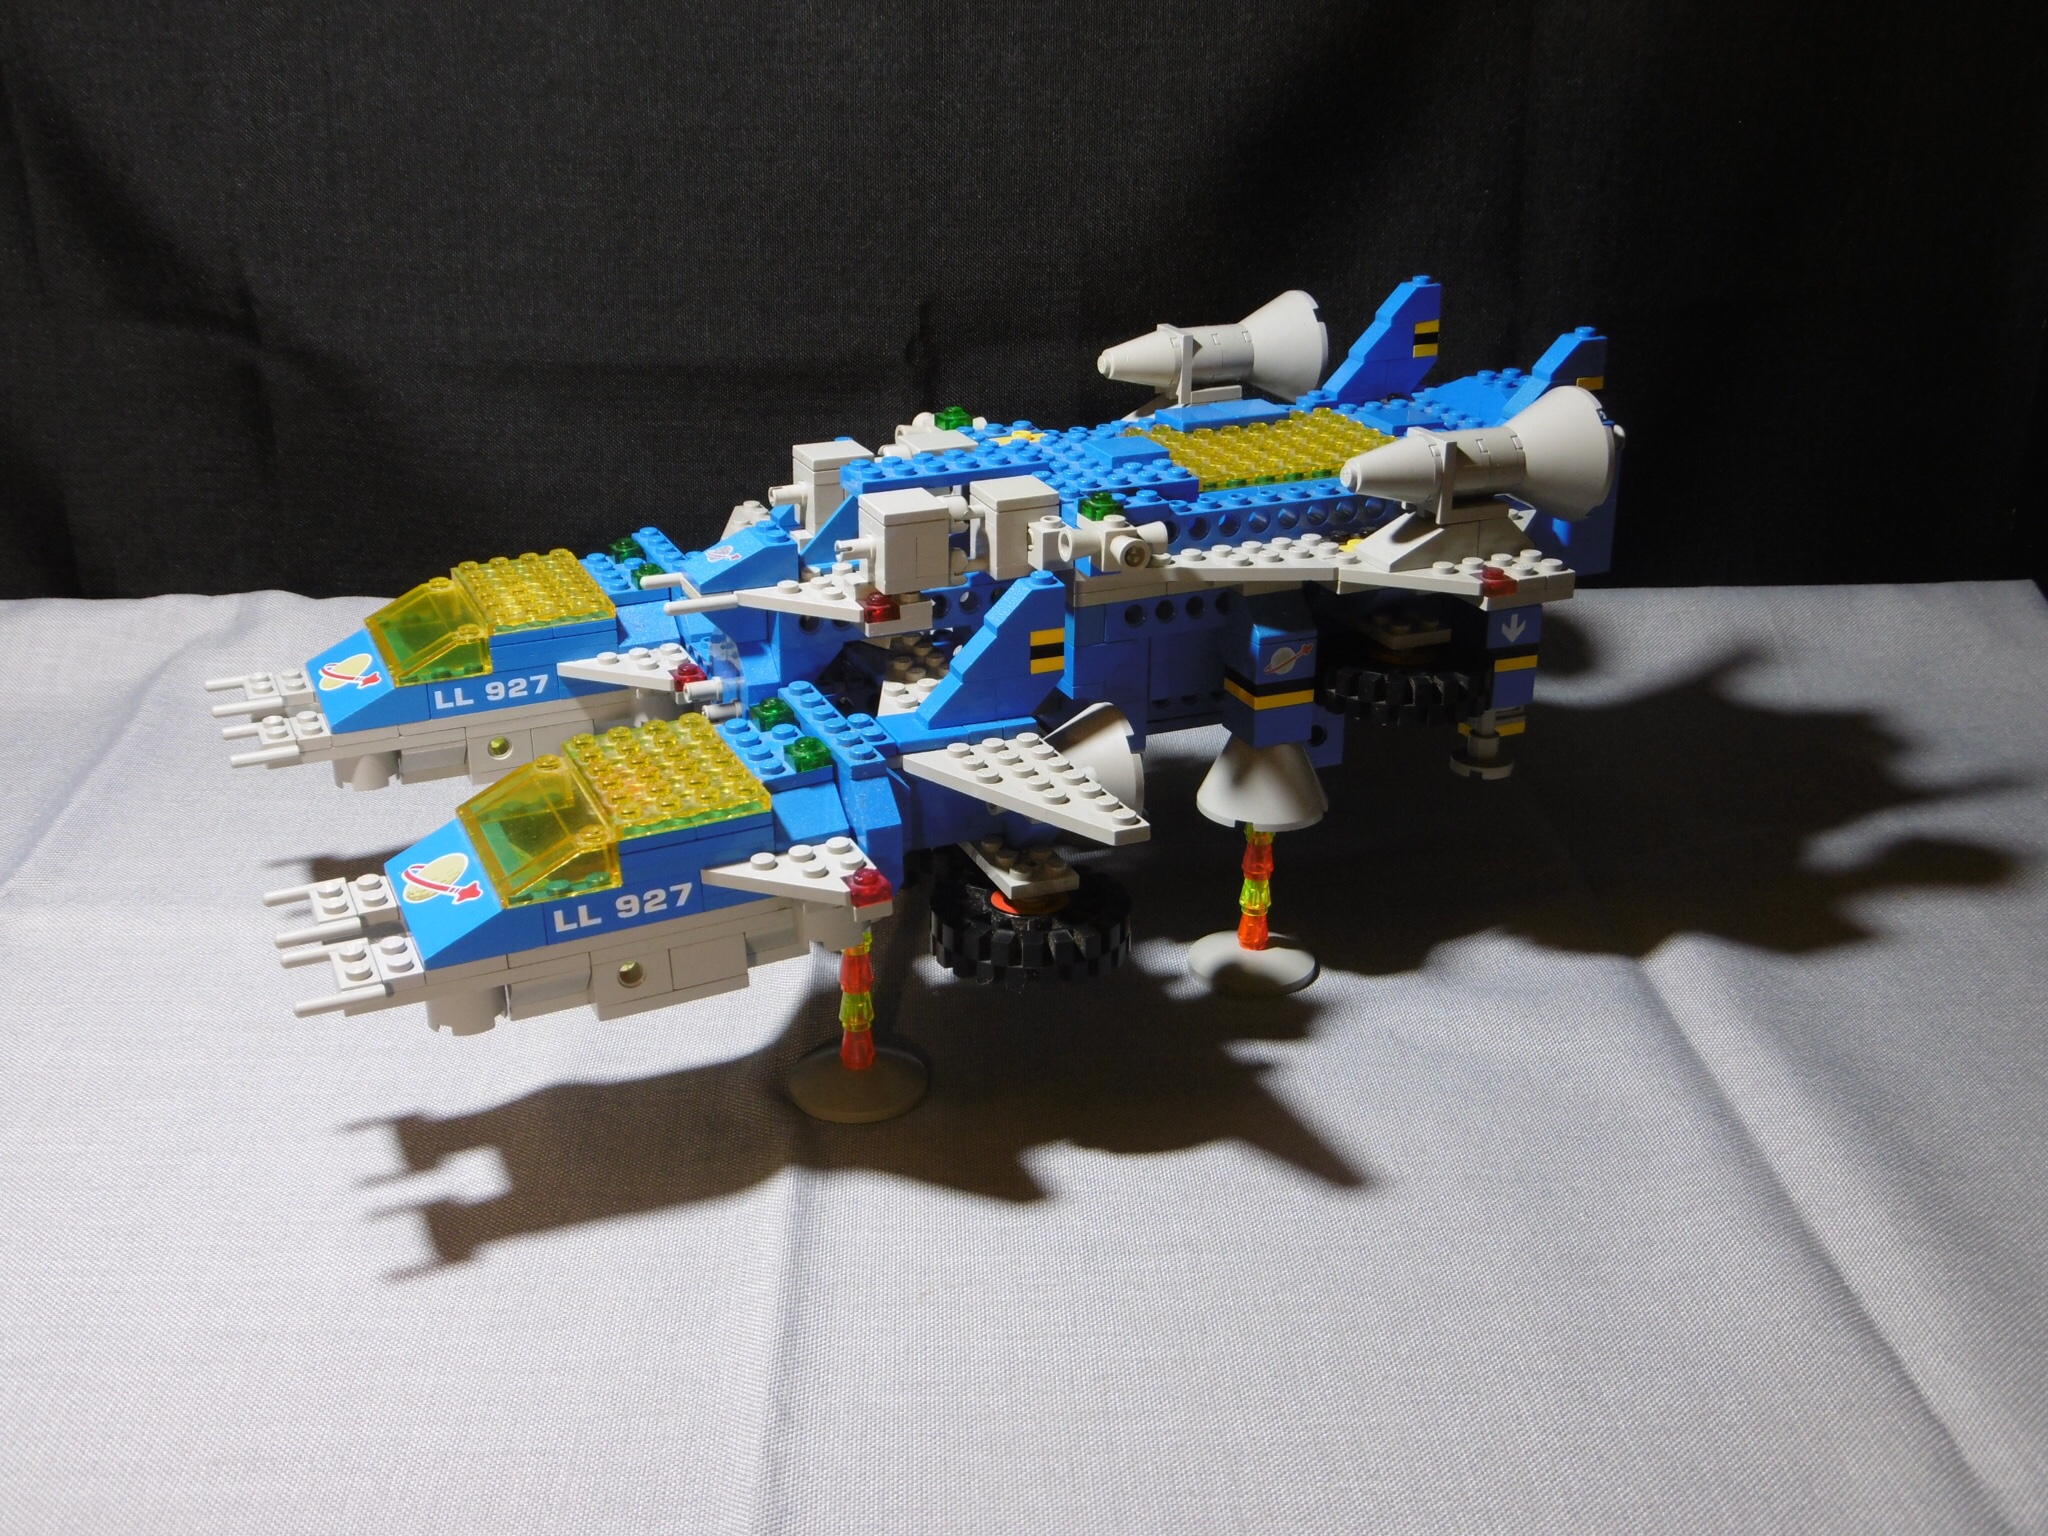
This is my 4-wide Lego model of the Group B Rally Peugeot 205 Turbo 16 Evo2.
I hope you like it :-))

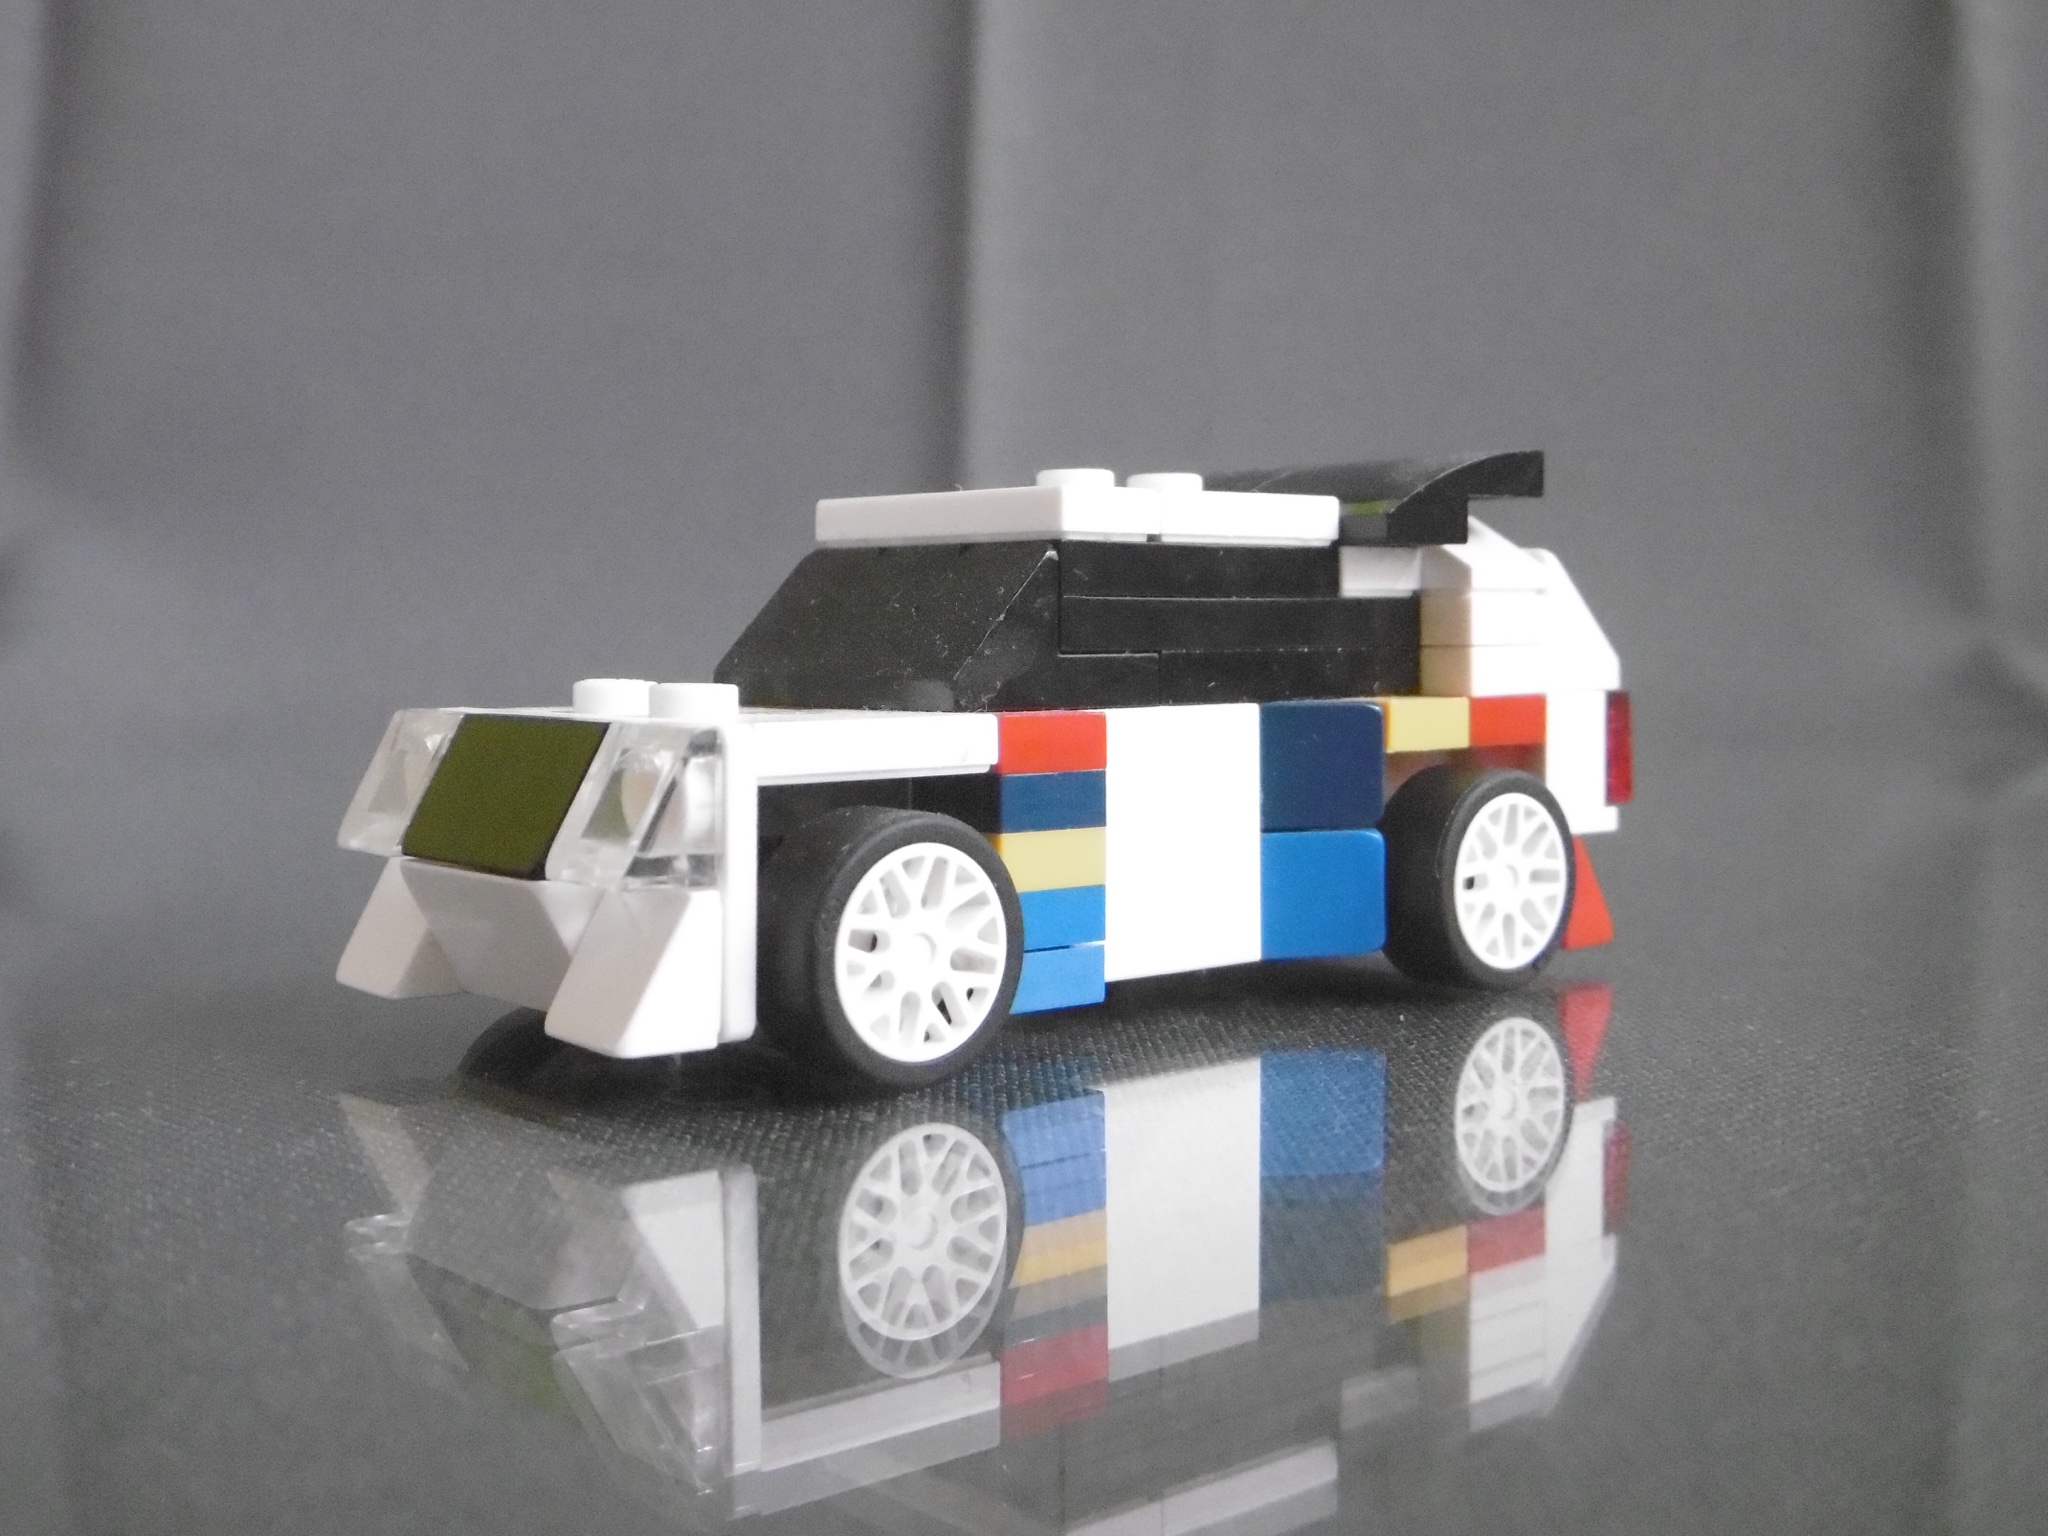
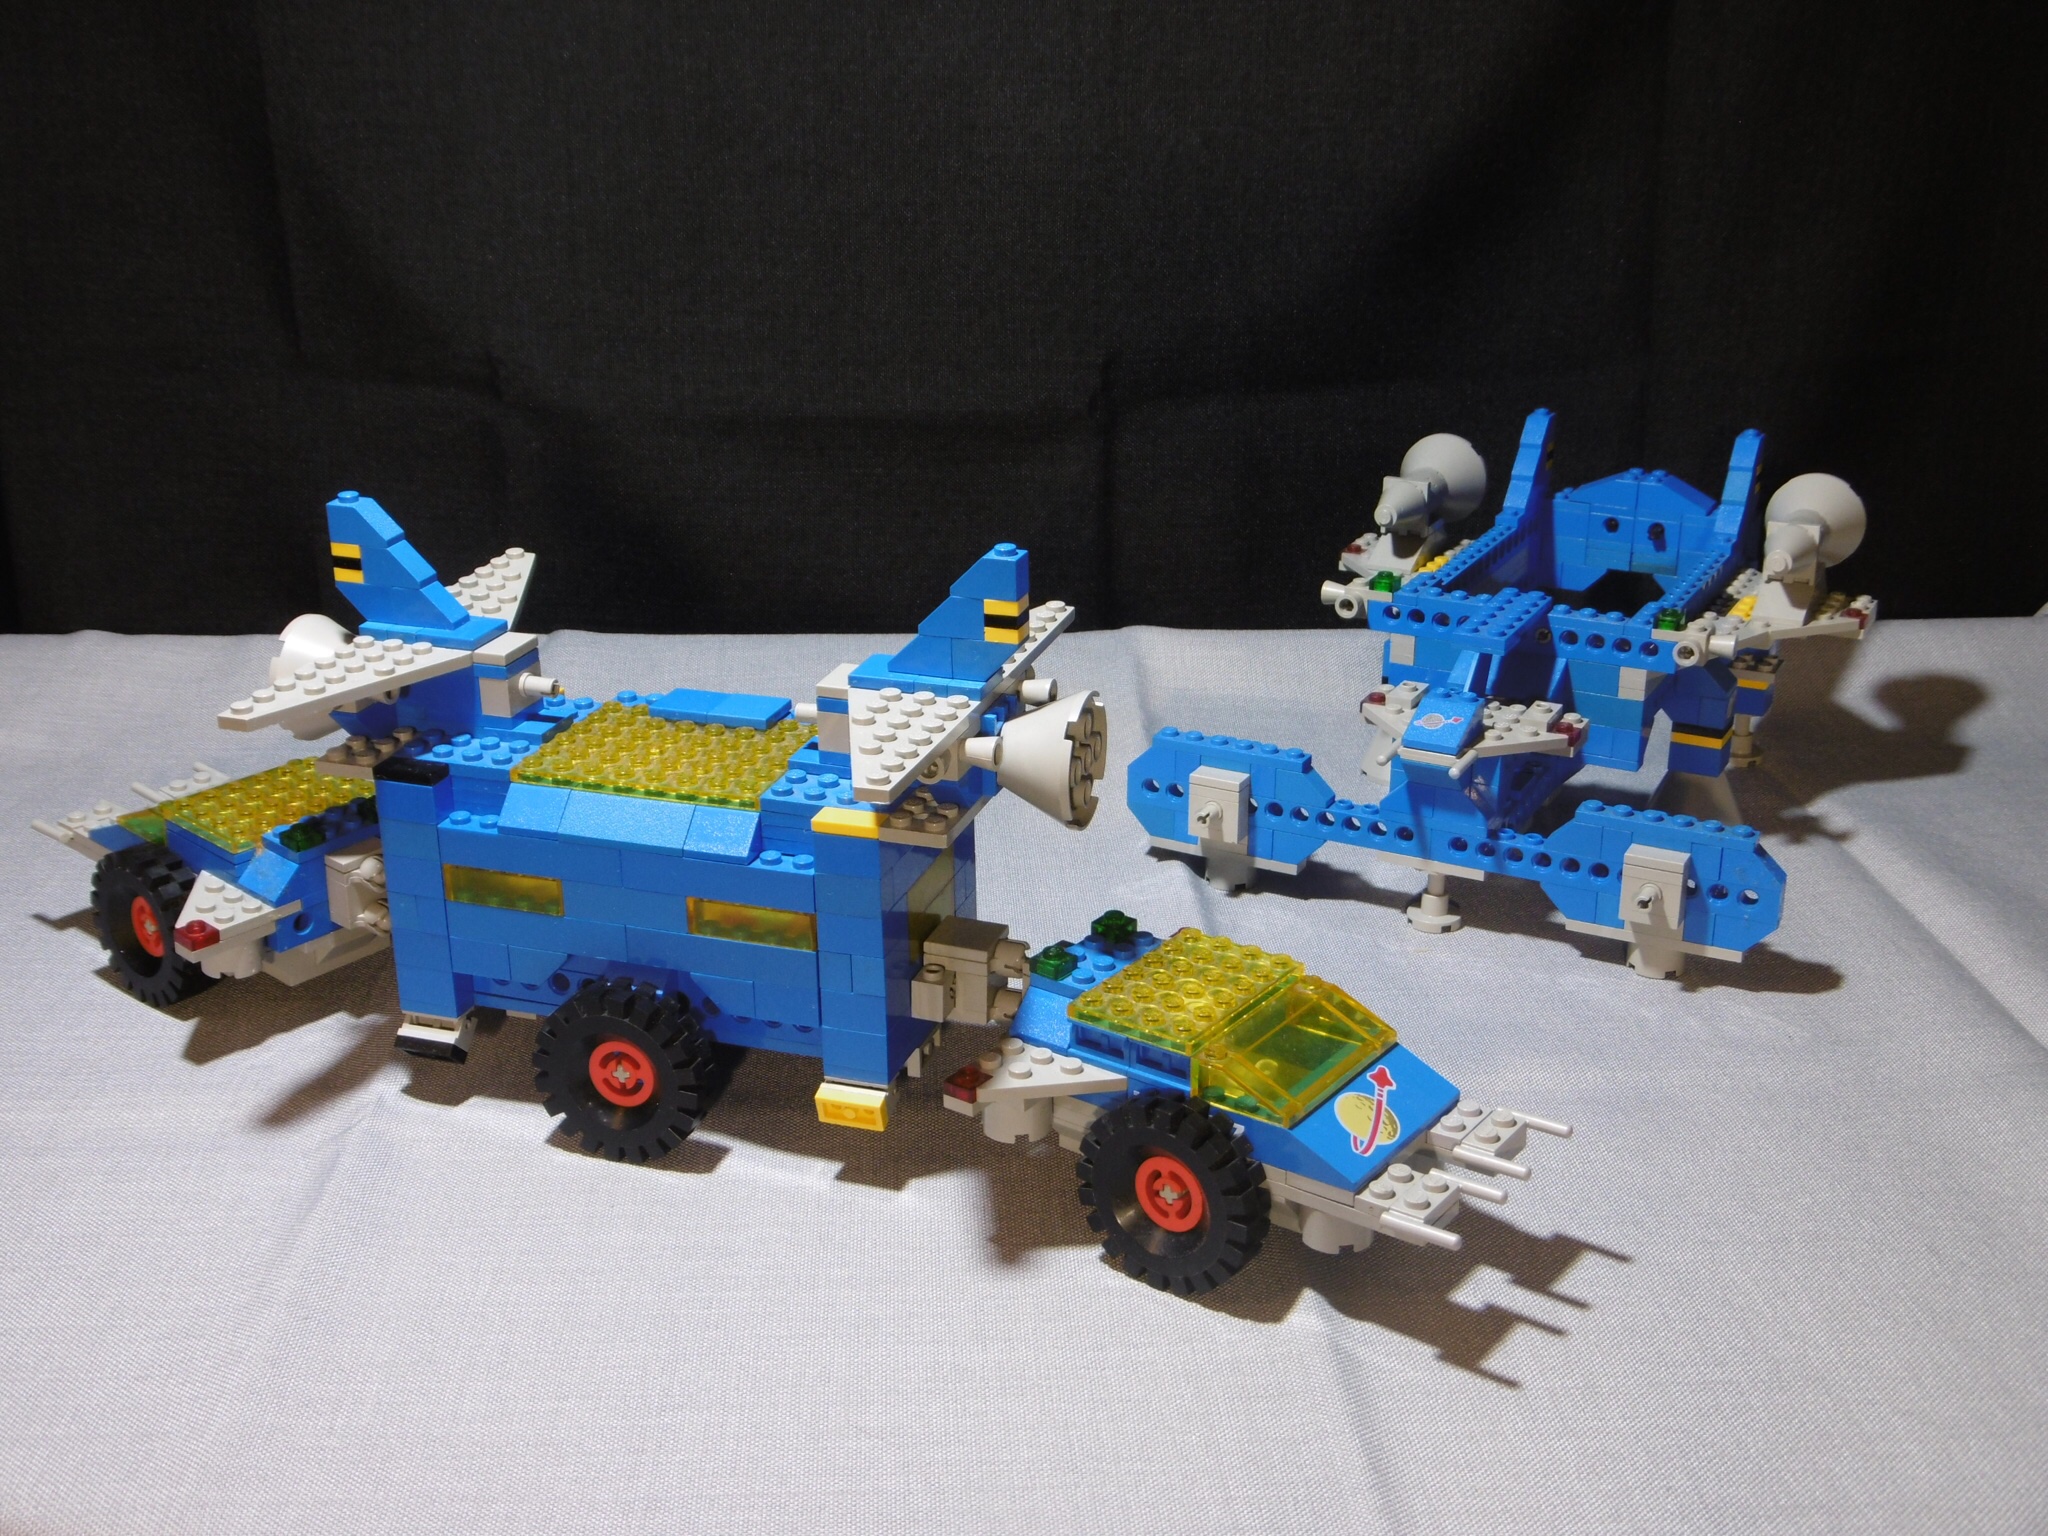
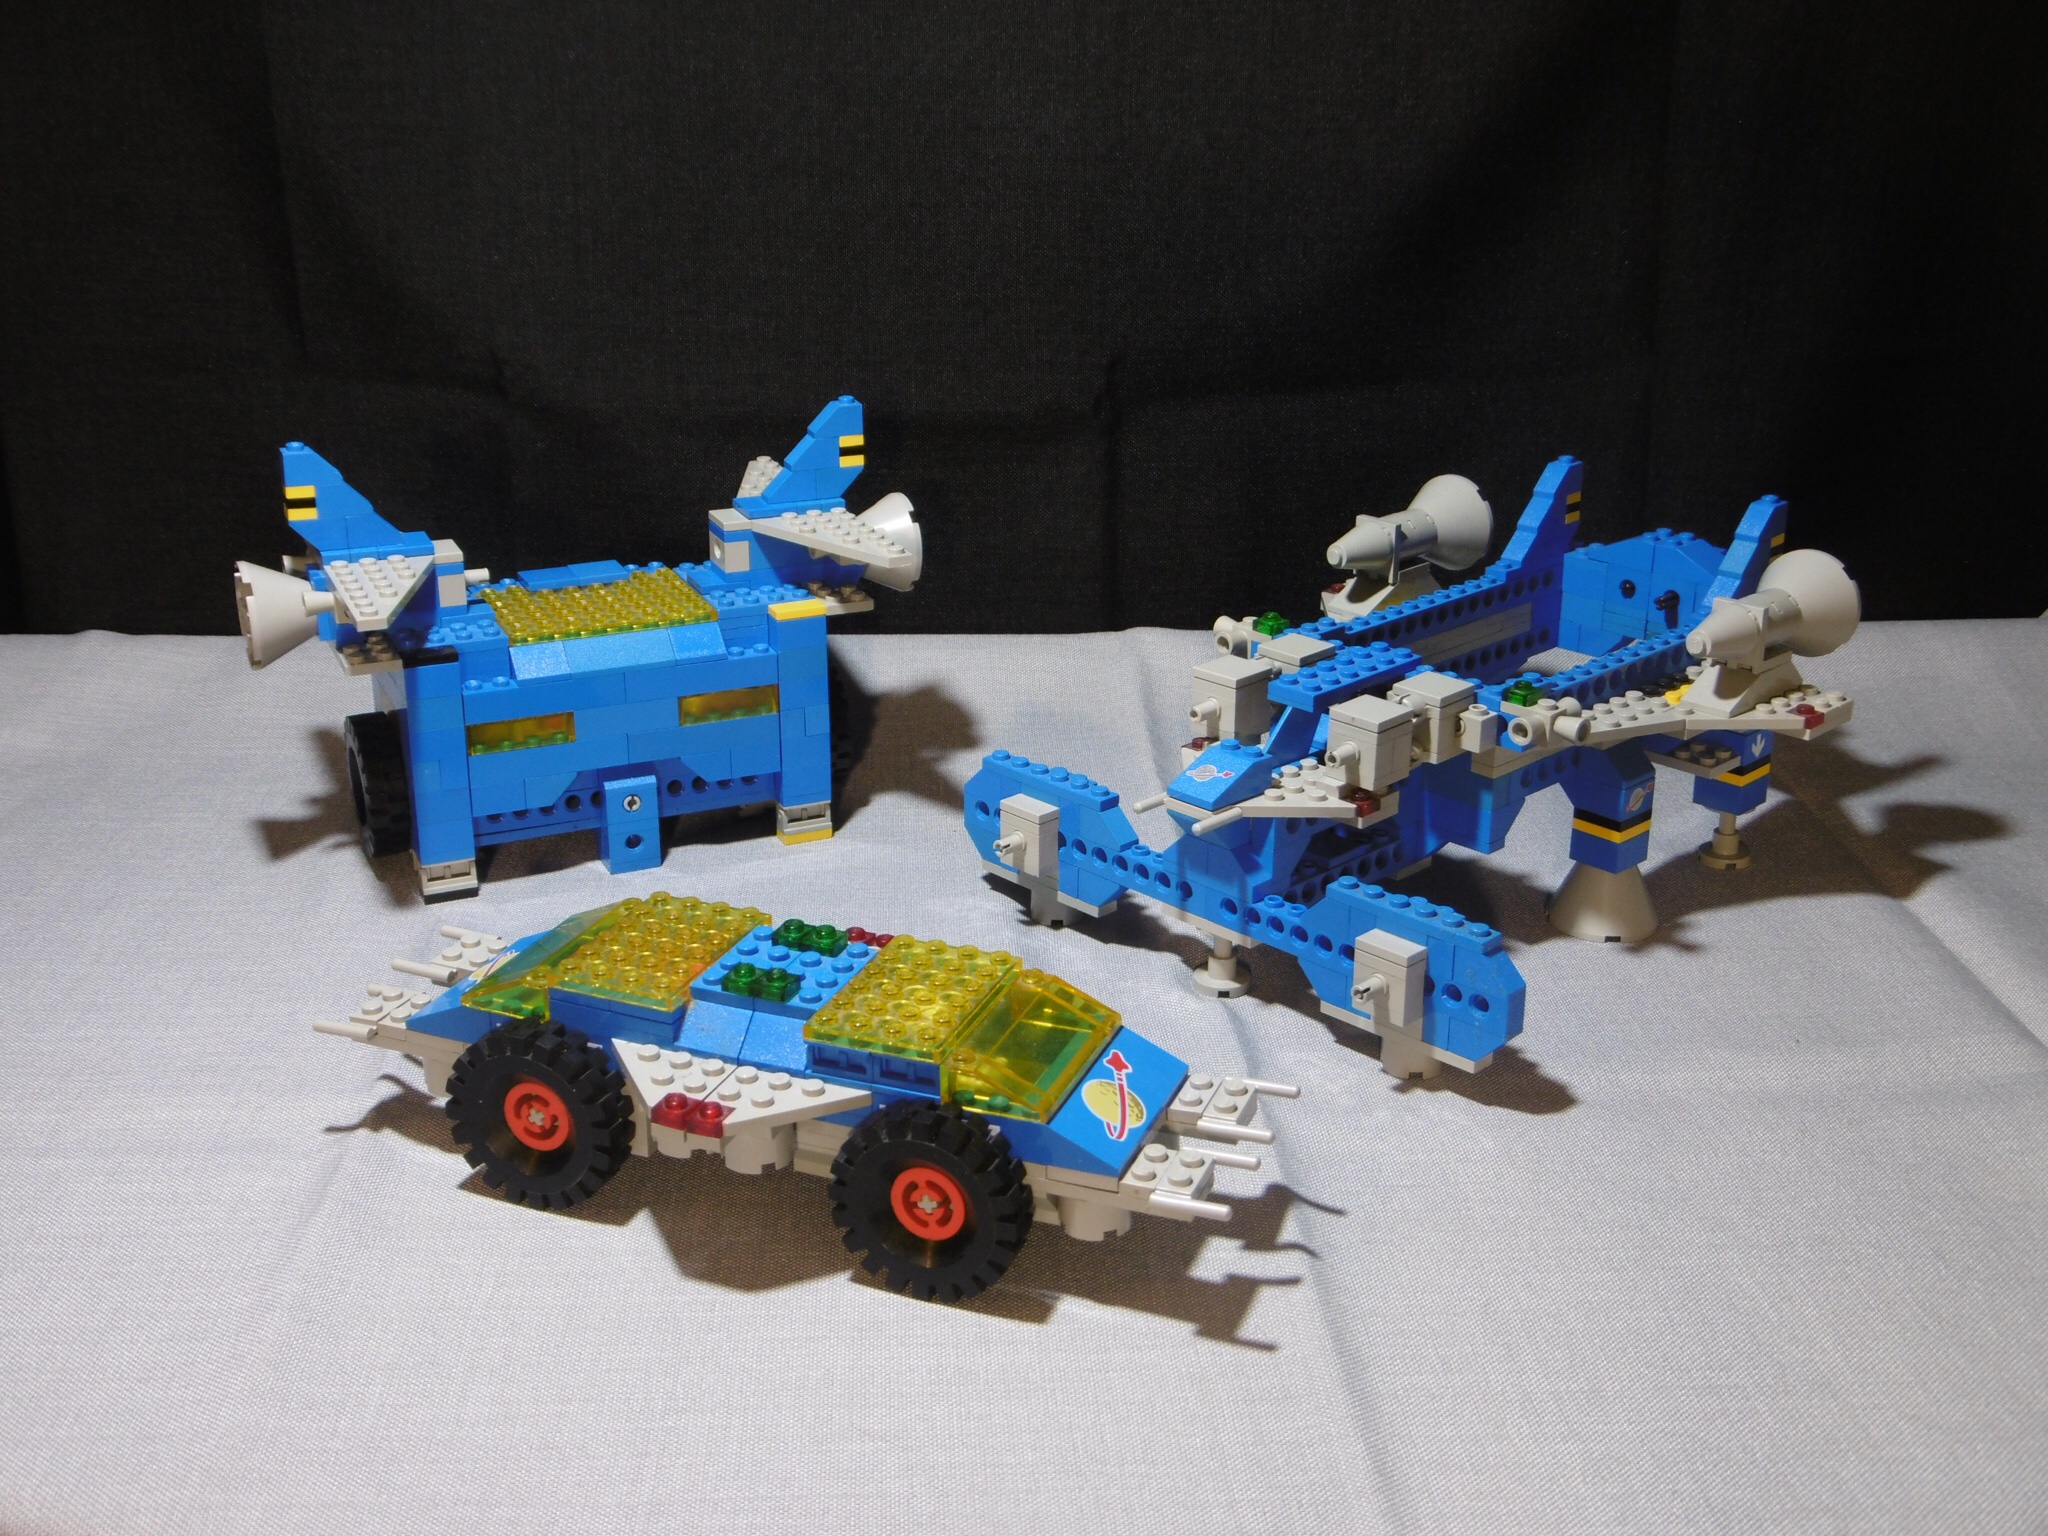
Bonus picture #1 – “The rivals”:
Peugeot 205 Turbo16 Evo2 meets Audi sport quattro S1

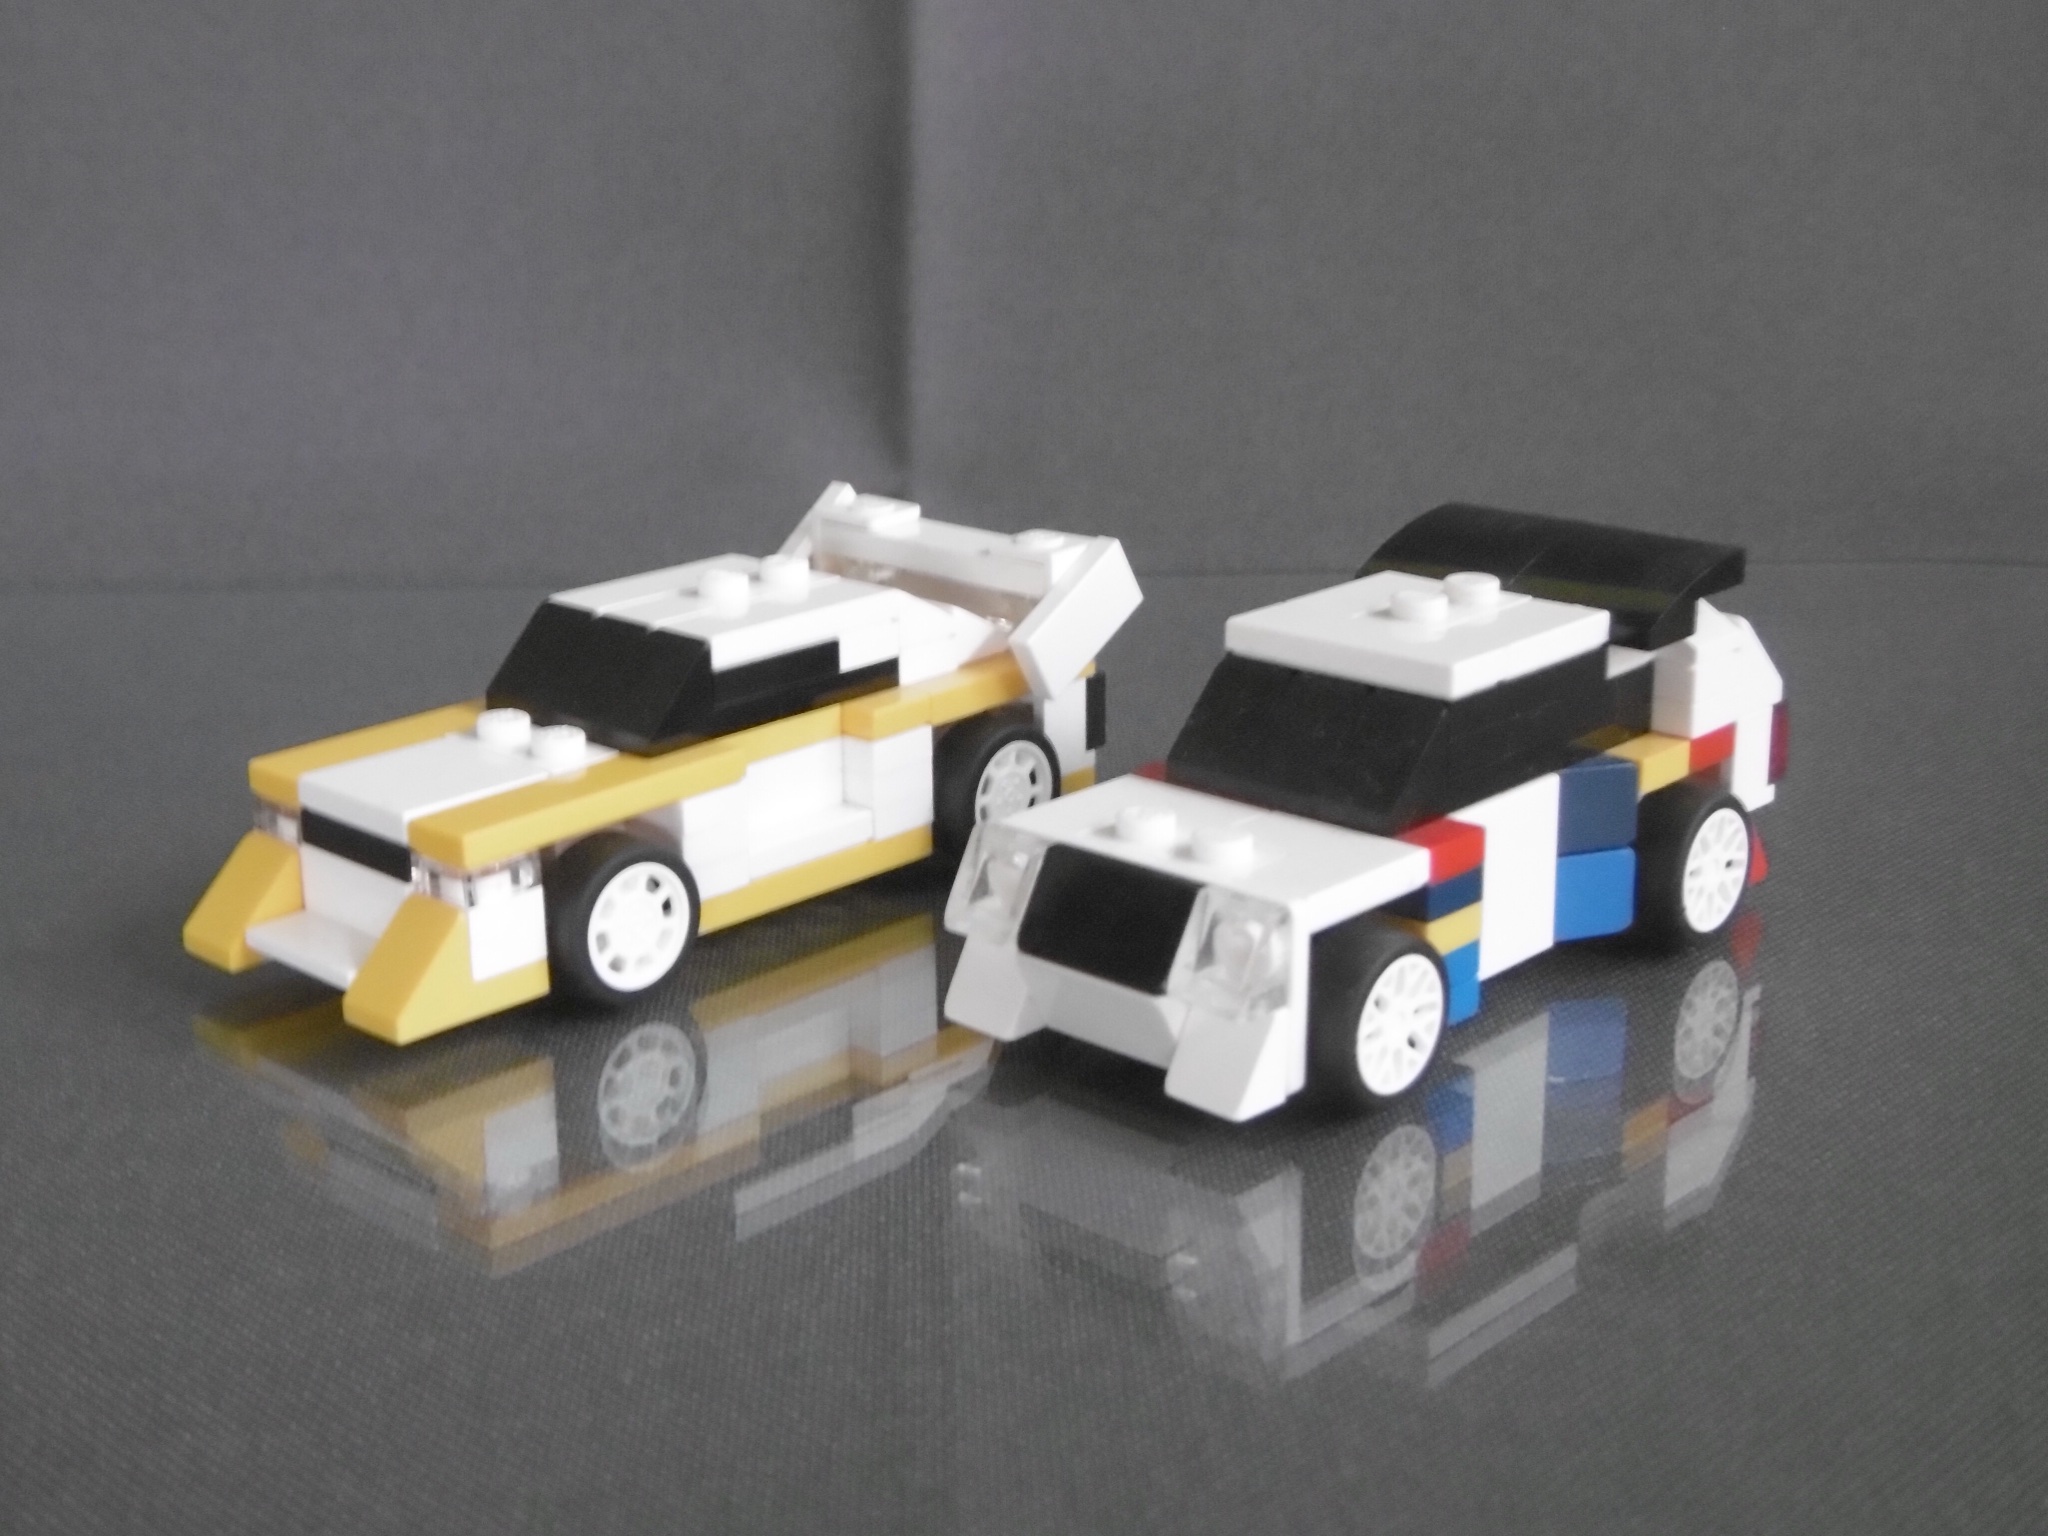
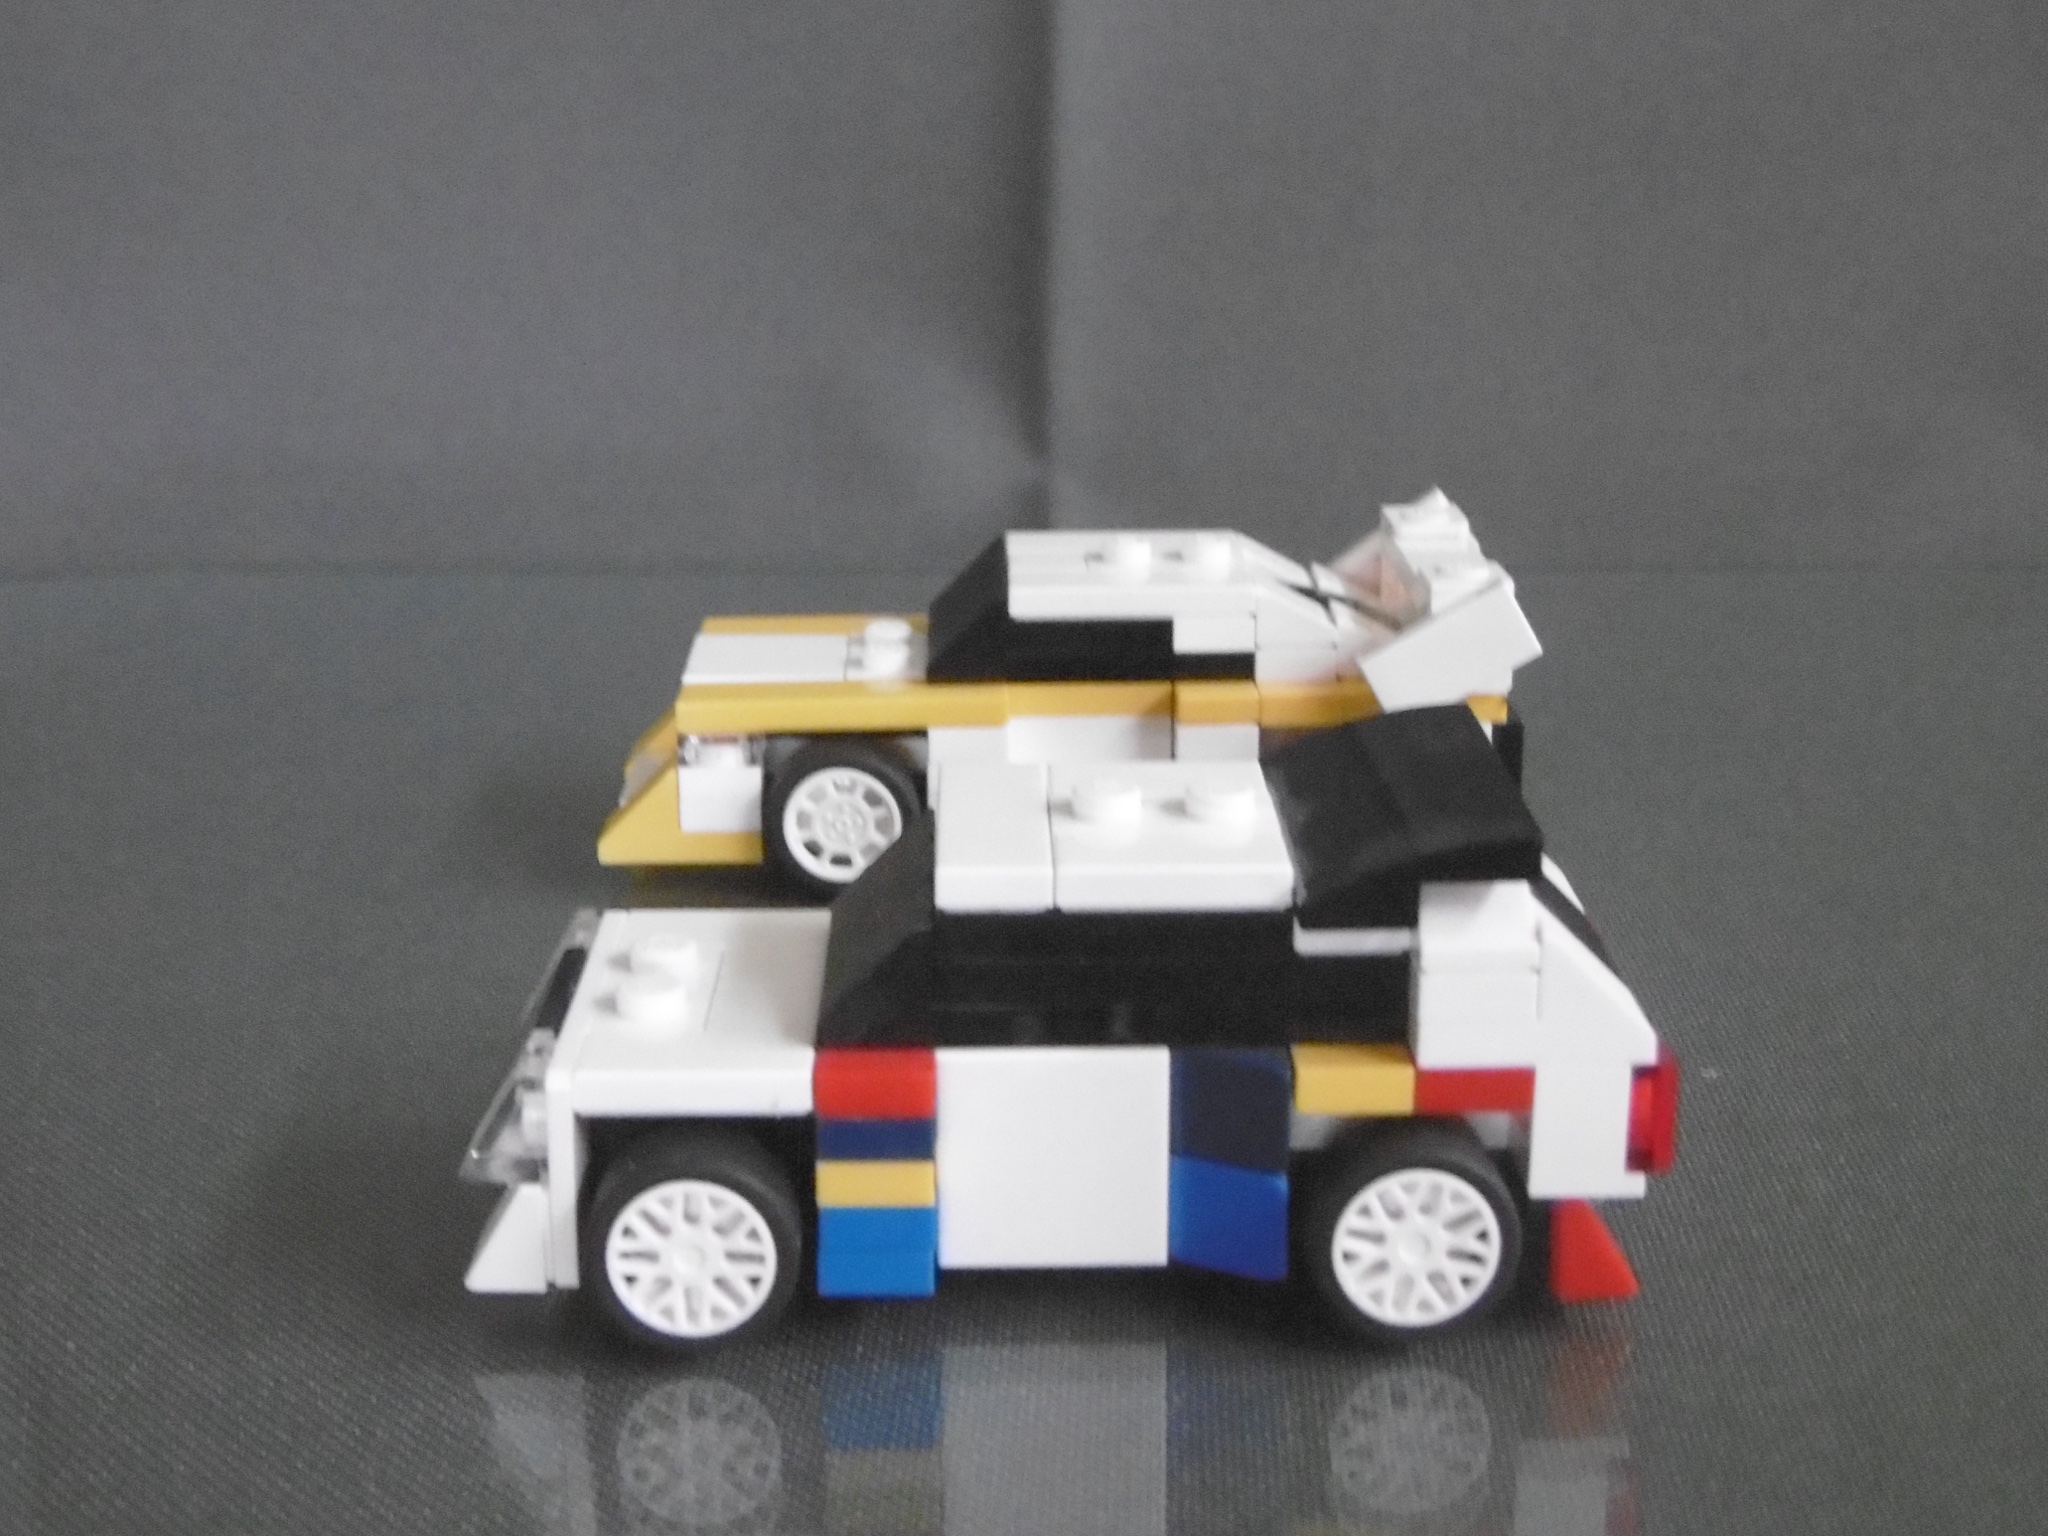
Bonus picture #2 – “When Walter met Michèle”:
A Drag Race would have been cool, wouldn’t it?


LL927 Solar System Commander

Classic Space Maths: 6980+6952+1979=927. LL927 combines the functions of  6980 Galaxy Commander and 6952 Solar Power Transporter with the style of 1979.

I’ve had the idea to build a Galaxy Commander in classic 1979 style for quite a while. I even have a finished LDD file for such a spaceship on MOCpages since 2013.

I came back to the idea some weeks ago when I thought about another spaceship to transport 16x8x8 Space Cargo Units (SCUs). The Galaxy Commander already carries a station module and my 1979 version of the Solar Power Transporter has an SCU station module as it’s middle section.

So I came up with the idea of a frame similar to the one from the Galaxy Commander and to connect the parts of my “1979” Solar Power Transporter to it. This is the result.


– “Rover to Hab. We’ve found the cargo at the drop zone”
– “That should be the upgrade they have promised for this month.”
– “You are right! We’ll come for you and the Hab.”


– “Hey guys, that thing is cool, isn’t it?”
– “I like it! Let’s see if it works as shown in the manual.”


– “This should be the right place for the couplings.”
– “OK, we’ll bring you this one!”


– “The coupling is fixed.”
– “The wings look good, too.”


– “Second coupling – Check!”
– “And now the first cockpit”


– “We are almost done with the wings, here.”
– “The SCU couplings for the Hub look good, too.
We’ll go inside, now”.
– “Roger. We’ll lock it. See you at the base.”


– “Everything locked!”
– “Roger. Closing roof hatches”


– “And lift off!”
– “LL927 is on the way to Moon Base 1”


– “It’s great that we don’t need an extra carrier, any more!”
– “You are right.
I think, we’ll have a few beers tonight at Moon Base 1″
– “Oh, yeah!”


So, this is LL927, a combination of Lego Classic Space 6980 Galaxy Commander and 6952 Solar Power Transporter in 1979 design.
I hope you like it!

Right now it’s my favourite Classic Space model in my collection. There are so many possibilities to combine the sections and play around with them, even as an AFOL… :-))

If you want to build your own one, feel free to download the LDD LXF file.


Bonus picture: Possible combinations (1/4)


Bonus picture: Possible combinations (2/4)


Bonus picture: Possible combinations (3/4)


Bonus picture: Possible combinations (4/4)


LL918m Space Transport (918 Mod)

A new set of wings for LL918 with a very popular shape.

LL918m is just a little mod of LL918 with a new wing section. It’s more of a coincidence than a planned design. I wanted to build a scooter or a small spaceship with the wing shape of LL928 in half scale.

I started building a little version of LL928 with an open 4-wide cockpit in LDD, but wasn’t really satisfied with it. So I built the wing section with real bricks just to see which ideas I would get during the building process with real bricks. Suddenly I realized that the new wings had almost the same size and shape as the wings from LL918.

So I just built the rest of my existing LL918 around them. This is the result.


The new wing shape.


LL928m with its “big brother”. Looks cool for me ;-))


So this is my Lego Classic Space LL918 Mod LL918m with a half scale LL928 wing shape.

I hope you like it! :-))


Mini Luxo Jr.

A miniature Lego version of Pixar’s “Luxo Jr.” desk lamp.

I’m a big fan of Luxo Jr., also known as “The Pixar Lamp”. The short film “Luxo Jr.” was Pixar’s first CGI film and since then the lamp has become kind of a trade mark for Pixar.

There have been a few cool Lego models of Luxo Jr. and I wanted to give it a try myself. My goal was to build a mini model which should be able to “move” almost like the original desk lamp.

To get a feeling for the kinematics I started with a simple, bigger Technic frame built with Technic beams and liftarms:

But I wanted to have a smaller version, so I replaced the beams with shorter half beams and the Technic pins with 3L bars. The result was my first small “working” Lego version of Luxo Jr. (the lamp on the right). For a better look I replaced some of the half beams with combinations of bars and bar holders with clips (the lamp on the left).

Both lamps have two sets of liftarms in parallelogram shape (diamond shape to be exact), connected with an L-shaped liftarm. So they can “move” almost like the original Luxo Jr. lamp.

That’s it: My “working” miniature Lego version of Pixar’s Luxo Jr. desk lamp. I hope you like it! :-))

I’d love to add an LED light. I’m still looking for the best solution to do that…

Bonus photo: My son wanted to have his own “Pixar Lamp”, so I built a third one for him with parts that I found in my boxes.

SC926 Space Command Centre (2SCU)

926/493 Reloaded: A new version of the Space Command Centre from 1978/79 packed into two of my Space Cargo Units (SCU).

My story with set 926 was more or less the same as with set 920: I always wanted one, but never had one. So after building a “new” version of set 920 with a pair of SCU containers , 926 was the logical choice for my next SCU project.

It was much easier to pack it into two SCU containers. The Command Centre itself is already built like a container with enough room inside for the external stair during transport. And there is enough room in a second SCU to pack all the dishes, lights and antennas into it and build the roof section with it.

These are the two SCU containers


SCU #1:  Command Centre. The interior is very similar to 926/493.


SCU #2: All the antennas, dishes and lights packed into a transport container.

The floor plates from the container (2 4×8 and 2 1×8 plates) are used for the roof of the “garage”. I only have one intact classic TV antenna left and I’m not willing to pay a fortune for a second one. So I added a second “brick built” one instead.


Everything built on a baseplate. It looks pretty much like the original model.

That’s it: My Lego Classic Space SC926 Space Command Centre based on the set 926/493 and built with two Space Cargo Units (SCUs).
I hope you like it! :-))


8×8 SCU Flatbed Transporter (1SCU)

Febrovery 2019: An 8×8 flatbed transporter for 16L Space Cargo Units (SCUs) which can be “squeezed” to be transported as a single  SCU.

The All-Terrain Transporter and the SCU Carrier are both too wide to move SCU containers on a base. What I needed was a compact 8-wide transporter.

At the same time it should be possible to be transported as a single 16L SCU, just like the Carrier and the Exploration Rover. So once again a transformation function had to be included. The best way to change between transport and transporter mode was a variable wheelbase.

The sliding mechanism was based on three 12L Technic axles in the middle of the structure. The wheelbase could be extended by six studs with the rest of the structure still keeping some stability. So these six extra studs in length were the space where the four supports for transport and the driver’s cabin had to fit in.

The design of the space truck was inspired by MAN KAT1 8×8 military trucks. I noticed that there weren’t enough grey vehicles on my moon base, so no blue this time. This is the result.

Four studs in length aren’t much for a driver’s cabin with a steering wheel. So there is no closed windshield and no rear wall. The main purpose of the cabin is to support the front of the truck when it’s transported in a cargo ship.

For the transformation the center support is removed from the middle of the structure an positioned on a second fixing point on top of the flatbed.

Both halves of the vehicle pushed together and locked.

Side view – transport mode

Side view – transporter mode

And that’s what it’s made for.

Ready for work.

Time to move on!
Oops, the truck is too long…!

OK, that’s better!

And ready to boldly go where no flatbed transporter has gone before…

The SCU vehicles:
Exploration Rover, Carrier and Flatbed Transporter


This is it: My Lego Classic Space 8×8 SCU Flatbed Transporter.
I hope you like it! :-))

Moon Exploration Rover (1SCU)

Febrovery 2019:  A one-man operated Moon Exploration Rover, ready to be transported as a single 16L SCU (Space Cargo Unit)

The idea was to build a vehicle similar to 6928 Uranium Search Vehicle. But the Rover should not be bigger than a standard 16L SCU, so with few conversions the vehicle could easily be transported.

I adapted the bogie arm suspension from 6928 and combined it with classic small Technic wheels in red colour. The design of the cabin is inspired by current exploration vehicles like the Unimog based “Mog Home”.

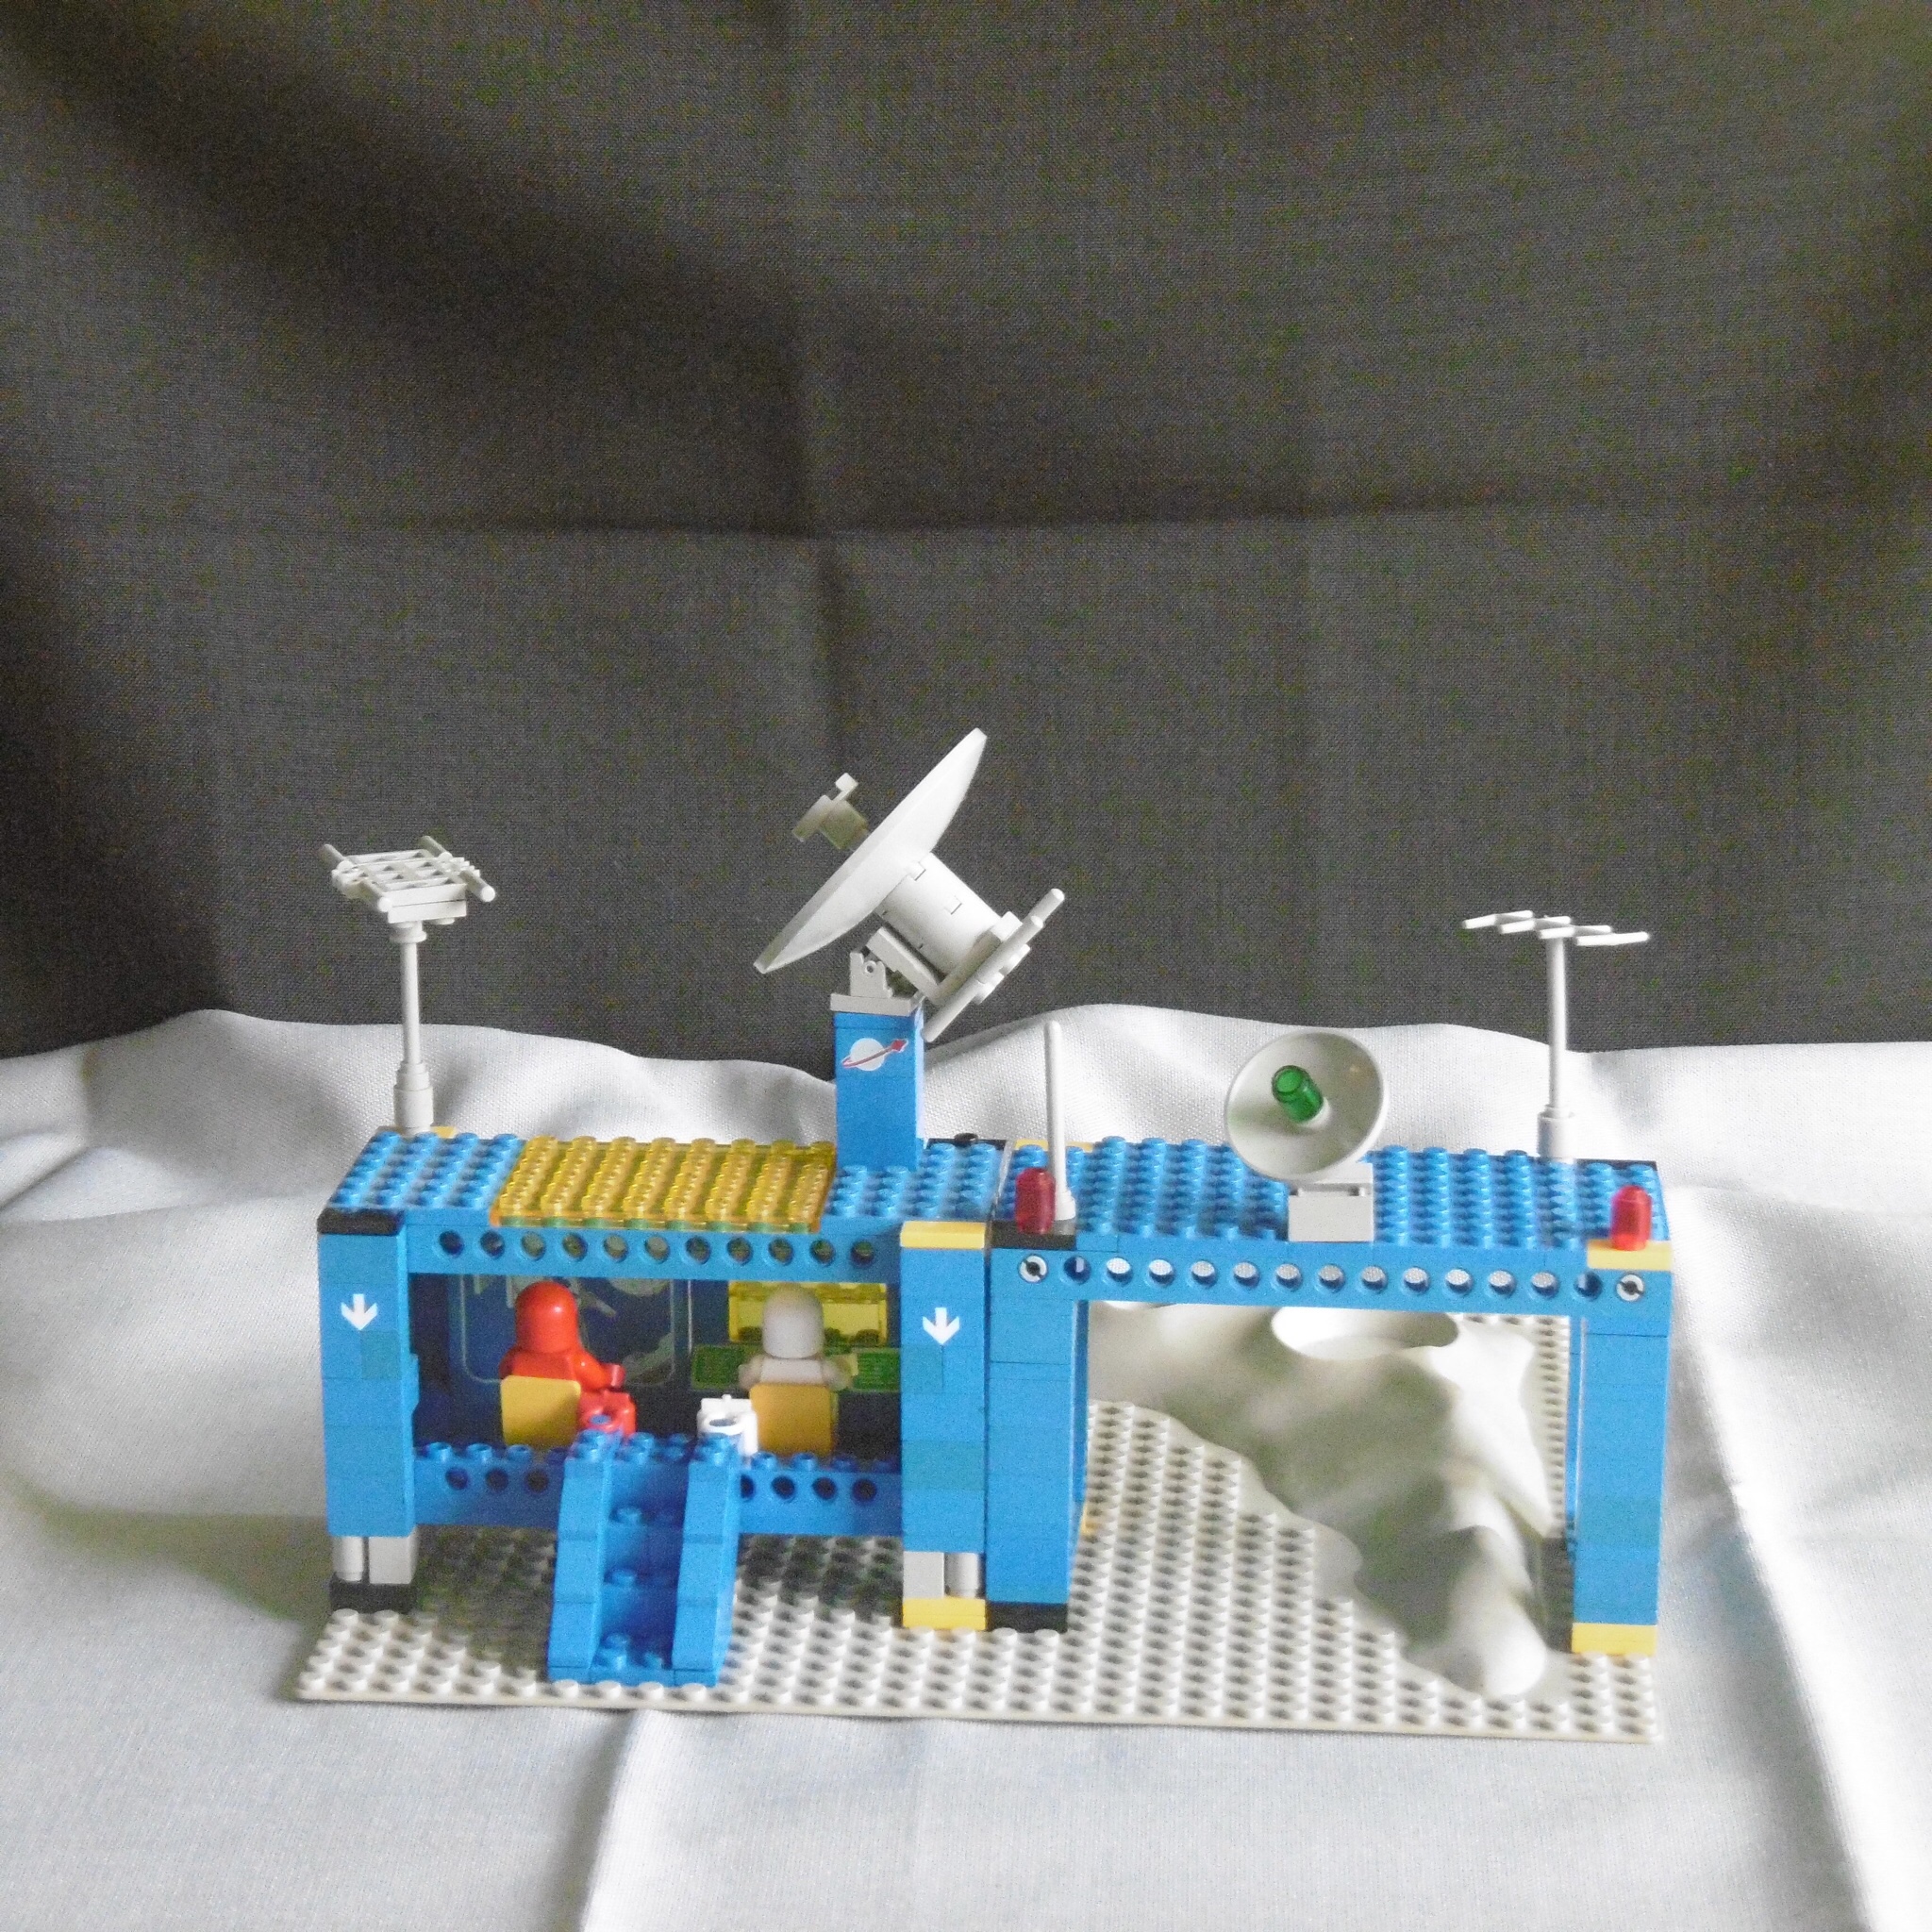
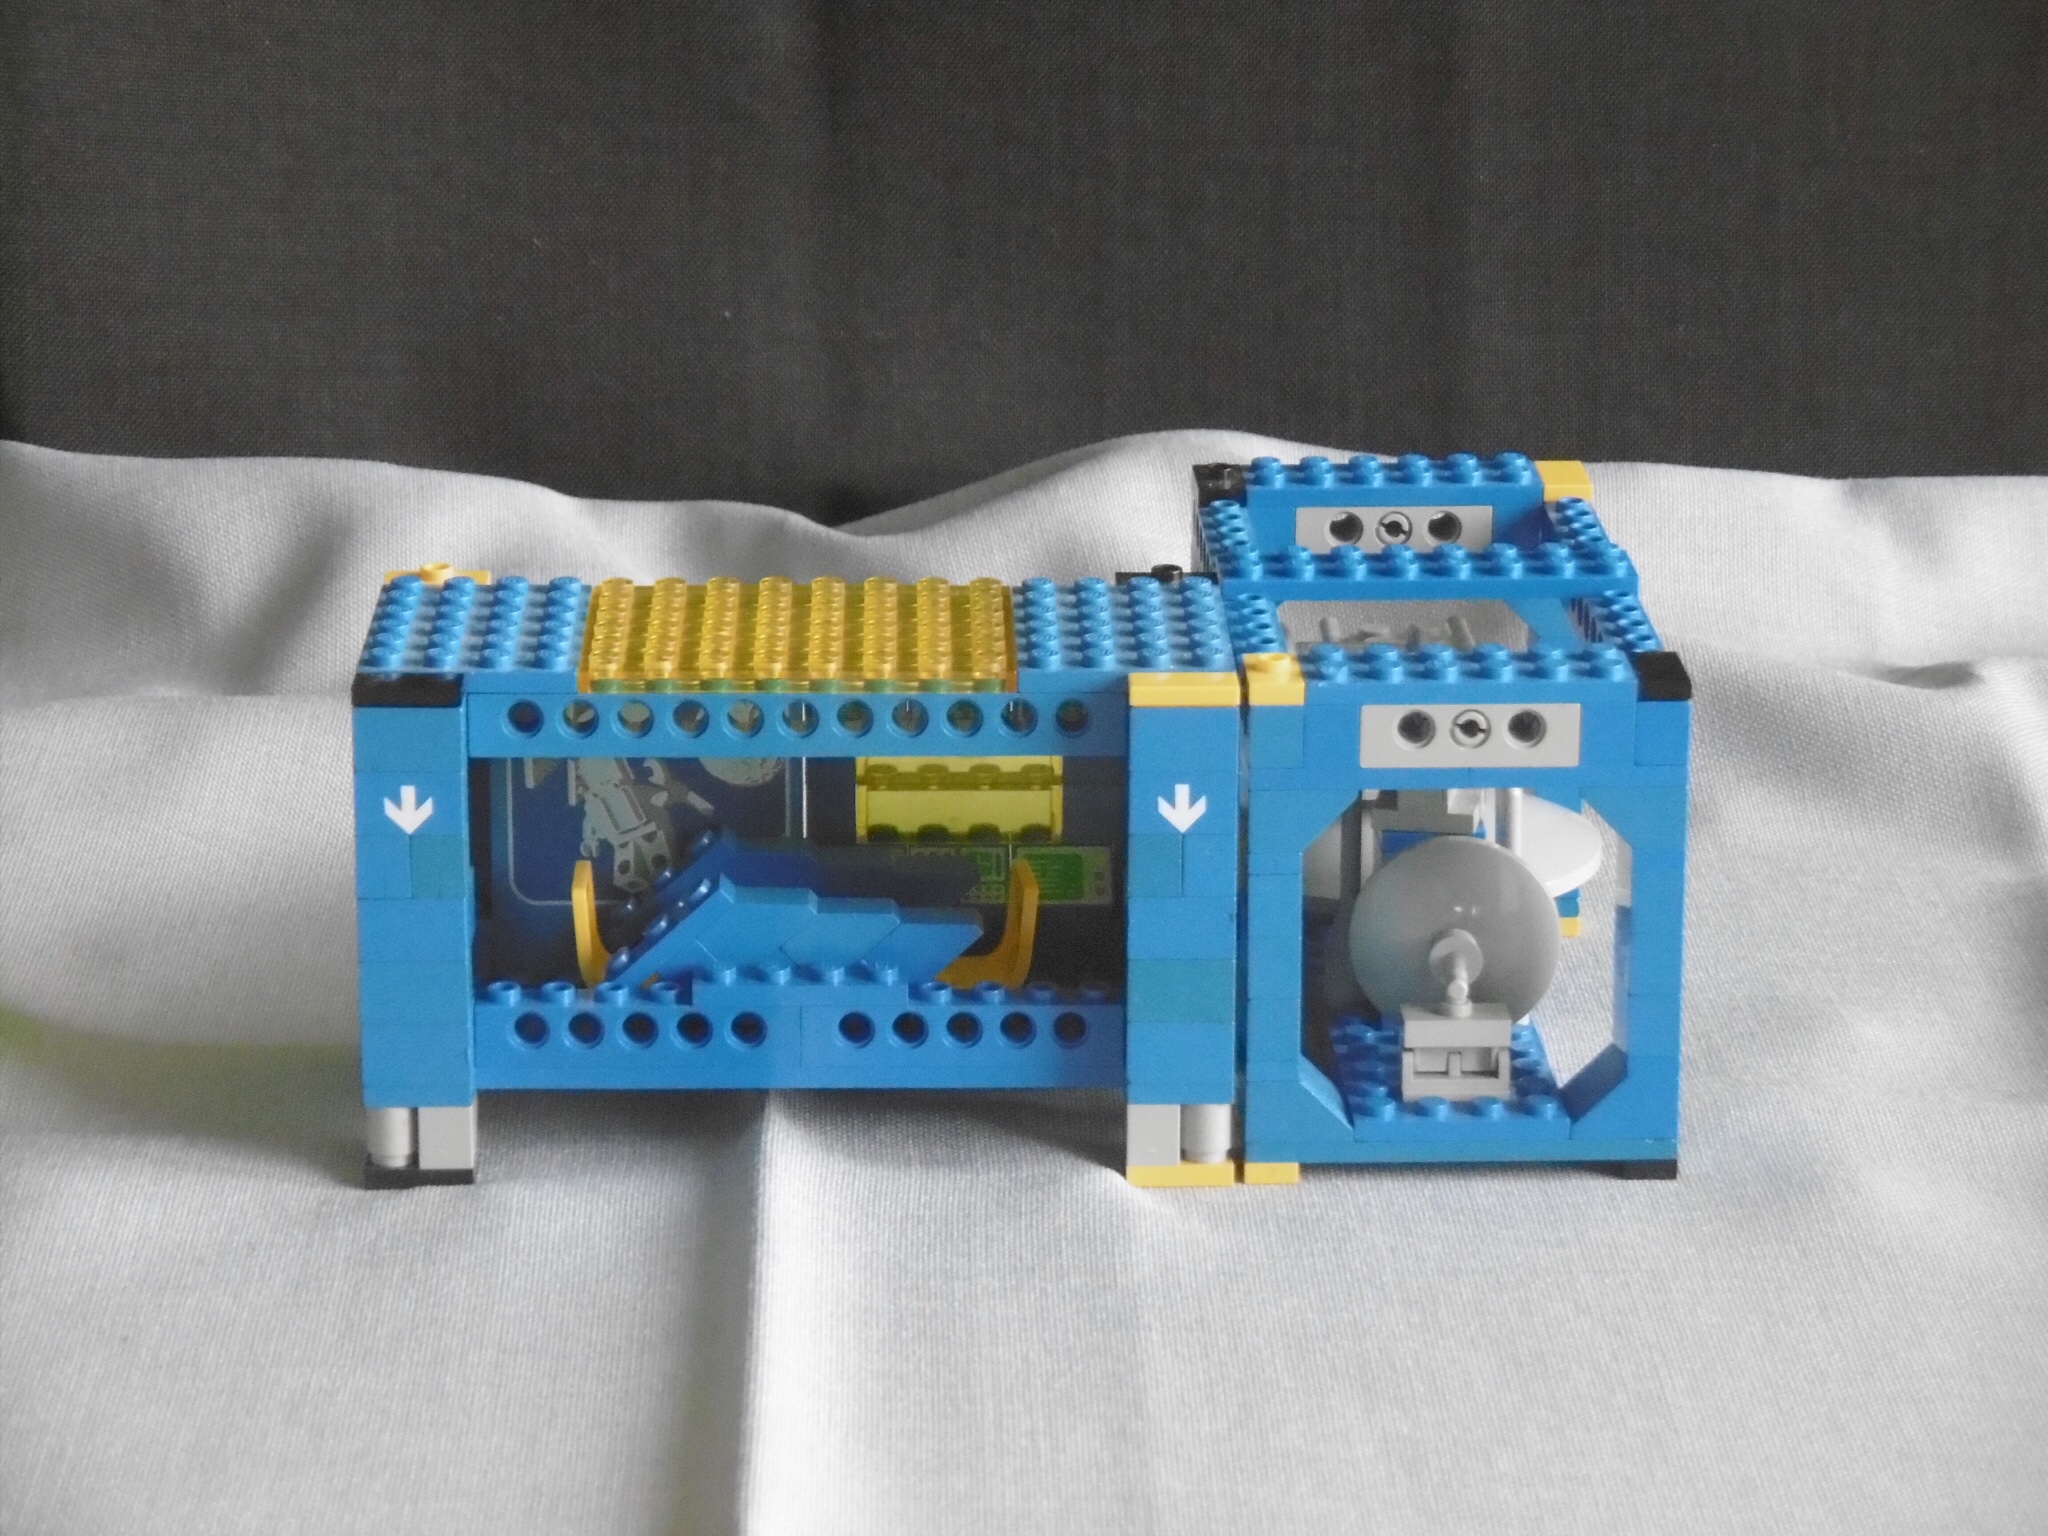
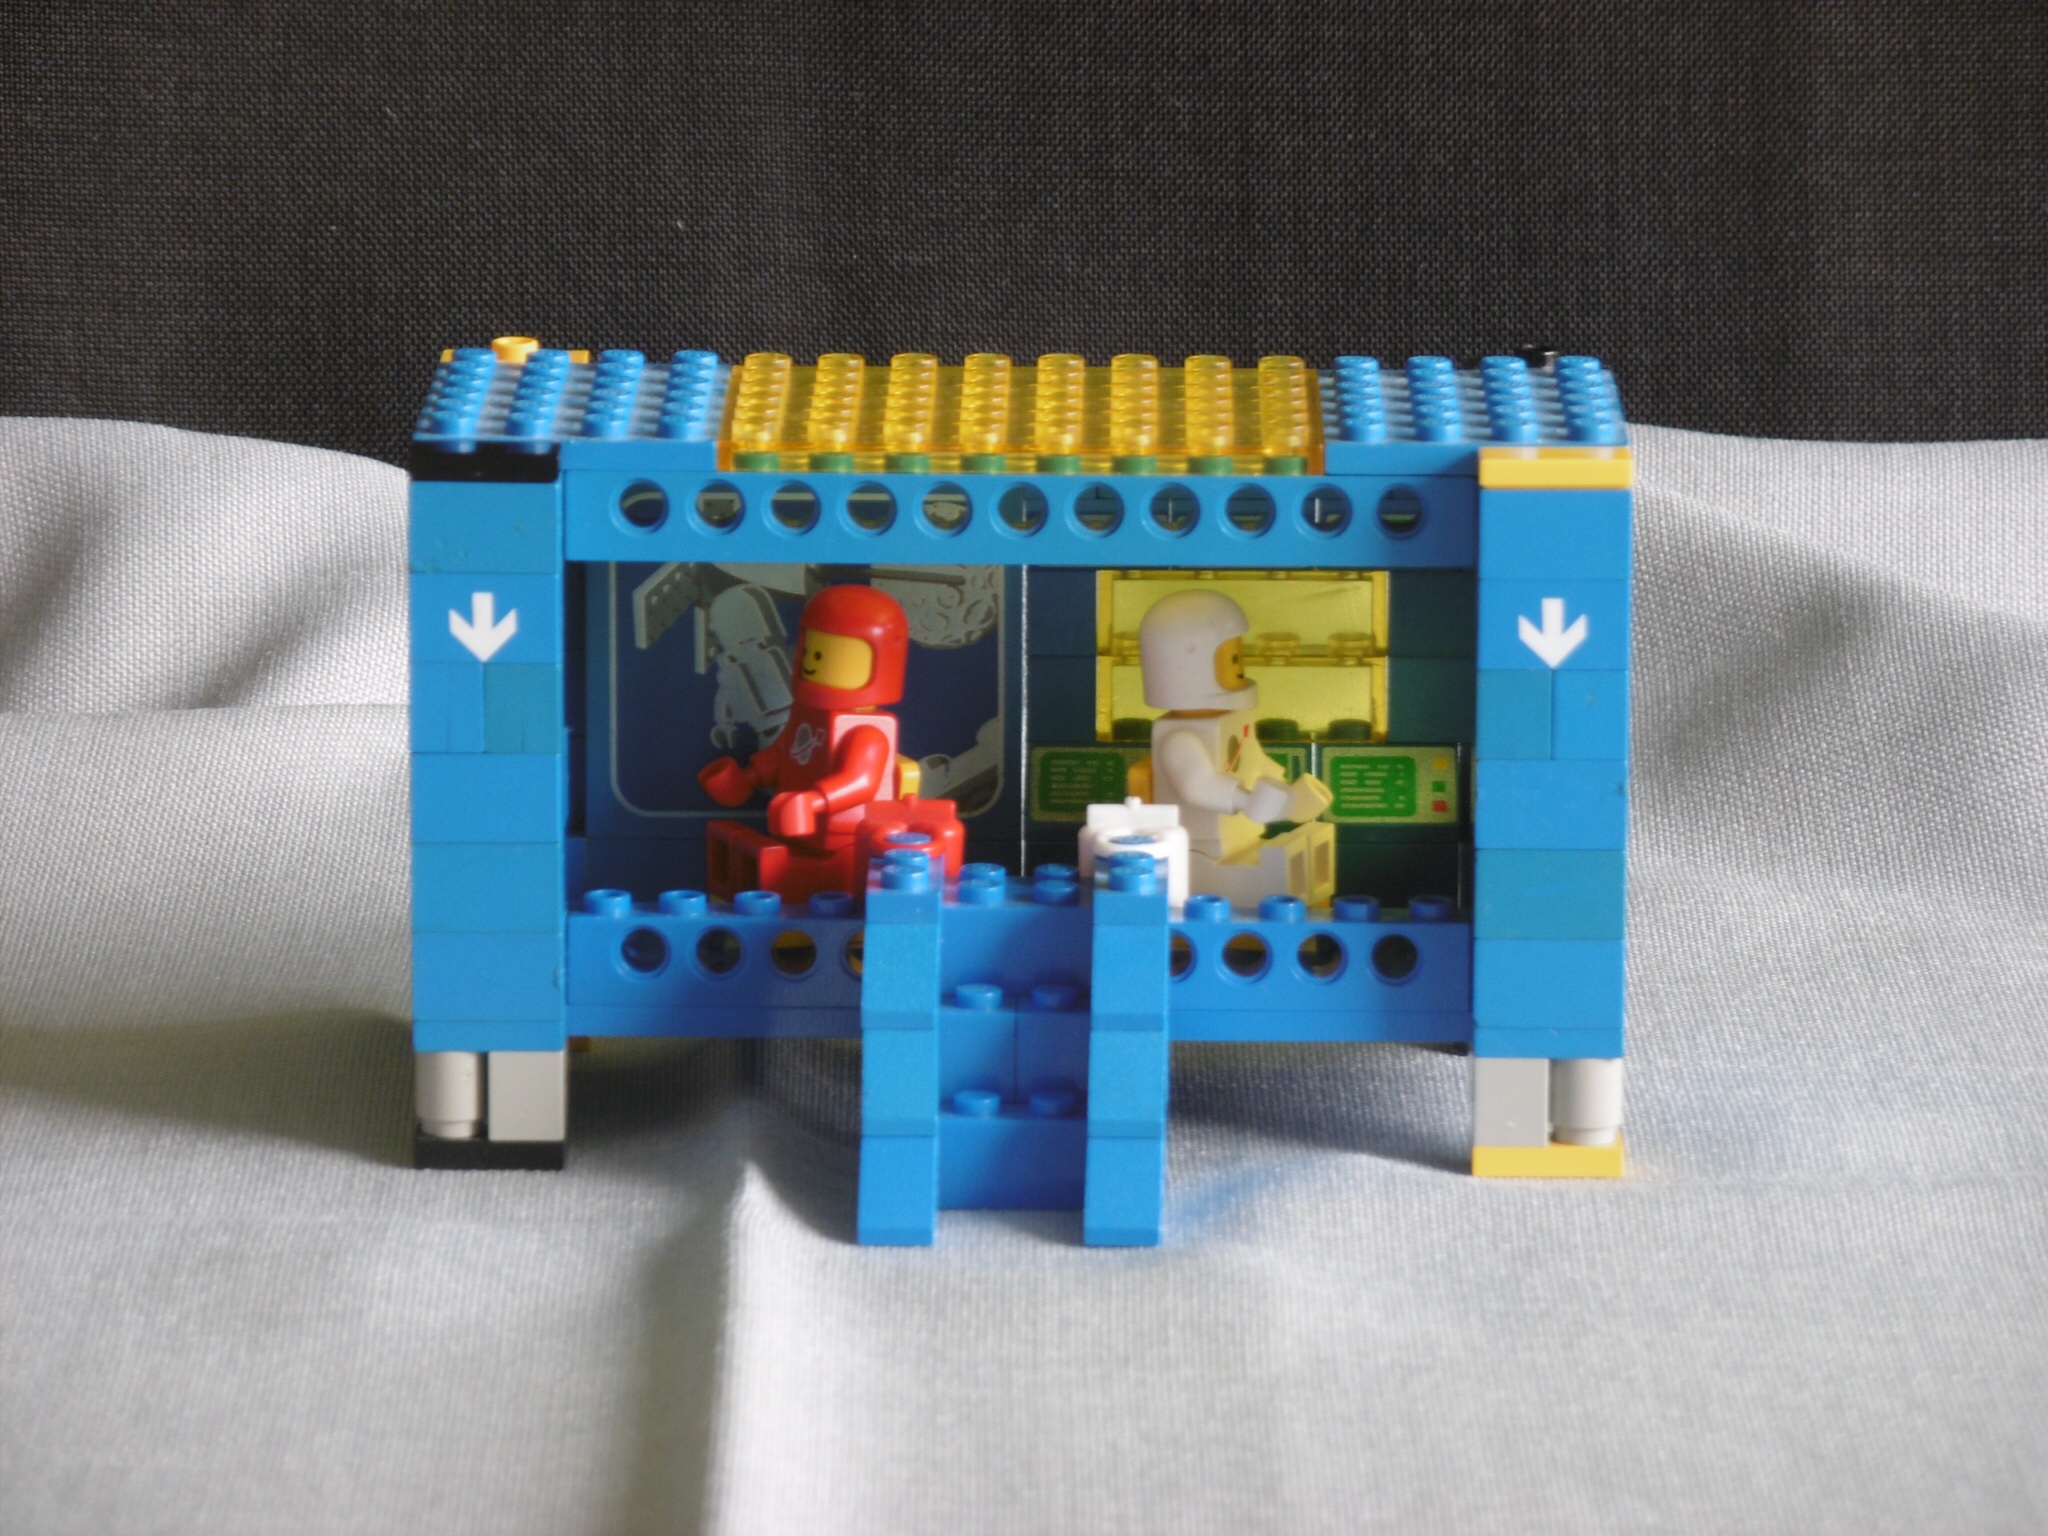
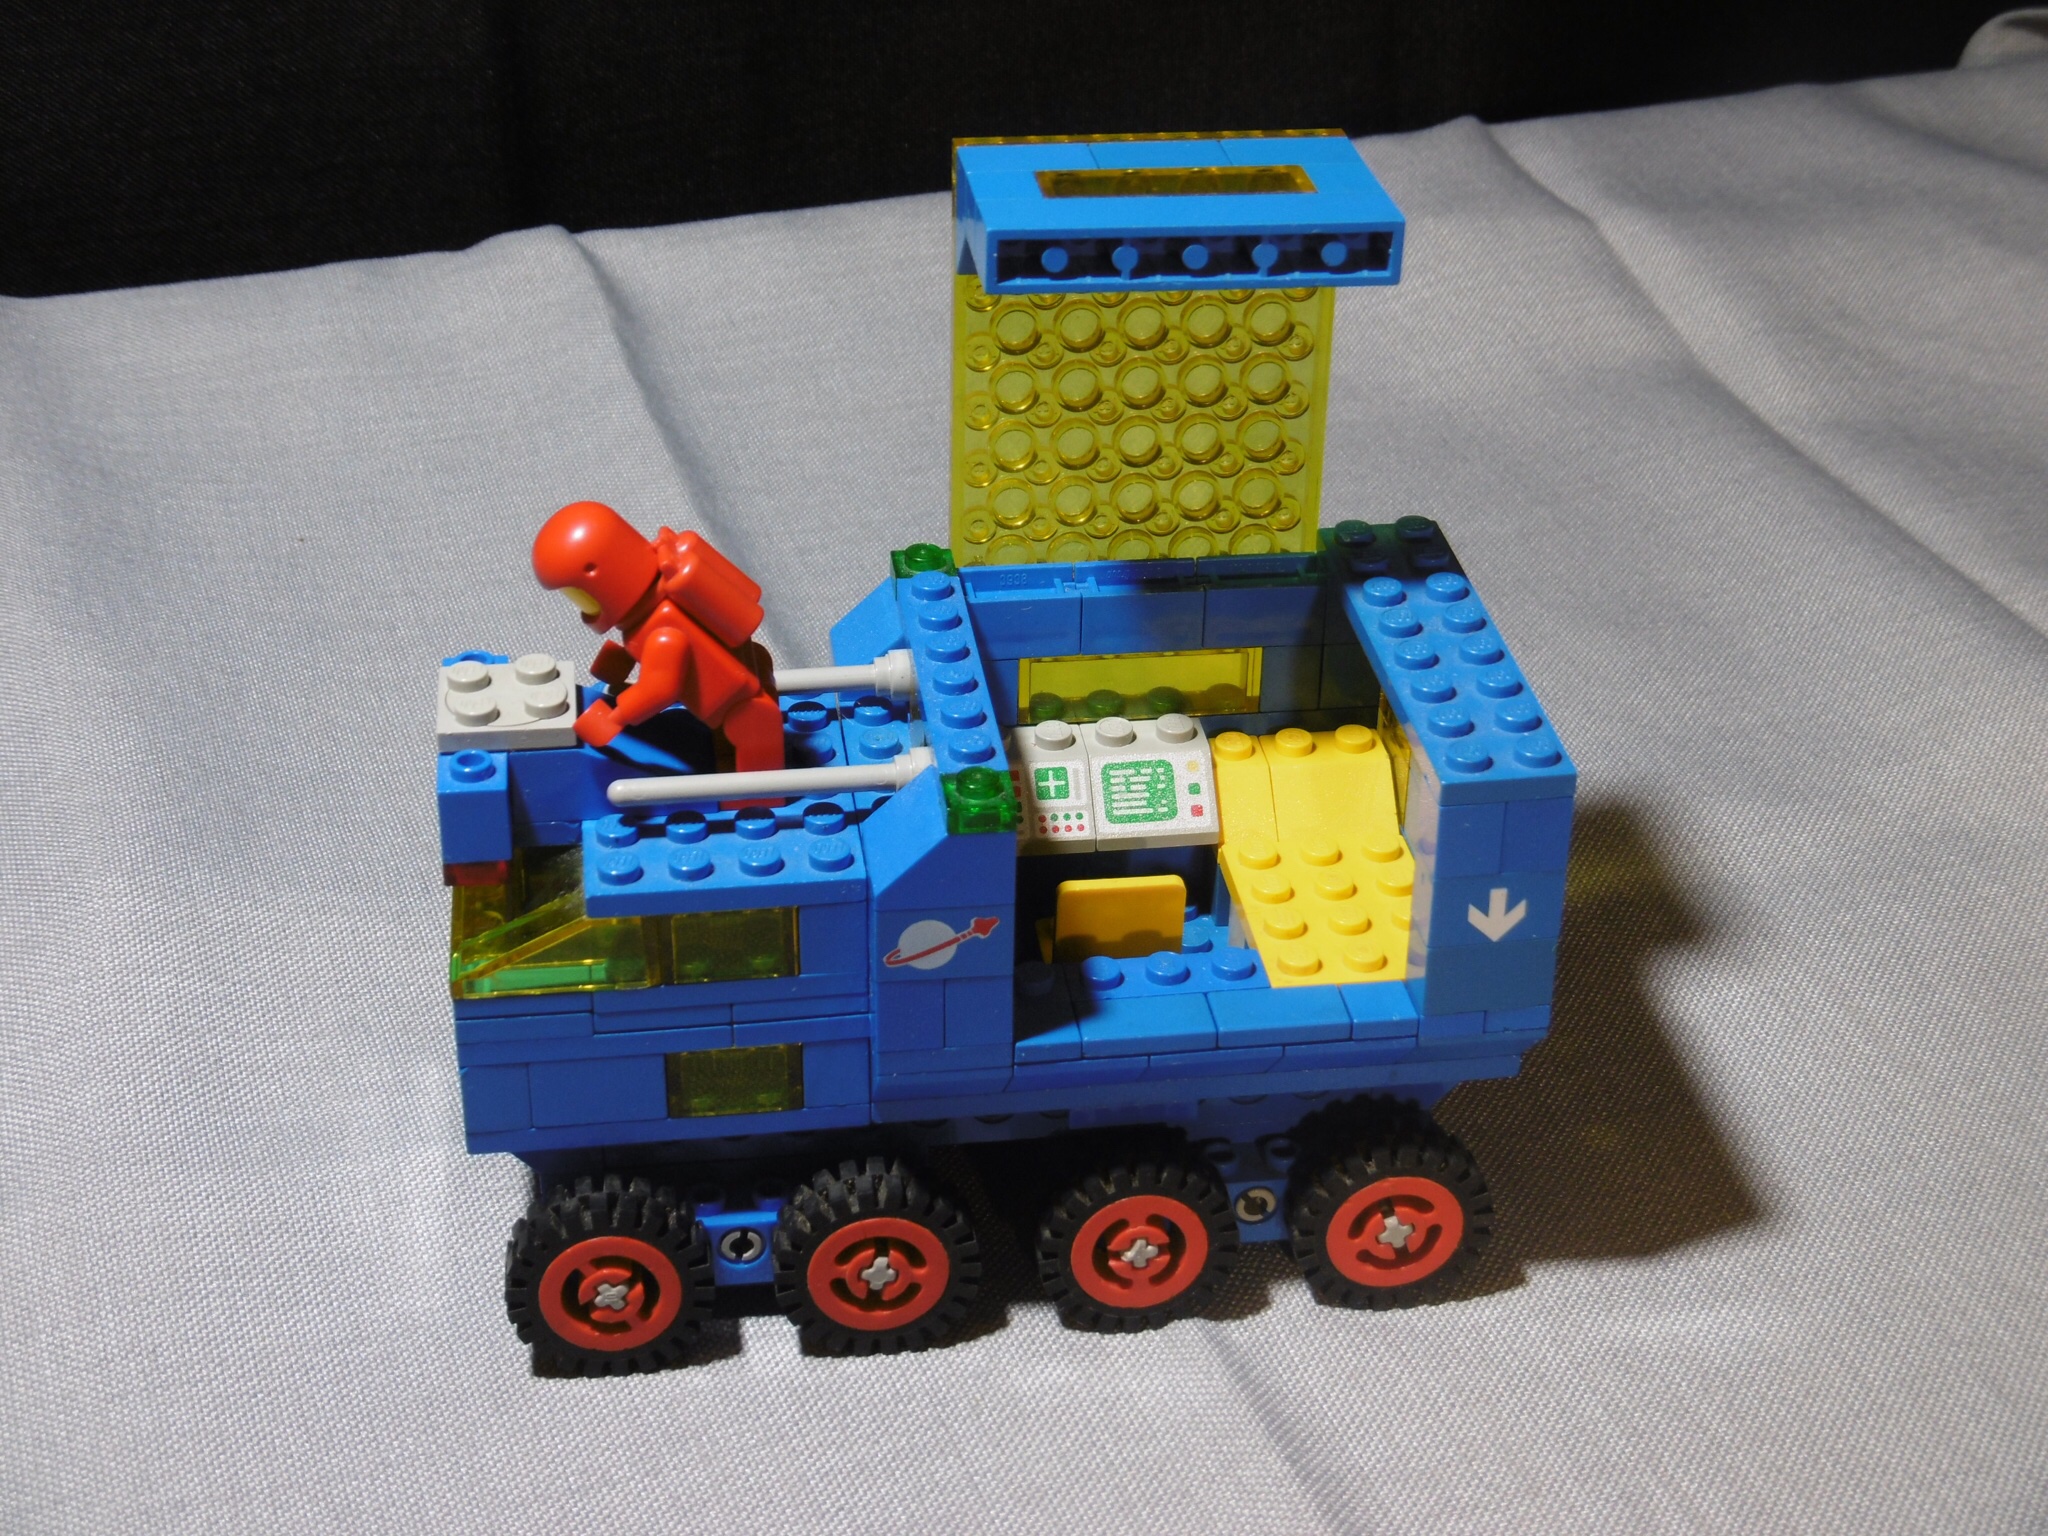
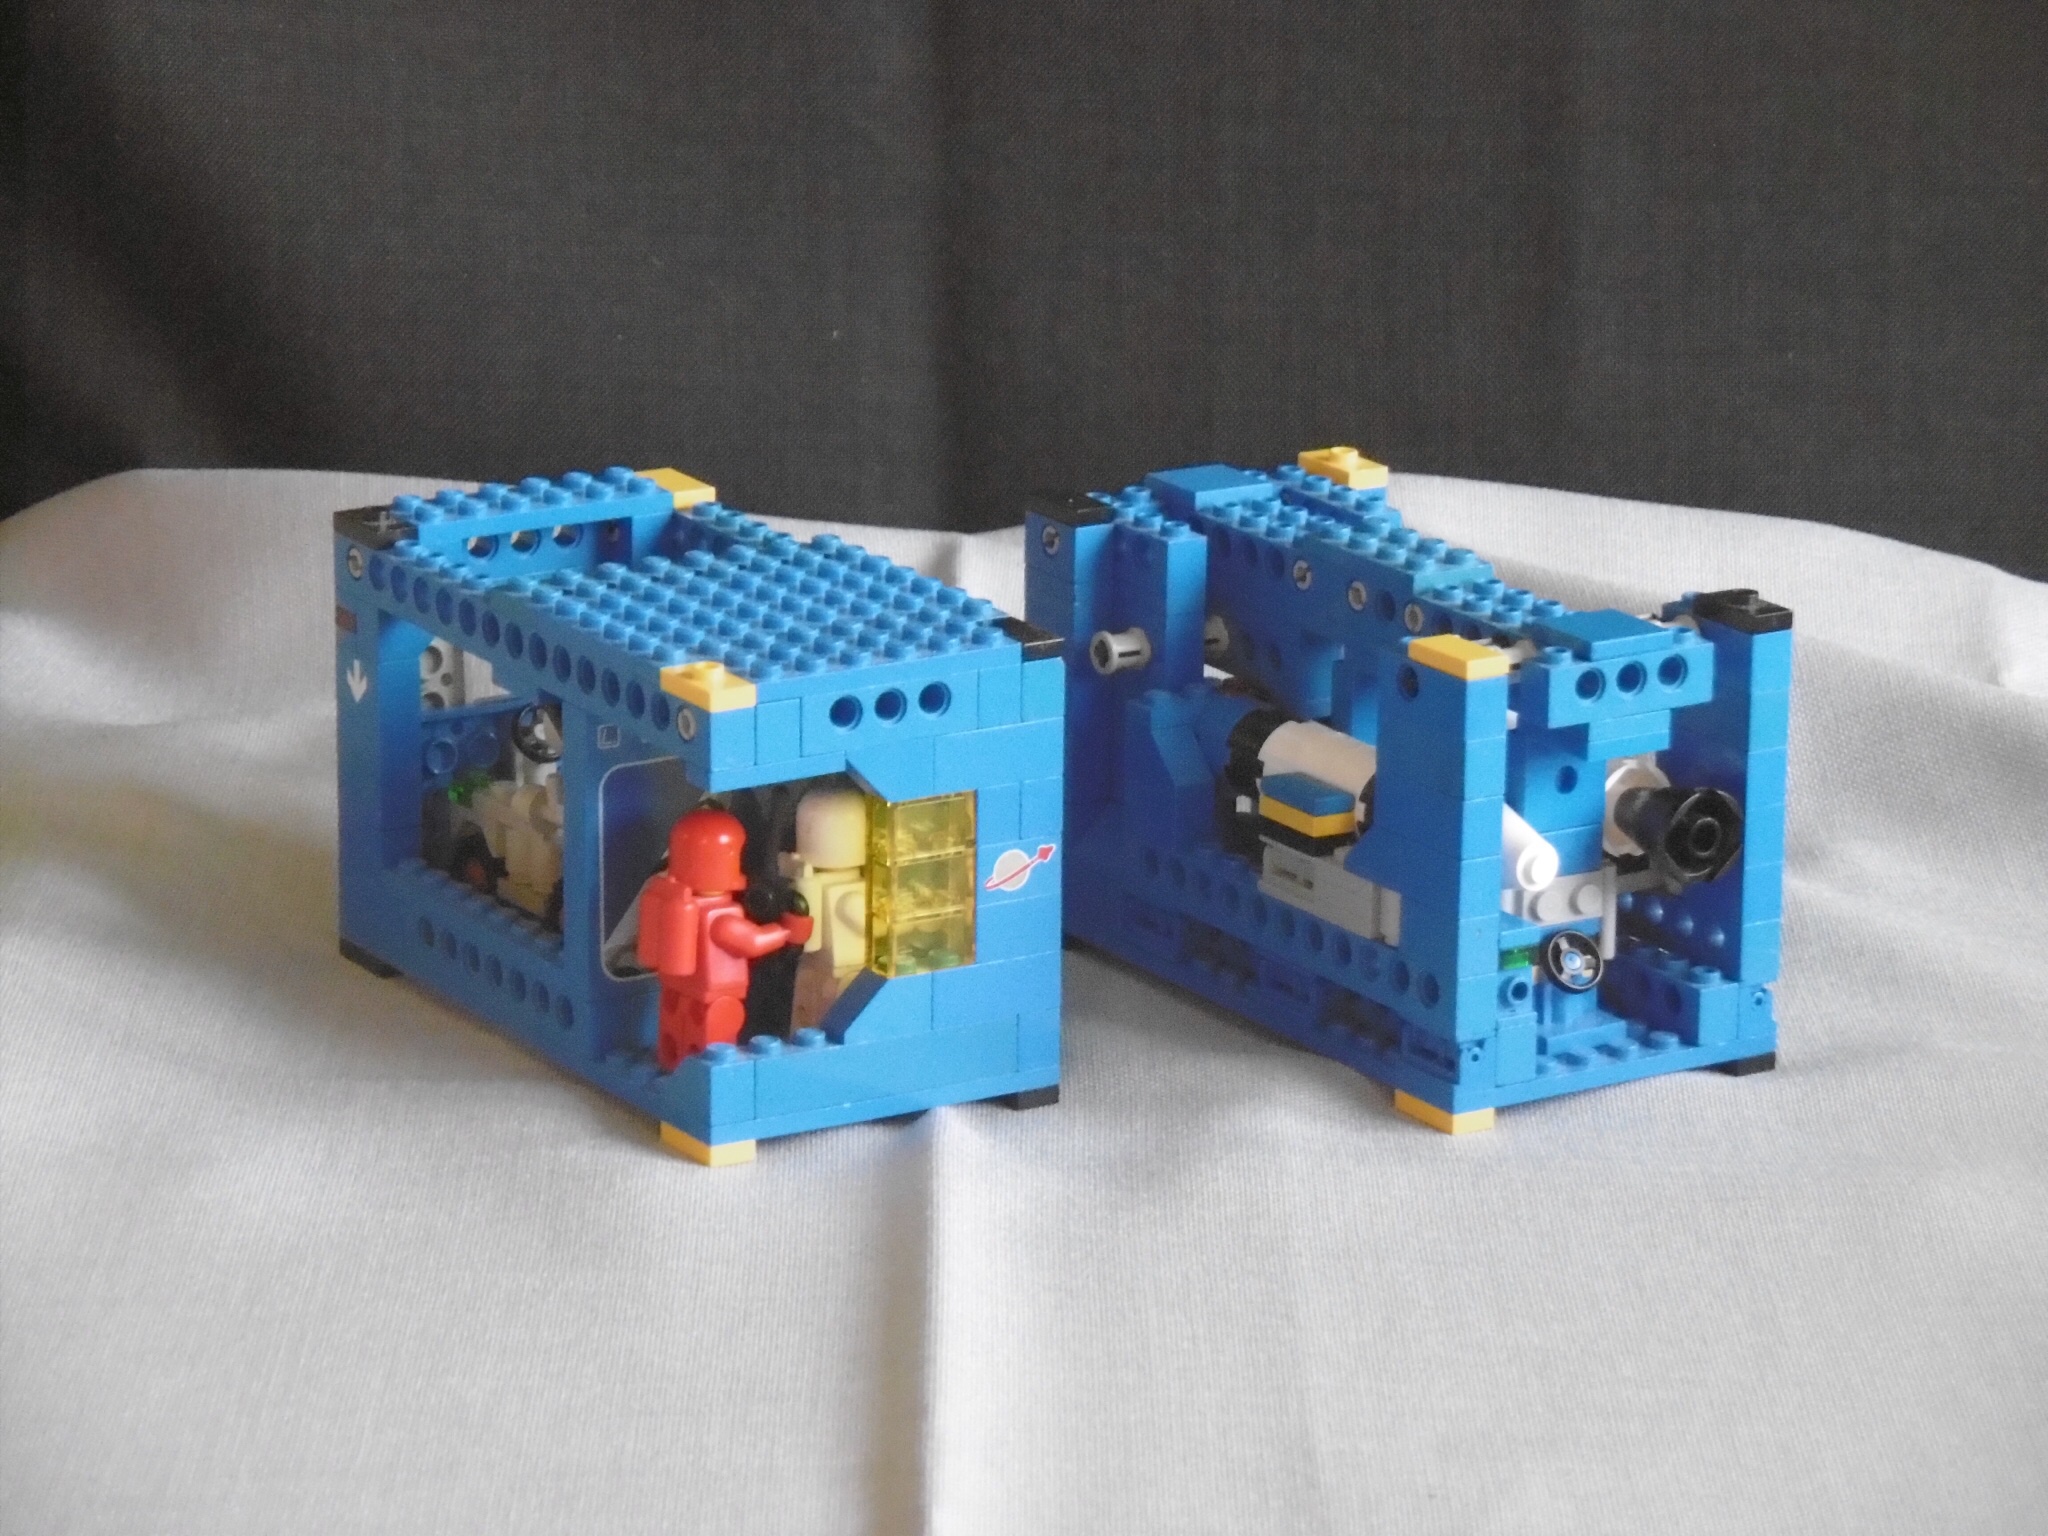
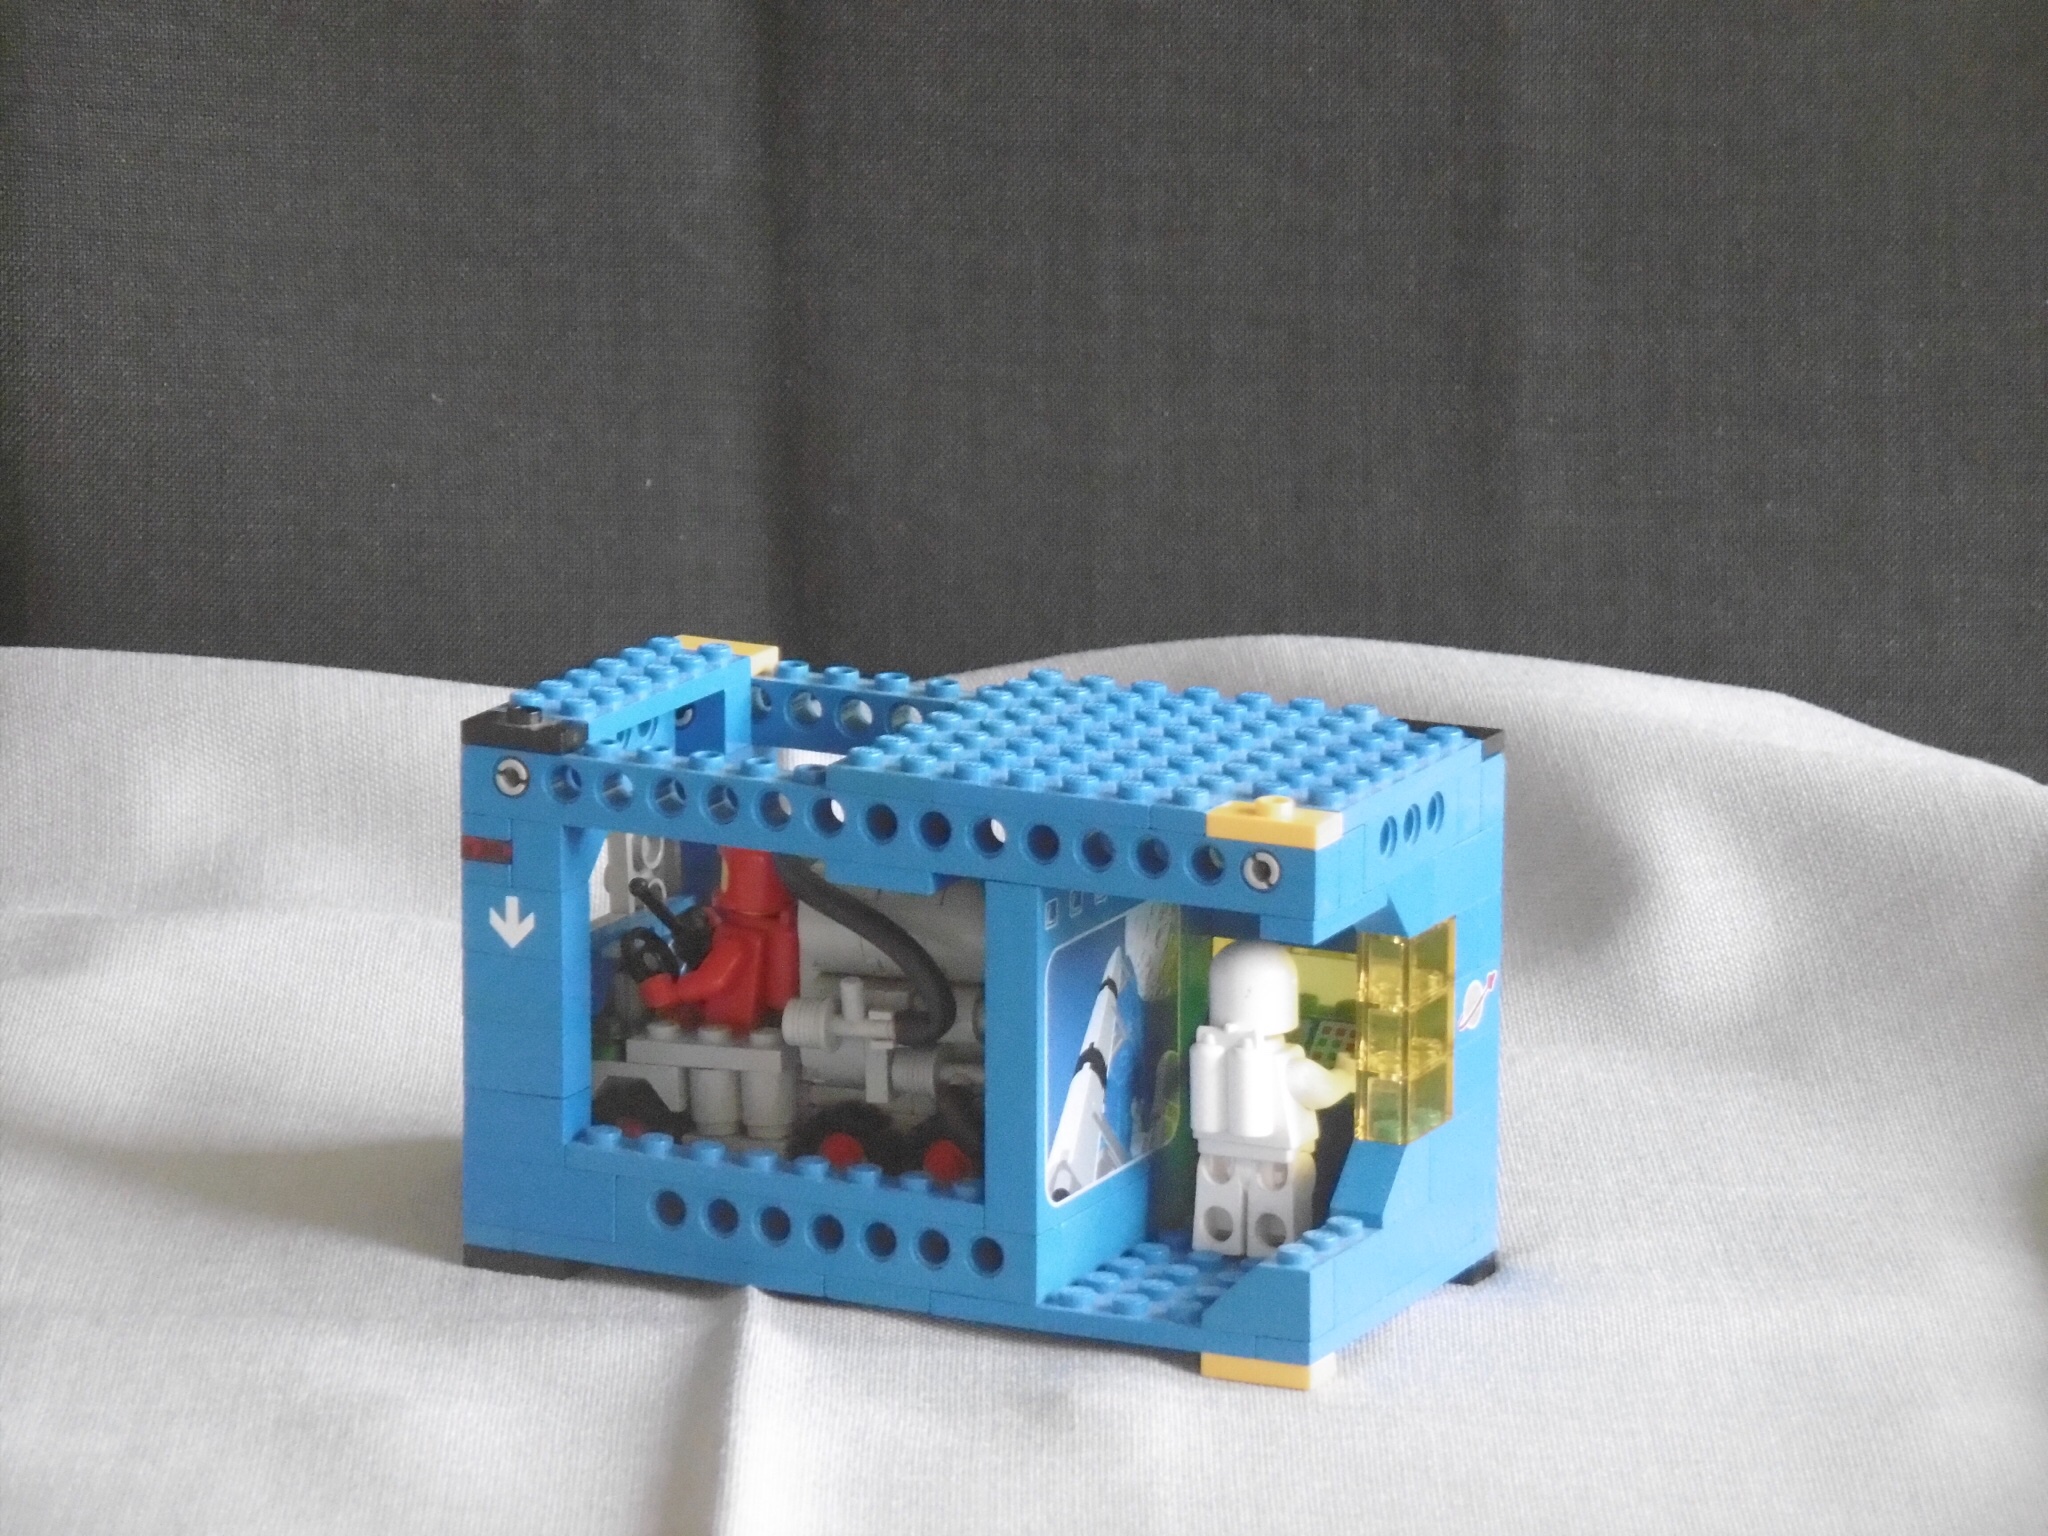
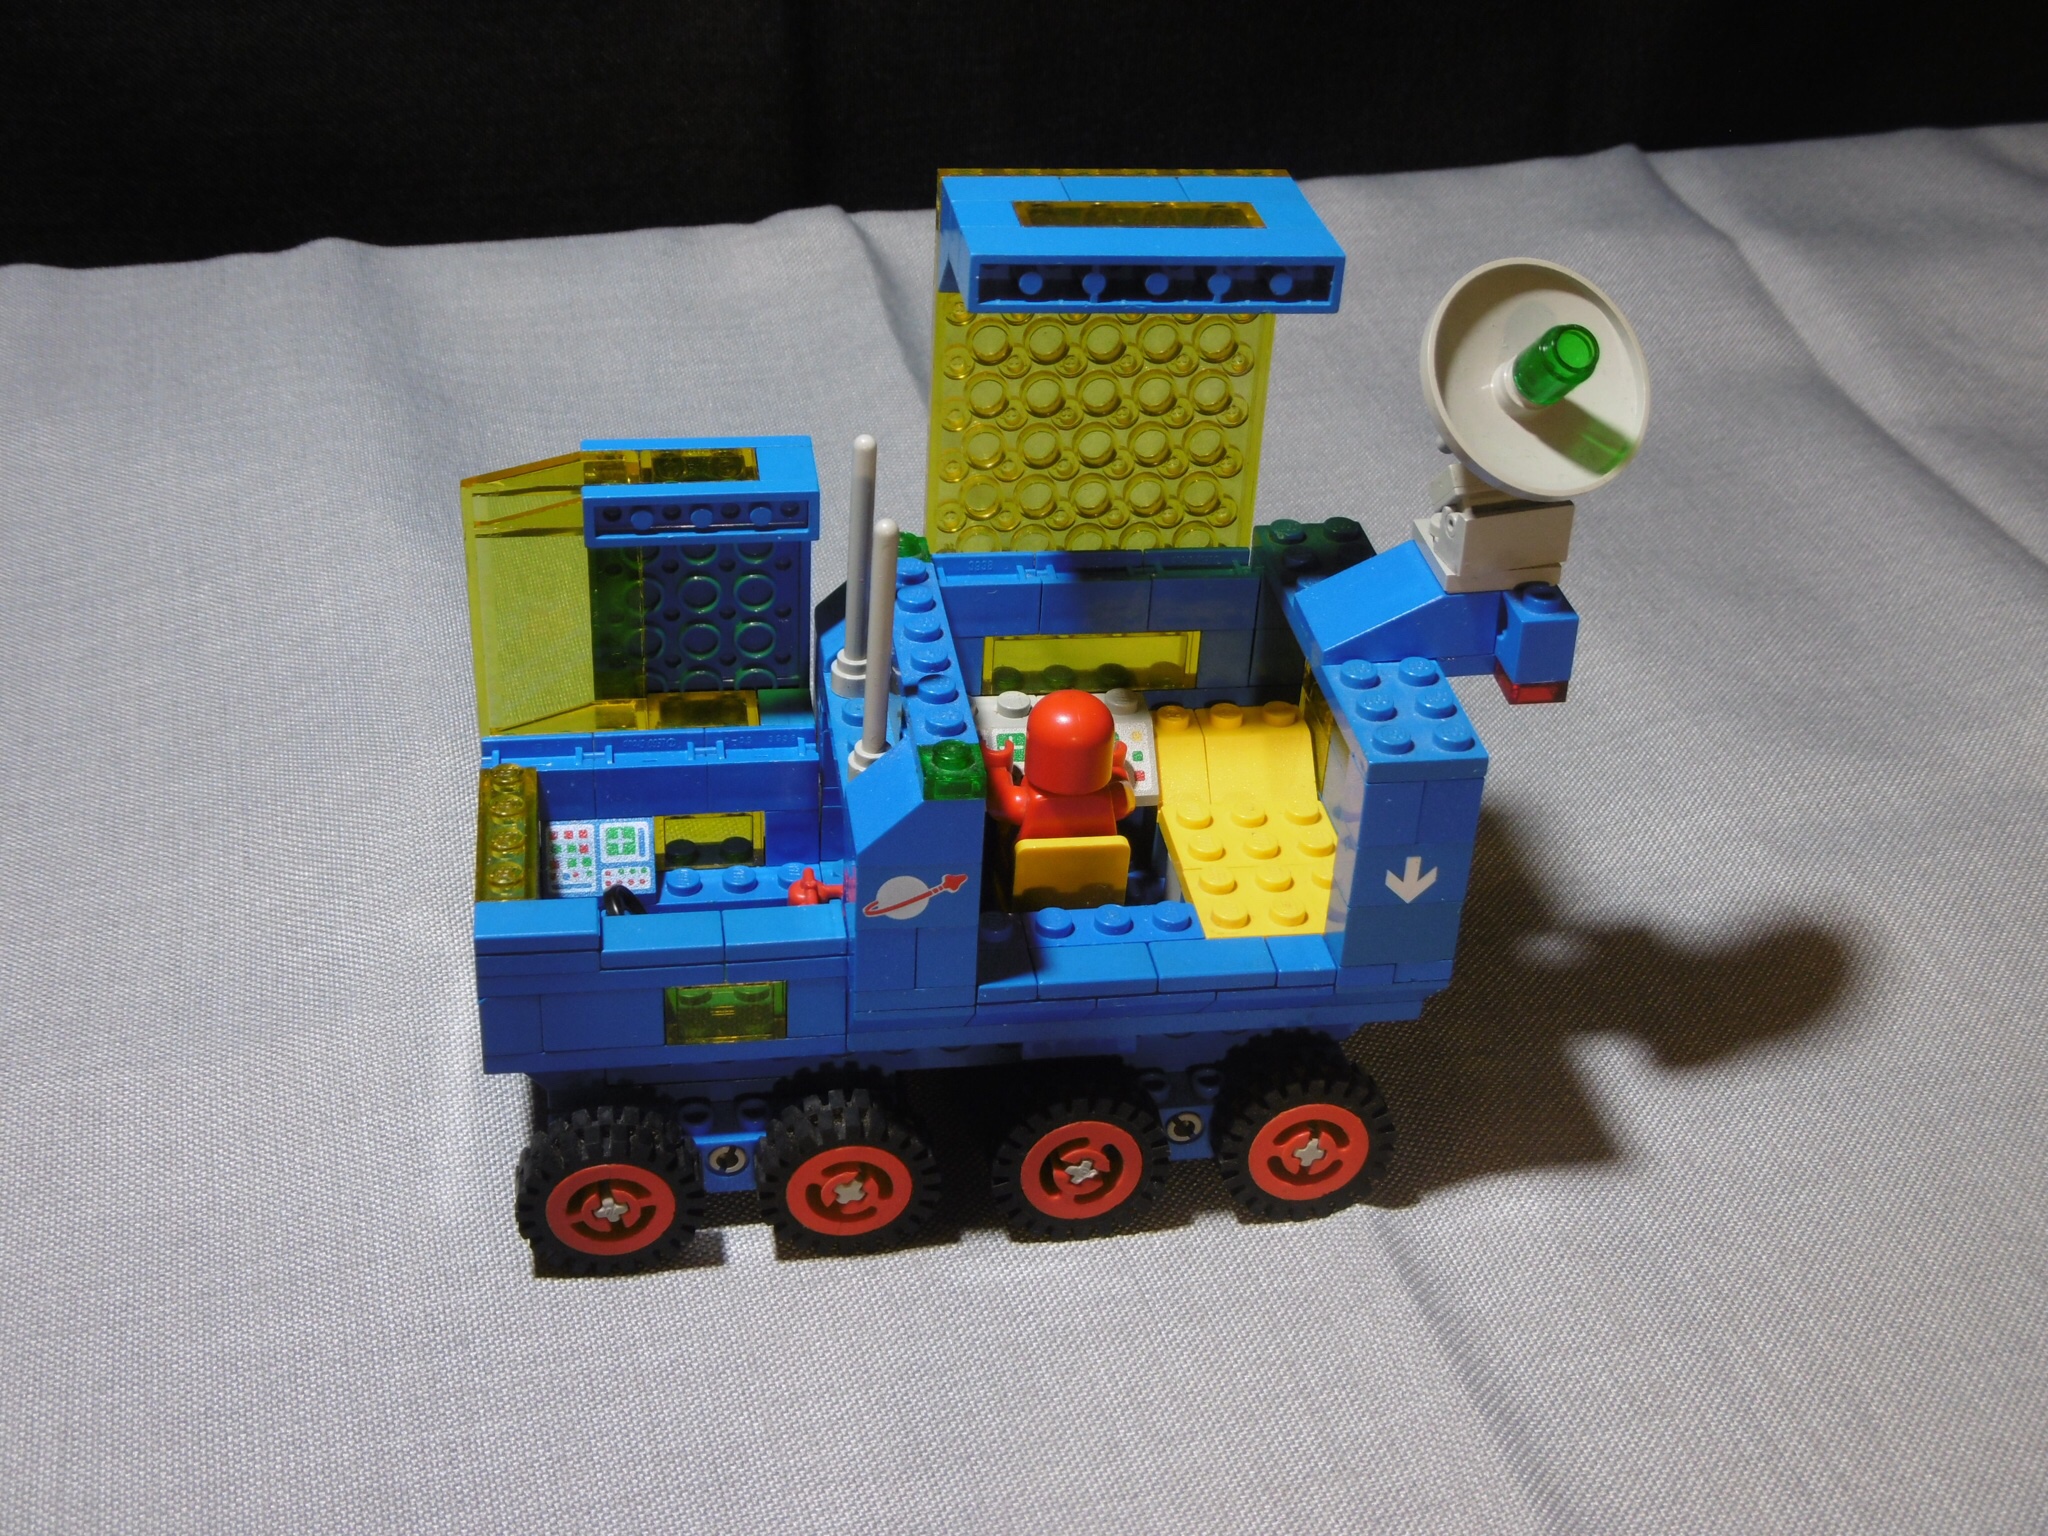
In the rear cabin you can find a computer workstation, a bed and …

… a toilet ;-)).

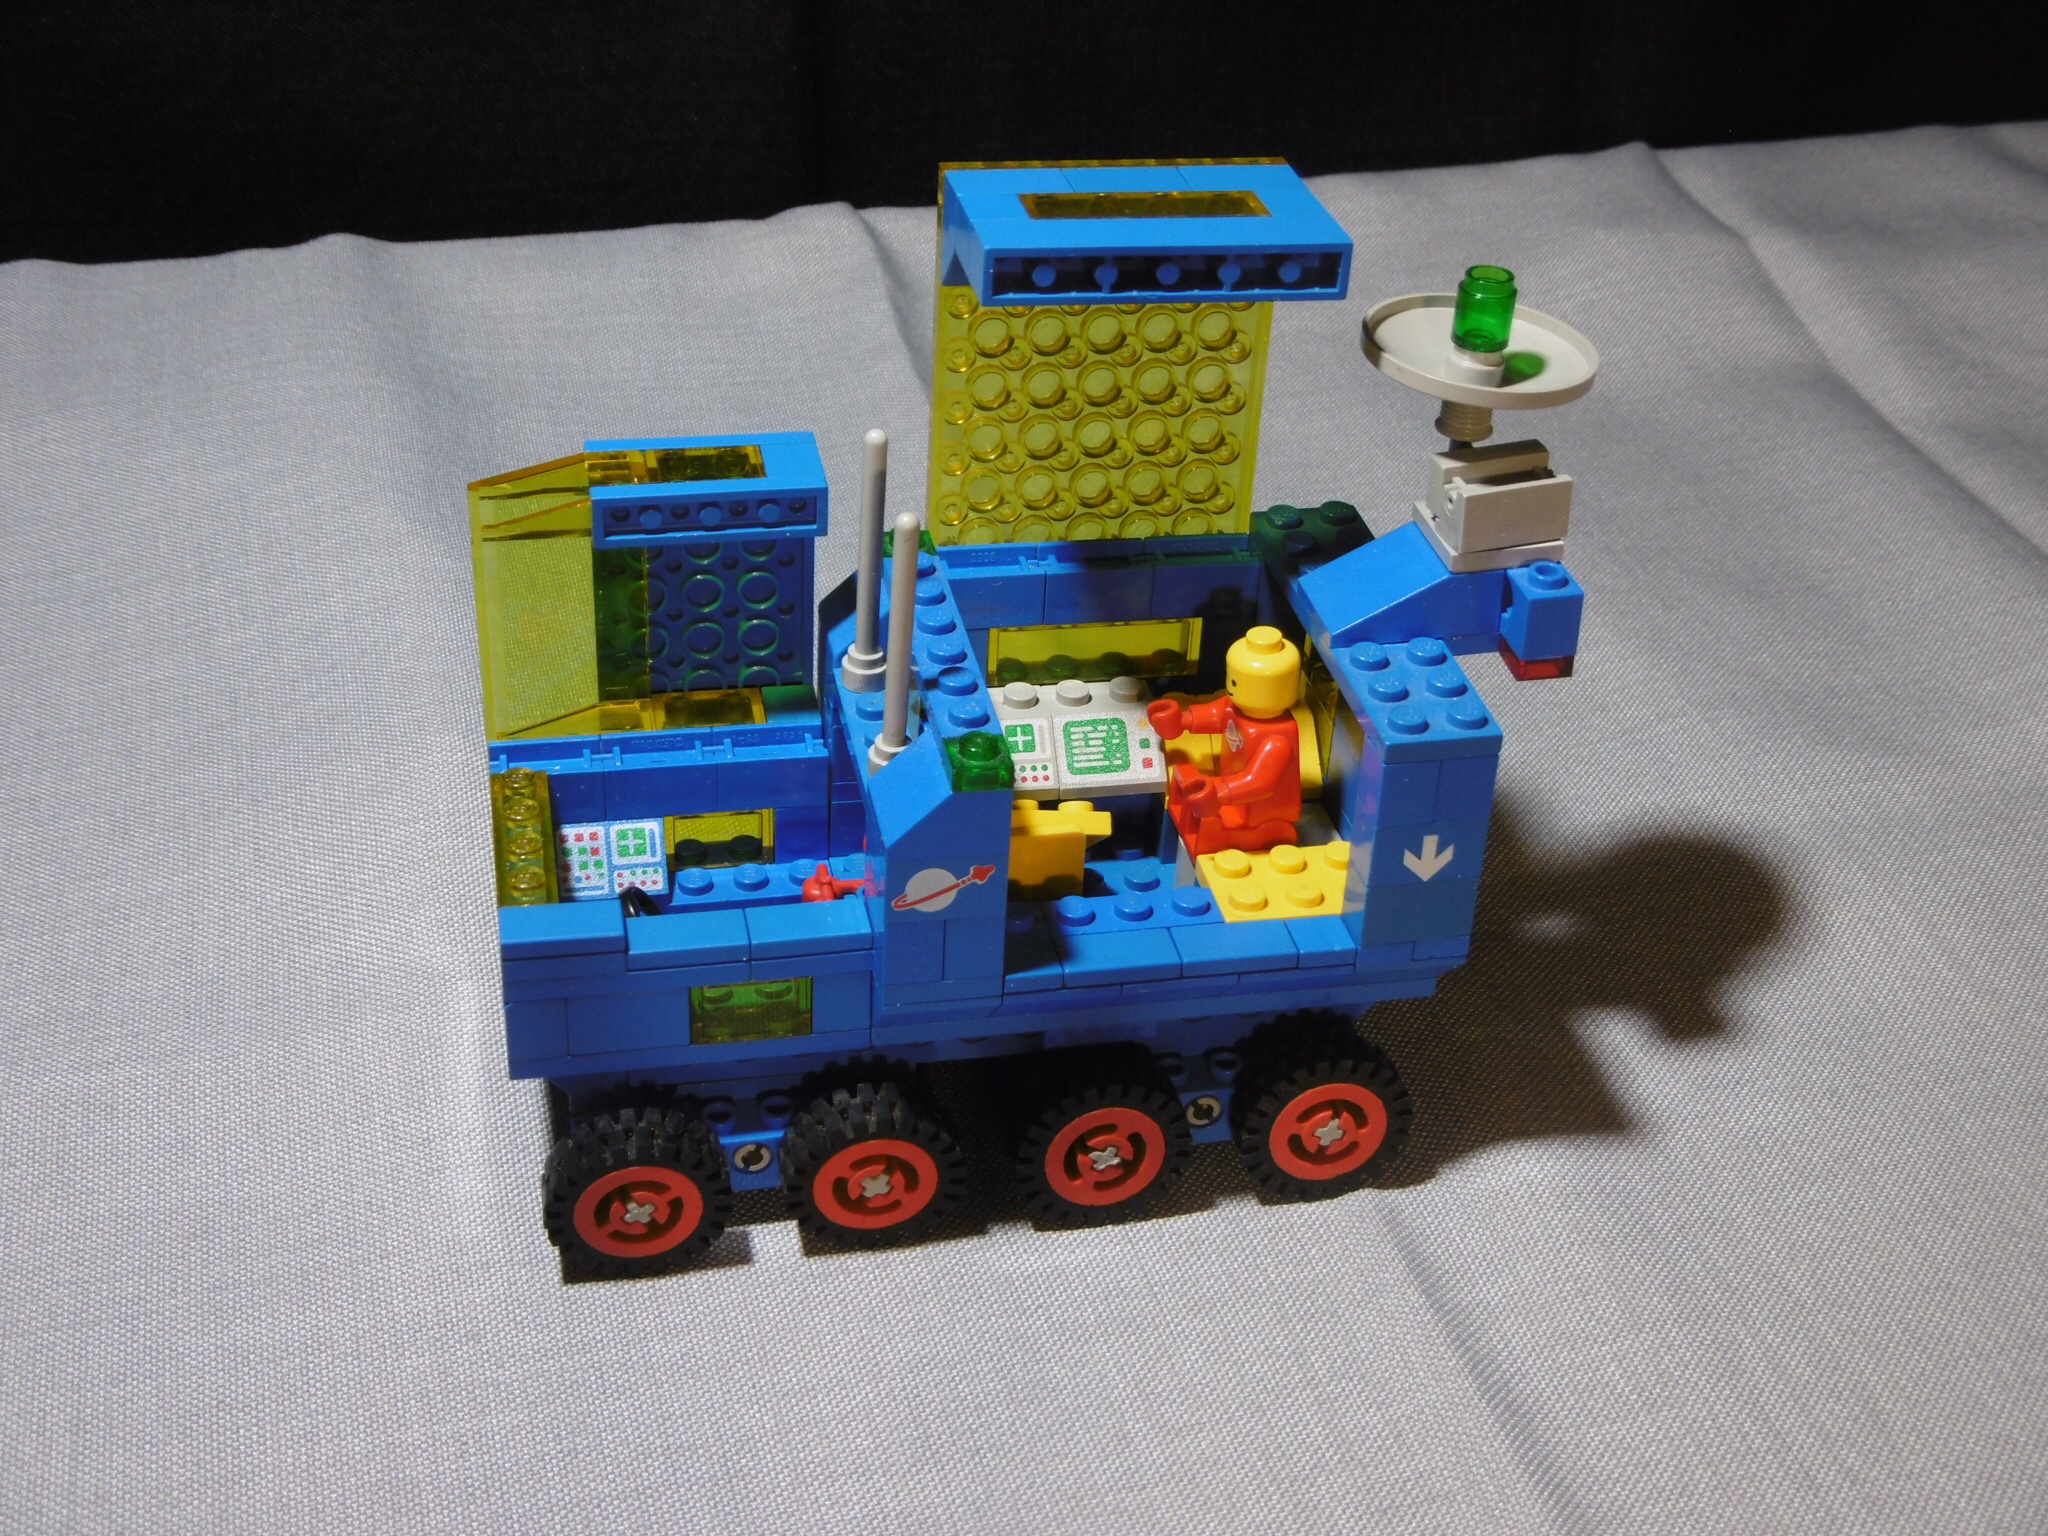
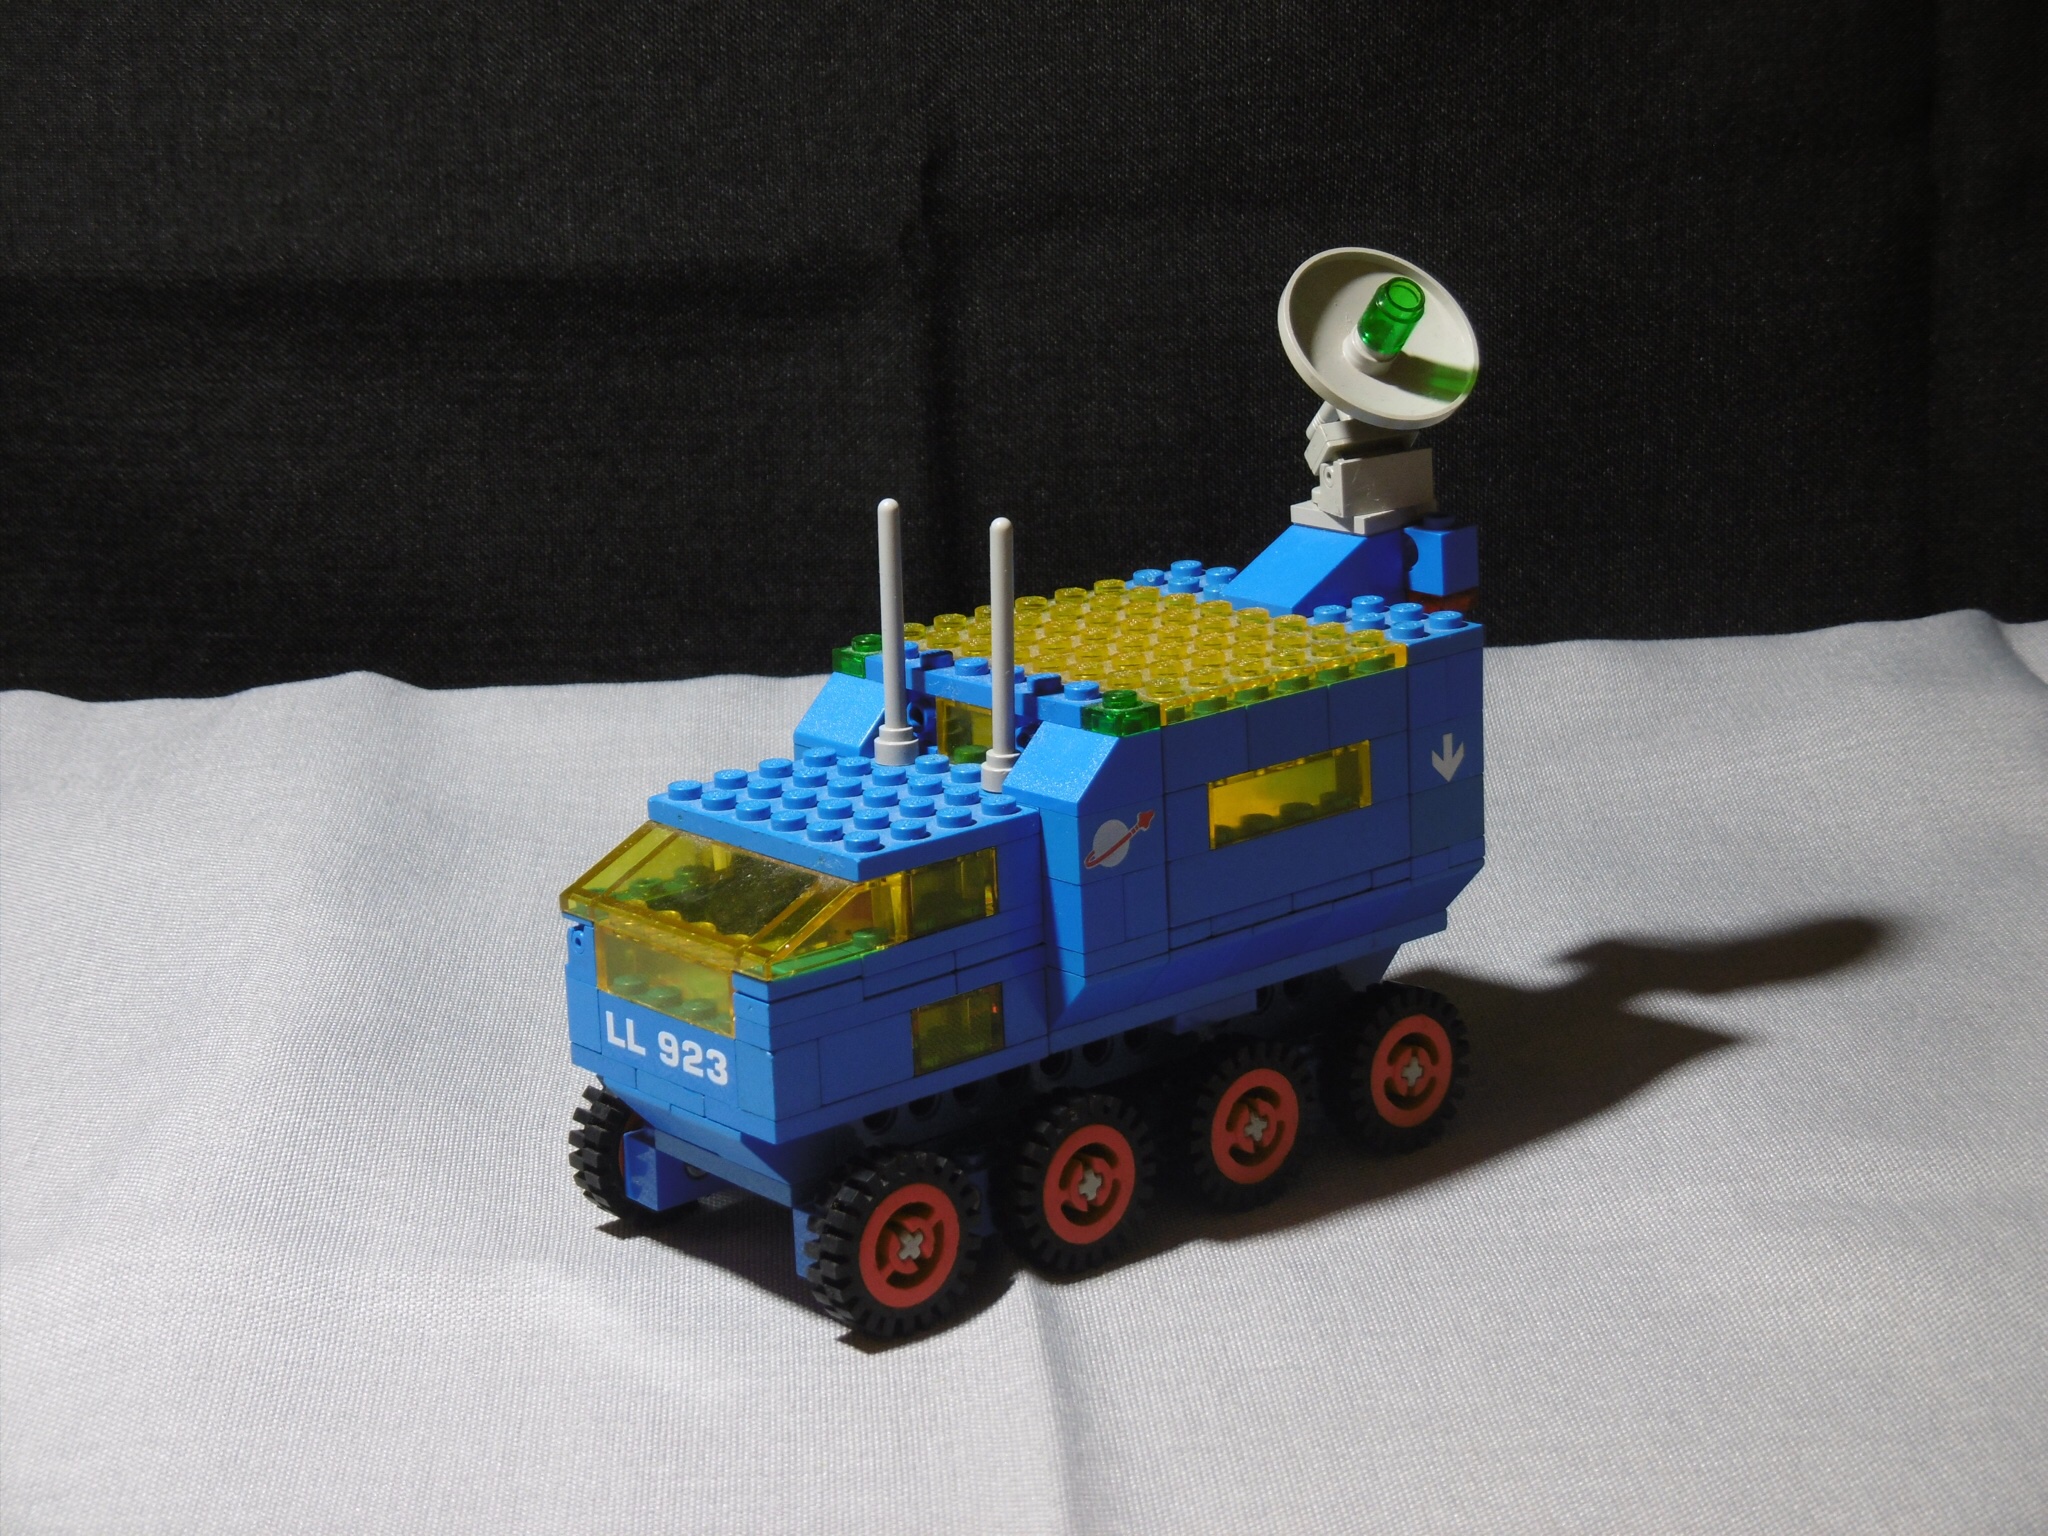
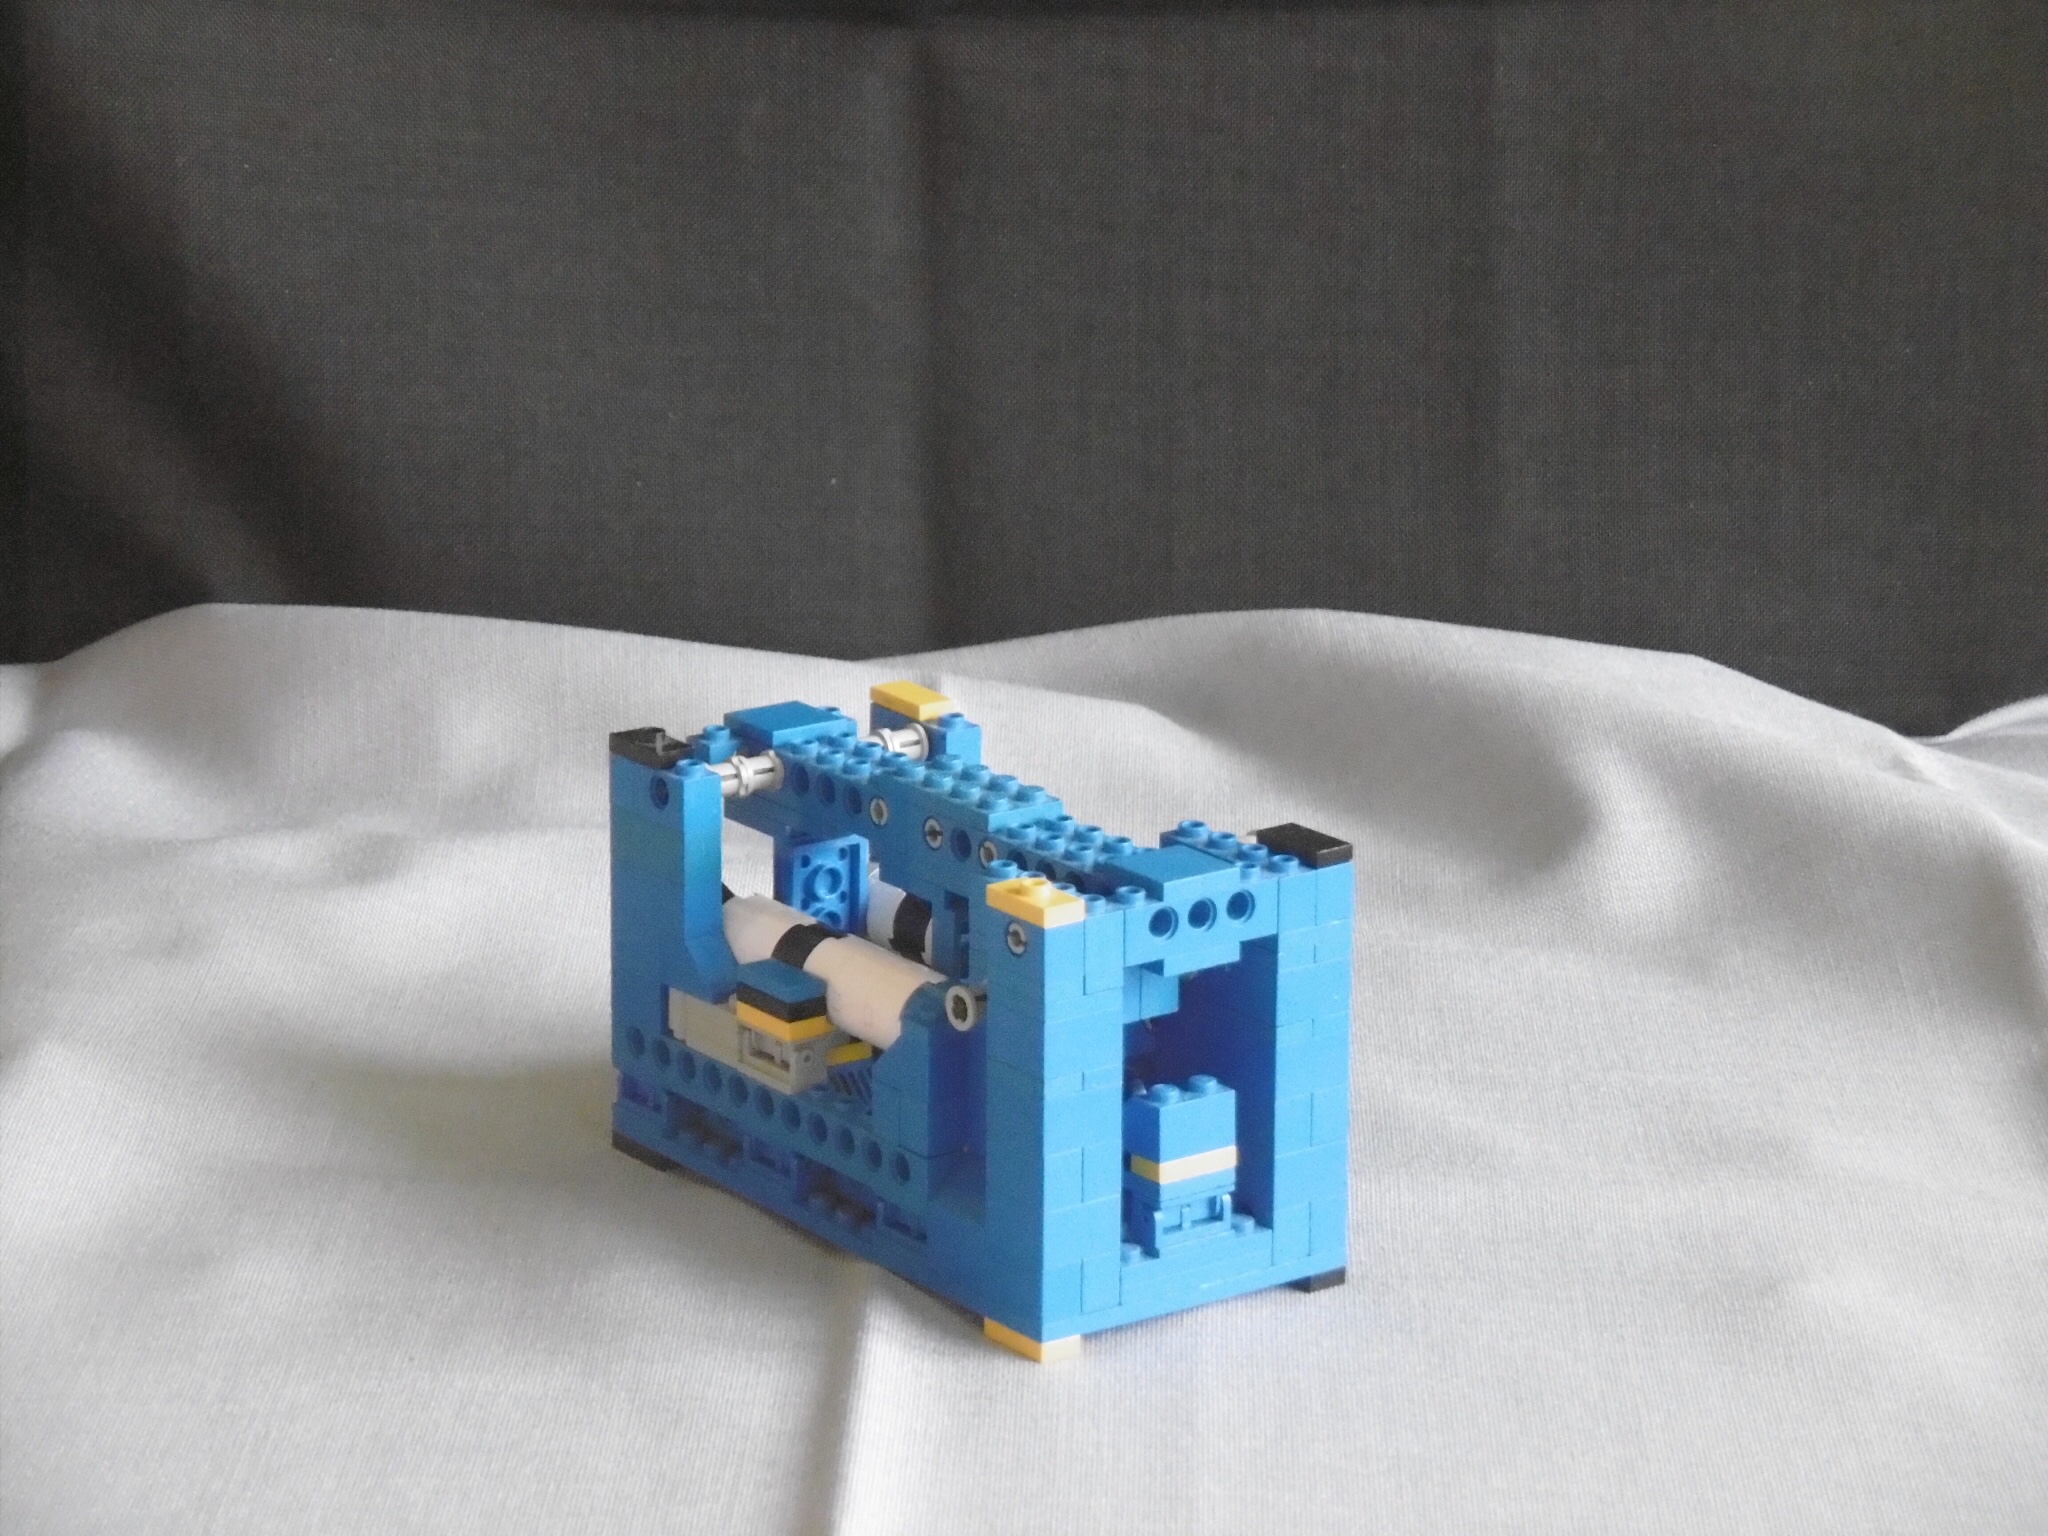
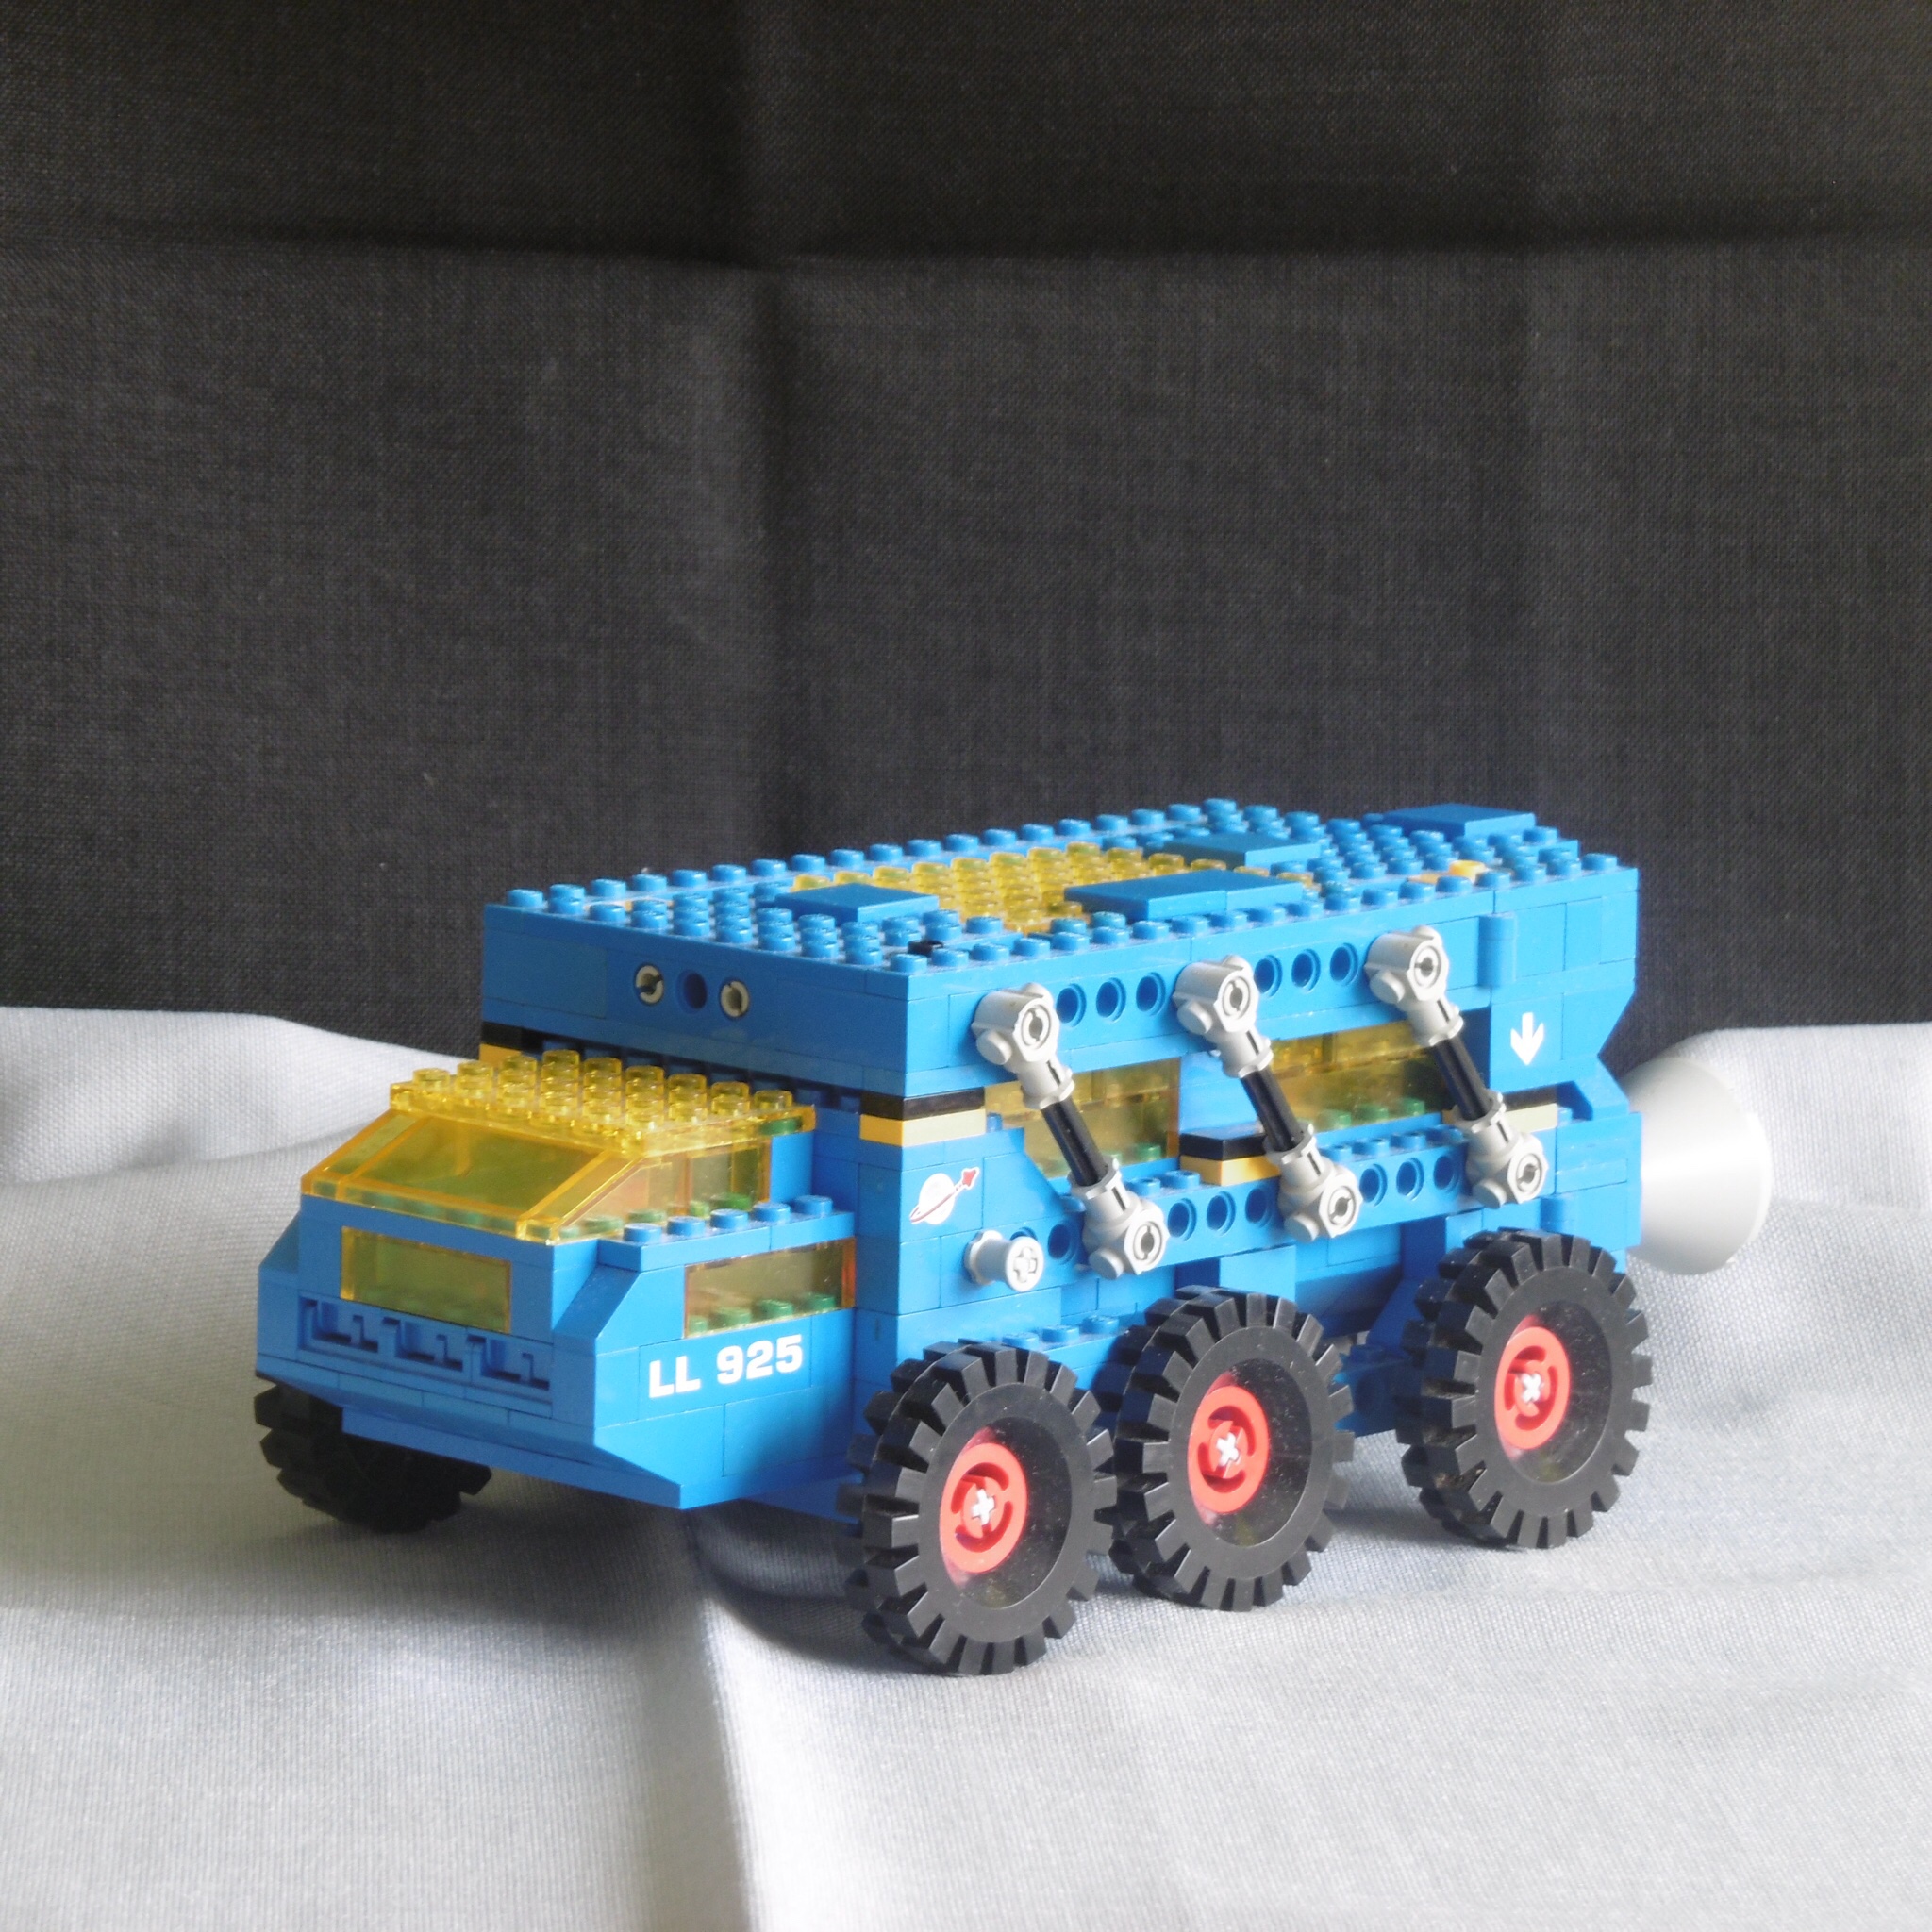
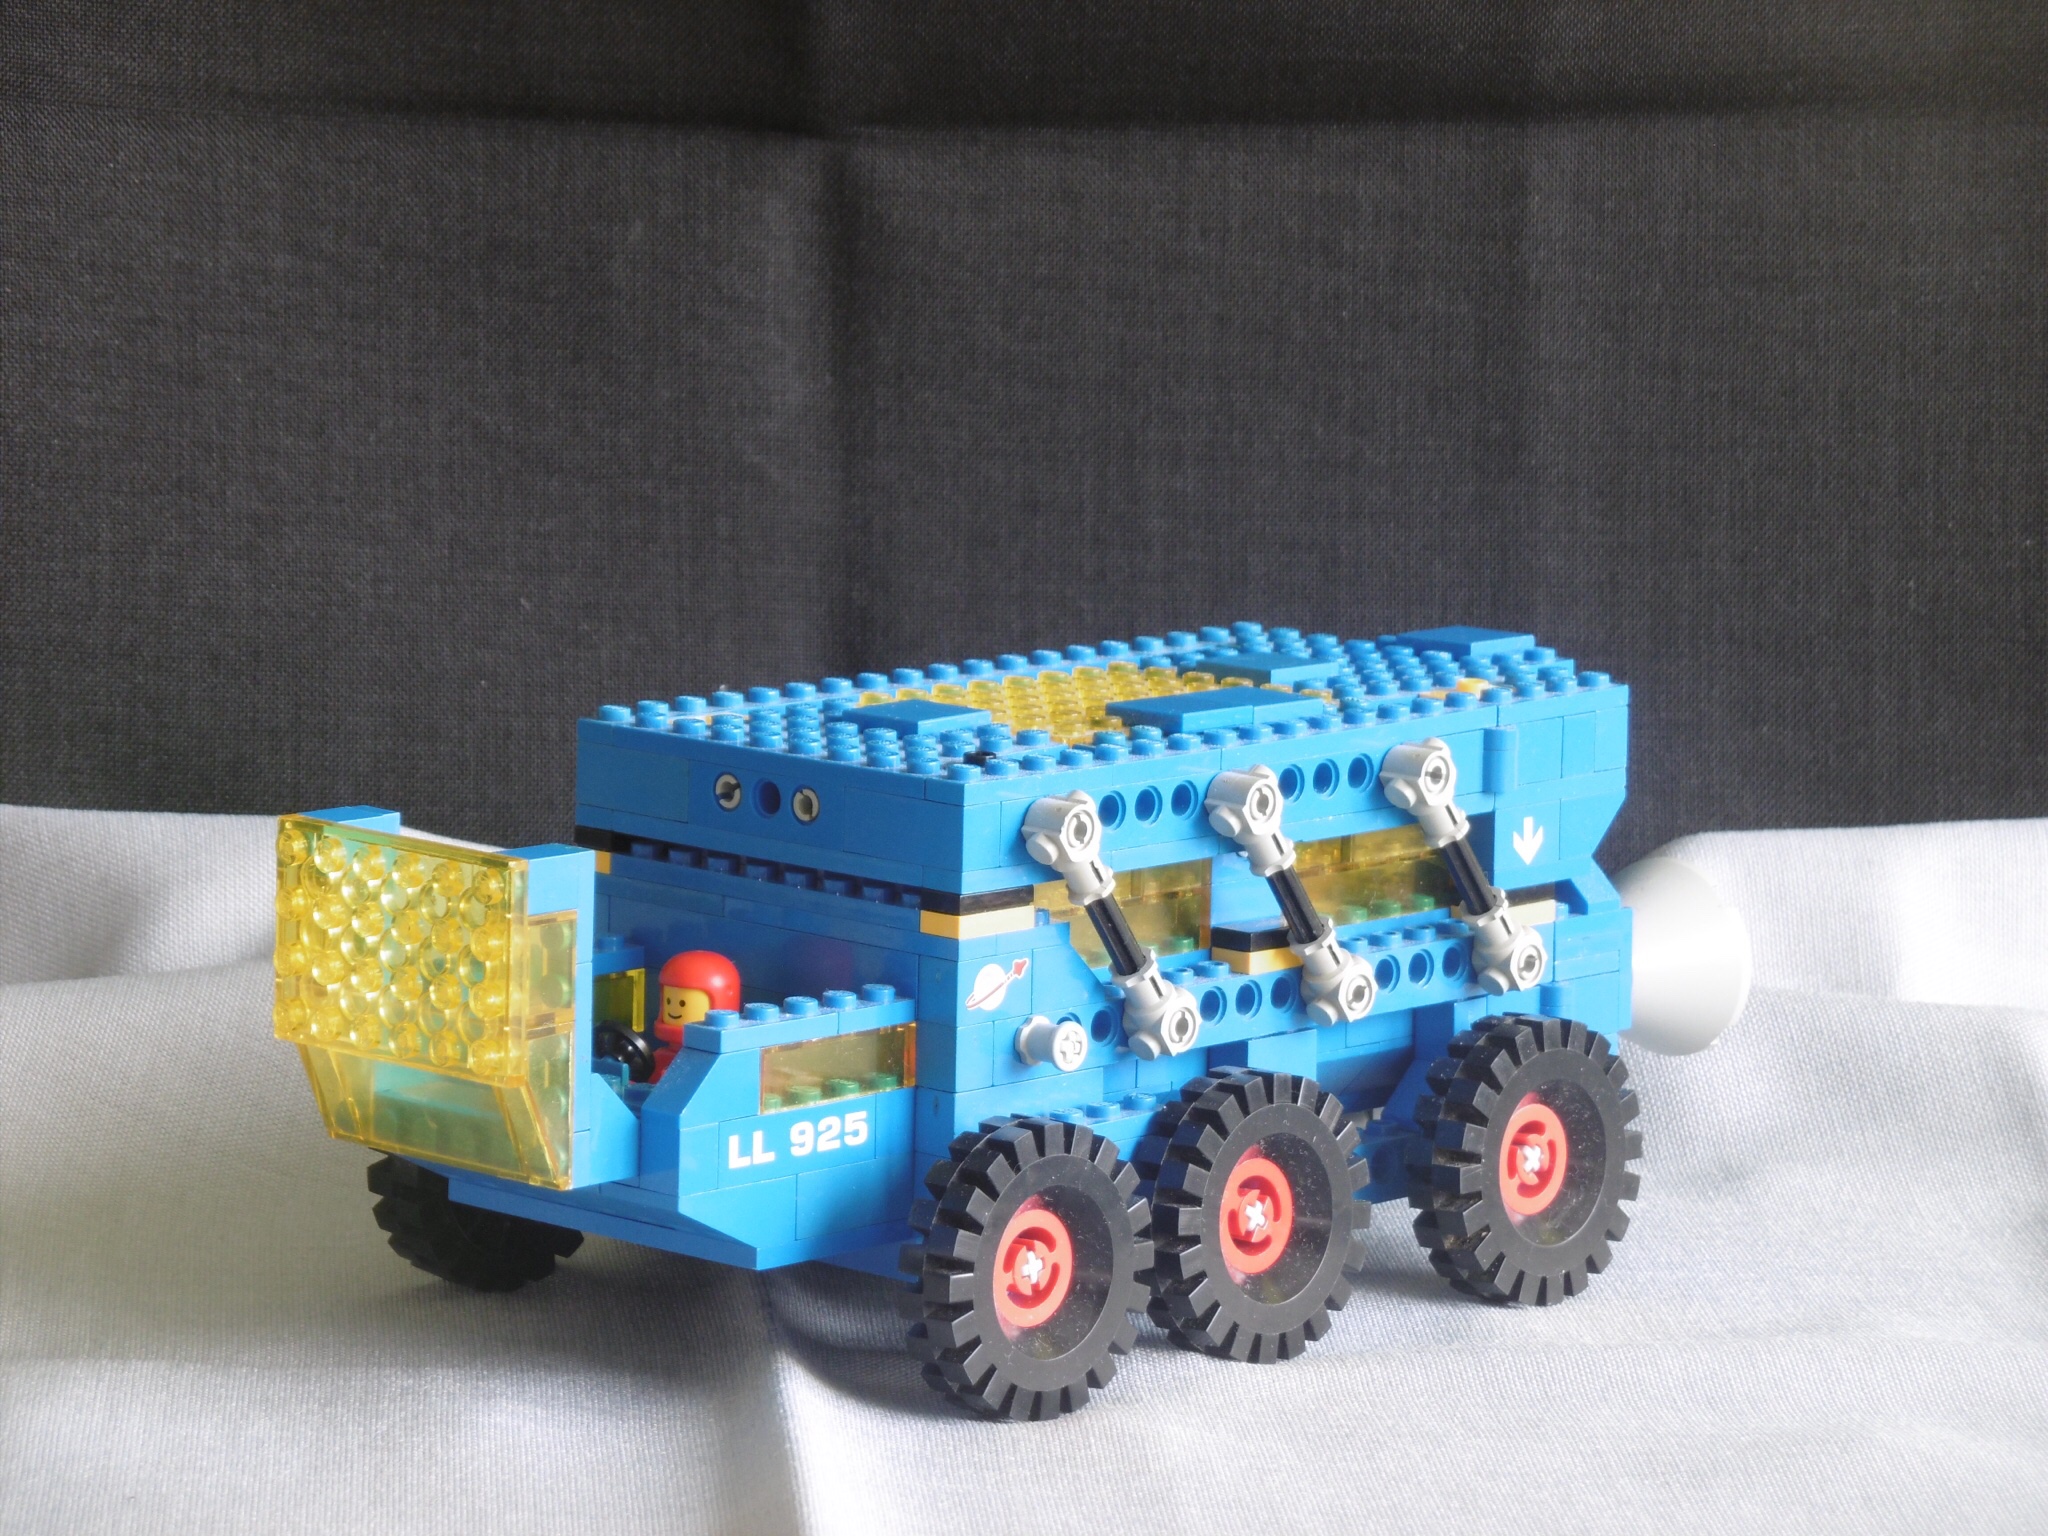
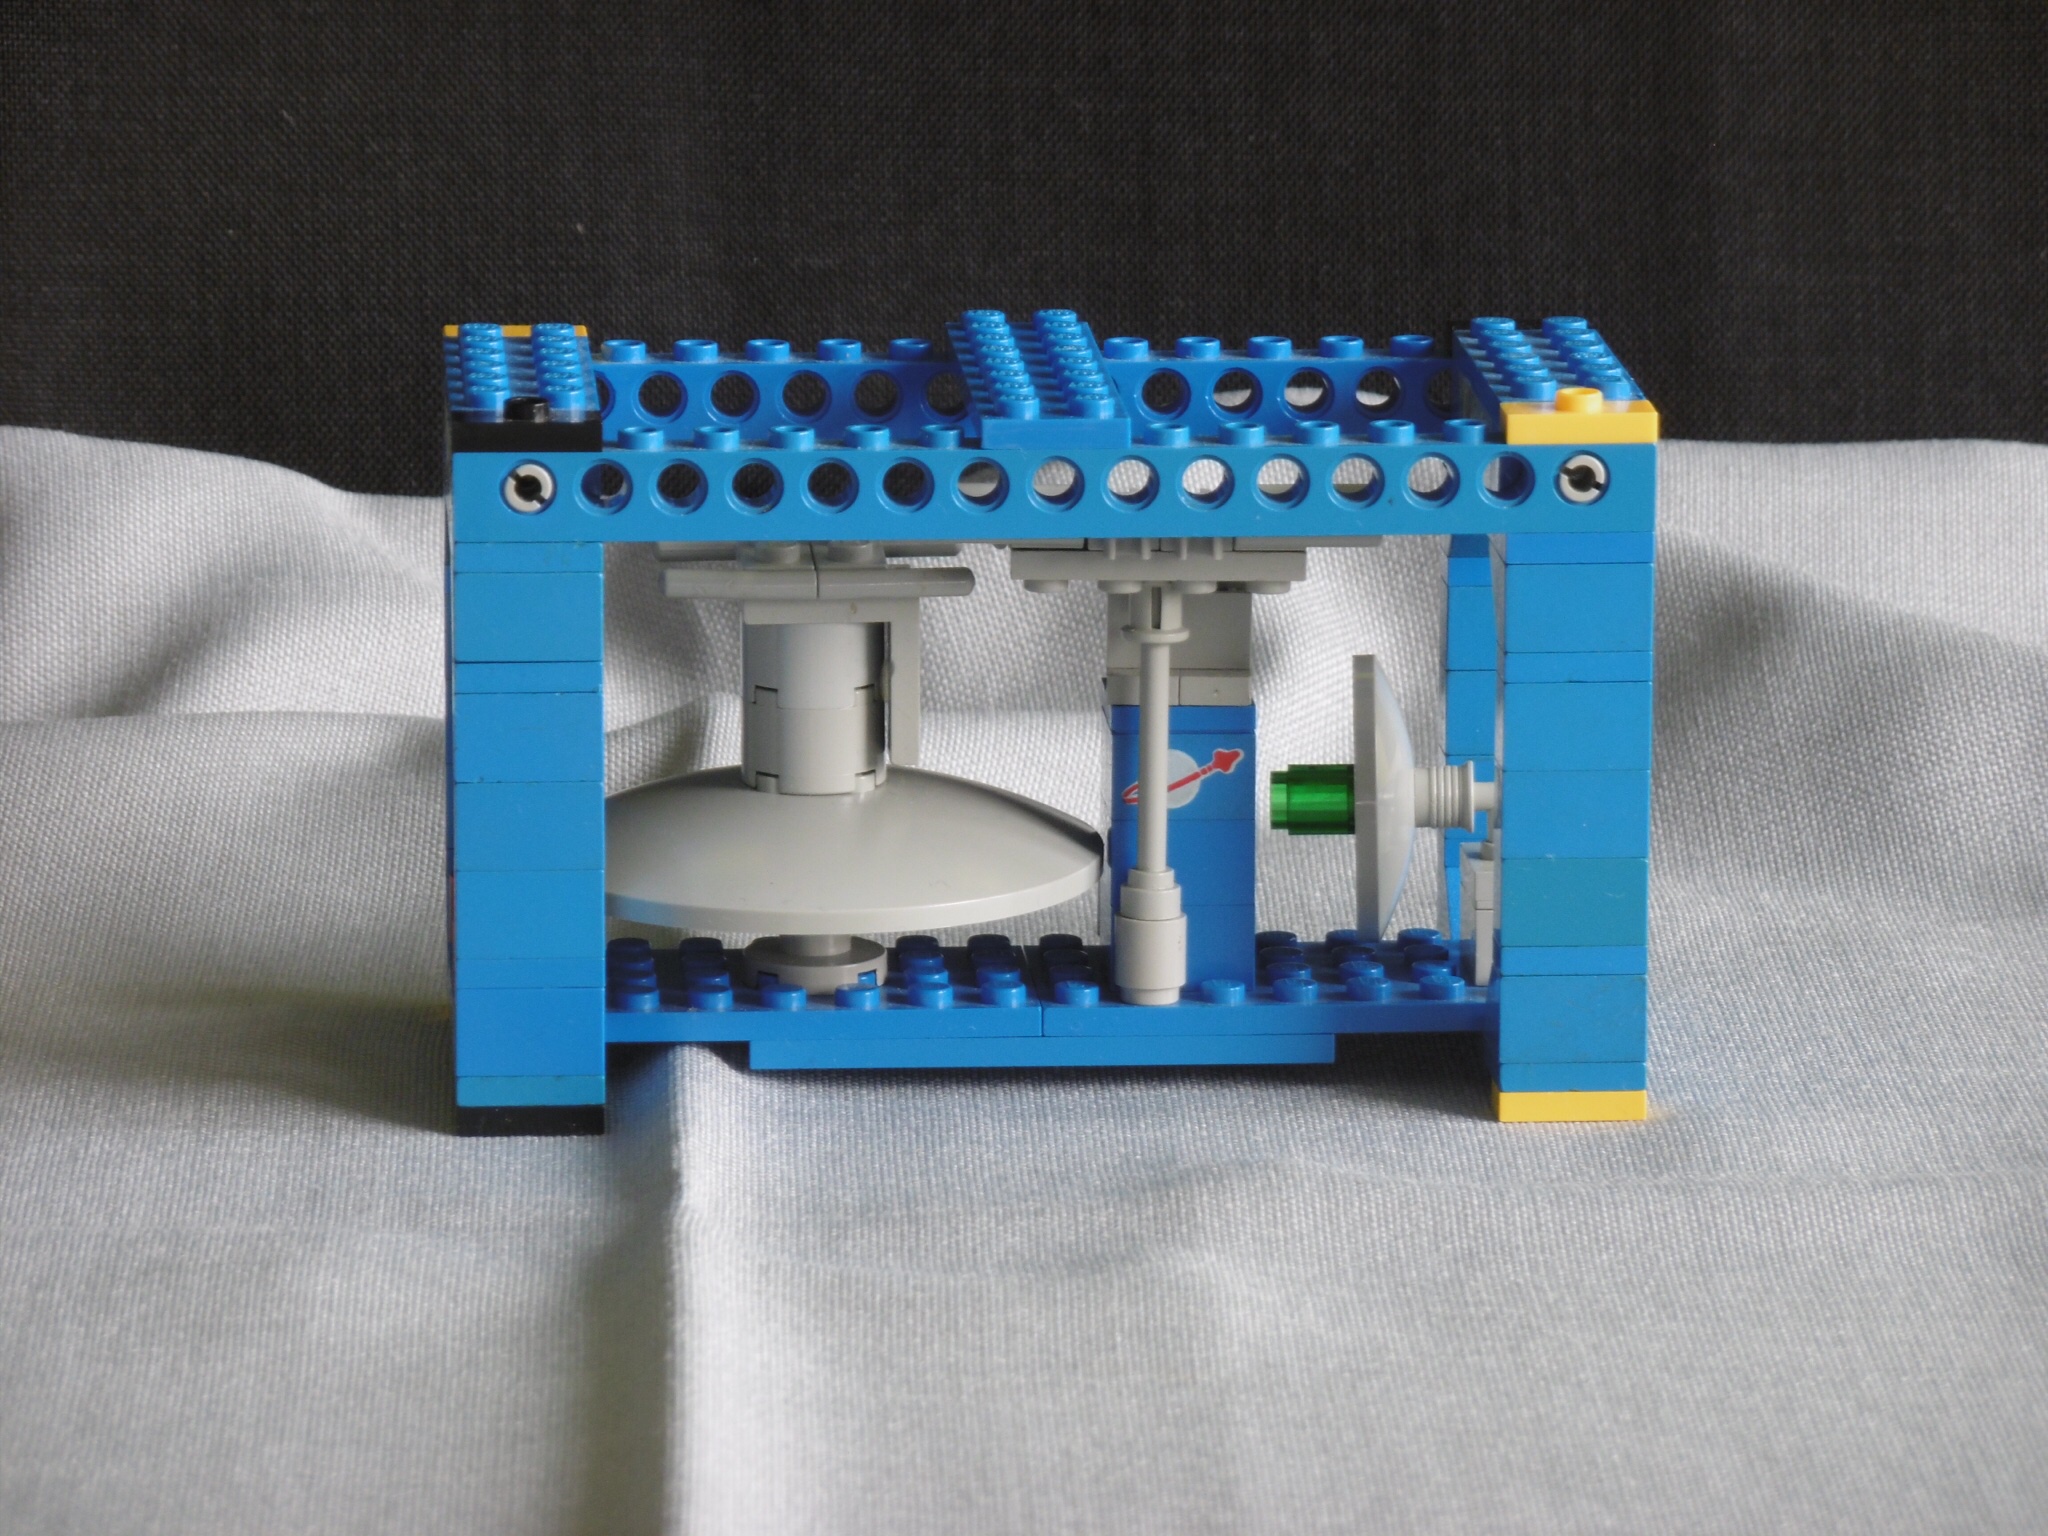
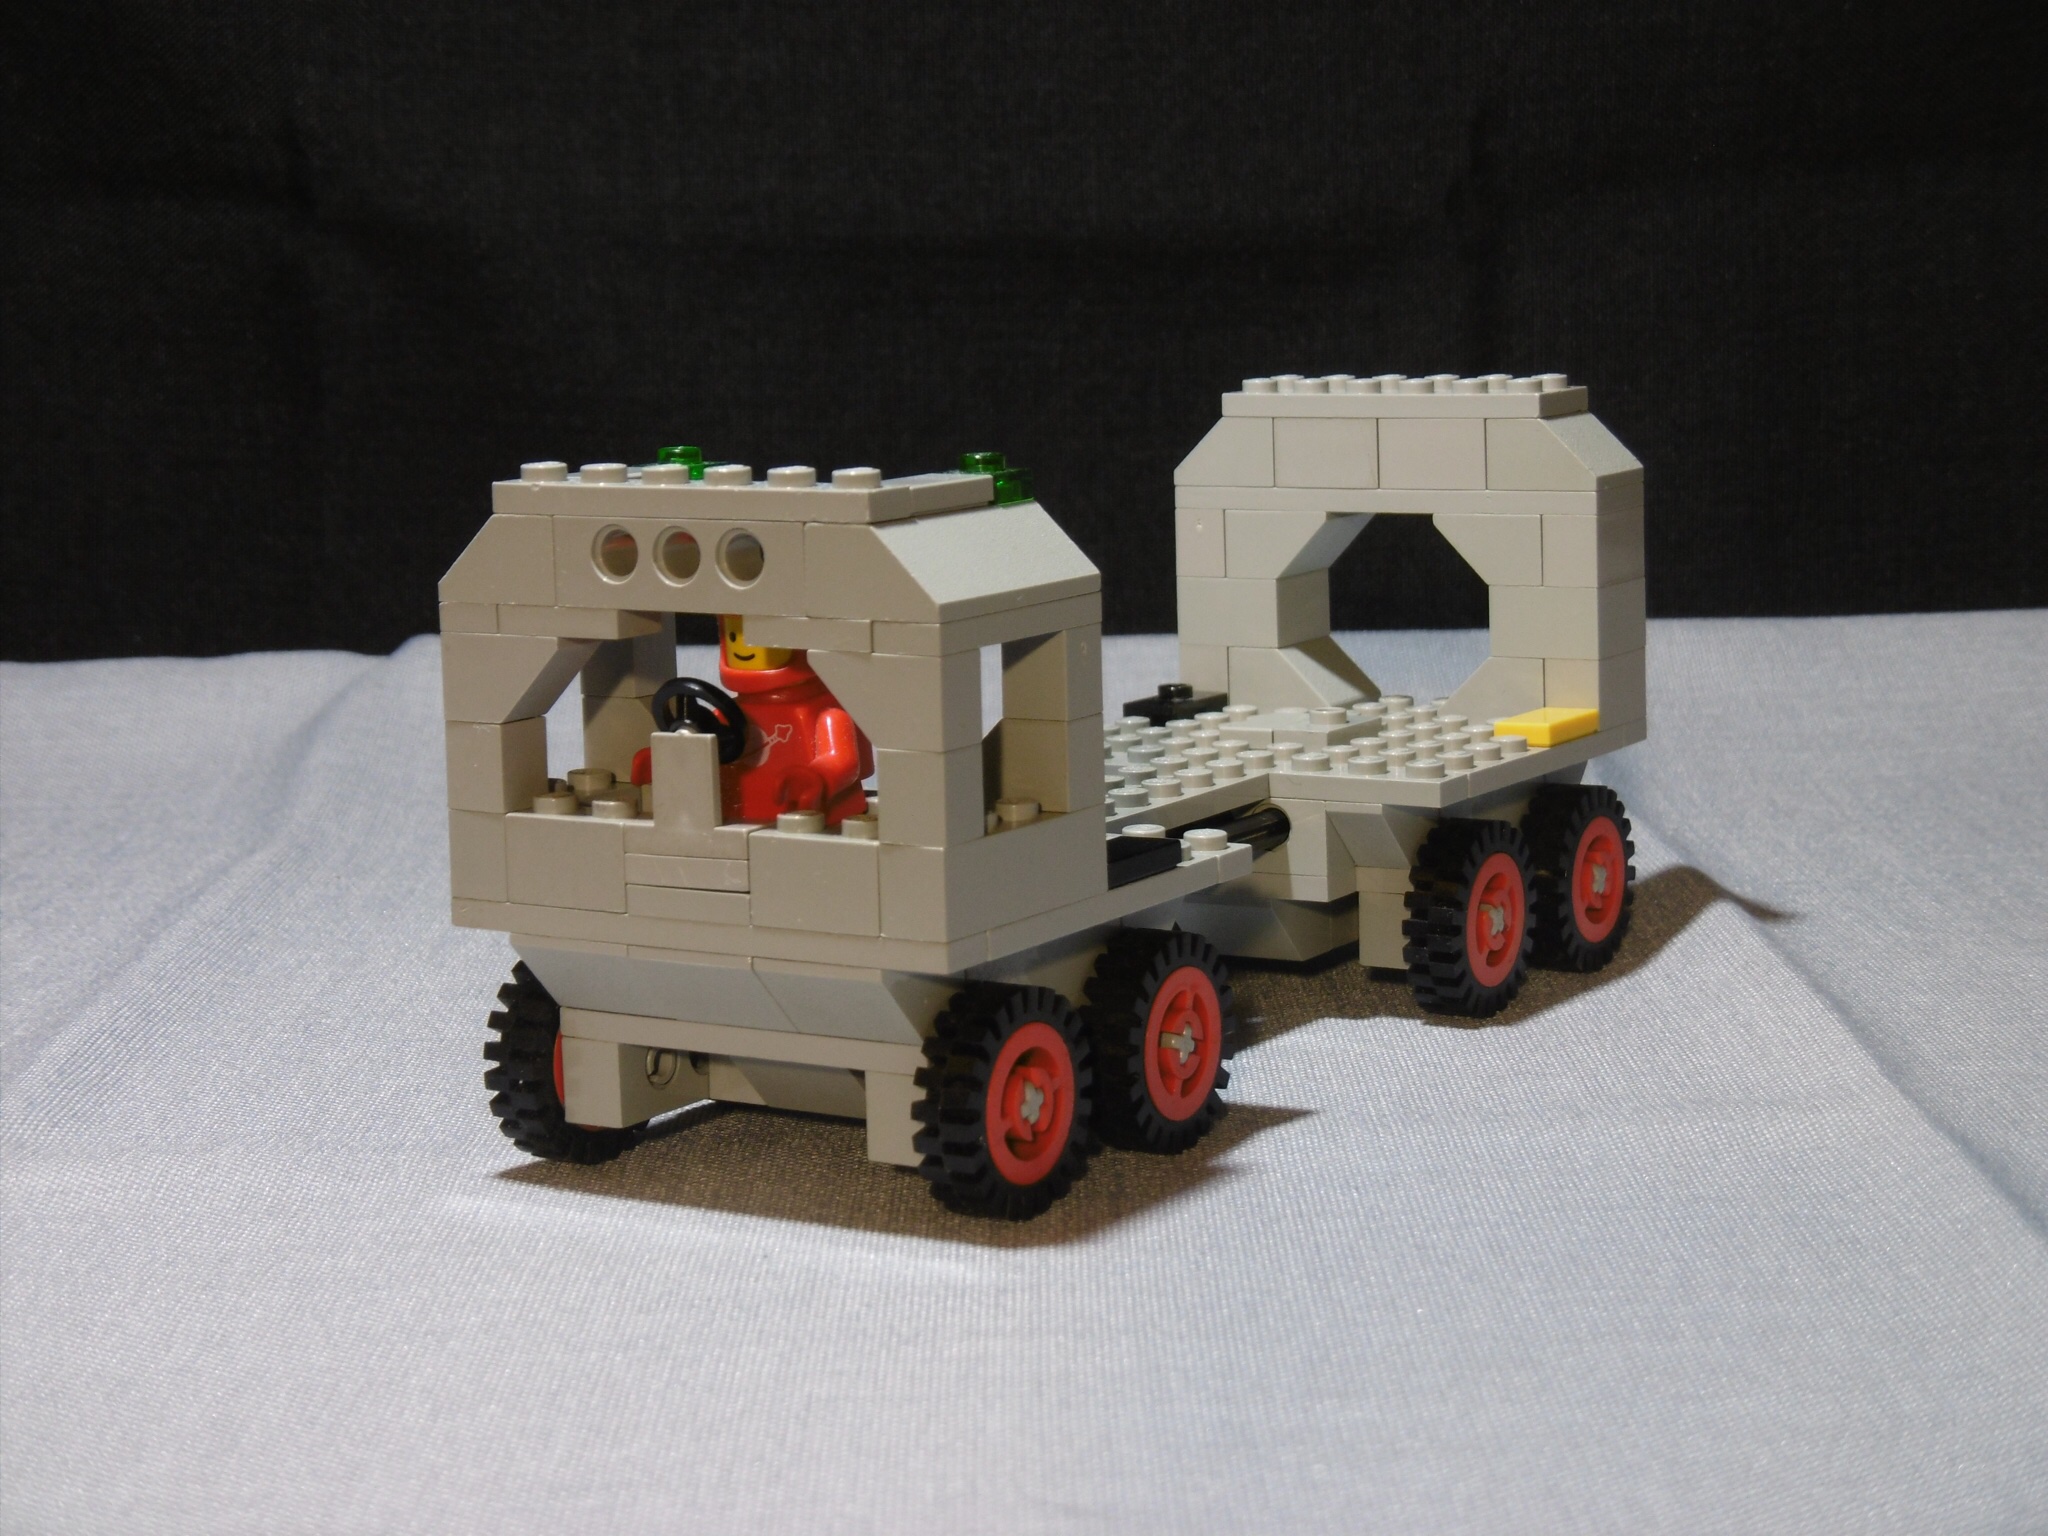
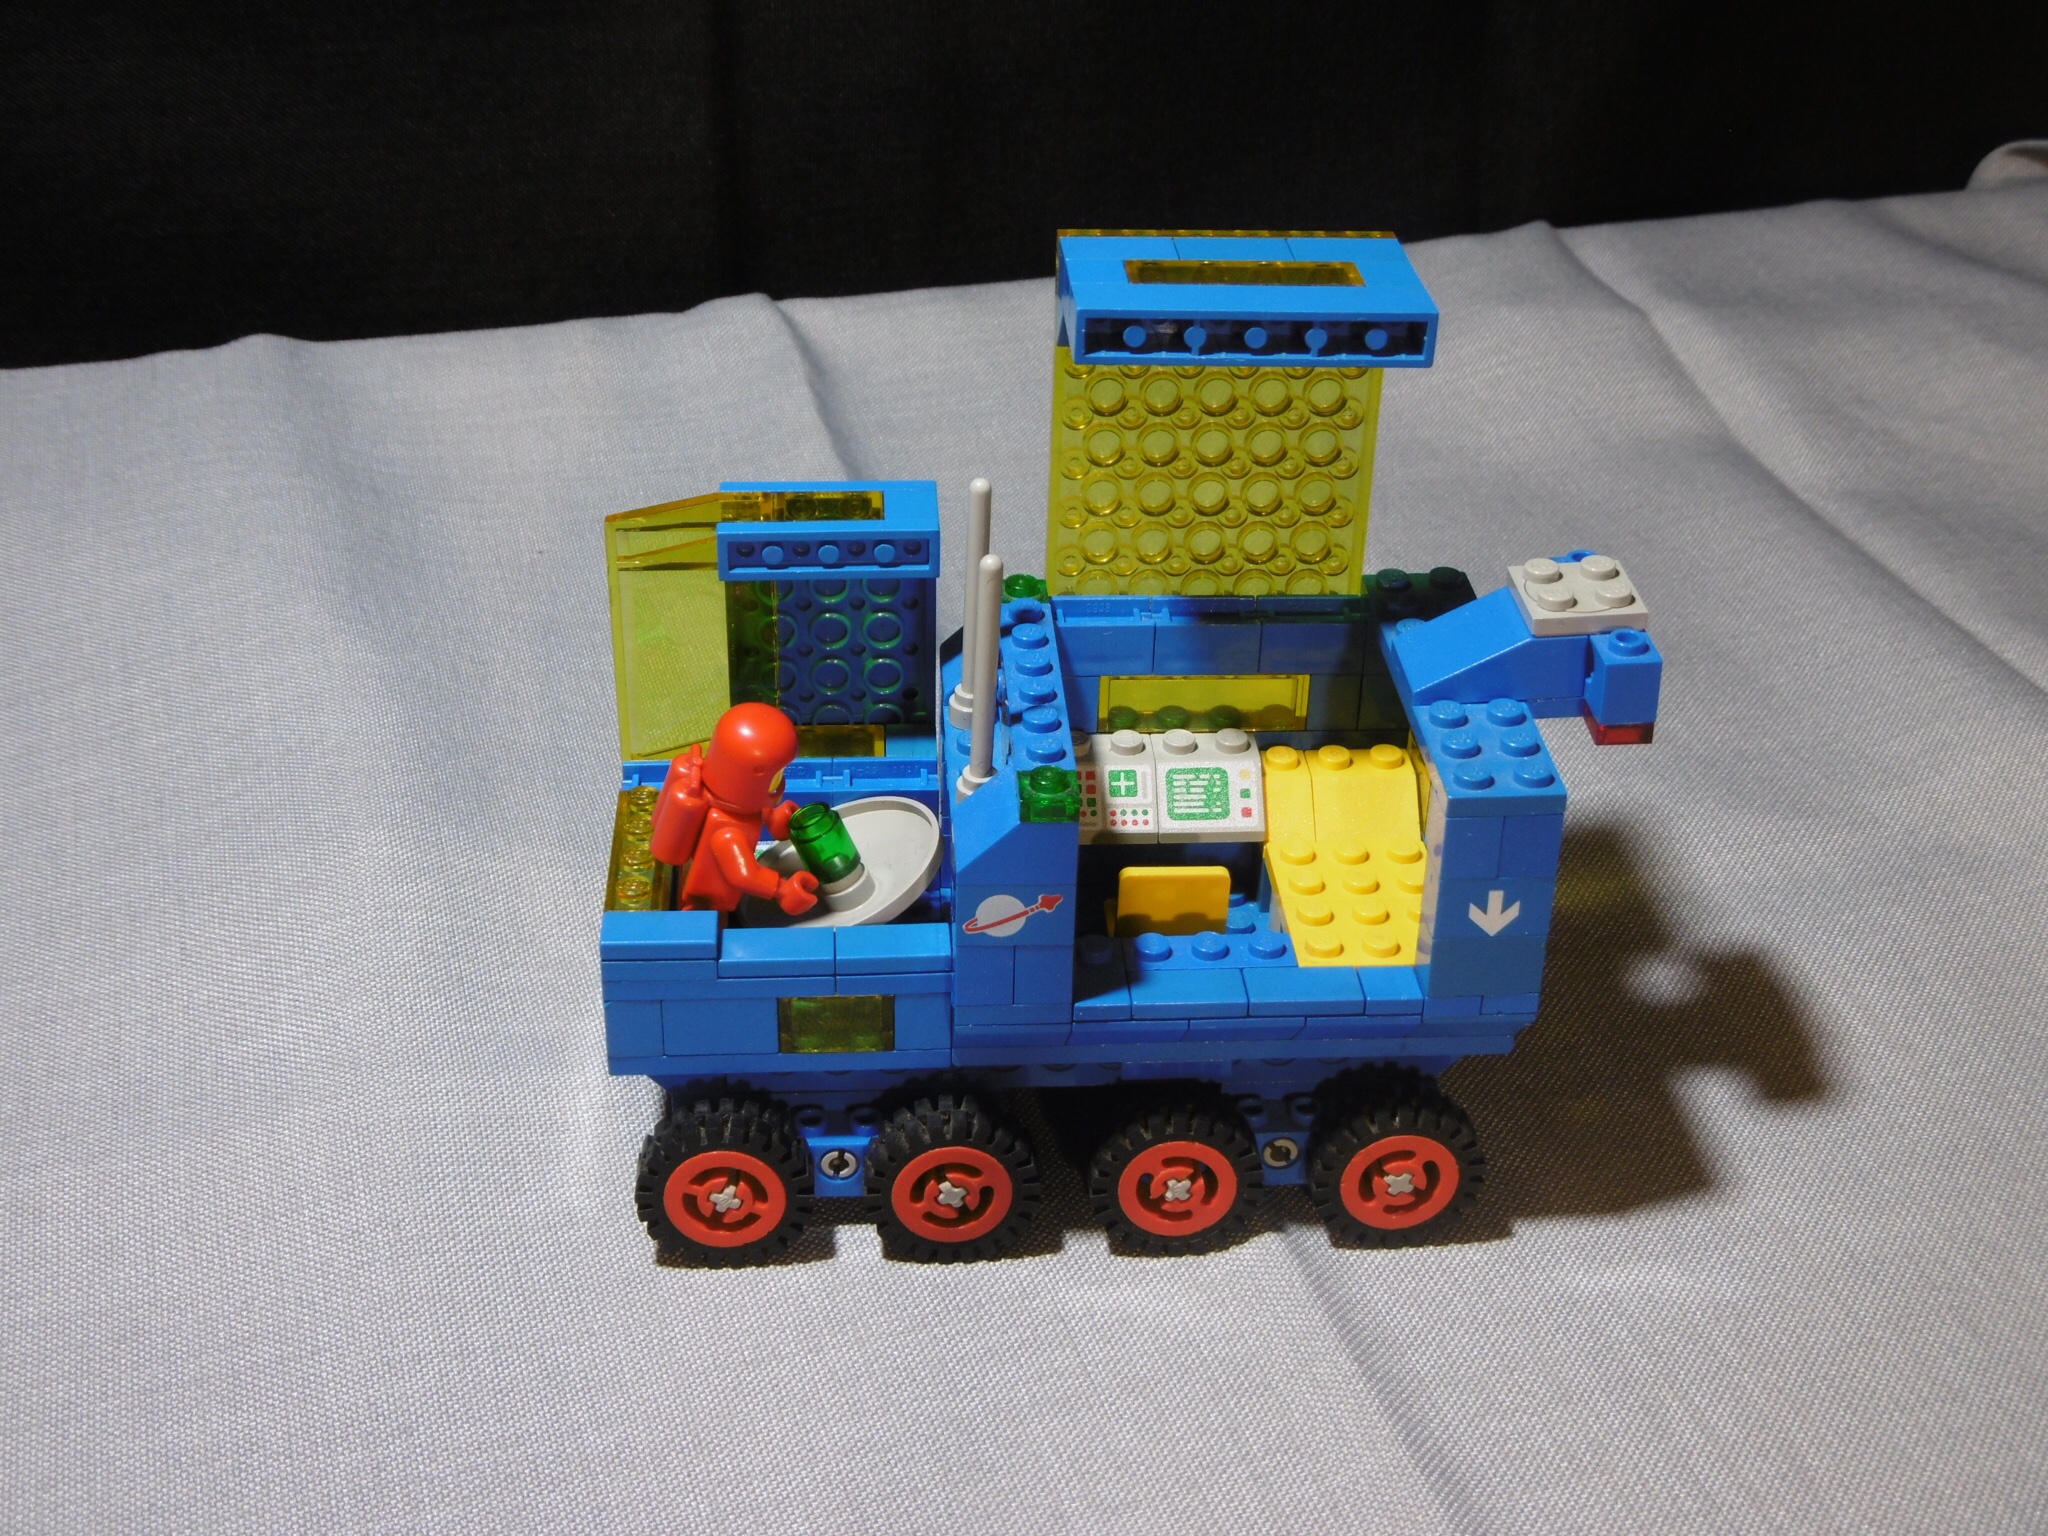
For transport the satellite dish  is stored in the driver’s cabin, …

… the antennas are mounted in horizontal transport position …

… and the mount for the satellite dish is fixed on the cabin roof.
The operator can stay in his mobile home during transport.

The vehicle is fixed in the transport ship with the four standard SCU connectors (Technic pins or axles). The front of the vehicle is fixed via holes in the dish mount.

LL928-C with cargo doors closed and ready for takeoff…

Here it is: My Lego Classic Space Moon Exploration Rover for Febrovery 2019. I hope you like it


SC-920 Alpha 2 Rocket Base (2SCU)

920/483 Reloaded. A new version of the Alpha 1 Rocket Base from 1978/79 packed into two 16x8x8 Space Cargo Units (SCU).

I didn’t have the 920 Alpha-1 Rocket Base as a child, but always wanted to have one. Now, as an AFOL, instead of buying one or building one with single bricks I wanted to build my own version of it.

On my moon base almost everything should be delivered in SCU containers, even the parts of the base themselves. So my Alpha-2 Rocket base had to fit into a pair of containers, too.

It took a while to find a mechanism for the whole launch pad assembly and the rocket to  fit into a 16L SCU, but it finally worked well. The second SCU module is a combination of control unit and garage for the fuel truck.


A look into the control unit.


Like Alpha-1 the whole rocket base can be mounted on a single crater plate.

Special delivery: 2 SCUs for Alpha 2

SCU #1: The launch pad assembly including the rocket

Step 1: Fold out the side panels with the two sections of the rocket


Step 2: Fold out the launch tower


Step 3: Assemble the rocket.


Step 4: Add some fuel and it’s ready for launch.


3, … 2, … 1, … ignition … and lift-off.
The tower folds down for the start. (Sorry for the blurry picture, the AF of my cam isn’t the best – Must have been the vibrations from the starting rocket…) ;-))


SCU #2: Control unit and truck garage


Fold down the ramp and the truck is ready for work.


This is my SCU (Space Container Unit) based Lego Classic Space SC-920 Alpha 2 Rocket Base.
I hope you like it :-))


Bonus picture: LL926 and LL928-C delivering Alpha 2

SCU All-Terrain Transporter

A bigger version of the 6927 All-Terrain Vehicle in 1979 design to transport 16x8x8 Space Cargo Units (SCU).

I wanted to have a kind of all terrain truck to carry 16L SCUs with a system to load and unload the container without extra help. The idea for the loading mechanism was something similar to the dump containers used on contruction sites. I based the design of the vehicle on the classic 6927 All-Terrain Vehicle with some upscaling for the bigger container.

I seperated the upper frame holding the container from the rest of the vehicle, connecting both with three pairs of Technic levers. Pythagoras’ theorem works with Lego, too. So with a 3L horizontal distance and a 4L vertical distance, the length of the lever (from pivot point to pivot point) had to be 5L.

I added a pair of bogie suspension arms for the first two wheels on each side for some extra all-terrain capability. The canopy folds up on the front side to give access to  the cockpit area.

Rear left view

Open the rear end of the lower frame.

Drop the container.

Open the rear end of the upper frame.

And there it is.

Now close the upper frame…

… and the lower frame…

… and there you go…

You can see the bogie suspension arms at work.

This is my Lego Classic Space SCU All-Terrain Transporter.
I hope you like it :-))

SCU All-Terrain Transporter:
[ BrixBlog | MOCpages | flickr ]

SCU Container Carrier (1SCU)

A Container Carrier for 16x8x8 Space Cargo Units (SCU), transformable to be transported as a sigle SCU itself.

I needed something like a container carrier for 16x8x8 SCUs to move them in a space port. At the same time the carrier should be small enough to be transported as a single SCU. So there had to be included some kind of transformation to extend the vehicle frame in a way that made it possible to carry “itself”.

I tried many different designs, in LDD as well as with real bricks until I found a structure that worked. It had to be (1) sturdy enough to carry SCUs, (2) maneuverable with or without an SCU and (3) transformable from transport mode to carrier mode and back with a few and easy steps.

This is the result:

Transport mode: Standard SCU size (16x8x8) with standard fixing points.

Step 1: Fold down the wheels
Step 2: Fold up the steering wheel

Step 3: Slide out the sides
Step 4: Fix the sides with a 8×2 beam plate

Sliding over a 16L SCU.

Lift the SCU up a little and fix it with with the connectors on the sides (each with a pair of 4L axles and 2×2 round bricks connected by a 2×4 plate).

This is my Lego Classic Space SCU Container Carrier.
I hope you like it :-))

Bonus picture:Carry the carrier.